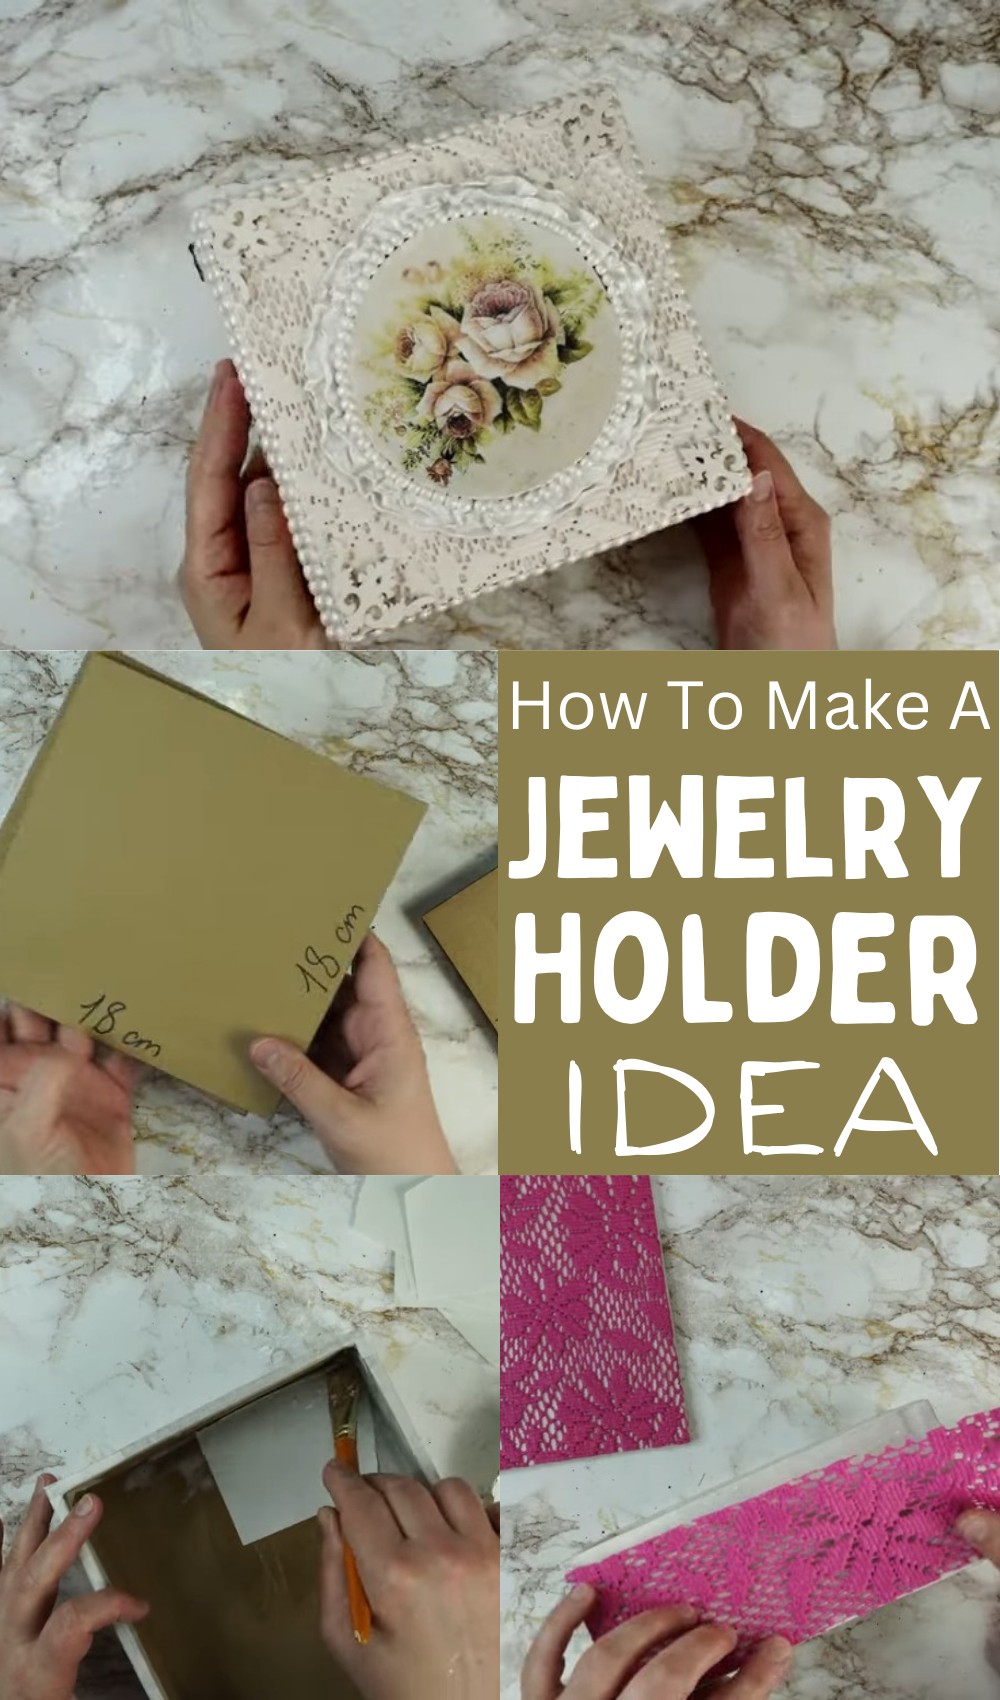
This beautiful handmade jewelry holder box shows great creativity, skill, and care. It looks elegant with detailed bead garlands and an eye-catching flower pattern. It stores valuable jewelry and adds style to any dresser or room. The shiny finish and nice decorations highlight the maker's talent and hard work, creating an impressive piece that combines art and usefulness.
How To Make A Jewelry Holder
Why having a jewelry box is necessary?
A jewelry box is important because it keeps your jewelry safe and organized. It helps to protect items from getting lost or damaged. It allows you to keep different pieces apart, preventing them from getting scratched. The soft inside lining of the box also protects delicate pieces. More than just for storage, a pretty jewelry box can also decorate your room and show off your style. So, buying a good jewelry box is a smart choice.
In this tutorial, we'll learn how to create a beautiful jewelry box using the simple materials available around.
Materials Needed:
- Cardboard in three sizes (18x18 cm, 18x7 cm, and 17x7 cm)
- White paper
- Hot glue gun and glue sticks
- White tape
- Anti-slip mat
- White air-dry clay
- Acrylic varnish
- White acrylic paint
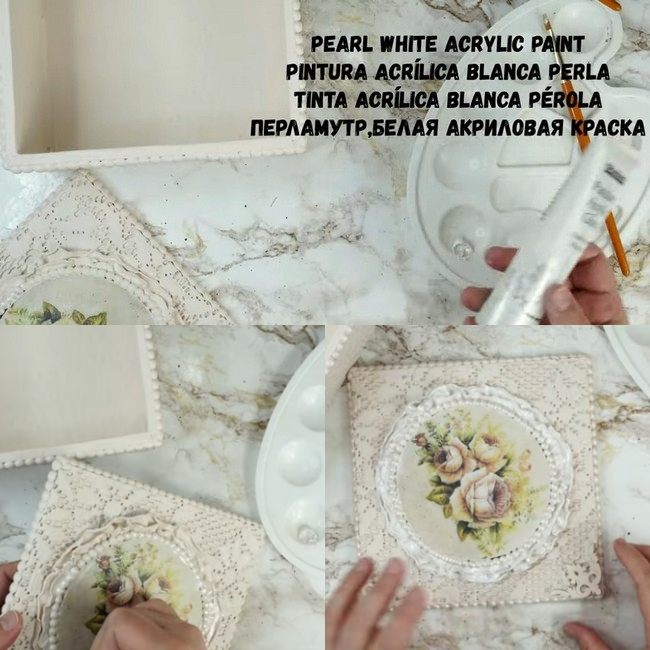
- Pearl white acrylic paint
- Floral fabric
- Plastic embellishments
- Clear varnish gloss
- Hinge and small box feet
Making Process:
Follow these easy steps to make your own custom jewelry box.
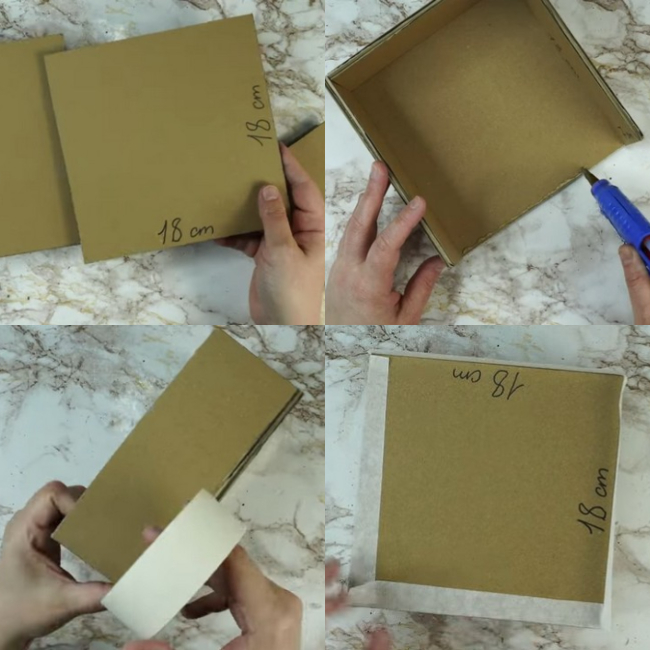
Assemble the box: Use hot glue to attach the 18x7 cm and 17x7 cm cardboard pieces to the 18x18 cm piece, creating a box shape. Reinforce the bottom and the sides of the box with white tape.

Create the box cover: Using cardboard that is the same size as the box, make a cover by securing its corners with white tape.
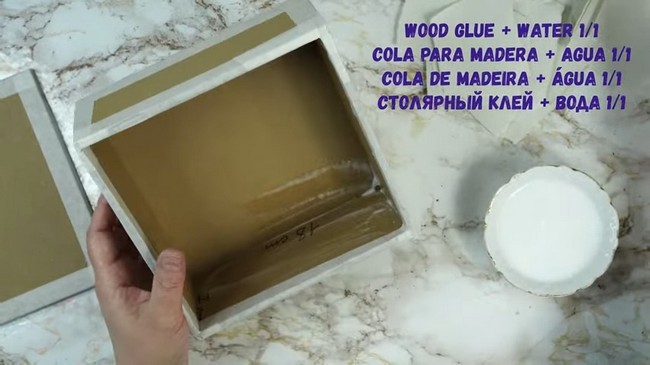
Apply white paper: Cut white paper into smaller pieces, then glue them to the inside and outside of the box and let it dry.
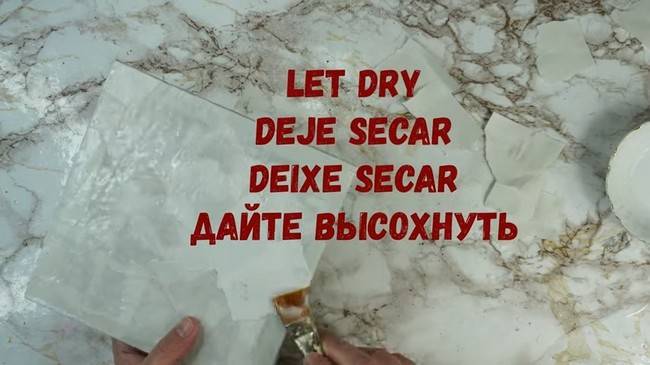
Let it dry!

Attach anti-slip mat: Cut the anti-slip mat to fit the size of the box cover and sides. Glue it to them.
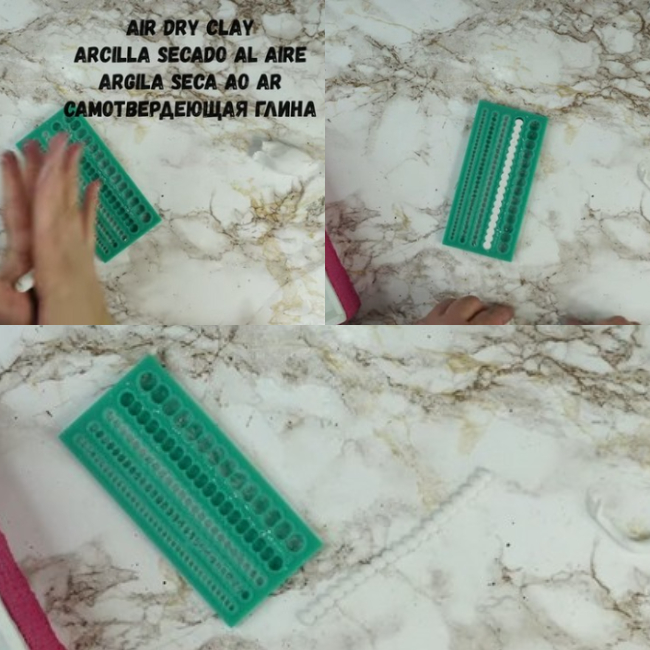
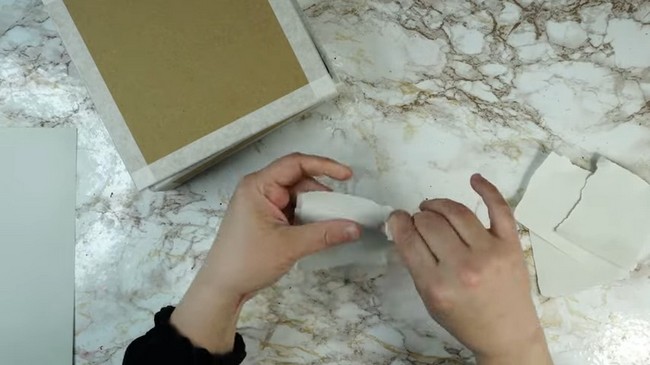
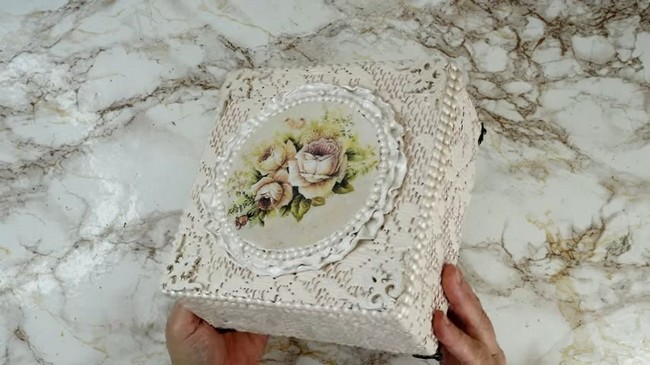
Create clay garlands: Shape air-dry clay into garland-like structures, then let them dry. Once dry, glue them along the borders of the box and cover.
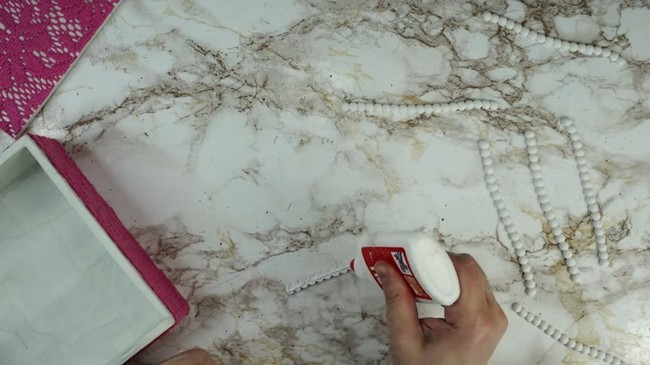
Use glue to add the clay garlands you made to the border of your box and the box's cover.
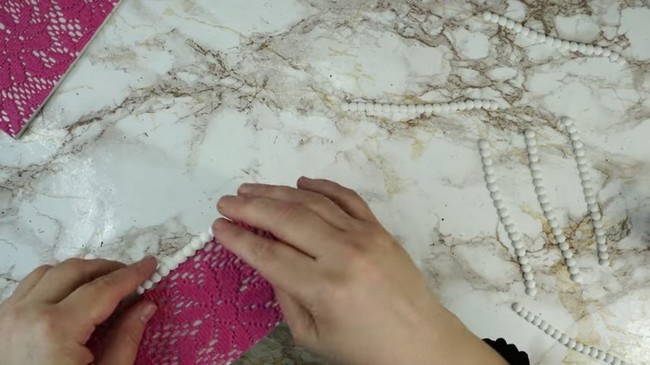
Do same for the box's edges and corners and try to keep the clay garland firmly.
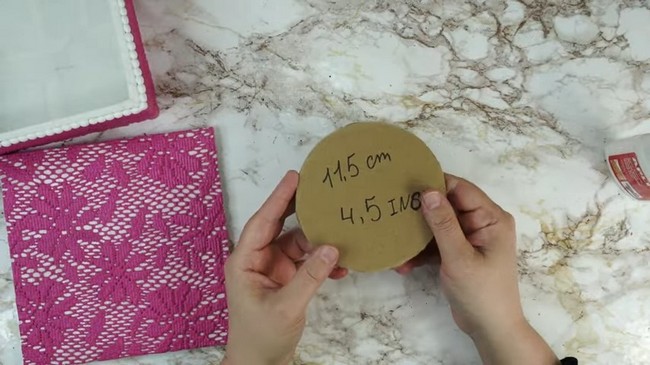
Cut a cardboard disc: Cut a disc-shaped piece of cardboard and glue it to the center of the box cover.
Use glue to paste that cardboard disc over your box's cover.
Create more clay garlands: Repeat the previous step for the box cover's borders.
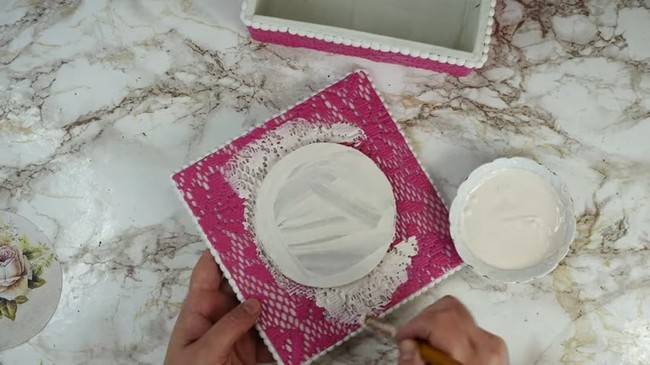
Paint the box: Paint the entire box and cover (including the cardboard disc) with white acrylic paint.
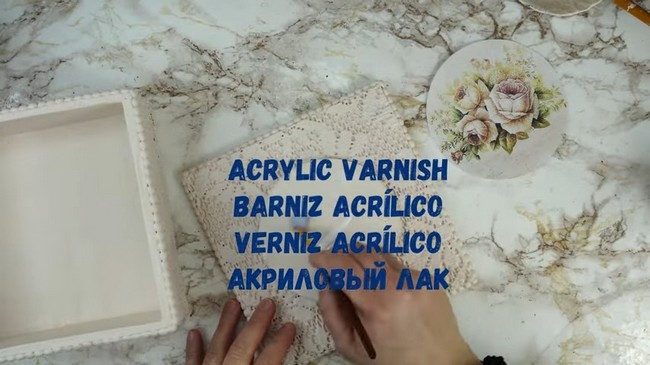
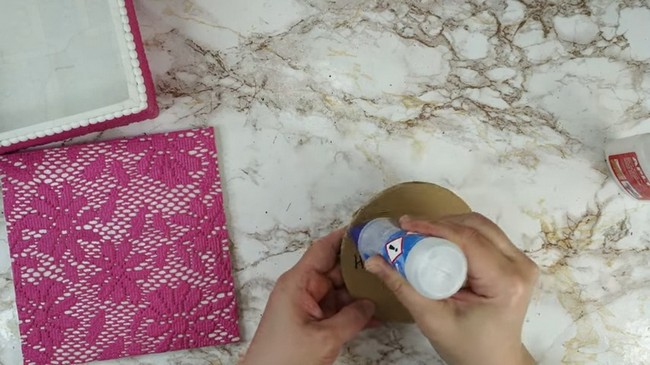
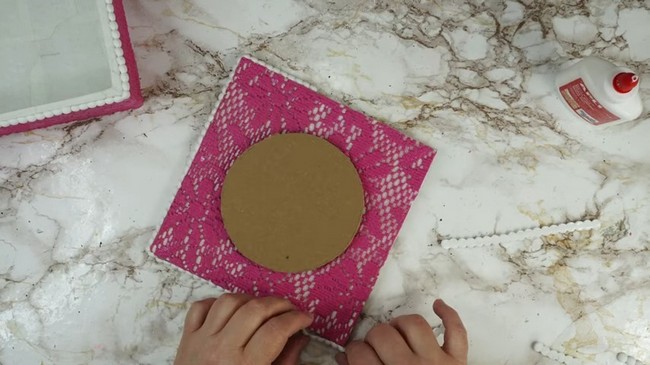
Attach a fabric disc: Cut a disc from the floral fabric and apply a layer of acrylic varnish to the cardboard disc. Attach the fabric disc to the cardboard disc. Apply another thin layer of acrylic varnish on top of the fabric.
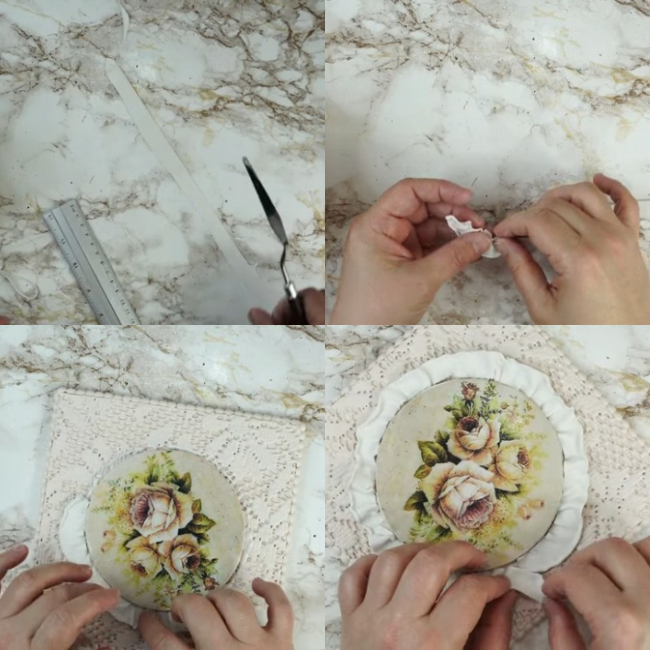
Add a clay band: Shape a band-like clay structure and glue it as a border around the fabric disc.
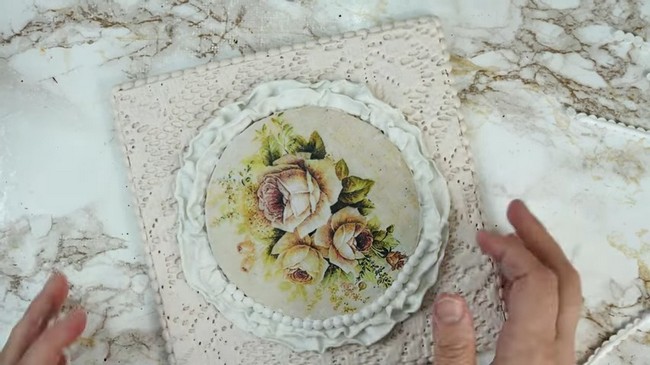
Add more clay garlands: Create more clay garlands and glue them to the disc, creating a flow from the fabric piece to the clay bead garland and, finally, to the clay band.
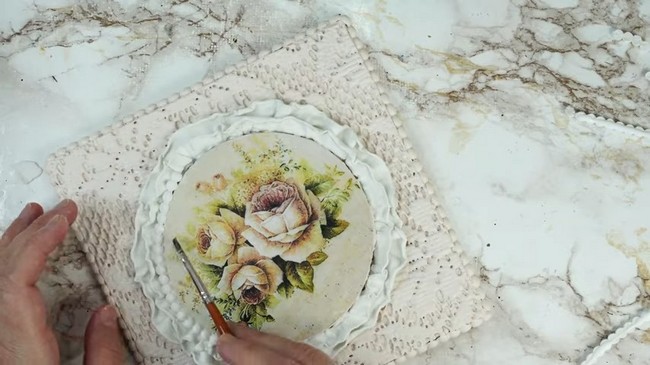
Paint the clay garlands: Paint the clay bead garlands with pearl white acrylic paint.
Apply acrylic varnish: Apply varnish to the clay garlands, band, and other areas to secure their placement.
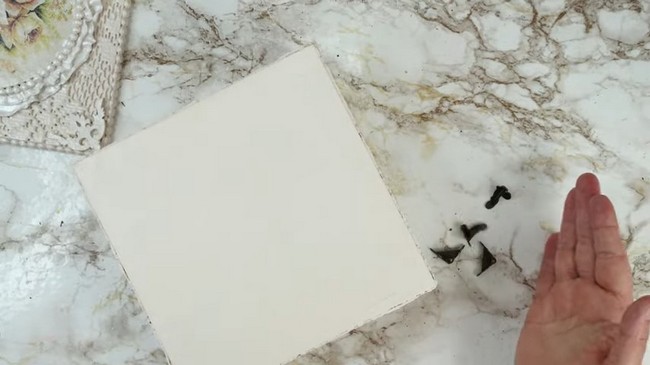
Add plastic embellishments: Place embellishments at the corners of the box cover and paint them with acrylic paint.
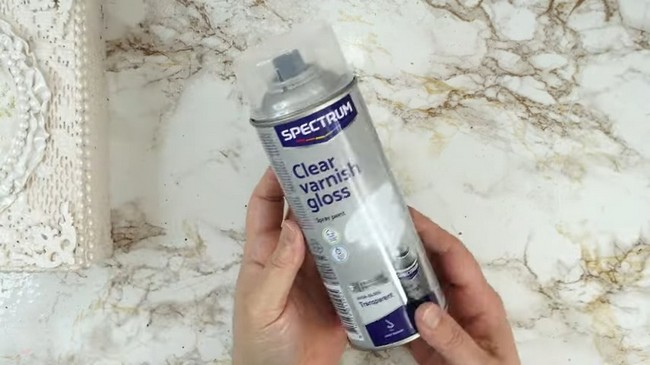
Apply clear varnish gloss: Apply a layer of clear varnish gloss to the entire box for a shiny, sparkling finish.
Add box feet: Attach small box feet to the four corners of the box using glue.
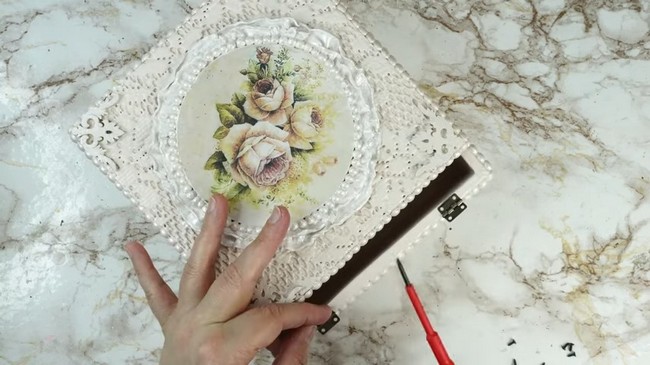
Attach the hinge: Add a hinge to the top border of the box using glue to allow the box cover to open and close.
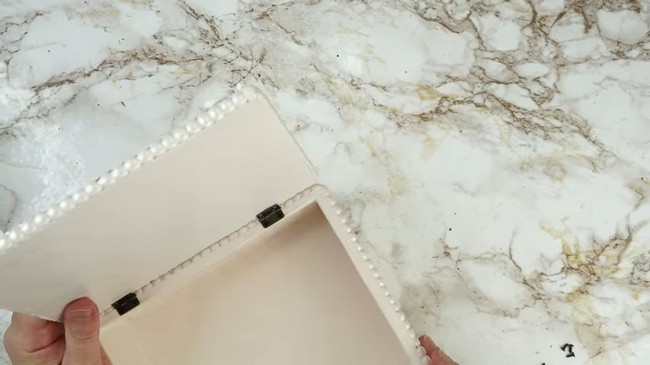
These hinges must be held properly, so use enough glue to stick them because they will hold the weight of your box cover.
Your beautiful, custom jewelry box is now ready! Store your precious jewelry pieces in this elegant DIY creation.