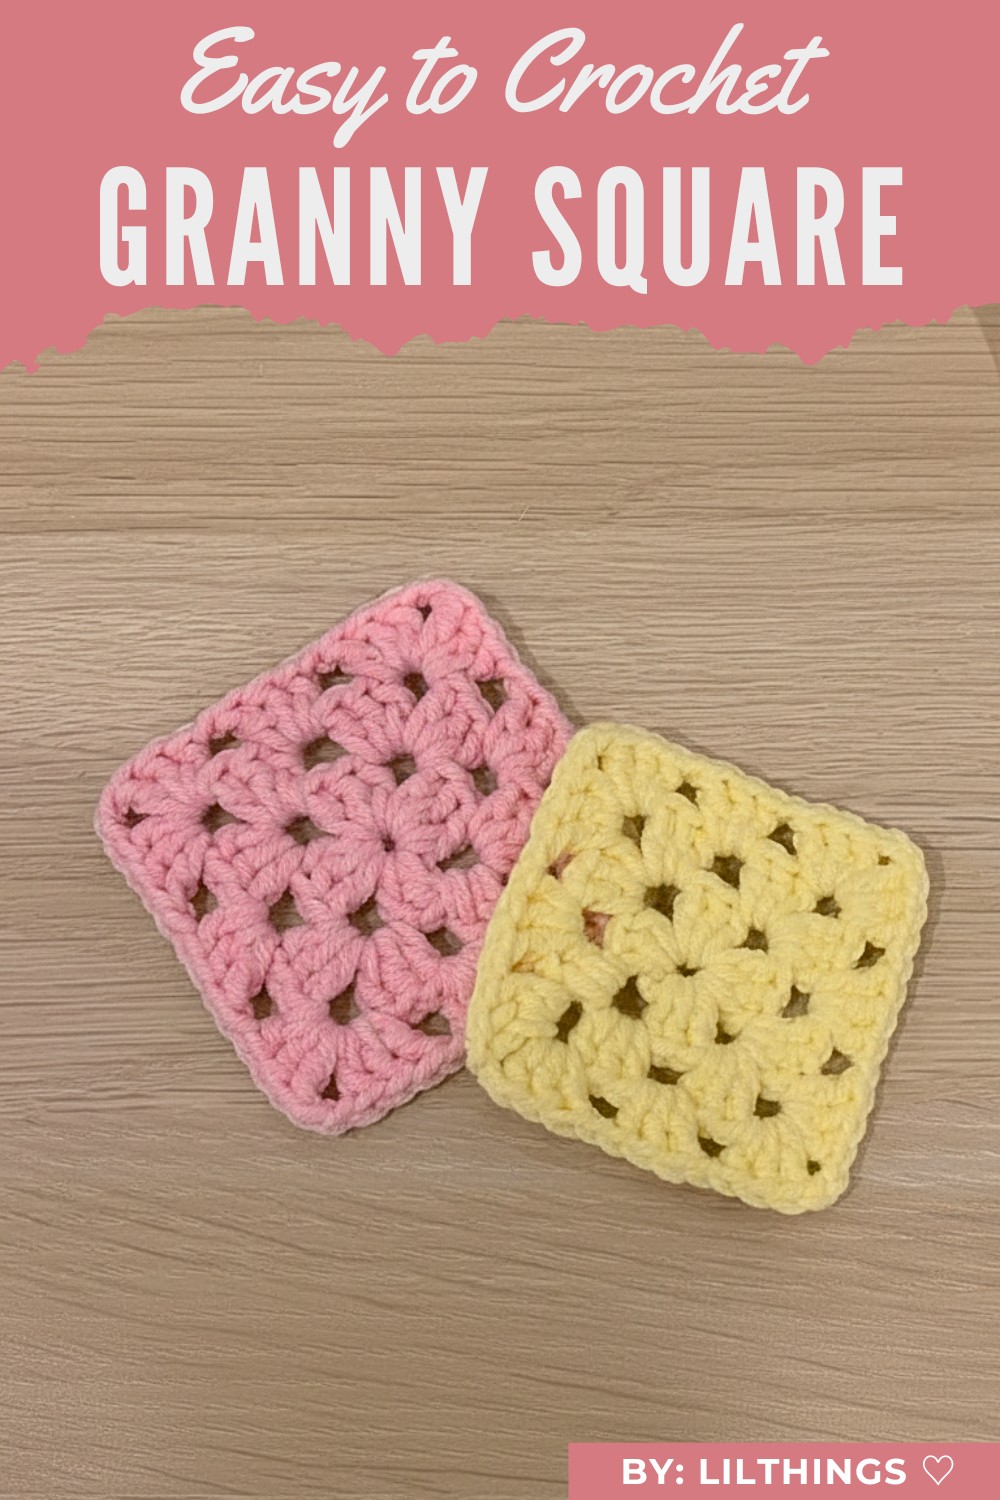
Celebrate classic style with this Free crochet Granny Square Pattern, making charming squares that bring creativity, and a handmade touch to any project.
From cozy blankets to trendy bags, crochet projects come alive with timeless patterns that blend creativity and practicality. The crochet granny square pattern stands out as a versatile and popular design beloved by crafters of all experience levels. Its symmetrical arrangement and layered texture create visually stunning results that can be customized to suit any style, making it a staple in the world of crochet.
Handmade Crochet Granny Square Pattern For Unique Creations
Step-by-Step Details of the Granny Square
Granny squares are iconic in crochet, perfect for beginners and endlessly versatile. In this tutorial, the host shares a detailed walkthrough of how to make a basic granny square. With enough practice, this foundational crochet pattern can transform into bags, blankets, or pouches. Whether you're just getting started or refining your skills, learning how to crochet granny squares can open doors to exploring larger and more intricate projects.
Special Features
- Beginner-Friendly: The tutorial is designed with beginners in mind, focusing on simplicity and eliminating unnecessary complexity.
- Versatile Usage: Granny squares can be expanded or combined into larger projects such as bags, blankets, pouches, or decorative items.
- Step-by-Step Guidance: The tutor provides clear explanations, including details on yarn tension, stitch formation, and finishing touches.
- Customization: Personalize granny squares with different colors, yarn types, or sizes for unique designs.
Level of Difficulty
The tutorial is perfect for absolute beginners. The process involves straightforward stitches such as chaining, slip stitches, and double crochets. Each step is explained thoroughly, ensuring even those with minimal crochet experience can follow along.
Tutor's Suggestions
- Start slow and focus on getting the tension right for smooth stitches.
- Push stitches to make room if they feel cramped during the process.
- Practice patience, and remember that consistent effort will lead to improvement.
- Use the appropriate yarn and hook size as indicated in the tutorial for optimal results.
Materials Required
- Yarn: 5-ply milk cotton yarn (pink color is used in the video, but you can choose any).
- Hook: 3mm crochet hook (corresponding hook size to the yarn is essential).
- Scissors
- Darning needle
Step-by-Step Instructions
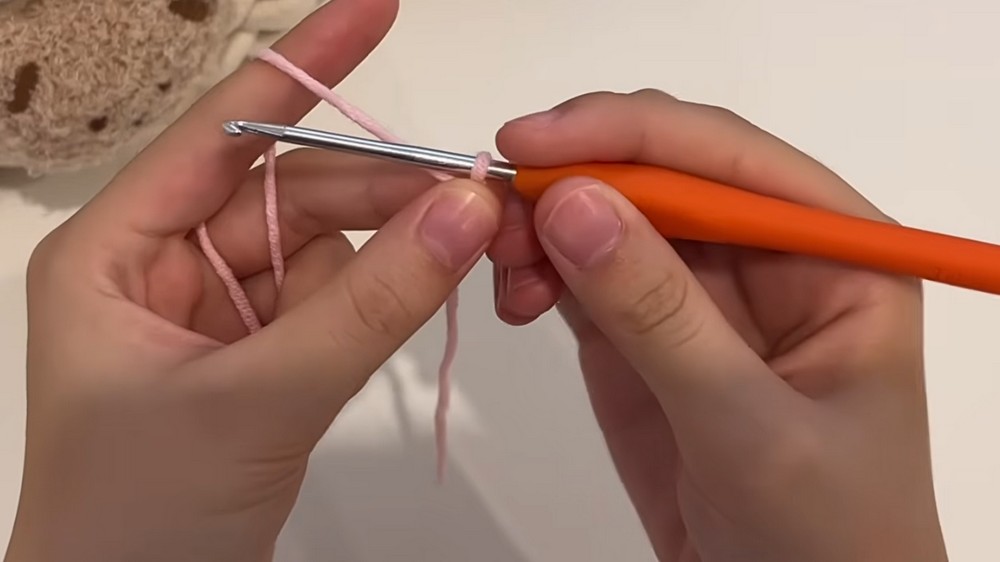
1. Create a Slip Knot
- Hold the end of the yarn in your right hand while your left hand forms a loop by holding two fingers upright.
- Pull the tail through the loop to create a knot in the middle and adjust the loop size. Insert the crochet hook into the loop.
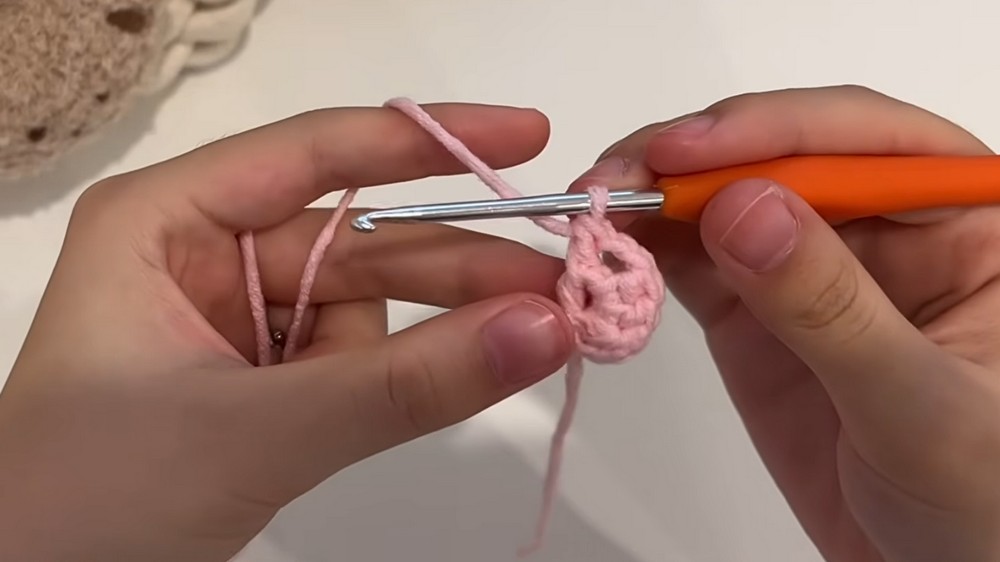
2. Chain 5 and Form a Circle
- Yarn over and pull the hook through the loop on your hook to create chains. Repeat until you've made 5 chains.
- Connect the last chain to the first chain with a slip stitch to form a circle. This will serve as the center of your granny square.
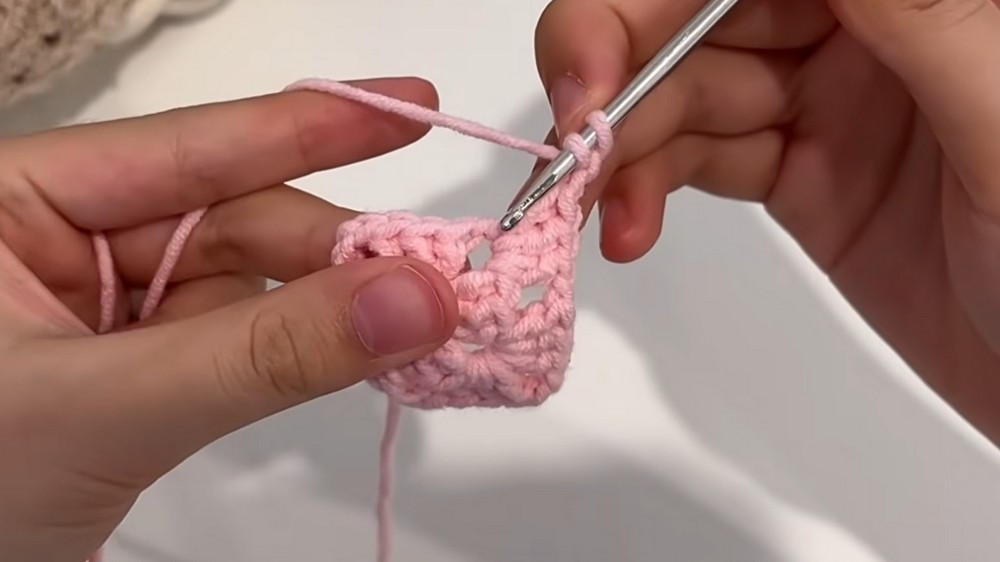
3. Round 1 – Building the Square
- Chain 4 to start. The first two chains act as one double crochet, and the next two chains act as the corner space.
- Create three double crochets into the center ring, followed by chaining 2 for the corner.
- Repeat the sequence (3 double crochets + 2 chains) to create three more sides.
- Finish with 2 double crochets on the last side and connect to the starting chain with a slip stitch.
4. Round 2 – Expanding the Square
- Begin with a chain of 4 (counts as 1 double crochet + 2 corner chains).
- Create 3 double crochets in the first corner space, then chain 2 for the corner and repeat (3 double crochets into the next corner).
- Between corners, create 3 double crochets in the side spaces, separated by 1 chain.
- Connect with a slip stitch to the starting chain.
5. Round 3 – Adding More Rows
- Continue with chain 4, then follow the sequence of stitches with a key difference. For corners, always chain 2 between clusters of double crochet. For side spaces, only chain 1 between clusters.
- If expanding, repeat this process for additional rounds until your granny square reaches the desired size.
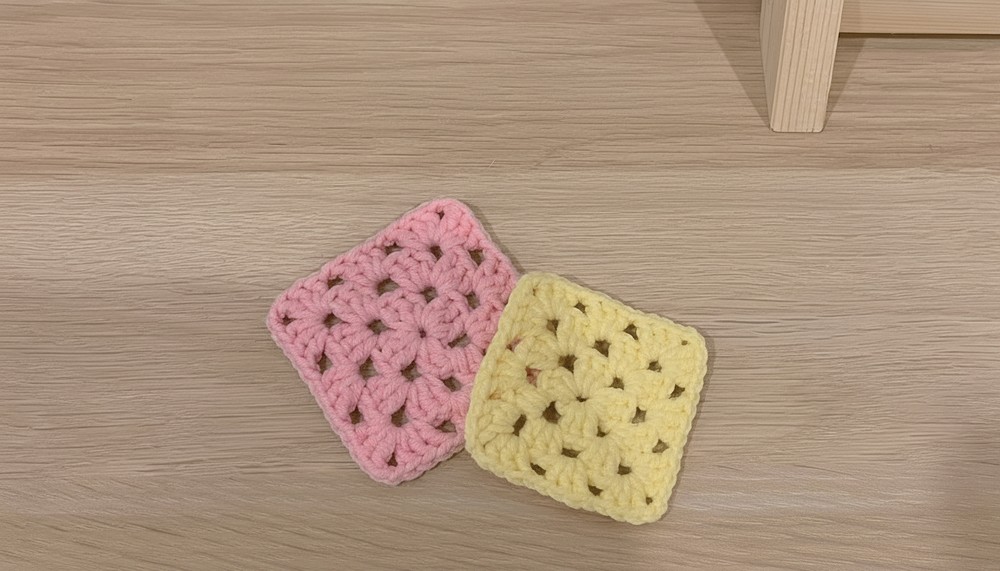
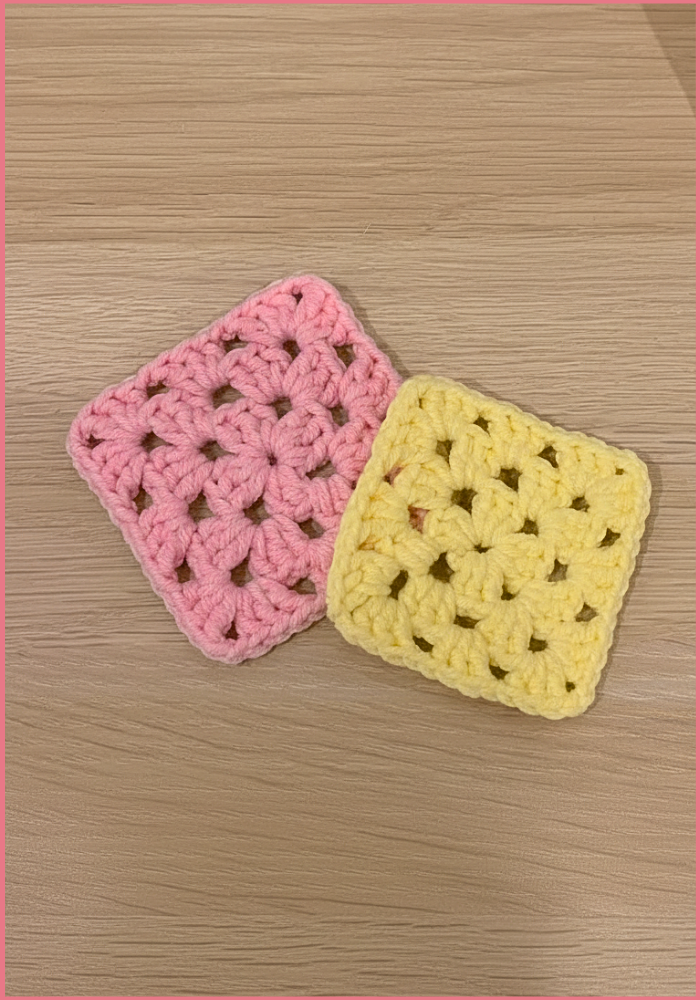
Uses of Granny Squares
Granny squares can be used in:
- Bags and purses for everyday use.
- Blankets or throws for home decor.
- Pouches for organization or gifting.
- Decorative embellishments for outfits.
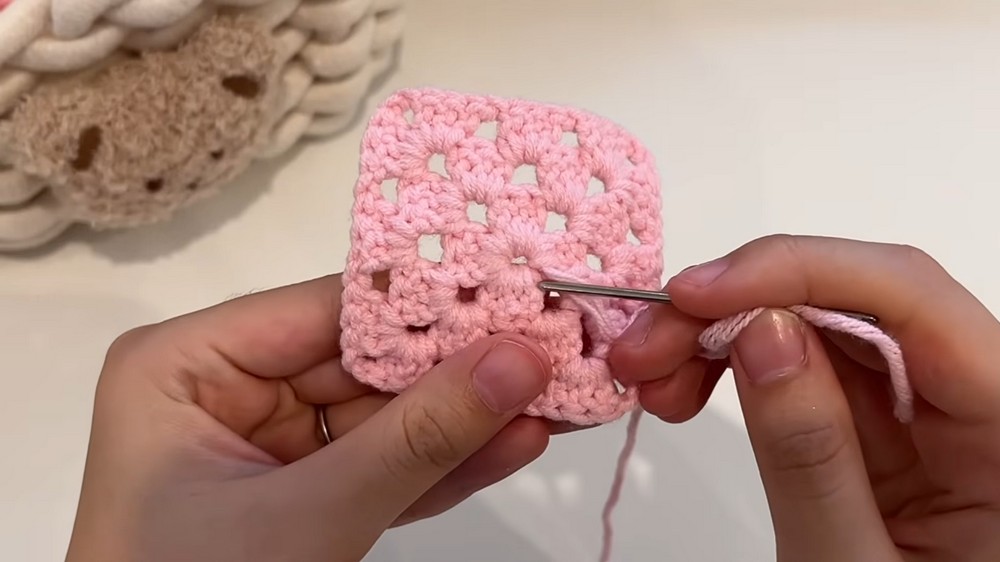
Finishing: Weaving in Tails
- Use a darning needle to hide tails on the wrong side of the square by threading them through the loops.
- Snip off any extra tail once it's hidden, ensuring your square looks neat and clean.
This pattern is perfect for beginners looking to master foundational stitches, such as chains and double crochets, while still challenging enough to keep seasoned crafters inspired. Whether used for standalone squares or joined together for larger projects, the crochet granny square pattern provides a blank canvas for experimenting with color combinations and different yarn types.
Its modular nature also ensures that even small projects have the potential to evolve into larger, intricate designs. In addition to its simplicity and aesthetic charm, this pattern is a sustainable way to crochet. You can repurpose scrap yarn, minimize waste, and enjoy the satisfaction of creating something functional and beautiful. The crochet granny square remains a timeless favorite, celebrated for how effortlessly it combines tradition with modern style and endless creative possibilities.
Conclusion
This granny square tutorial provides a solid foundation for beginners, blending simplicity with creativity. With practice, you can turn simple squares into stunning handmade pieces. The tutorial empowers crochet enthusiasts by demonstrating clear steps, tips for customization, and encouragement to expand your skills.
Tip
To keep your tension consistent, hold the yarn snugly but not too tight. This ensures your stitches are uniform, making your granny square look clean and polished.