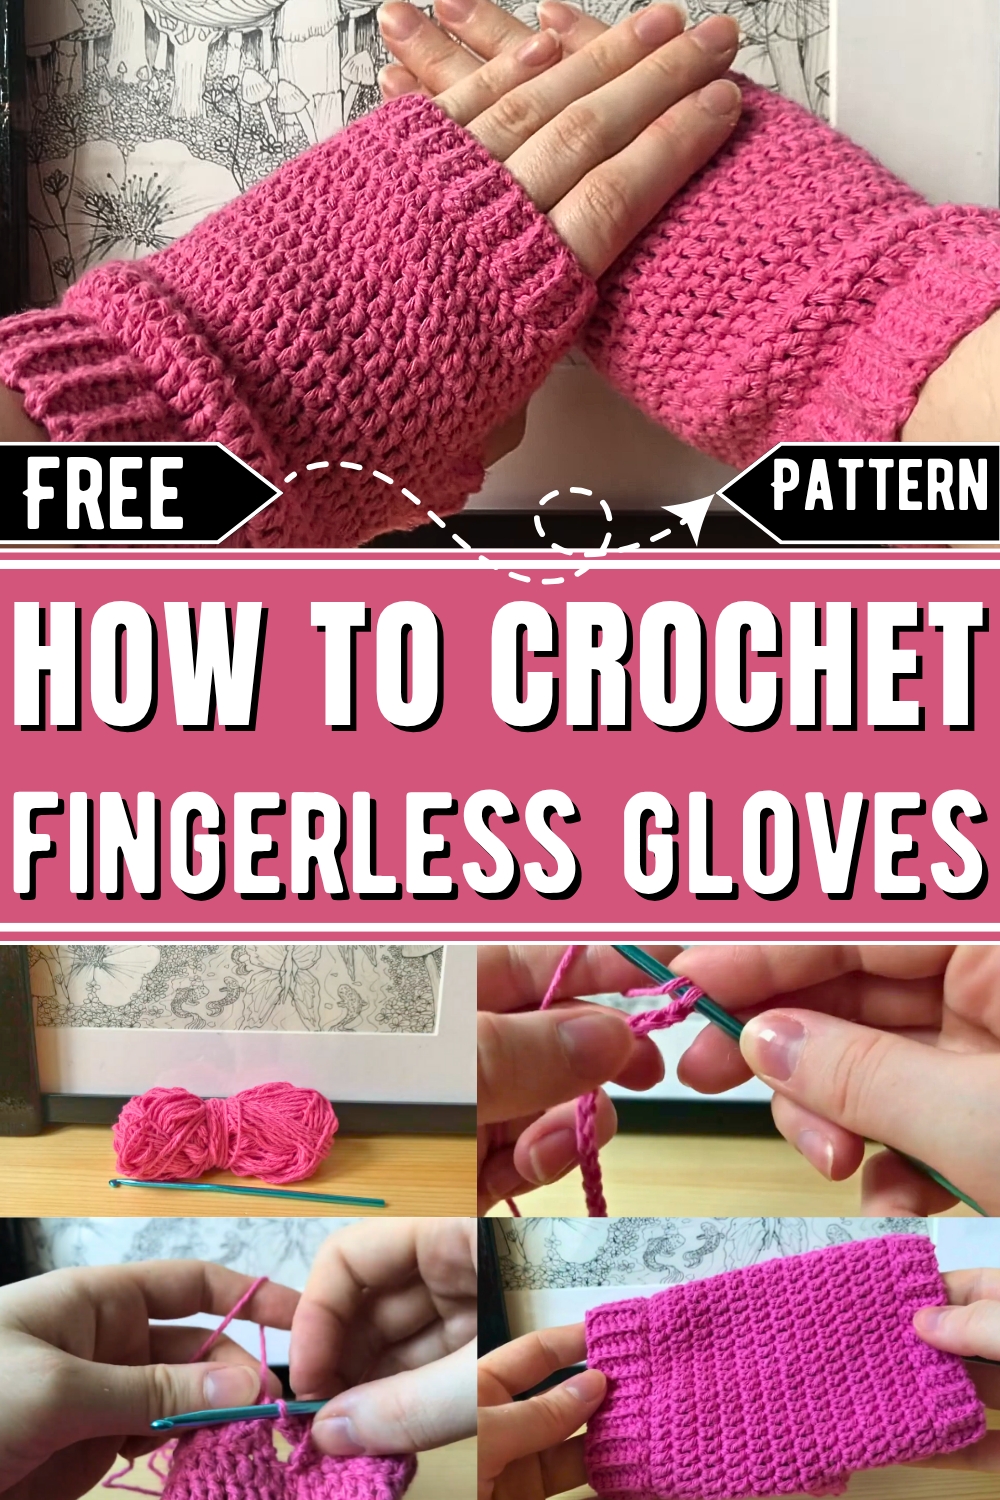
Stay cozy and stylish with easy-to-make fingerless gloves, perfect for keeping hands warm while allowing full finger movement for everyday tasks.
Keeping hands warm while maintaining full finger dexterity has always been a practical challenge, especially in cooler weather. Fingerless gloves offer a clever solution, and learning to crochet them using a free pattern adds a unique touch to your wardrobe. These gloves provide warmth for your palms while leaving your fingers uncovered, making them ideal for activities such as typing, writing, or using your smartphone with ease.
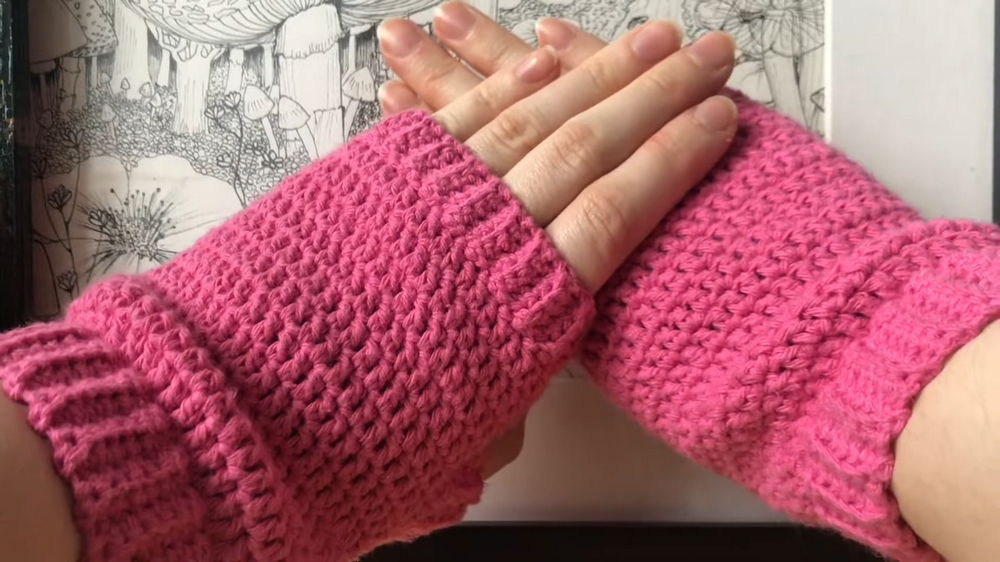
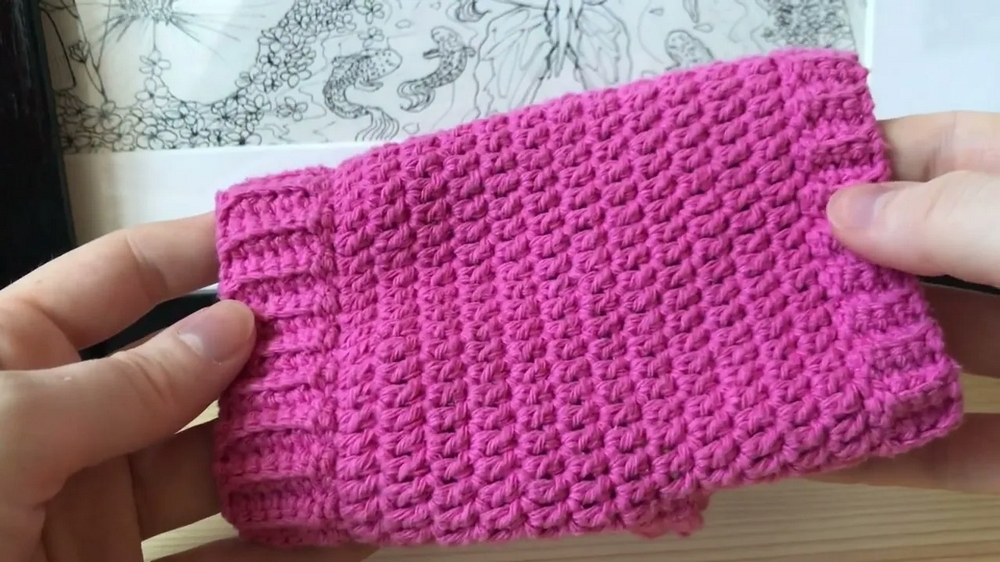
Crochet A Simple And Easy Fingerless Gloves
Perfect for chilly days, they are both functional and stylish, bridging the gap between comfort and convenience. With the opportunity to use a crochet pattern, these gloves can be tailored to suit different colors, textures, and personal preferences, ensuring that each pair reflects individuality.
Aside from their practical uses, the process of crocheting can be incredibly rewarding, offering moments of relaxation and creativity in the midst of a busy life. Whether for personal use, as thoughtful gifts, or even as small business creations, fingerless gloves made with this simple crochet accessory pattern stand out as a timeless fashion accessory that blends warmth with practicality.
How To Crochet Fingerless Gloves
1. Materials Needed
- Yarn: 100 grams of cotton yarn (you can substitute acrylic for added softness).
- Crochet Hook: Appropriate size for your chosen yarn.
- Needle: To weave in loose ends.
- Scissors: For cutting yarn.
Introduction to the Pattern: Crochet Fingerless Gloves
This crochet fingerless gloves pattern is a simple and fun project perfect for beginners and experienced crocheters alike. This design creates a pair of cozy, stylish gloves that are practical and versatile. With clear instructions, you'll be able to crochet gloves in a weekend, making them an ideal project for scrap yarn and quick crocheting sessions.
Step-by-Step Details for Crochet Fingerless Gloves
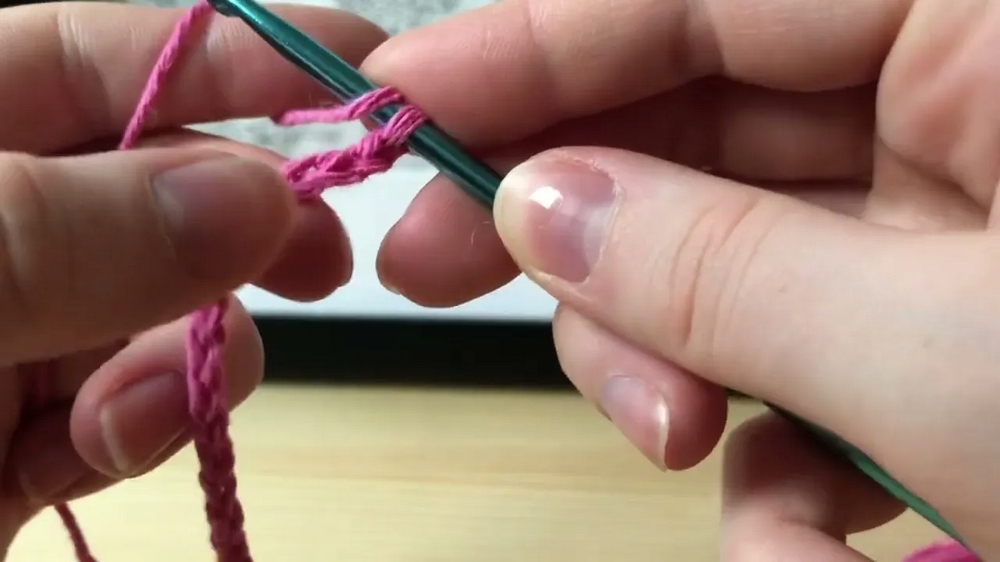
2. Starting the Base of the Glove
- Begin with a slip knot.
- Create a chain that fits comfortably around your wrist and hand. This number may vary depending on your hand size; the creator recommends approximately 40 chains. Ensure that the chain stretches enough to fit over your hand easily.
- Add two chains at the end for turning, then begin your first row of double crochets in the third chain from the hook.
- Work double crochets into each chain until you reach the end.
3. Connecting the Base
- To close the base and create the glove shape, make a slip stitch into the first double crochet to join the two ends.
- Begin the next row of double crochets around the base to start building up the glove.
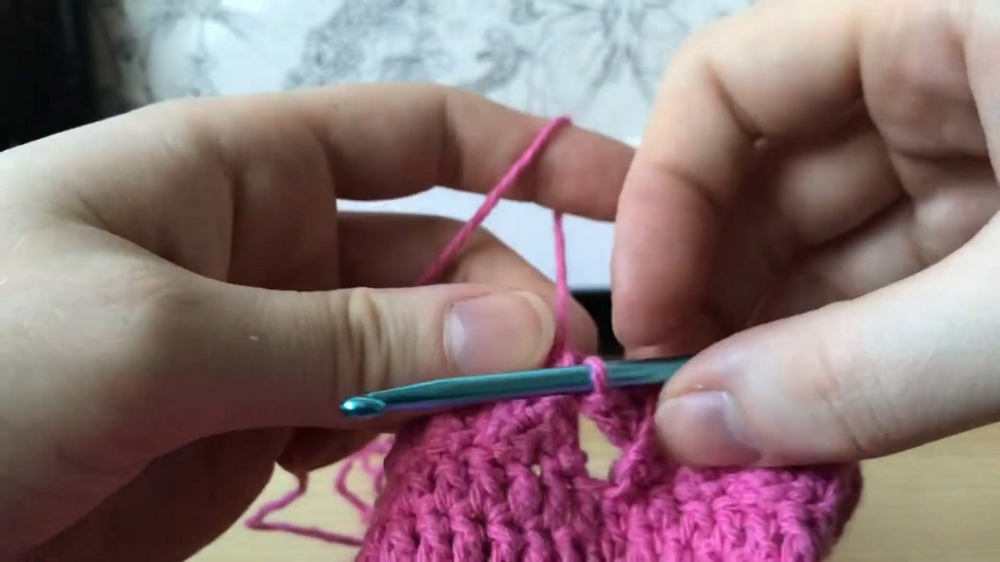
4. Building the Main Glove Structure
- Continue working in rounds of double crochets, ensuring you use the correct placement in the first stitch after each round to maintain a uniform look.
- Work in this pattern for seven rounds to build structure before creating a thumb hole.
5. Creating the Thumb Hole
- Identify the placement for the thumb hole by trying on the glove and marking where your thumb should fit naturally. Ensure the thumb hole aligns with the inside of your wrist for a discreet appearance.
- Chain eight stitches for the thumb hole (adjust the chain length based on hand size and yarn thickness).
- Skip seven stitches and begin a double crochet in the eighth stitch to continue the round.
- Work steadily back into double crochets, ensuring the thumb hole spacing works well by trying the glove on.
6. Continuing and Shaping the Glove
- Continue working rounds of double crochets until the glove reaches your desired length on your fingers.
- You will need approximately 12 rounds total, but adjust for personal preference.
7. Adding the Trim
- Begin with a slip knot and attach the yarn to the top of the glove (near the fingers).
- Create a rippled trim using single crochets in the back loop only of your stitches.
- Top Trim: Use four chains plus one chain for turning.
- Bottom Trim: Use six chains plus one chain for turning to create a slightly larger trim near the wrist.
- Work the single crochets up and down in the back loops for the trim, attaching it with slip stitches as you go around the glove.
8. Finishing Touches
- Once the trim is complete, weave the yarn ends inside the glove using a needle.
- For the thumb area, attach the trim piece using slip stitches and single crochets in the back loops just as with the top and bottom trims.
- Ensure all loose ends are securely tied and worked into the glove for a neat finish.
9. Seaming and Final Assembly
- Turn the glove inside out and seam the sides together using a needle for a neat finish.
- Stitch across the edges carefully to avoid gapping, and secure the glove by creating knots with loose ends.
- Repeat these steps for the second glove to complete your pair.
Conclusion
These crochet fingerless gloves are quick, stylish, and functional, making them ideal for chilly days or as handmade gifts. The ripple trim adds a professional and appealing touch, while the thumb hole ensures comfort and practicality. With just 100 grams of yarn, this project is perfect for using up scrap yarn and testing out simple crochet techniques such as slip knots, double crochets, single crochets, and back-loop-only stitches.