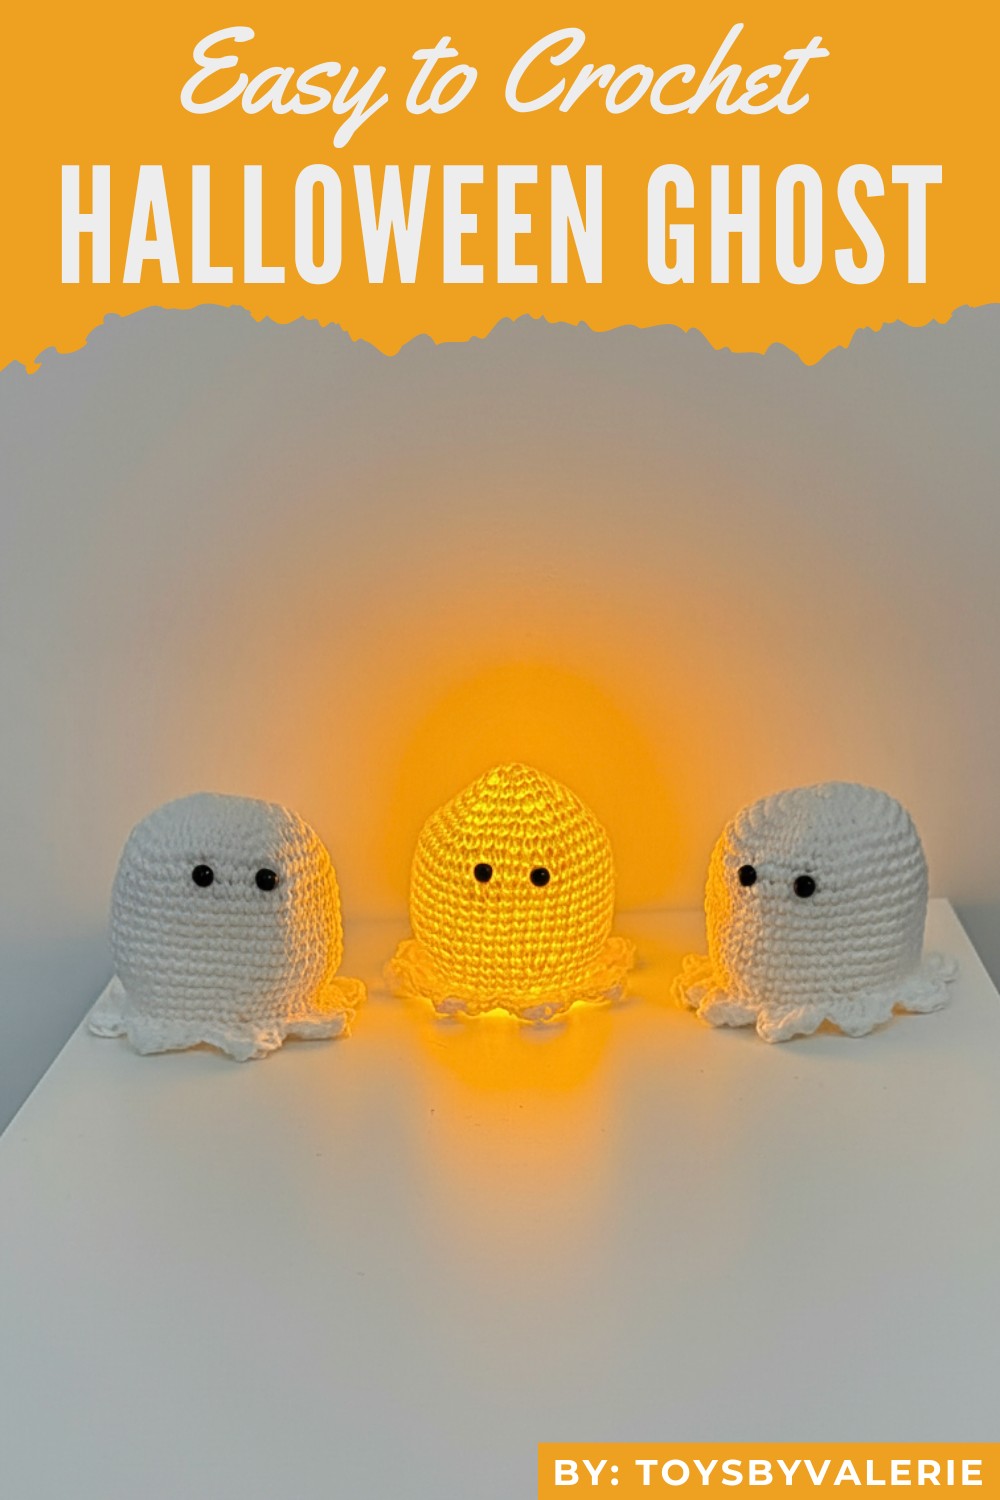
Spook up your Halloween with this Free crochet Halloween ghost Pattern that's cute, creepy, and so much fun to make for your haunting decor.
Adorn your home with a touch of spooky charm this Halloween! A crochet ghost pattern is perfect for crafting whimsical decorations that radiate personality and warmth. Whether displayed as glowing ornaments, bunting for a party, or thoughtful seasonal gifts, these ghosts offer endless possibilities for creativity.
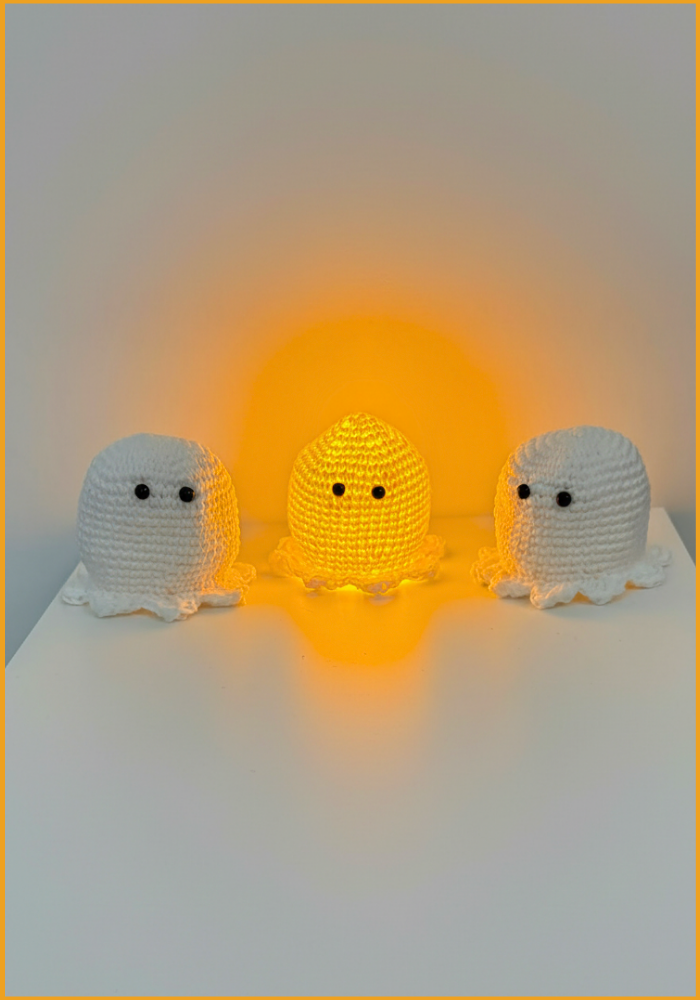
Charming Crochet Halloween Ghosts for Festive Flair
How to Crochet an Adorable Halloween Ghost: Step-by-Step Guide
This crochet tutorial demonstrates how to create a charming Halloween ghost that’s perfect for decorating your home or gifting to friends. The project is beginner-friendly, with clear explanations and tips provided throughout to make things easy. Add a fun twist by placing a plastic tealight underneath the ghost to make it glow.
Project Details
Special Features
- Highly versatile design that can be used as a bunting decoration, a standalone Halloween ornament, or even as a small gift.
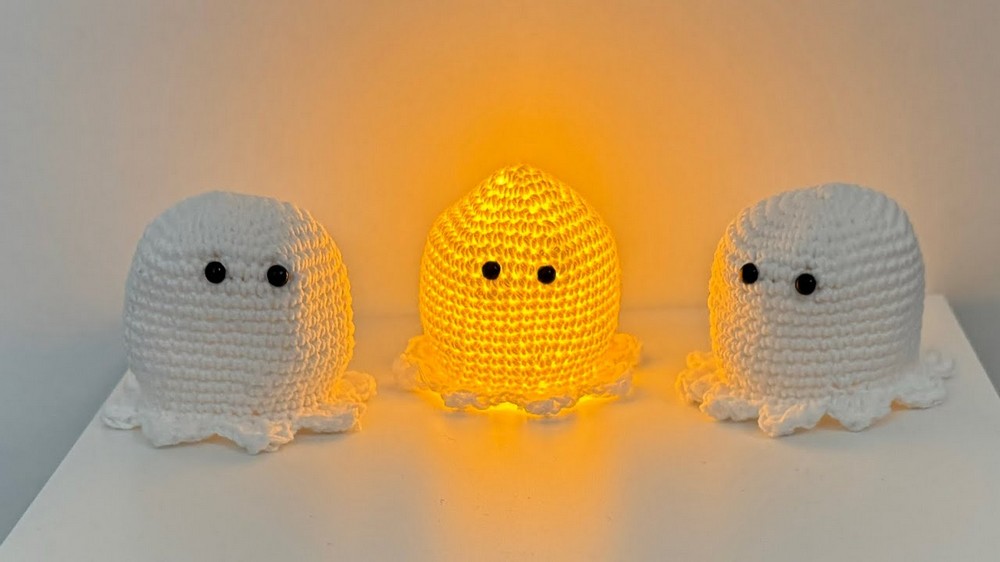
- The ghost can glow beautifully when you place a plastic tealight underneath it.
- The nodule bumps at the bottom give the ghost a polished and unique appearance.
Uses
- Halloween home decor (can be hung as bunting).
- Fun gift idea (can fit small surprises like candies or chocolate).
- Lovely glowing ornament with a plastic tealight placed underneath.
Materials Needed
- Yarn: Soft saffron yarn, recommended by the tutor for its smooth and easy-to-use quality.
- Crochet Hook: 2.25 mm hook.
- Safety Eyes: Smallest size available (alternatively, embroidery can be done for the eyes).
- Stitch Marker: To mark and track your rounds.
- Yarn Needle: For securing ends and stitching.
- Plastic Tealight (optional): To give the ghost a glow effect.
Step-by-Step Instructions
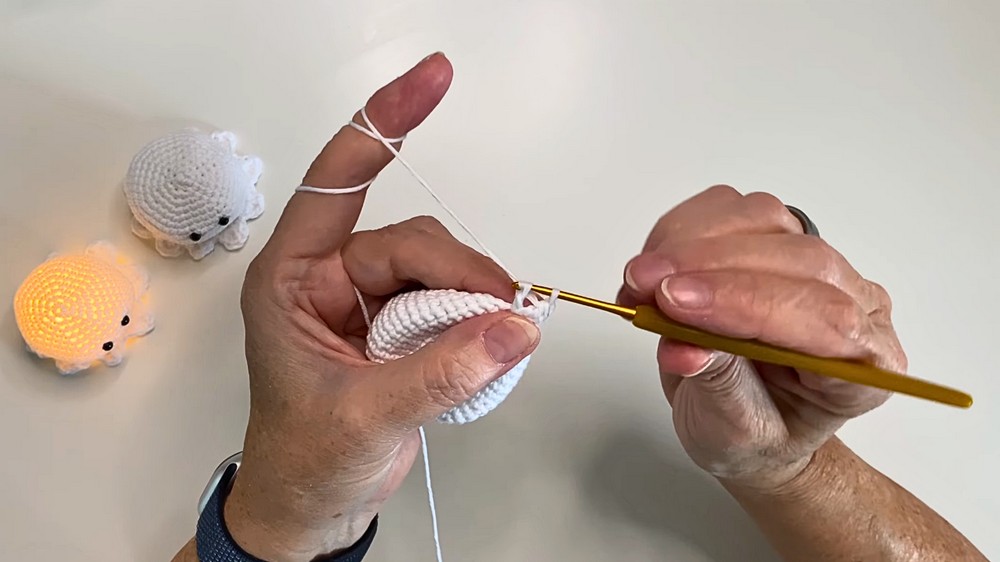
Round 1: Create the Magic Circle
- Wrap the yarn around your fingers to form a cross at the front.
- Pull the yarn through to create a loop.
- Secure the loop and place six single crochets into the magic circle.
- Pull the tail tightly to close the circle.

Round 2: Increase the Circle
- Add two single crochets into every stitch from the previous round, increasing the stitch count to 12. Use your stitch marker at the last stitch for tracking.
Rounds 3–7: Gradual Increases
- Round 3: Alternate one single crochet and one increase (two in the next stitch). Total: 18 stitches.
- Round 4: Two single crochets followed by an increase. Repeat around. Total: 24 stitches.
- Round 5: Three single crochets followed by an increase. Total: 30 stitches.
- Round 6: Four single crochets followed by an increase. Total: 36 stitches.
- Round 7: Five single crochets followed by an increase. Total: 42 stitches.

Rounds 8–16: Build the Ghost's Body
- Crochet one single crochet in each stitch around without increases. Continue for nine rounds to form the body’s height.
Rounds 17–19: Start Decreasing
- Round 17: Five single crochets followed by an invisible decrease. Repeat the pattern.
- Round 18: Single crochet into each stitch. Total: 36 stitches.
- Round 19: Four single crochets followed by an invisible decrease. Total: 30 stitches.
Round 20: Flat Round
- Single crochet around (one stitch in each).
Round 21: Create Decorative Bumps
- Alternate between different stitches into a single spot to form nodules (bumps):
- Half double crochet.
- Double crochet.
- Treble crochet.
- Reverse the process in the same stitch: double crochet, half double crochet.
- Add a single crochet in the next stitch to stabilize, followed by a slip stitch, and repeat the bump design.
Final Steps
- Secure the last row with a single crochet and cut the yarn.
- Weave in the starting and ending threads securely with a yarn needle.
Level of Difficulty
This project is beginner-friendly to intermediate. The video explains each step in detail, including magic circles, single crochet, invisible decreases, and more advanced stitches such as treble crochet for the nodule design.
Tutor’s Suggestions
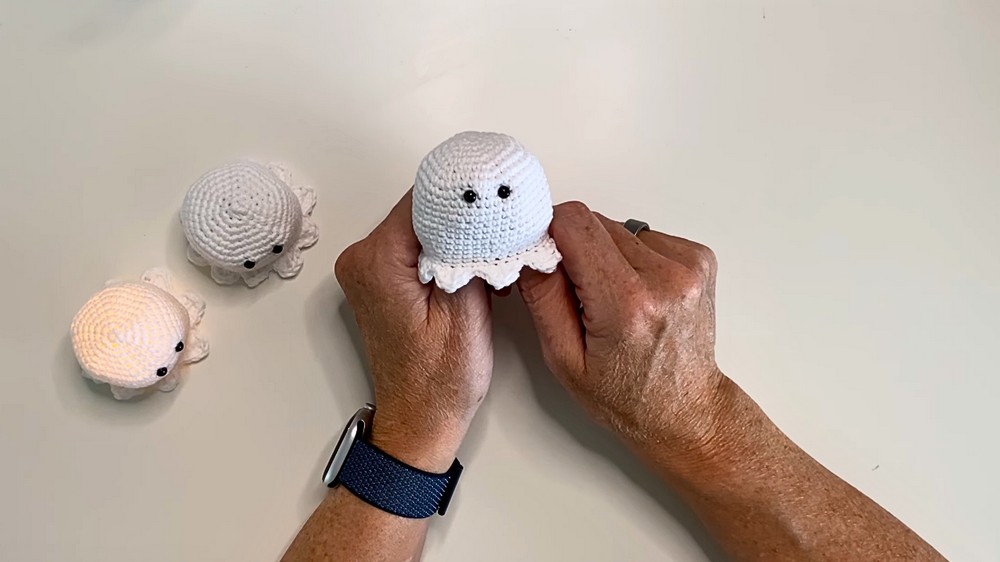
- Use plastic safety eyes for the ghost’s face or embroider eyes if you don’t have safety eyes.
- Place the eyes between rows 8 and 9, separated by three stitches for a symmetrical look.
- Add a hanging loop for bunting decorations or fill the ghost with a small chocolate egg as a gift.
The pattern is beginner-friendly yet versatile, allowing makers to customize details like facial expressions, size, and texture. With simple yet effective techniques like single crochet and invisible decreases, it’s an engaging project for all skill levels. Delight in crafting your own unique creations with this crochet Halloween ghost pattern and elevate your festive decor effortlessly.
Tip for Success
Make sure to move your stitch marker at the end of every round to avoid confusion. Also, never use real candles for the tealight to ensure safety—always stick to a plastic, battery-operated tealight.
Conclusion
This Halloween ghost crochet pattern is simple, playful, and full of creative potential. Whether you want decorations, gifts, or glowing ornaments, this ghost is a cute and fun addition to your crochet projects. Follow the steps, personalize your ghost, and enjoy crafting something spooky yet adorable.