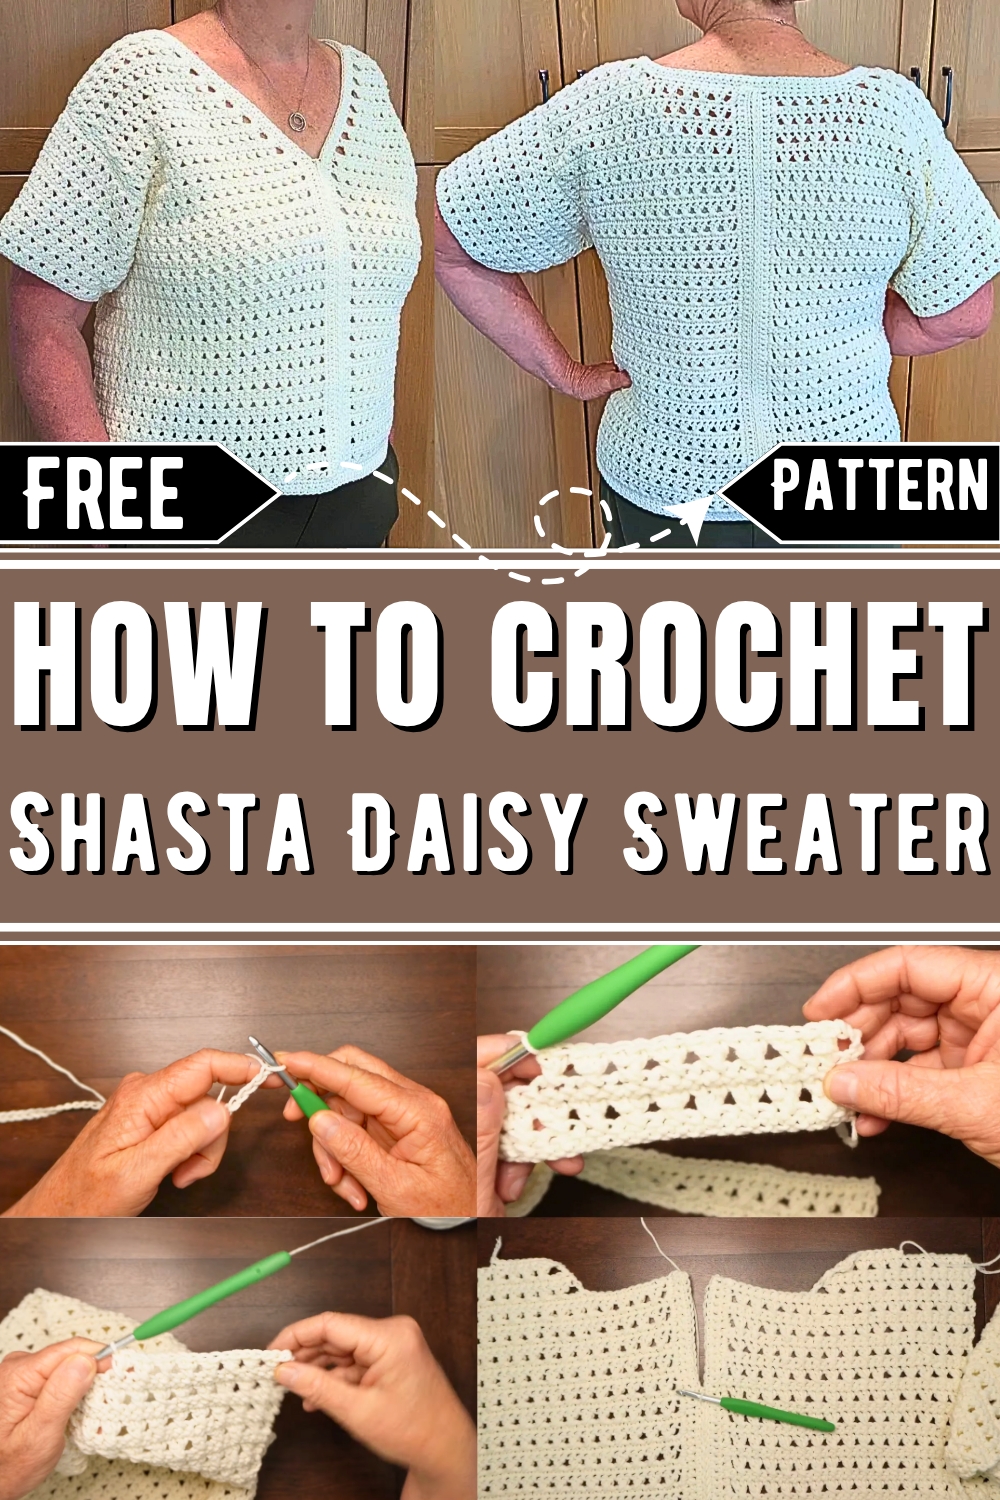
Wrap yourself in effortless elegance with this crochet sweater pattern, blending floral-inspired artistry with everyday comfort for all seasons.
A delicate sweater inspired by the charm of daisies brings both beauty and functionality to life. The Free Crochet Shasta Daisy Sweater Pattern offers a stunning yet approachable design, perfect for all seasons. Its thoughtful stitchwork draws subtle floral motifs into play, creating a look that feels refreshingly natural and stylish. This sweater is more than just a fashion statement it’s a versatile companion for layering during crisp mornings or wearing on its own during relaxed afternoons.
Crochet the Dreamy Shasta Daisy Sweater
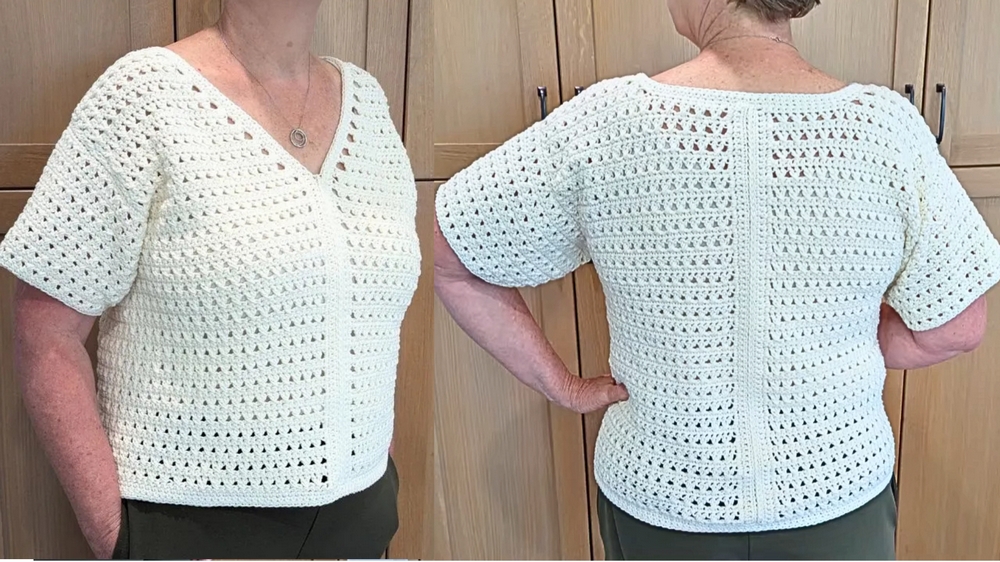
Lightweight and breathable, yet cozy enough for cooler days, it seamlessly transitions across occasions. Whether you're dressing it up for a casual evening out or wrapping yourself in comfort at home, the Shasta Daisy Sweater blends practicality with personal touch.
Its adaptable design allows crochet enthusiasts of all levels to customize colors, sizes, and textures, making each creation unique. This pattern is an ideal opportunity to enhance your skills while contributing something truly worthwhile to your wardrobe. A timeless style paired with functionality ensures this sweater remains a favorite for years to come.
Materials Needed
- Crochet hook: 5.5 mm
- Yarn: DK weight yarn (~60% cotton, 40% acrylic blend is suggested; example: ecru yarn.com)
Introduction
The Shasta Daisy Sweater is a versatile crochet pattern designed for warmer weather. Featuring a unique crossed double crochet stitch, this sweater is created using two identical body pieces, two sleeves, and decorative trims. Below, we will detail each step of the process.
Part 1: Creating the Body Pieces
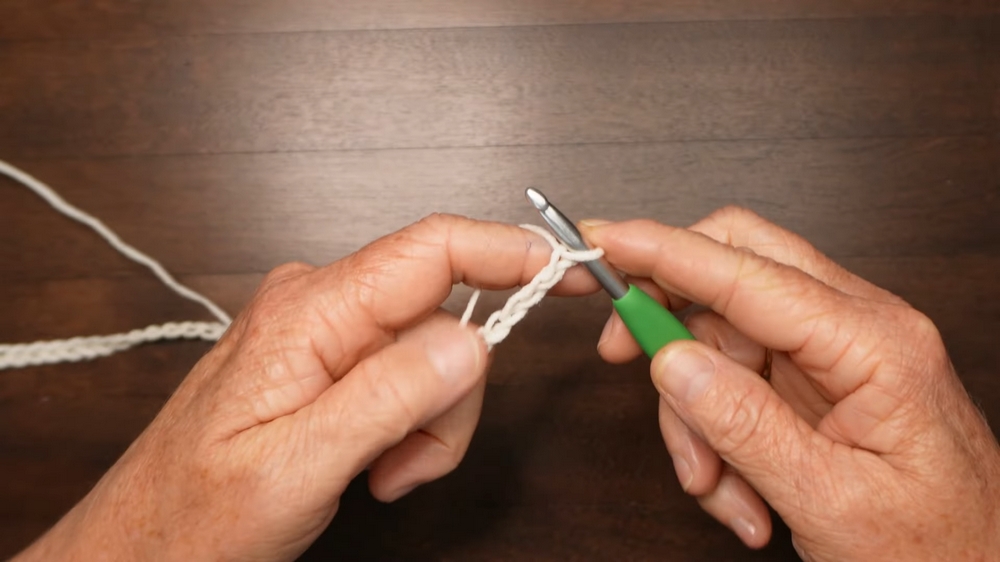
Step 1: Starting the First Body Piece
- Chain foundation: Start with a chain of 73 for Large size (refer to the pattern for smaller or larger sizes).
- Row 1: Single crochet in the second chain from the hook and across, ending with 72 single crochets. Chain 3 and turn.
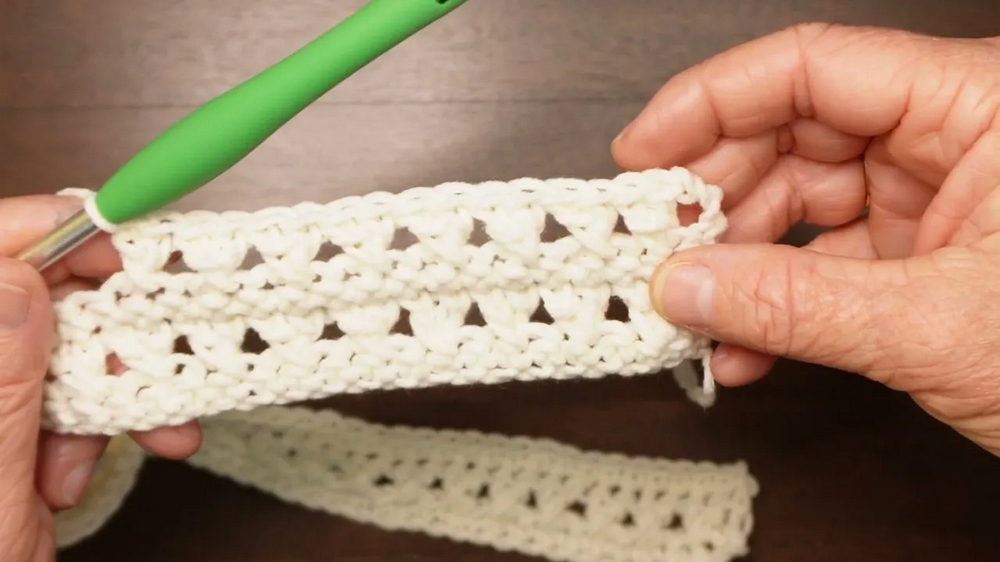
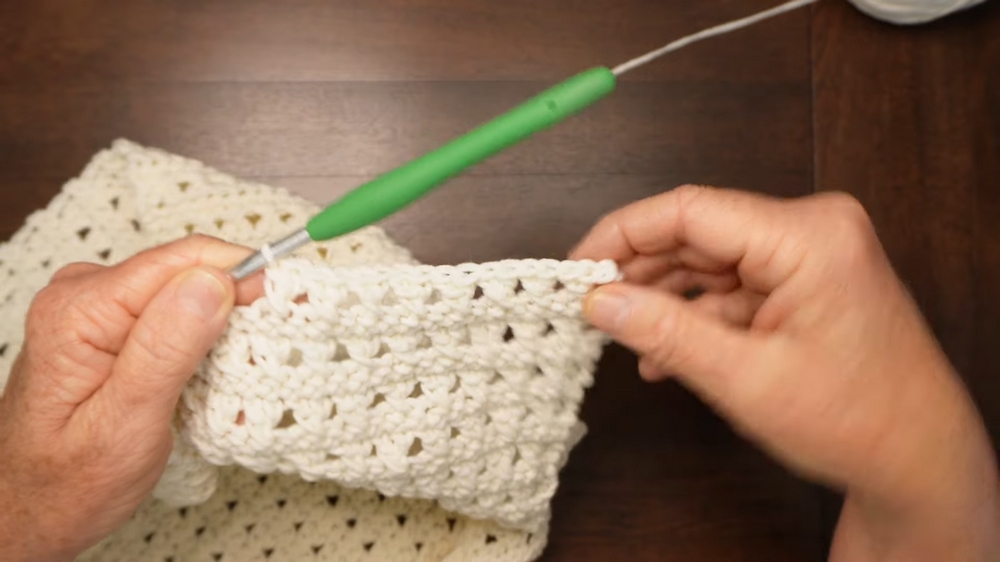
Step 2: Crossed Double Crochet Stitch
- Row 2:
- Skip the second stitch and double crochet in the third stitch.
- Return to the skipped stitch and double crochet there, forming the crossed double crochet.
- Repeat this process (skip one stitch, double crochet, return to skipped stitch) across the row.
- End with a double crochet in the last stitch.
- Chain 1, turn.
- Row 3: Single crochet across the stitches, ensuring you have the same number of stitches as the first row.
Step 3: Repeating Rows
- Repeat Row 2 (crossed double crochet row) and Row 3 (single crochet row), alternating between them for a total of 32 rows.
- Ensure the final row is a crossed double crochet row.
Step 4: Dividing for Armholes
- Single crochet across the first 32 stitches (Large size; refer to pattern for adjustments).
- Turn and continue working only on this section using Rows 2 and 3 for 18 rows (Large size).
Step 5: Shaping Neckline and Back
- Neckline decrease (Large size):
- Work 9 crossed double crochet sets.
- Skip 2 stitches and double crochet in the next stitch to form the neck drop section.
- Turn, chain 1, and single crochet across all stitches.
- Shoulder shaping:
- Work rows with fewer crossed double crochets, decreasing until there are 8 sets remaining.
- Chain 1 and slip stitch across the first 9 stitches to finish shaping.
Step 6: Starting the Second Body Piece
The second body piece is identical to the first, following Steps 1–5.
Part 2: Creating the Sleeves
Step 1: Starting the Sleeve
- Chain 67 for Large size.
- Work Rows 1–3 (single crochet, crossed double crochet, single crochet) as done for the body piece.
Step 2: Adding Sleeve Decreases
- Row 4:
- Chain 3, skip the second stitch, and work a double crochet in the third stitch without crossing back.
- Continue with crossed double crochet sets across the row.
- Repeat Row 4 for the other end of the sleeve, skipping stitches at the end of the rows for balanced decreases.
- Alternate between single crochet rows and decrease rows for a total of 17 rows.
Part 3: Assembly & Finishing
Step 1: Preparing Body Pieces for Assembly
- Lay the two body pieces side by side with their center backs facing.
- Add three rows of single crochet to each center back edge for neat seams (1 single crochet in single crochet rows, 2 in double crochet rows).
- Sew the center back together using a slip stitch or whip stitch.
Step 2: Joining Shoulder Seams
- Place the right sides of the sweater together.
- Sew shoulders together, leaving openings on both sides for the sleeves.
Step 3: Adding Edge Trims
- Start at the lower front edge of the sweater.
- Add three rows of single crochet around the edges, including the neckline and front edges.

Step 4: Attaching Sleeves
- Sew each sleeve into the armhole openings, ensuring the seam lies at the bottom.
Conclusion
The Shasta Daisy Sweater is a stylish, lightweight crochet project suitable for a variety of sizes. With its unique crossed double crochet stitch and cotton blend yarn, this sweater provides a comfortable fit for warmer seasons. After assembling the body pieces, sleeves, and edge trims, the result is a beautifully finished sweater ready to wear. Happy crocheting!