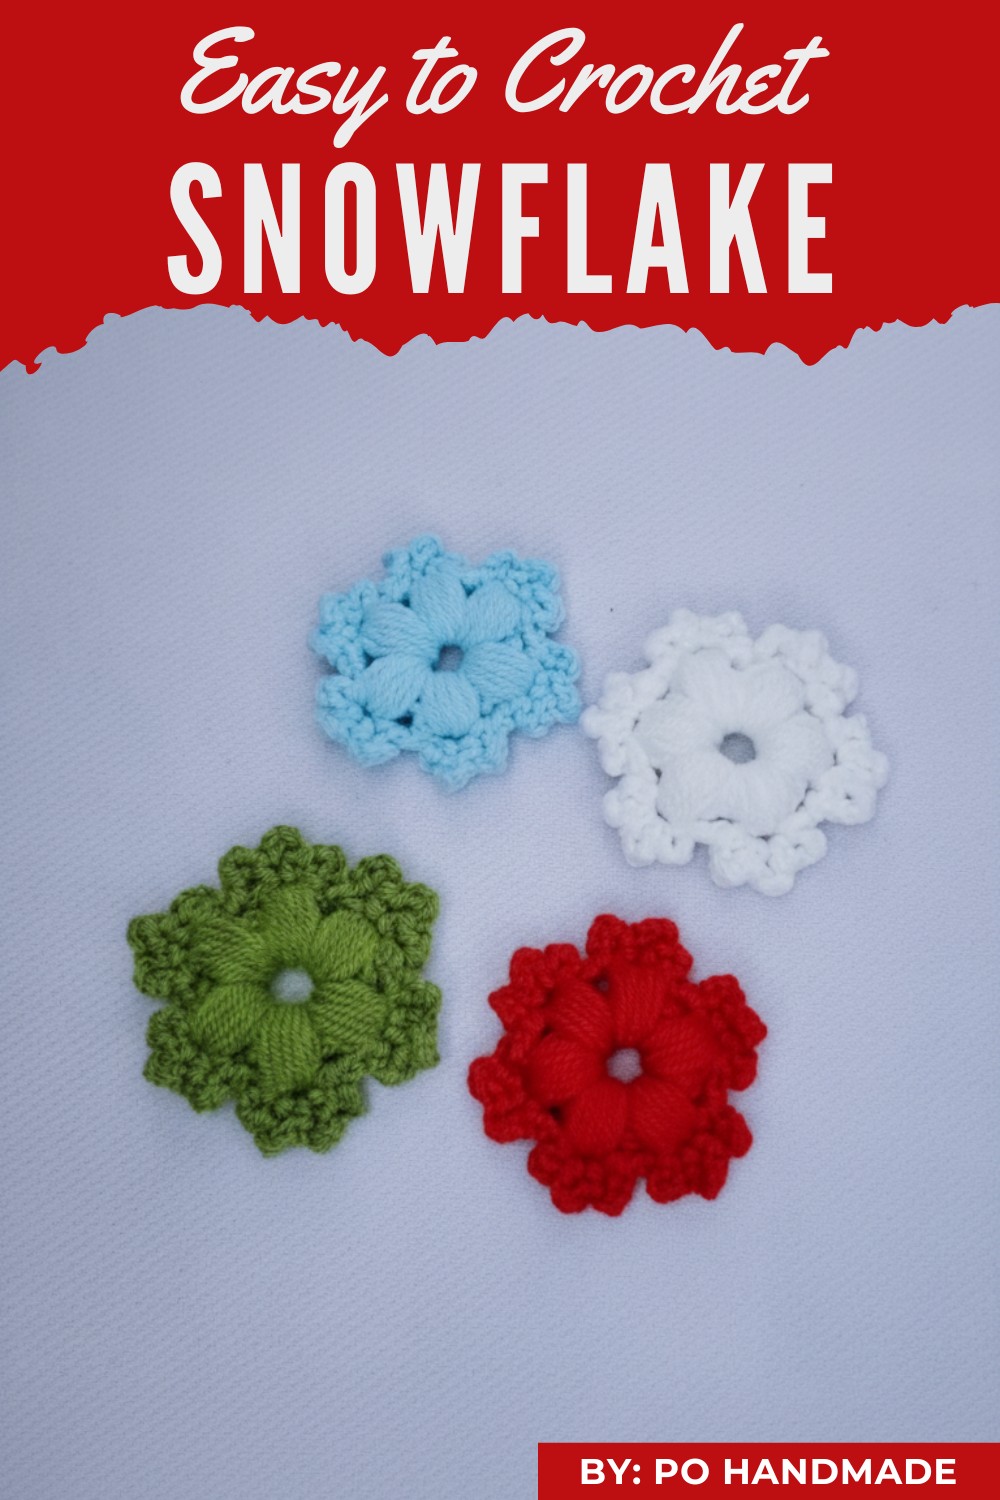
Spark winter magic with this Free crochet Snowflake Pattern, making delicate, beautiful snowflakes that bring charm, elegance, and festive decor to any space.
The delicate charm of handmade designs has an unmatched ability to elevate decor while evoking a sense of nostalgia and creativity. Among these timeless creations, crocheted snowflakes stand out as both elegant and versatile. A "Crochet Snowflake Pattern" allows you to craft intricately detailed snowflakes that can be used for a variety of purposes, from holiday decorations to year-round accents in your home.
Crochet Snowflake Pattern That Steals Hearts Instantly
These patterns provide an easy way to create something visually striking, capturing the beauty of nature in a simple, satisfying project.
Perfect for both beginners and experienced crocheters, this pattern provides clear instructions and room for customization. The "Crochet Snowflake Pattern" can be your go-to for creating ornaments to embellish a Christmas tree, garlands, or even gift wrapping.
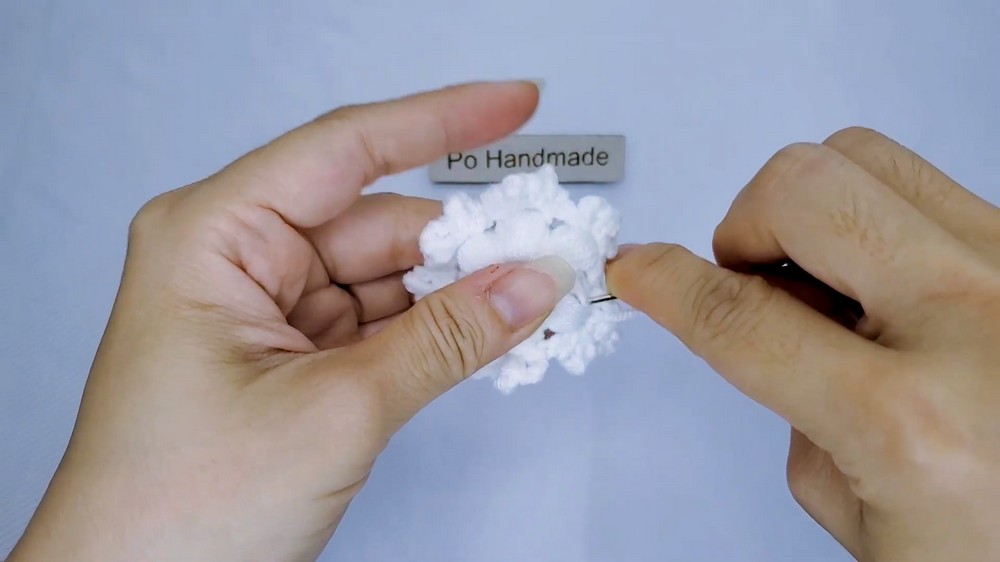
Simple and Easy Crochet Snowflake
Learn to crochet this simple yet beautiful snowflake design, perfect for adding a charming, handmade touch to your holiday decor. You will construct this piece using a unique wrapped ring center and a distinctive puff stitch to form the six delicate arms.
Uses
-
Create an elegant Christmas Tree Ornament.
-
Use them as charming Holiday Decorations for your home or gifts.
-
Make beautiful Gift Toppers for the holiday season.
Materials
-
Yarn: Choose any color yarn you prefer. White or metallic yarns are suggested for a classic look.
-
Hook: You will need a crochet hook suitable for your chosen yarn.
-
Tools: Obtain a tapestry needle for weaving in the ends.
Special Features
-
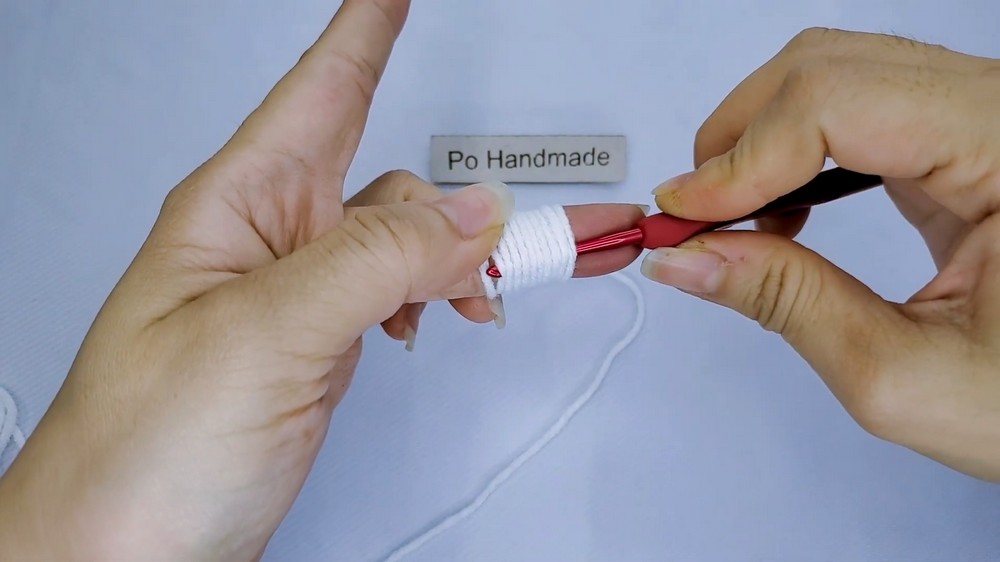
Wrapped Ring Center: You start the project by wrapping the yarn around your fingers 10 times to form a thick central ring. This gives the snowflake a dense and secure core.
-
Puff Stitch Arms: You use a deep 6-Loop Puff Stitch (often called a Popcorn or Bobble in some patterns) to create the main, textured arms of the snowflake.
-
Triple Picot Tip: You crown each puff stitch arm with a cluster of three small Chain-4 loops (picots), which gives the snowflake its characteristic icy, delicate points.
-
Six-Point Symmetry: You construct the snowflake with six perfectly identical and evenly spaced arms, ensuring classic symmetry.
Level of Difficulty
This project is Easy to Intermediate. While it uses basic stitches (SC, Chain), mastering the 6-Loop Puff Stitch and creating the tight picot cluster on top requires careful counting and coordination.
Tutor's Suggestions
-
Count Accurately: Carefully count the 10 wraps for the center ring to ensure a full, stable center for the snowflake.
-
Secure the Puff: When working the puff stitch, ensure you pull the yarn through all 13 loops on your hook and immediately secure it with a Chain 1 before starting the picot loops. This locks the puff in place.
Step-by-Step Details
Part 1: Establish the Center Ring
-
Wrap the Ring: Wrap the yarn around your fingers 10 times.
-
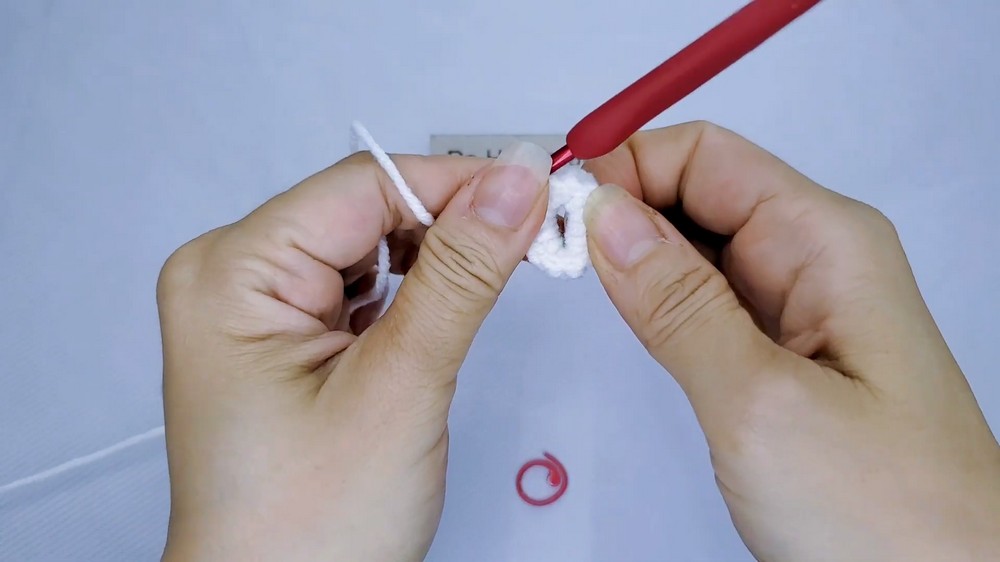
Secure: Carefully slip the loops off your finger and pull a loop through them with your hook. Chain 1 to secure the ring.
-
Work the First Round: Work 14 Single Crochet (SC) stitches directly over and into the wrapped ring.
-
Close the Ring: Gently pull the starting tail to tighten the center. Slip Stitch (Sl St) into the first SC to close the round.
Part 2: Crochet the Snowflake Arms
-
Prepare: Pull the loop on your hook up slightly before beginning the first arm.
-
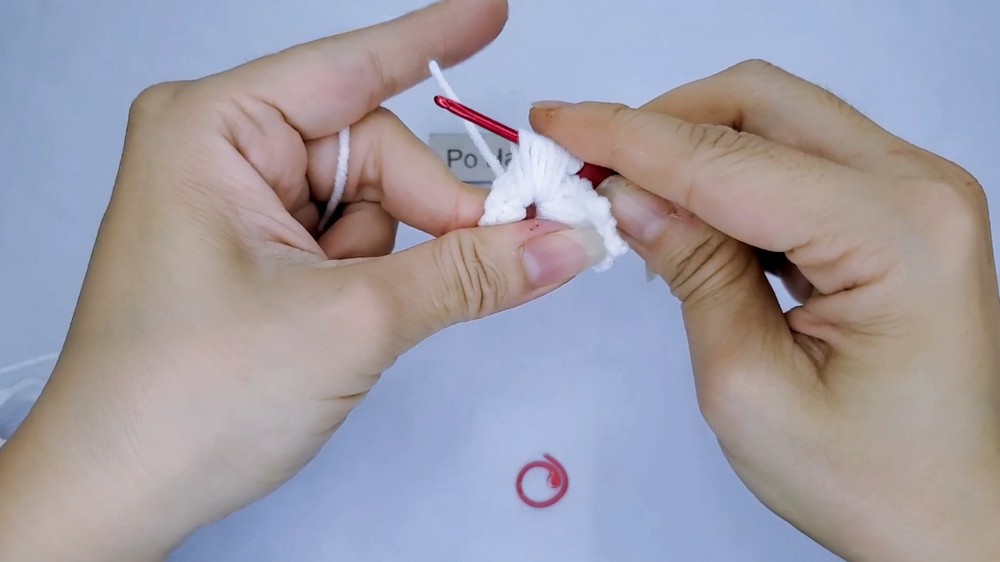
Create the Puff Stitch (Arm): Insert your hook into the next stitch. Work a 6-Loop Puff Stitch by repeating the action (Yarn Over, Insert Hook, Pull up a loop) six times. You should have 13 loops on your hook. Yarn Over and pull through all 13 loops.
-
Lock the Puff: Chain 1 to secure the puff stitch.
-
Create Picots: You will work three Chain-4 picots into the same Chain-1 stitch that just secured the puff:
-
Chain 4, then work 1 SC into the securing Chain-1 stitch.
-
Chain 4, then work 1 SC into the securing Chain-1 stitch.
-
Chain 4, then work 1 SC into the securing Chain-1 stitch.
-
-
Space: Chain 2.
-
Repeat: Work the sequence of (Puff Stitch, securing Chain 1, Triple Picot, Chain 2) until you complete a total of 6 arms.
Part 3: Finishing the Snowflake
-
Join: After completing the final Chain 2, Slip Stitch (Sl St) into the initial Chain-1 stitch that secured the first puff stitch.
-
Fasten Off: Cut the yarn, leaving a tail, and pull through to fasten off.
-
Weave Ends: Use a tapestry needle to carefully weave the ends into the back of the snowflake, trimming any excess yarn.

Their lightweight and lacy designs make them ideal for hanging on windows or scattering across a winter-themed centerpiece. With just minimal supplies, you can create treasures that last for years.
In addition to being decorative, crocheting these snowflakes is a wonderful way to unwind and embrace your creativity. Each tiny detail adds to a finished product that is uniquely yours. These handmade pieces embody a perfect blend of simplicity and sophistication, making them a must-try for anyone enchanted by winter’s magic.

Conclusion
You have successfully crocheted a beautiful, symmetrical snowflake decoration! Display this delicate, six-pointed piece for an added touch of charm throughout the holiday season.
Tip
Block the Snowflake: To give your finished snowflake its crisp, sharp points and even shape, pin it out flat onto a foam mat or board. Gently spritz it with water or a starch solution, and let it dry completely before removing the pins. This process, called blocking, significantly enhances the final look.