Celebrate your creativity with this Crochet Lovestruck Bear Pattern that’s perfect for gifting or decorating while stitching timeless charm into every detail.
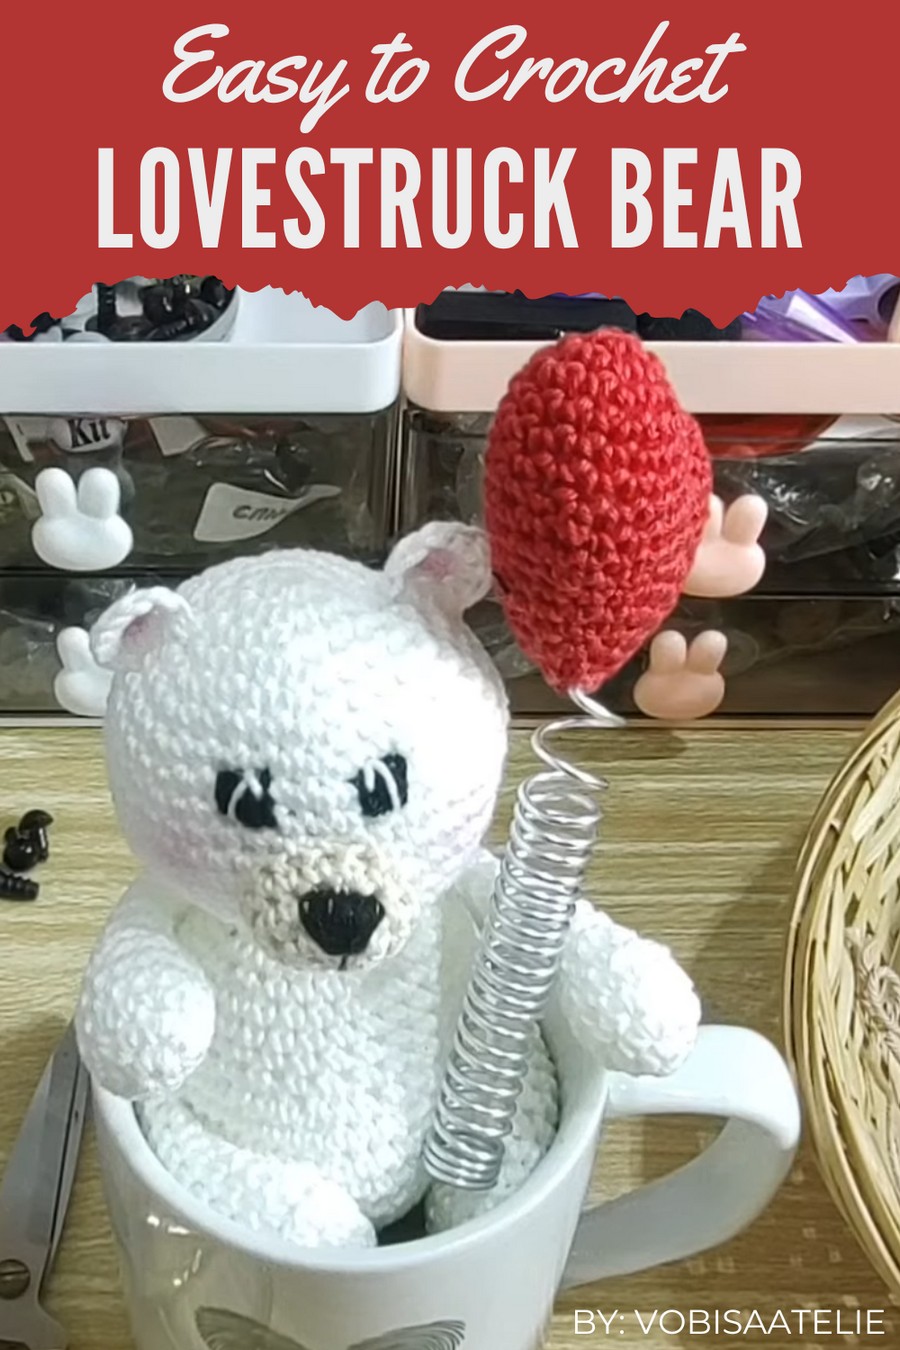
Love finds its way into every stitch with this free crochet Lovestruck Bear pattern, designed to bring joy and creativity to your crafting sessions. Perfect for a heartfelt gift or a charming decoration, this bear’s adorable features, tiny hearts, a bow, and cozy, huggable vibes—make it irresistible.
Charming Crochet Bear Perfect for Gifts or Decor
Whether you’re crafting for someone special or just exploring new ideas, this pattern is simple, customizable, and full of personality. Get ready to let your creativity shine and create a bear that’s bound to steal hearts!
Materials Needed
Yarn
- Primary Yarn (Body of Bear):
- Use worsted weight or DK yarn depending on the desired size. Suggestions include:
- For Larger Bear: Bela Yarn, Balum Amigo, Amigurumi, Charme, or Amigo Love.
- For Small Bear (mug-sized): Cléia (double strand), Bella Fashion, thin Amigurumi yarn.
- Use worsted weight or DK yarn depending on the desired size. Suggestions include:
- Contrast Yarn (Accessories or Detail Work): Red, pink, or any contrasting color for the heart and cheeks.
Crochet Hook
- Size: Use a hook suitable for the chosen yarn:
- 3.0–4.0 mm for finer yarns.
- 4.0–5.0 mm for thicker yarns.
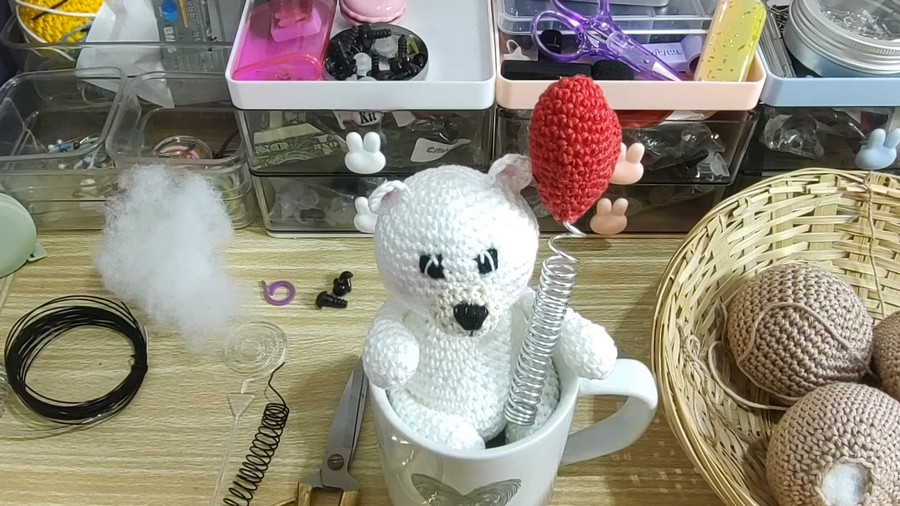
Additional Supplies
- Fiberfill stuffing or lightweight toy stuffing.
- Tapestry needle (for sewing and finishing).
- Stitch marker (optional, helps beginners with stitch counts).
- Scissors.
- Optional: Safety eyes and snout pieces with washers (if not using embroidery).
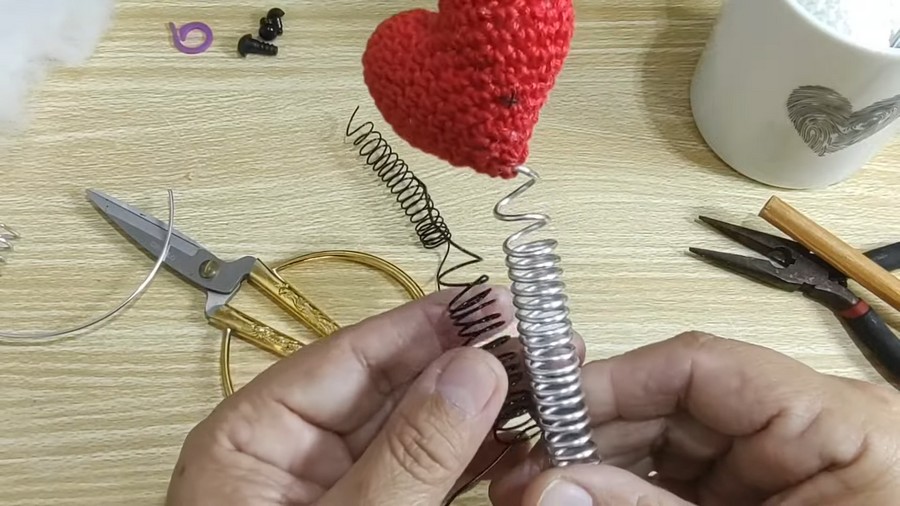
- Thin wire for heart spring or premade party springs for a stable design.
Skill Level:
Intermediate to Advanced
Key Abbreviations (US Crochet Terminology)
- ch: Chain
- sc: Single Crochet
- inc: Increase (two sc in the same stitch).
- dec: Decrease (two sc together).
- sl st: Slip Stitch.
- st: Stitch.
- (...): Repeat instructions inside parentheses.
Special Notes
- Customization Based on Yarn Thickness:
- Thicker yarn creates a larger bear. Use finer yarns for smaller, more delicate bears.
- Stuffing Precision:
- Stuff sparingly in the limbs to retain flexibility. Use a tighter density for the body and head.
- Wire Handling:
- Choose the thickness of the wire carefully. Thicker wire provides better stability for the spring and heart.
Pattern Instructions
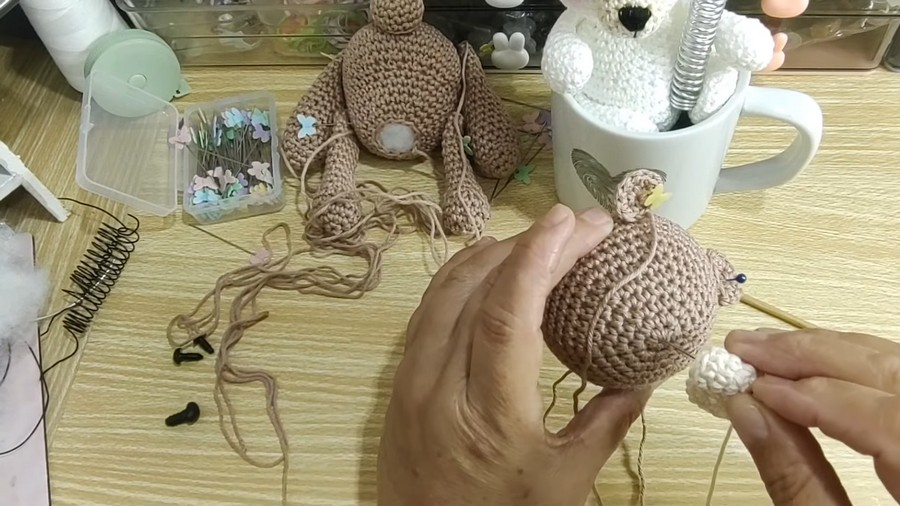
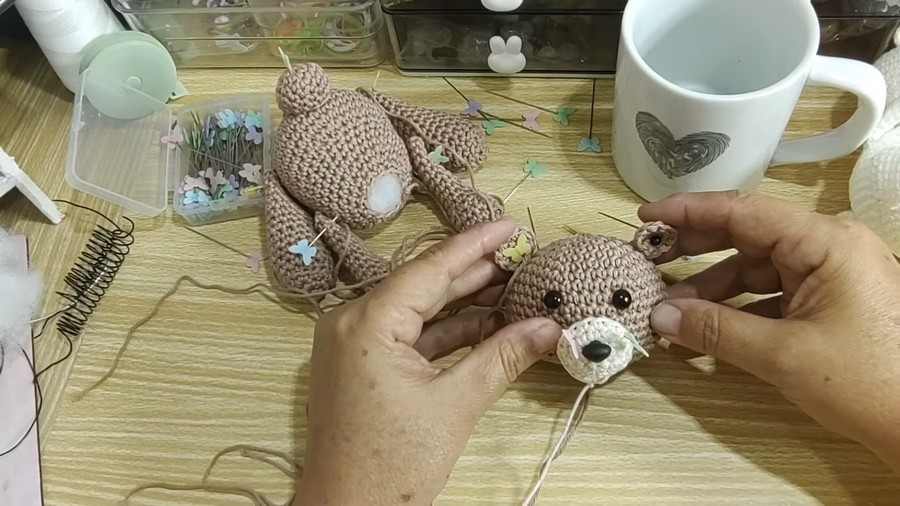
Step 1: Head
- Magic Ring Base:
- Start a magic ring and create 6 sc inside the ring. (6 st)
- Round 2:
- Work inc in each stitch around. (12 st)
- Round 3:
- (1 sc, inc) repeat around. (18 st)
- Round 4:
- (2 sc, inc) repeat around. (24 st)
- Round 5:
- (3 sc, inc) repeat around. (30 st)
- Rounds 6–13:
- Work 1 sc in each stitch (no increases). (30 st per round)
- Shape Back of Head:
- Round 14: (3 sc, dec) repeat around. (24 st)
- Round 15: (2 sc, dec) repeat around. (18 st)
- Round 16: (1 sc, dec) repeat around. (12 st)
- Round 17: Dec around (6 st).
- Stuff the head firmly before closing. Sew the opening closed, leaving a long tail for assembly.
Step 2: Body
- Magic Ring Base:
- Make 6 sc into the magic ring.
- Round 2:
- Work inc in each stitch. (12 st)
- Round 3:
- (1 sc, inc) repeat around. (18 st)
- Round 4:
- (2 sc, inc) repeat around. (24 st)
- Round 5:
- (3 sc, inc) repeat around. (30 st)
- Rounds 6–12:
- Work 1 sc in each stitch (no increases).
- Round 13: (3 sc, dec) repeat around. (24 st)
- Round 14: (2 sc, dec) repeat around. (18 st)
- Round 15: (1 sc, dec) repeat around. (12 st)
- Stuff the body firmly and weave in the opening.
Step 3: Arms (Make 2)
- Magic Ring Base:
- Make 6 sc into the ring.
- Round 2: Work (1 sc, inc) around. (9 st)
- Round 3-6: Work 1 sc in each st.
- Lightly stuff the hand portion (leave the arm section loose for flexibility).
- Final Round: Flatten the opening, and work 3 sc across to close the arm. Leave a strand for sewing.
Step 4: Legs (Make 2)
- Magic Ring Base:
- Start with 6 sc inside the ring.
- Round 2:
- Work inc in each stitch. (12 st)
- Round 3:
- (1 sc, inc) repeat around. (18 st)
- Shape the leg:
- Rounds 4–7: Work 1 sc in each stitch.
- Lightly stuff the foot but avoid overfilling near the top.
- Flatten the open end and work 6 sc across to close. Leave a long tail.
Step 5: Ears (Make 2)
- Magic Ring Base:
- Create 6 sc into the ring.
- Round 2:
- (1 sc, inc) repeat around. (12 st)
- Round 3:
- Work 1 sc into each st around. (12 st)
- Fasten off, leaving a tail for sewing.
Step 6: Tail
- Magic Ring Base:
- Work 6 sc into the ring.
- Rounds 2-3:
- Work 1 sc into each stitch.
- Fasten off and lightly stuff before sewing to the back of the body.
Step 7: Heart Accessory
- Magic Ring Base:
- Make 6 sc into the ring.
- Round 2:
- Work (1 sc, inc) around. (9 st)
- Shape the heart with more compact rows, inserting a round spring if desired.
Assembly Instructions
- Positioning: Begin arranging the head, arms, and legs in either sitting or lying-down positions as desired.
- Sew Pieces: Attach using a tapestry needle, stitching securely after aligning the parts.
- Attach Tail and Accessories: Add the tail, heart spring, and optional message board accessory.
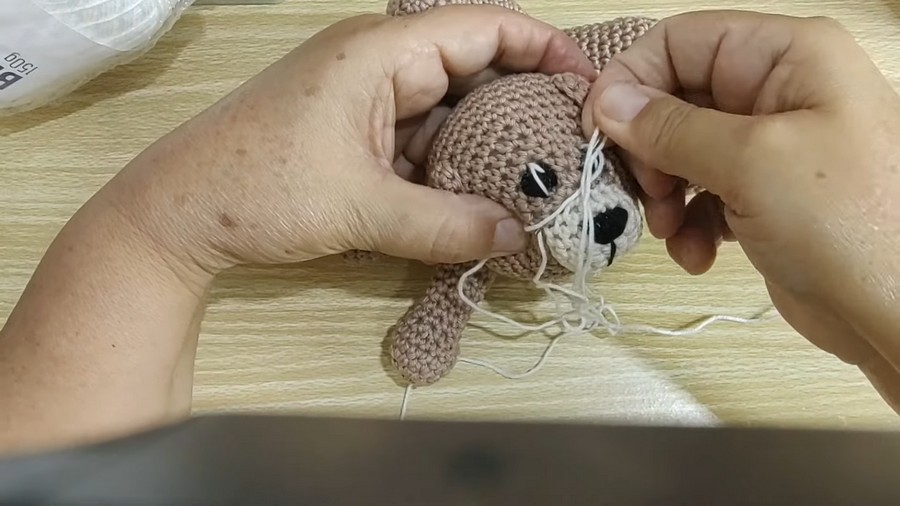
- Face Embroidery or Safety Features: Use black yarn to embroider eyes, nose, and mouth in a "Y" shape—or use safety eyes and snout instead.
Tips for Success
- Use pins to position all parts before sewing to achieve correct symmetry.
- For beginners, safety eyes and snout are simpler than embroidery. Attach these before stuffing the head.
- Adjust the stitch count proportionally if using thicker or thinner yarn.
Customization Ideas
- Color Variations: Experiment with pastel shades or make themed bears (e.g., Valentine red, Christmas green).
- Accessories: Add a small scarf, bowtie, or miniature props to enhance character.
- Sizes: Use bulky yarn to create a huggable large bear or lace-like cotton for decorative miniatures.
Conclusion
The Lovestruck Teddy Bear is a charming piece suitable for decoration, heartfelt gifts, or even collectibles. Its versatile design and customizable features allow crafters to let their imagination shine. Whether sitting in a mug or lying down with a springy heart, this adorable bear is guaranteed to brighten anyone's day.
Final Look
- Version 1 (Sitting): Upright and ready to hold a miniature prop.
- Version 2 (Lying): Relaxed with a tail and playful pose.