An outdoor privacy screen is a physical barrier between you and others that can help improve your personal space and freedom of movement without imposing physical limitations on you. You'll surely get what I am talking about if you have a balcony or backyard space. Such barriers can be created using commonly available materials such as plywood, plastic pipes, and other materials, as shown in these DIY Privacy Screen Ideas.
These screens provide a fabulous private space; even if you live in a huge congested city or have neighbors near your home, you can create custom barriers to develop a sense of privacy between your family and outsiders.
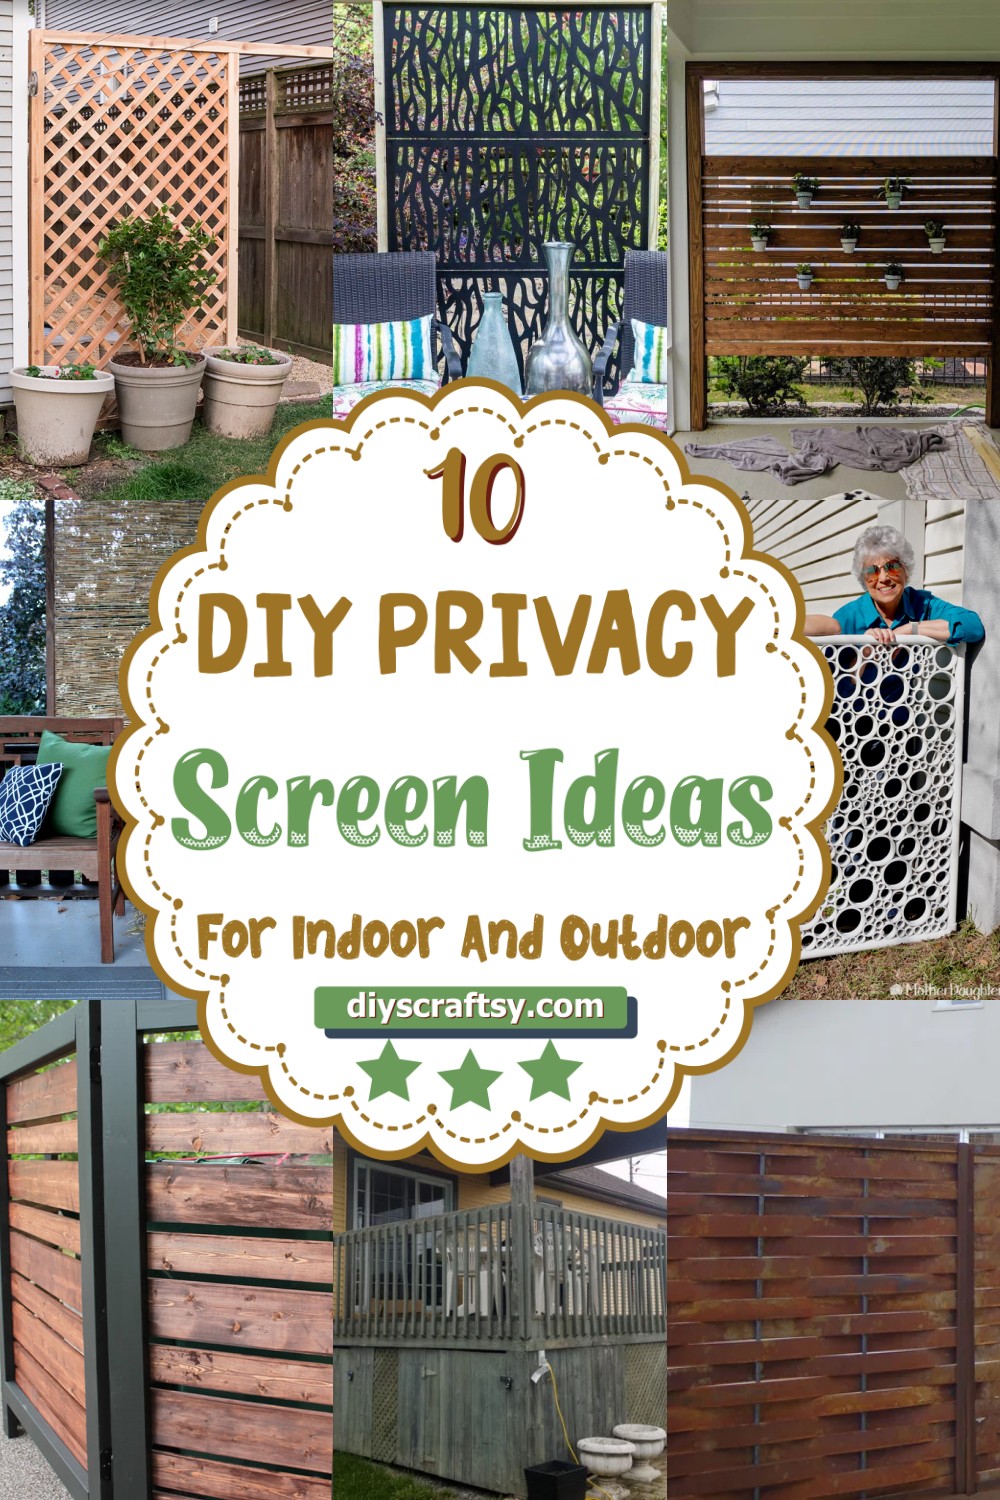
DIY Privacy Screen Ideas
These DIY Privacy Screen Ideas come with various functional and inexpensive options to make useful additions to your home; you can also find some indoor privacy screen systems in this list. But one thing common in all of our DIY Privacy Screen Ideas is that they stand well in beautification.
Whether you want a rustic design or want to go with modern, handmade, creative privacy screens, this list will always benefit you. Best of DIY Privacy Screen Ideas is available here for you; click here to get indoor or outdoor inexpensive, functional, and decorative ideas at no cost.
Garbage Can Privacy Screen:

Are you tired of having your unsightly garbage cans or recycling bins in open view? Then this DIY plan is a stylish and practical solution. Simply constructed and customizable to fit your space, this privacy screen not only shields your waste containers from view but also serves as an attractive outdoor feature. The design comprises wooden boards arranged in a modern style for a clean, understated aesthetic
Start by creating a frame for your privacy screen. Next, pay attention to the slats on the frame, as they're vital for the aesthetic of your screen. Make sure to stain the slats and frame it's time-consuming but worth it for the final look. You could further customize your privacy screen to match your specific needs. The back of your screen should look as good as the front as you can choose either side depending on your landscape. Lastly, the screen's heaviness should handle external factors like wind or pets without any tipping over issues. The entire process will require some time, but it's an easy build even for beginners.
Materials:
- Wood boardsjy
- Wood Stain
- Kreg Jig
- Nails/Screws
Create Your Own Wooden Gate Window Screens:

Add a touch of farmhouse charm to your indoor or outdoor space with these DIY wooden gate window screens, based on the tutorial from Funky Junk Interiors. These window screens not only provide privacy but also allow natural light to flow through. They are lightweight, making them perfect for your large picture windows, and easy to create using affordable materials.
Begin by aligning wood planks over a room divider panel, then affix them using an air nailer. Mark out a desired shape for the top of your screen, then trace with a pencil. Cut out the shape using a jigsaw and sand down the edges. Further detail up your screen by adding barn door or gate styled trim in a horizontal and diagonal pattern. Finally, add authentic gate hinges and pulls, prime the wooden screens, paint, and apply a glaze to age them. You have your wooden gate window screens.
Materials:
- A room divider
- Knotty pine interior plank panelling
- Air nailer
- White paint
- Jig saw
- Palm sander
- Thin, bendable tape of some kind
- Gate hardware
DIY Pvc Pipe Privacy Screen:

Make this DIY privacy gate to give your yard a moder touch. Using the PVC pipes in the different sizes not only provides partial privacy but also transforms into a piece of visually appealing yard art. Suitable for all opened terraces or windows of the family house, indoor changing room, and anywhere there is a need for privacy.
You can make this DIY project by sanding and cutting PVC pipes. Assemble a frame and ensure the PVC pipes are attached properly. Carefully arrange your cut pieces onto the frame, ensuring they're fixed properly with adhesive. The pieces should be of various sizes to create an appealing visual effect. Once assembled, spray paint it with a careful focus on ensuring a uniform coat. Plant some rebar pieces into the ground where you wish to place the screen and simply place your new PVC privacy screen over the rebar. Remember, it functions more as a camouflage piece than an all-out block.
Materials:
- Various widths of PVC pipe
- Construction adhesive
- Spray paint designed for plastic
- Insulation
- Rebar (for installation)
- Miter saw
- Sander
DIY Trellis Screen To Hide Ugly Areas In Your Backyard:

Make you entrance of the yarn a lot of modern and stylish with this DIY privacy wall showing the natural mesh like look giving the slight vision. It can be made under few hours and just perfect for adding on the entrance, on the window or wherever you want a stylish yet practical statement.
This screen is easy to assemble and loosely hangs across any area. The wood in the trellis will be a blast for you to paint or stain, plus it can span up to 30 feet long. Crafted out of eco-friendly material like PVC Trespa, this durable screen offers privacy without blocking sightlines. You'll have to start by measuring the length, then get the wooden stripes and planks In hand for proper gluing, and your privacy wall has been done. It will be a stunning addition to your backyard decor, and you'll surely admire it.
Materials:
- 4’ x 8’ sheet of lattice
- Enough 1×4 cedar boards to frame the edges of your finished trellis
- Galvanized nails
- Exterior screws
Tools
- Circular saw
- AirStrike nailer
- Cordless drill
- Tape measure
How To Make An Outdoor Privacy Screen:

These days we often live close to our neighbors and might want some extra privacy. NeliDesign has a low-cost, personalized solution, a DIY adjustable privacy screen for outdoor areas, such as patios. This screen lets you enjoy being outside for work or pleasure, without worrying about being watched.So, why not give this DIY project a try?
Start by installing 4x4 posts, securing them at the top and bottom. Recycle a handrail as a separation between the top and bottom, ensuring 48 inches for louvered area. Recycle balusters as support for the lower part of the privacy screen. Finally, install the louvers per the kit instructions, allowing adjustability to control incoming light and ensure privacy.
Materials:
- Hardware kit
- Treated wooden fence boards (1 x 6)
- 3 – 4 x 4 treated wood
- Screw for treated wood
- Miter saw
Make Your Privacy Wall:

Transform your outdoor space into a private oasis with this DIY privacy wall from Pine and Poplar. This project allows you to enjoy the outdoors while having a relaxing and private area for work or leisure. The privacy wall features a blend of beautiful wood and strategically placed plant holders, creating a warm and inviting ambiance.
First, measure your space to determine dimensions for your privacy wall. Upon acquiring your boards, cut your wood to desired length. Drill pocket holes in your boards, prep, and stain them. Assemble the 4x4s by securing each end using pre-drilled holes and then add your slats, maintaining consistent spacing. Attach your planters at desired points, ensuring they hang from 1x4s or 1x6s. Finally, install your privacy wall, securing it to an existing structure or sinking it into the ground.
Materials:
- 3 – 1x6x8 common boards
- 6 – 1x4x8 common boards
- 3 – 1x2x8 common boards
- 3 – 4x4x8 pressure-treated boards
- 8- ⅝″ x 4.5″ hex lag screw
- 8 – washers
- 1.5″ outdoor Kreg screws
- Stain
- 7 – plant holders
- 14 – 1.5″ machine screws
- 14 – nuts
DIY Bamboo Privacy Screen:

Stop spending time, energy, and money on what you know isn't working for you. This traditional-style privacy screen is a great way to turn an undesirable space into a usable one while staying within your budget. It will act as a superb masterpiece farmhouse addition to your home decor, plus great resistance against the hot, humid winds, and will be excellent for spending quality time with your friends and family.
Start by prepping and staining the wood, once dried, attach the outer beams to your existing structure. Use L brackets to secure the bottom. Next, use cup hooks to hold the bamboo fencing in place on the upper section. Attach two more wood strips, add two more L brackets for stability. Finish by ensuring bamboo is fastened tightly with a clean side profile. Ensure the privacy screens suit your space, particularly concerning their height.
Materials:
-
Thin wood strips
-
Exterior wood stain
-
Bamboo fencing
-
Small L Brackets
-
Cup Hooks
DIY Decorative Outdoor Privacy Screen:

This DIY Outdoor Privacy Screen is a great way to add beauty and privacy to any outdoor space. The easy-to-build product creates a gorgeous backdrop for your yard or deck; while helping you maintain your private lifestyle by blocking high visibility areas of a lot from neighbors, pets, and intruders.
Kick off the process by measuring and cutting the wood, then put up the posts for your privacy screen, ensuring the distance between them is correct for the screen size. Assemble the screen's outer frame making sure all measurements are correct. Create the decorative screen from the lattice panels and then attach another set of boards to their sides. Attach the outer frame to the posts, then install the decorative panels. Lastly, make sure the posts are standing straight and make any necessary adjustments.
- 2 – 10′ x 4″ x 4″ post
- 6 – 8′ x 2″ x 4″ boards
- 2 – 8′ x 1″ x 2″ boards
- 3 decorative privacy screen panels
- 1 package of ¾″ black screws
- 1 package of 2 ½″ deck screws
- gravel
- cement
More Ideas
- DIY Sliding Door Ideas: Use these sliding door ideas to make the most of your space interestingly. We were amazed by the intricate designs, and we hope you will also be.
- DIY Deck Gate Plans: Don't leave the house; buy a gate when you can install one yourself. Here are some DIY Deck Gate Plans to help you do it faster.
- DIY Barn Door Projects: Look at these easy DIY barn door projects and make one for your home. Creating one of these projects will open up an amazing opportunity to spruce up the look of that main entrance.
- DIY Gate Latch Ideas. Whether you are looking for an easy way to open and close your gate or make a new latch out of something new, these DIY gate latch Ideas might be perfect for you.


