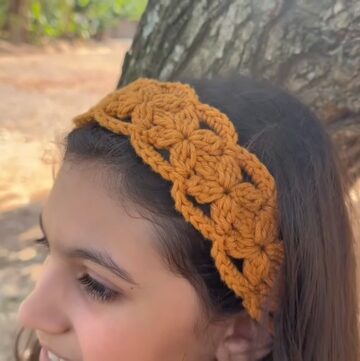
Style your hair with charm using this Crochet Flower Hair Tie Pattern that lets you customize colors for a unique accessory perfect for any occasion or gift.
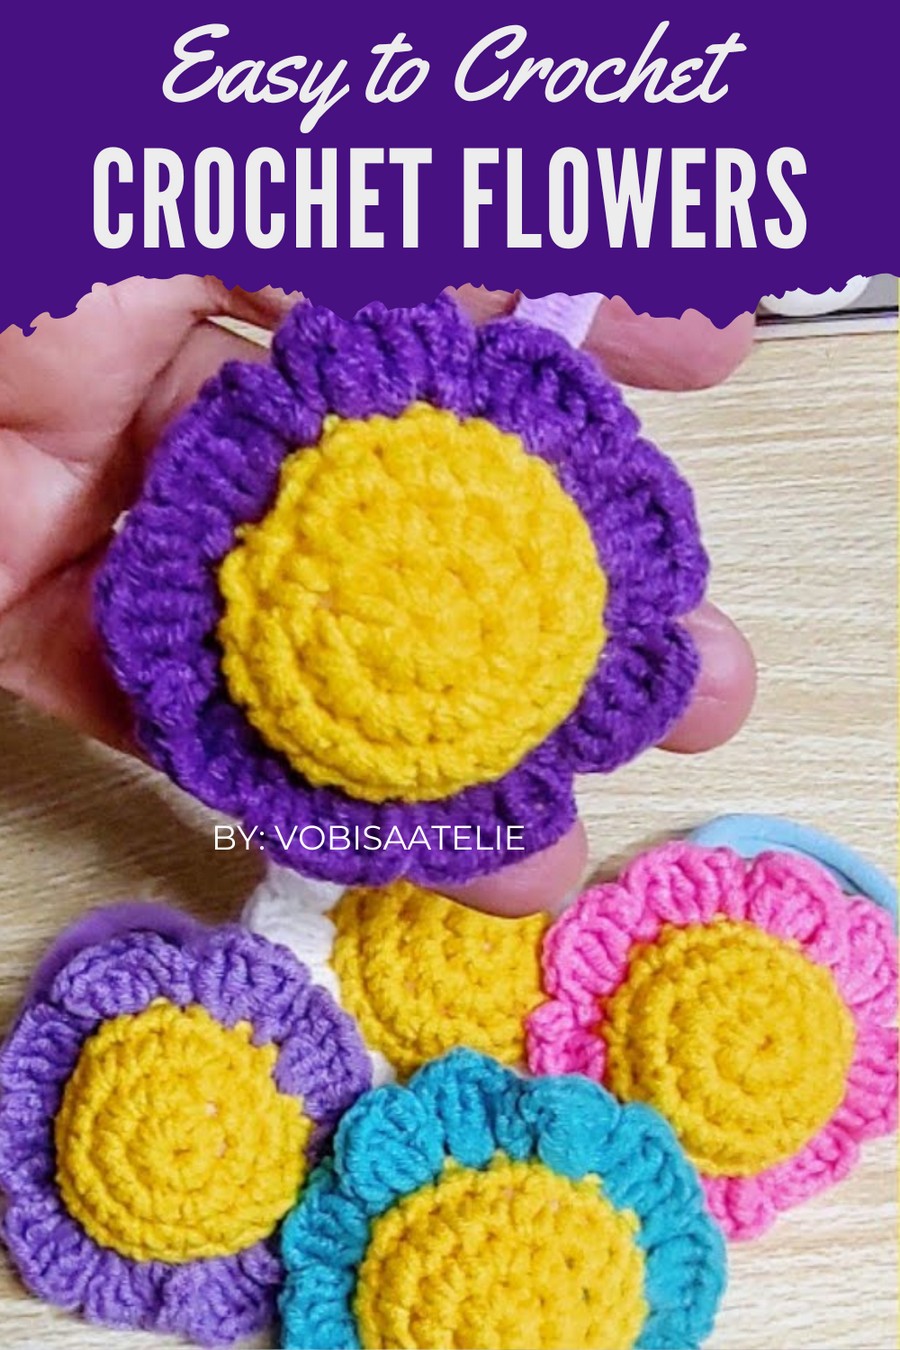
Add a touch of handmade charm to your accessories with this free crochet flower hair tie pattern, perfect for elevating any hairstyle with a playful and elegant flair. Whether you’re styling a casual ponytail or dressing up for a special occasion, this beautiful crochet flower hair tie combine style and practicality effortlessly.
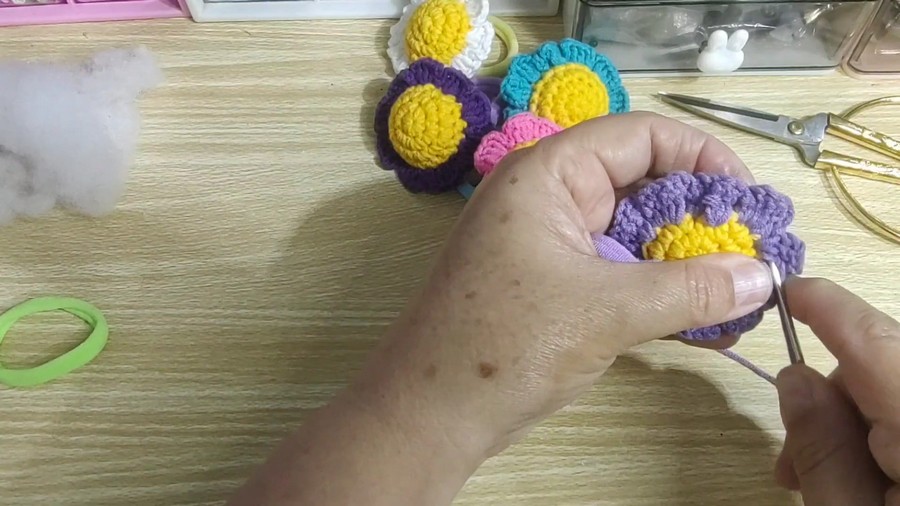
Pretty Crochet Flower Hair Tie Pattern for Your Hair
Customize them with your favorite colors and yarns to match outfits, seasons, or even special themes. Lightweight, durable, and unique, they make thoughtful gifts or lovely additions to your own collection.
Jump into this simple yet creative project and enjoy the delight of crocheting something both functional and beautiful!
Materials Needed
Yarn
- Type: Any lightweight or DK-weight yarn works well. Recommended:
- Color A: Primary scrunchie color (e.g., light purple).
- Color B: Accent color for petals (e.g., light purple contrasting).
Crochet Hook
- Size: Use a 3.5 mm crochet hook (or hook that matches your yarn gauge).
Additional Supplies
- Hair elastic band or tie (medium size).
- Scissors
- Tapestry needle (for finishing and hiding ends).
- Fiberfill (or optional alternatives such as a small foam ball, cotton, or even styrofoam).
Optional Additions
- Fabric glue (to secure cut ends).
- Markers for stitch counting (recommended for beginners).
Skill Level
Intermediate
Key Abbreviations (US Crochet Terminology)
- ch: Chain
- sc: Single Crochet
- sl st: Slip Stitch
- hdc: Half Double Crochet
- inc: Increase (two stitches worked into the same stitch)
- st: Stitch
Special Notes
- Elastic Band: Ensure the elastic band fits snugly around your wrist, as the scrunchie will slightly loosen with use.
- Petals: Count carefully while working on petals to ensure even spacing and a neat visual effect.
- Assembly: Proper alignment during joining ensures a clean and structurally sound scrunchie design.
Pattern Instructions
Step 1: Top Core of the Scrunchie
- Magic Ring Base:
- Using Color A, begin with a magic ring.
- Make 6 sc into the ring.
- Pull the yarn tail tightly to close the ring securely.
- Second Round:
- Inc in each stitch: Work 2 sc into each stitch around.
- (Total: 12 sc)
- Third Round:
- Work "1 sc, inc" sequence: Repeat 1 sc, inc six times.
- (Total: 18 sc)
- Fourth Round:
- Work 1 sc in each stitch around without any increases.
- (Total: 18 sc)
- Finish Top Core:
- Fasten off and leave a tail for sewing later.
- Set this piece aside.

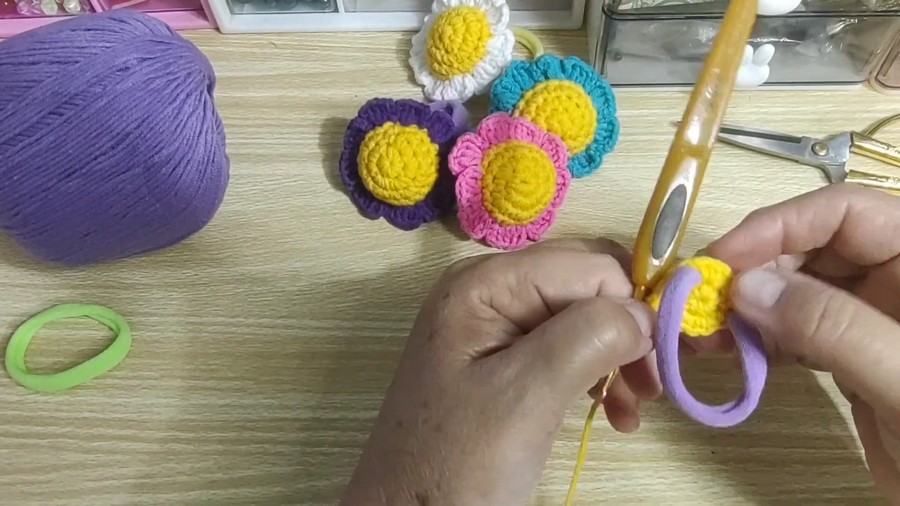
Step 2: Bottom Core with Elastic Band
- Magic Ring Base:
- Using Color A, make a magic ring.
- Make 6 sc into the ring. Pull yarn tail tightly to close.
- Second Round with Elastic:
- Begin a classic increase round (2 sc per stitch).
- As you work your third increase, place the elastic band atop the stitches, and crochet around it, securing the elastic beneath the stitches.
- Continue working 2 sc per stitch for the remainder of the round. Carefully encase the elastic band as you go.
(Total: 12 sc, secured around the elastic.)
- Third Round:
- Work "1 sc, inc" sequence: Repeat 1 sc, inc six times while crocheting around the elastic band.
(Total: 18 sc.)
- Work "1 sc, inc" sequence: Repeat 1 sc, inc six times while crocheting around the elastic band.
- Complete Bottom Core:
- Fasten off, leaving a tail for sewing.
- The elastic band should now be fully covered and securely attached to the second piece.
Step 3: Assembly of Top and Bottom Cores
- Joining the Cores:
- Place the top core over the bottom core and align the stitches.
- Using Color B, attach the yarn at one side of the core.
- Petals:
- Ch 3, sl st into the next st, ensuring you grab stitches from both the top and bottom core pieces.
- Work 3 hdc into the next st, then sl st into the following stitch to secure the petal.
- Repeat this process (ch 3, sl st, 3 hdc, sl st) to create petals around the entire scrunchie.
- Final Touch:
- Once you’ve completed the round, ensure the cores are securely attached.
- Fasten off the yarn and hide all loose ends with a tapestry needle.
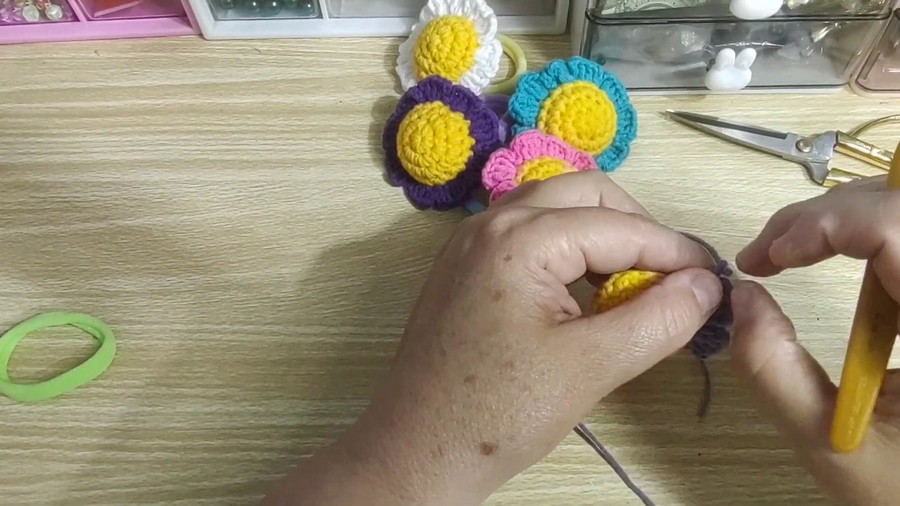
Step 4: Insert Fiberfill
- Insert Fiberfill Through Opening:
- Gently push small amounts of fiberfill into the scrunchie’s center opening. Do not over-stuff!
- Secure Opening:
- Close the last few stitches with sl st. Ensure fiberfill is secure inside, and fasten off well.
Customization Ideas
- Colors: Combine contrasting or gradient yarns for more dynamic scrunchies.
- Petal Variations: Modify petal sizes by increasing chain lengths or working more hdc stitches.
- Elastic Alternatives: Use a plastic ring instead of an elastic band for napkin rings or decorative objects.
Tips for Success
- Secure Elastic Band: Crochet tightly around the elastic band to avoid gaps and ensure it stays in place.
- Symmetrical Petals: Use stitch markers and count carefully to space petals evenly.
- Finishing: A quick dab of fabric glue on cut yarn ends ensures durability and prevents fraying.
Conclusion
This crochet scrunchie with flower design is a delightful way to accessorize your outfits or add flair to your homeware with napkin rings. The lightweight, customizable design makes it suitable for gifting or selling as handmade goods. With proper assembly, this versatile project shines as a unique and functional creation!
Pattern Corrections and Observations
- Mistakes in Counting: Keep track of stitch counts during increases and petals to avoid uneven cores or petals.
- Loose Elastic Band: Ensure the elastic is tightly encased during the second core stage.
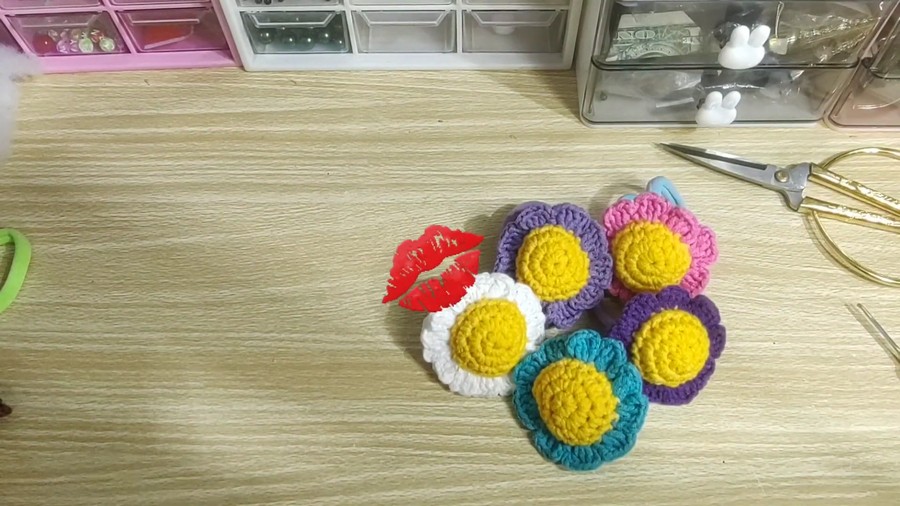
Final Look
- Core: Structured top and bottom aligned neatly.
- Petals: Equally spaced decorative additions.
- Overall Design: Lightweight, elegant, and versatile accessory.