Carry a stylish handmade accessory with Crochet Clutch Bag Pattern that lets you stitch a chic bag perfect for gifts outings and adding charm to any outfit.
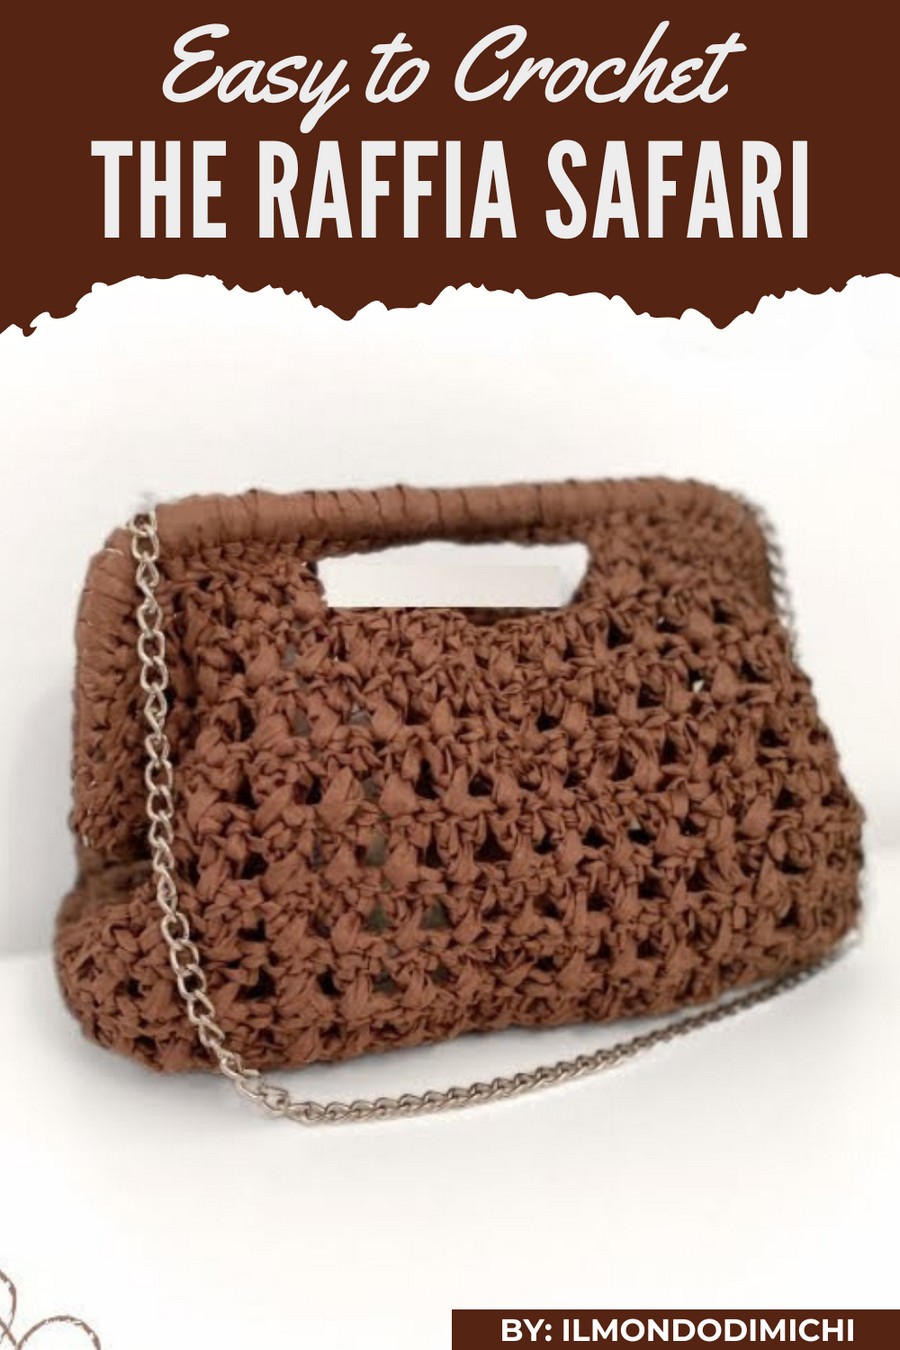
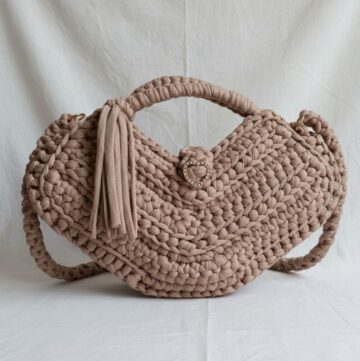
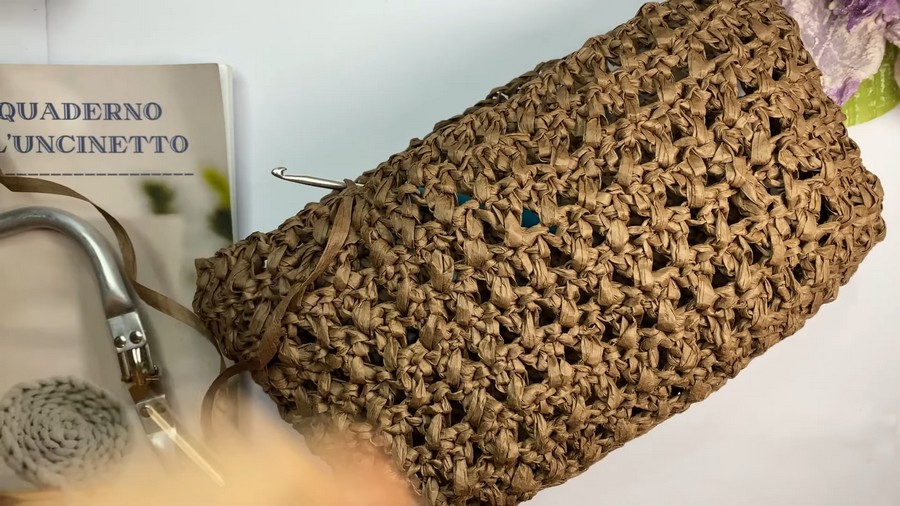
Simple bags can feel plain and boring, but this handmade creation brings style, charm, and practicality all in one. The Crochet Clutch Bag pattern shows a small, elegant bag made with soft yarn, neat stitches, and a smooth, compact design that looks stylish and inviting.
Must-Try Croche Clutch Bag Pattern for Fashion Lovers
It can be used for parties, casual outings, or as a handy accessory to keep essentials organized, and it also makes a thoughtful handmade gift. Its most special features are the durable texture, lightweight feel, and unique handmade design, which make it stand out, easy to carry, and perfect for adding a touch of handmade beauty and convenience anywhere.
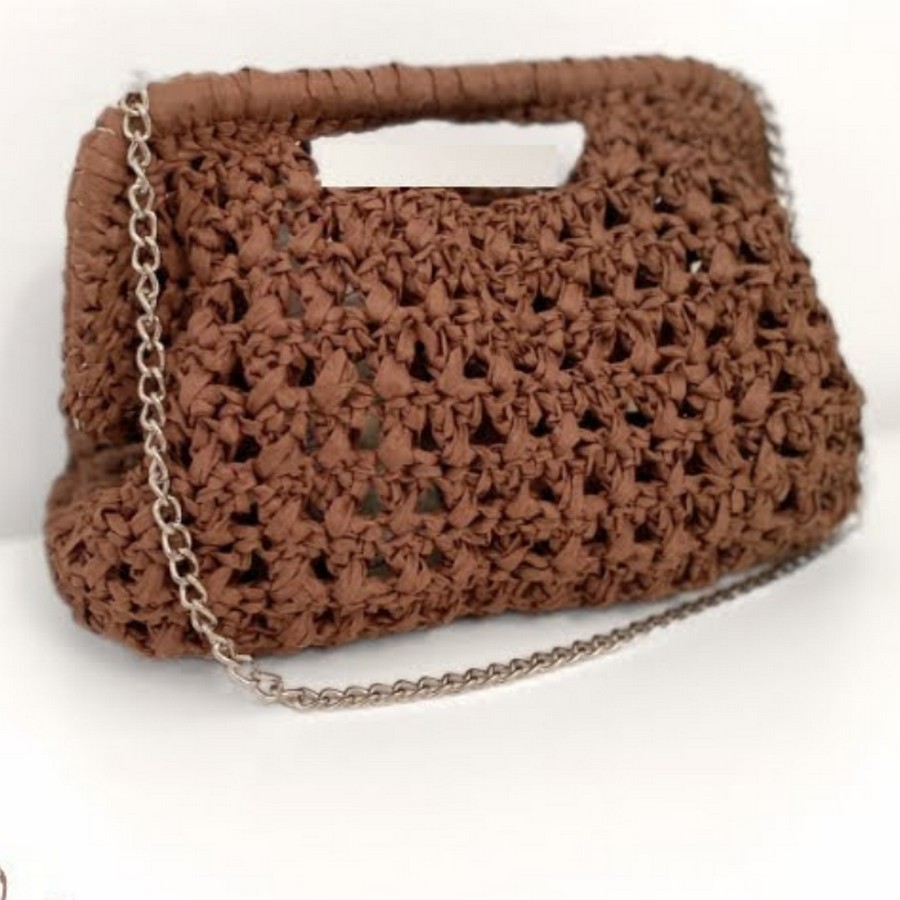
This pattern walks you through the process of crocheting a Crochet Clutch Bag perfect for summer. Made with lightweight and durable Raffia Abaca yarn, this bag is sturdy and can be customized with or without a lining.
This project is ideal for intermediate to advanced crocheters and results in a refreshing, summery design.
Materials List
Required:
- Yarn:
- Raffia Abaca yarn: 100g/160m per roll (approx. 1 roll required).
- Raffia is lightweight, easy to work with, and has a natural, summery texture.
- Raffia Abaca yarn: 100g/160m per roll (approx. 1 roll required).
- Crochet Hook:
- 4mm crochet hook (or size suitable to your raffia yarn for neat stitches).
- Tapestry Needle:
- For finishing and sewing details.
- Optional Materials:
- Bag Net: To stiffen the bottom of the bag.
- Lining Fabric: For added privacy and to prevent small items from slipping through.
- Yarn Markers or Stitch Markers: To help indicate increase/decrease points.
Skill Level
Intermediate to Advanced: This pattern involves continuous rounds, basic shaping (increases and decreases), and precise edge finishing with decorative stitches.
Key Abbreviations (US Crochet Terminology)
| Abbreviation | Meaning |
|---|---|
| ch | Chain |
| sc | Single Crochet |
| sl st | Slip Stitch |
| dc | Double Crochet |
| st(s) | Stitch(es) |
| inc | Increase (2 sc in one st) |
| dec | Decrease (2 sc together) |
Special Notes
- Bag Size: The clutch bag will measure approximately 22cm wide and 14cm high, depending on your tension. Adjust the foundation chain for a larger/smaller bag.
- Tension Consistency: Ensure consistent tension with raffia, as adding or reducing it may warp the bag’s shape.
- Optional Lining: You can keep the bag transparent for a breezy, summery look or add a lining for privacy and practicality.
Step-by-Step Pattern
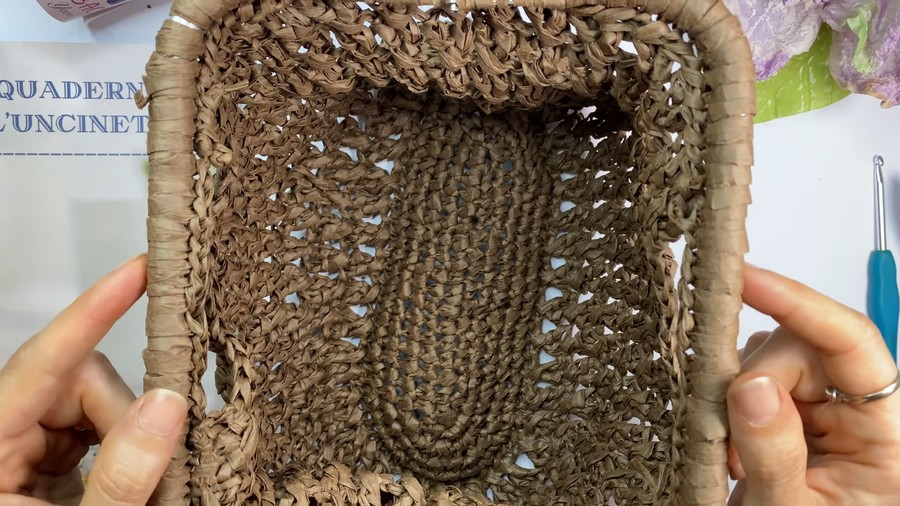
Part 1: Oval Base
- Foundation Chain:
- Chain a foundation of 22cm in length. (Adjust the chain length to match the desired clutch dimension, keeping it smaller than the clutch's desired width.)
- Setup Row (Row 1):
- Start working on the first side of the foundation chain:
- Sc into the 2nd chain from the hook, then work 1 sc in each chain across until the last chain.
- At the final chain, work 3 sc into the same stitch to create the rounded end.
- Turn the work and begin working along the other side of the chain:
- 1 sc in each chain across, mirroring the first side, until the beginning. In the last stitch, again work 3 sc in the same st.
- Join to the first sc using a sl st to form a round.
- Start working on the first side of the foundation chain:
- Round 2:
- Work 1 sc in each stitch, but in the 3 corner stitches from each curve, work 2 sc in each corner st (inc) to keep the curve smooth.
- At the end of the round, join with a sl st to the first sc.
- Subsequent Rounds:
- For the next several rounds, continue working in continuous rounds.
- Increase at the 6 corner stitches (two groups on each curve). For every row, distribute increases evenly across the curve. The number of even stitches between increases will grow by one stitch for each new row.
- Example:
- Round 2: (1 single, 1 inc)
- Round 3: (2 singles, 1 inc)
- Round 4: (3 singles, 1 inc)
- Example:
- Stop When Desired Size is Reached:
- You will now have an oval bottom of approximately 22cm by 10cm.
- Slip Stitch Edge (Optional):
- At the end of the final round, work 1 sl st in every stitch for a cleaner edge and easier transition to the body of the bag.
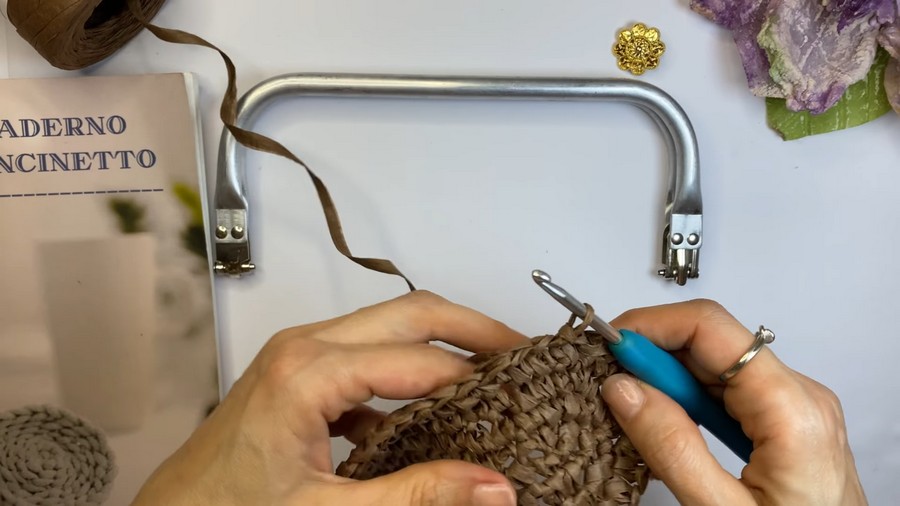
Part 2: Body of the Bag
- Setup Round (Single Crochet Transition):
- Transition into building the body of the bag by working 1 sc in the back loops only (BLO) of each st around. This will create a clean edge at the base and allow the work to rise naturally.
- Crossed Double Crochet Stitch (Body Stitch):
- For the decorative body pattern:
- Round 1:
- Chain 1 and work as follows:
- Yarn over, skip the next st, dc in the following st.
- Return to the skipped stitch, crochet 1 dc in it.
- This creates a crossed dc pattern.
- Repeat across the entire round. Join with a sl st to the first dc.
- Chain 1 and work as follows:
- Round 1:
- Subsequent Rounds:
- To ensure the crossing lines align:
- Start the next round a half-stitch to the left of your previous round’s starting point using a sl st.
- Continue the crossed dc stitch pattern as in Round 1 all the way up.
- To ensure the crossing lines align:
- Work until the height of the bag reaches 14cm, or your desired height.
- For the decorative body pattern:
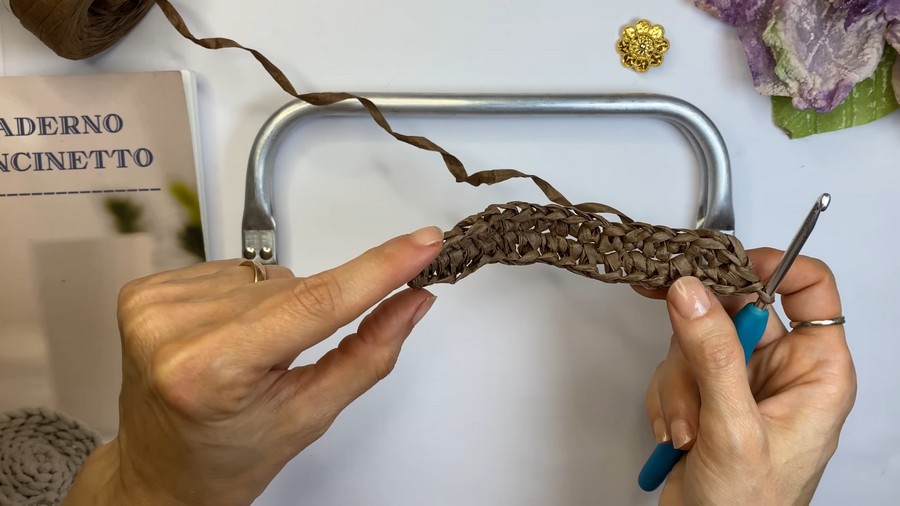
Part 3: Handle Openings
- Mark Handle Openings:
- Place stitch markers on opposite sides of the bag, each 9cm wide (or adjust to fit the width of your hand).
- Work Both Sides Separately:
- Cut the yarn and reattach it to one side of the handle opening.
- Continue the crossed dc stitching along that side until it reaches the second marker.
- Repeat for the other side.
- Final Rows (Top Edge):
- Once handles are complete, finish the top row of the bag with 1 round of sl st for a polished edge.
Part 4: Assembly and Finishing
- Optional Lining:
- If desired, sew a fabric lining to the bag's interior to keep small items secure.
- Use fabric glue or hand-sew to attach the lining neatly to the bag's edges.
- Closure (Optional):
- Attach a zipper or snap button to secure the bag if desired.
- Tidying Up:
- Weave in any loose ends neatly, hiding them within the stitches with your tapestry needle.
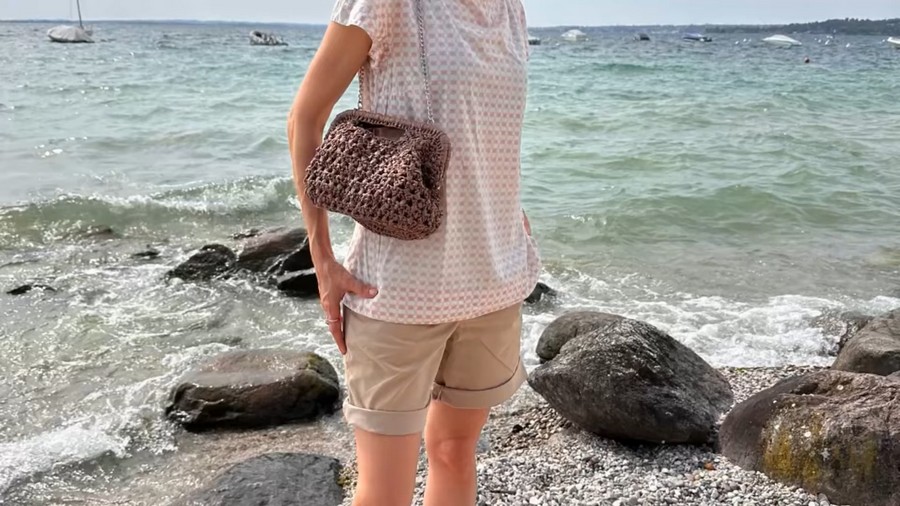
Conclusion
Your Crochet Clutch Bagis complete! Its breezy, lightweight design and sturdy structure make it both stylish and functional. Suitable for beach outings or casual summer gatherings, you can customize it with varying yarn colors, linings, and closures to match your personal style.
Pattern Corrections
- Stitch Count Adjustments: Ensure your stitches are even when moving from the base to the body. Any discrepancies can be resolved by adding a stitch during a slip stitch round.
- If the bag base ripples or curls excessively, adjust the tension or the placement of your increases.
Tips
- Work Consistently with Raffia: Keep your hands relaxed when working with raffia, as it can be stiffer compared to traditional yarn.
- Avoid Warping with Handles: Ensure both handle openings are placed evenly for a symmetrical finish.
- Experiment with Sizes: Adjust the foundation chain and the height of the body to make clutches of different dimensions.