Find stylish and practical crochet mini bag options for carrying small essentials that add charm to your outfits while staying simple and perfect for daily use.
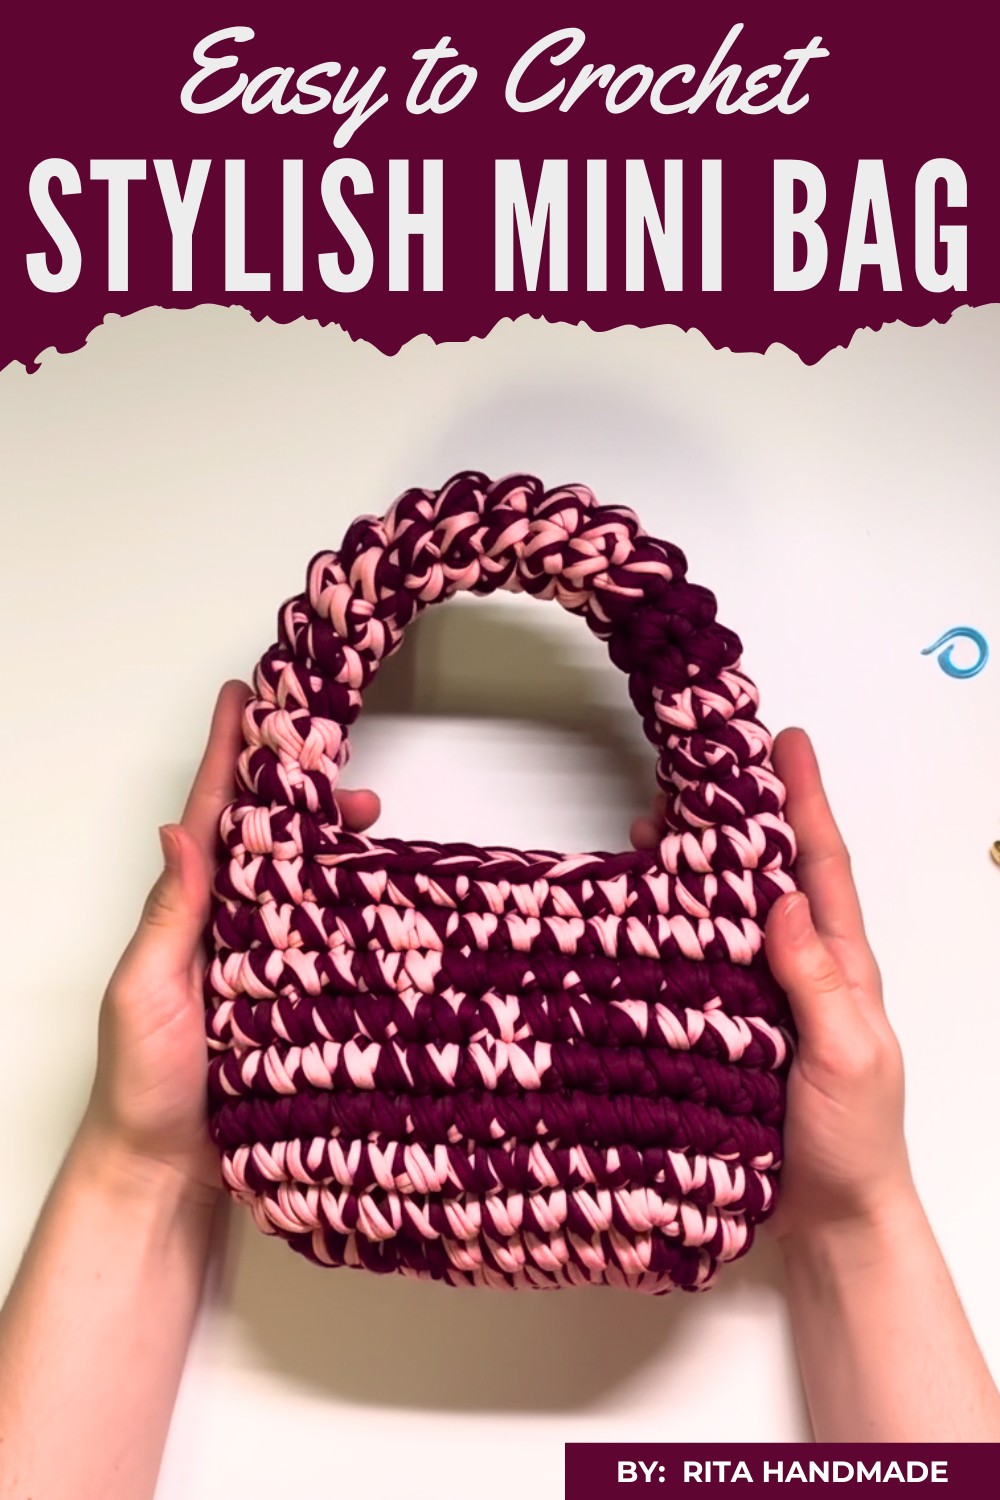
A cute little bag can easily steal anyone’s heart. A crochet mini bag pattern gives you the perfect chance to create something small, stylish, and unique. These mini bags are not only beautiful but also very useful for carrying small items like keys, coins, or makeup.
Charming Crochet Mini Bag Pattern for Everyday Use and Style
With their neat designs, soft textures, and a wide range of colors to choose from, they are perfect for daily use or as gifts for loved ones. Whether you prefer simple or decorative styles, crochet mini bags add a touch of charm to your look, making them a fun and creative accessory for everyone.
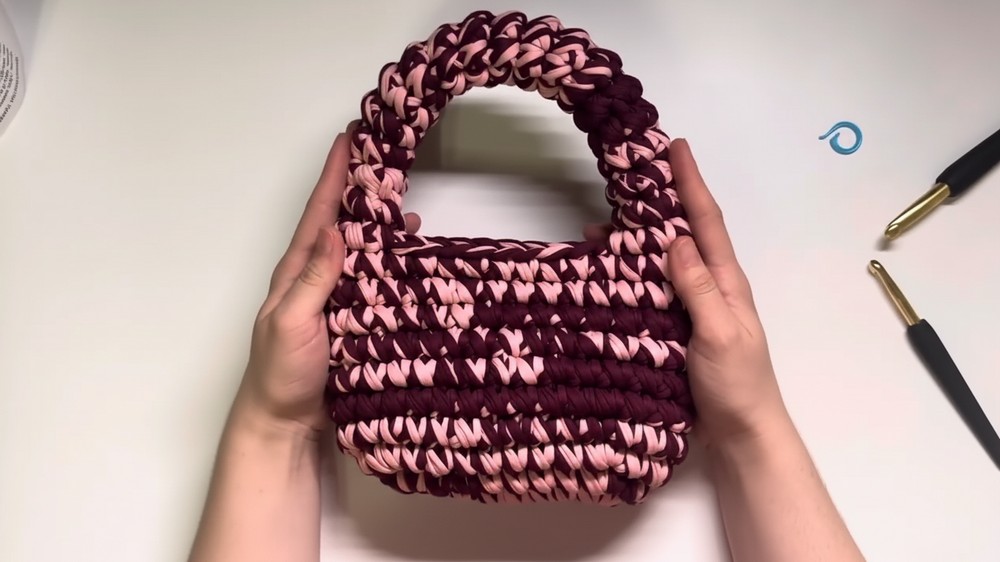
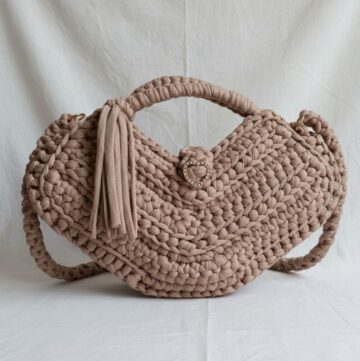
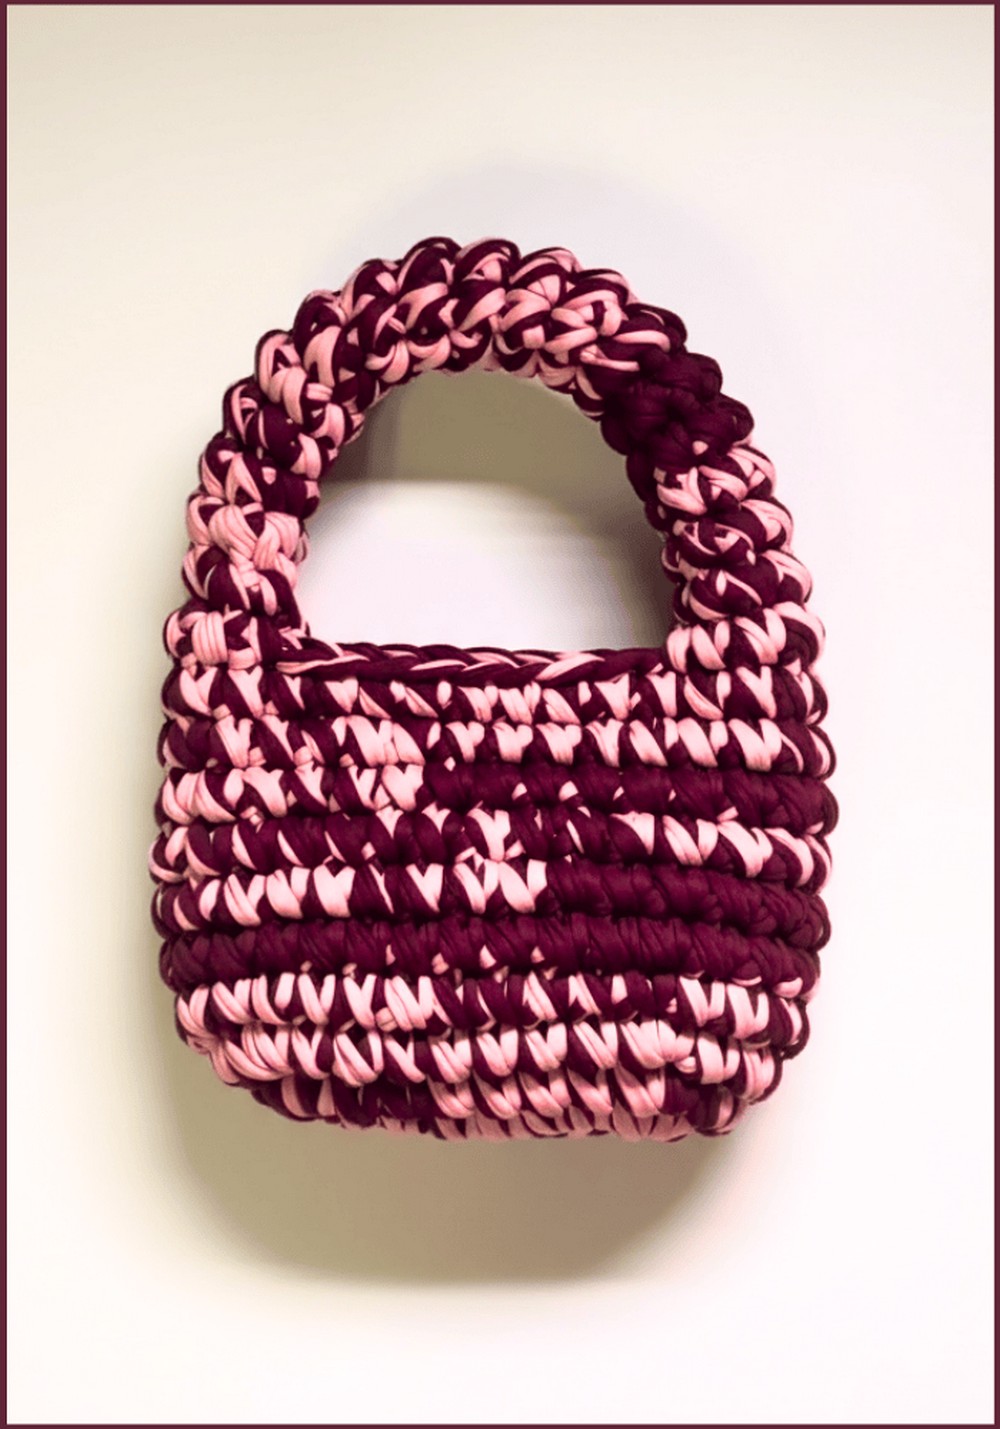
Welcome to this detailed crochet guide for a Mini Handbag, as seen in the provided transcription. This adorable bag is petite yet practical, perfect for carrying small essentials like keys, phones, or wallets. This pattern produces a structured yet soft bag, and you can customize its color, size, and style to make it uniquely yours.
Materials and Supplies
- Yarn
- Approximately 150-200 grams total (dependent on size):
- Use all one color or two different colors for a unique design.
- Recommended yarn: Biscuit yarn or similar chunky yarn for structure.
- For the sample, the Marsala and Raspberry Yogurt colors were used.
- For multicolored designs: You’ll need approximately 100g of each color for smooth transitions.
- Approximately 150-200 grams total (dependent on size):
- Crochet Hook
- 10mm hook (use size appropriate for your yarn weight).
- Accessories
- Stitch markers (optional but useful).
- Scissors.
- Yarn needle (for sewing and weaving in ends).
Bag Dimensions (Standard Size)
- Base Width: Approximately 25 cm (9.8 inches).
- Base Height: 18 cm (7 inches).
- Bag Height: 15 cm (5.9 inches).
- Handle Length: 6 loops wide, adjustable length.
Stitch Guide
- SC (Single Crochet): Insert hook into the stitch, pull up a loop (2 loops on hook), yarn over and pull through both loops.
- Slip Stitch (SL ST): Insert hook into the stitch, pull up a loop, and pull it directly through the loop on the hook.
Basic Pattern Instructions
Step 1: Create the Base of the Bag
- Start by making a slip knot on your hook.
- Chain 8 foundation chains (CH) for the bottom of the bag (you can adjust this number to vary the size).
- Add 1 extra chain (CH) for the turning chain (total = 9 chains).
- First Row:
- Insert the hook under the second chain stitch from the hook and crochet SC (single crochet).
- Continue crocheting SC into each chain across (8 SC total).
- Increase for Curve (Last Foundation Chain):
- In the last chain, crochet 3 SC into the same loop to create a rounded edge for the base.
- Turn your work to the opposite side of the foundation chain.
- Crochet SC into the remaining side, inserting your hook through both loops of the foundation row for structure.
- End of Row:
- When you reach the last chain, crochet 3 SC to form the other rounded edge, mirroring the first curve.
- You now have 18 single crochets around the base (6 SC on each side + 3 SC at both rounded edges).

Step 2: Expand the Base
- Insert the hook in the first stitch from the previous row, where the marker is placed. Remove the marker as needed.
- Create a slip stitch (SL ST) to join the round, followed by 1 chain stitch for elevation.
- Second Row:
- Create SC into each stitch around the row, adding increases (2 SC into 1 stitch) at the rounded edges.
- Make an increase in each of the 3 stitches from the corners of the previous row (6 additional stitches per round).
- You should have 18 + 6 = 24 stitches in total by the end of this round.
- Third Row:
- Continue to crochet SCs around, with increases at the curved turns:
- 1 SC + Increase (2 SC) repeated at the corners. Keep the pattern.
- You should have 30 total stitches by now.
- Continue to crochet SCs around, with increases at the curved turns:
- If the desired base width is not yet achieved, continue adding more rows using the same increment rule: Add increases in each corner, and fill in the straight stitches, with adjustment per round.
- Once the base size is reached, stop increasing.
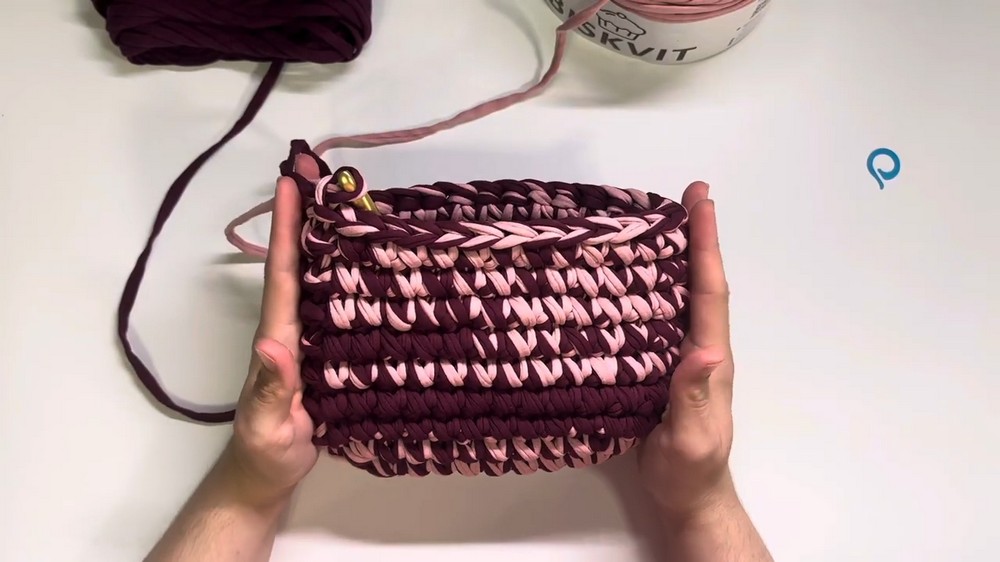
Step 3: Create the Walls of the Bag
- Transition to Walls: Begin crocheting SC into each stitch around, and proceed in rounds (a continuous loop) without adding any increases or decreases.
- For neatness, continue working into the back loops only. This will form a beautiful ridge at the base and allow the structure of the walls to stand out.
- Continue crocheting around for 7 rows (or adjust height as desired).
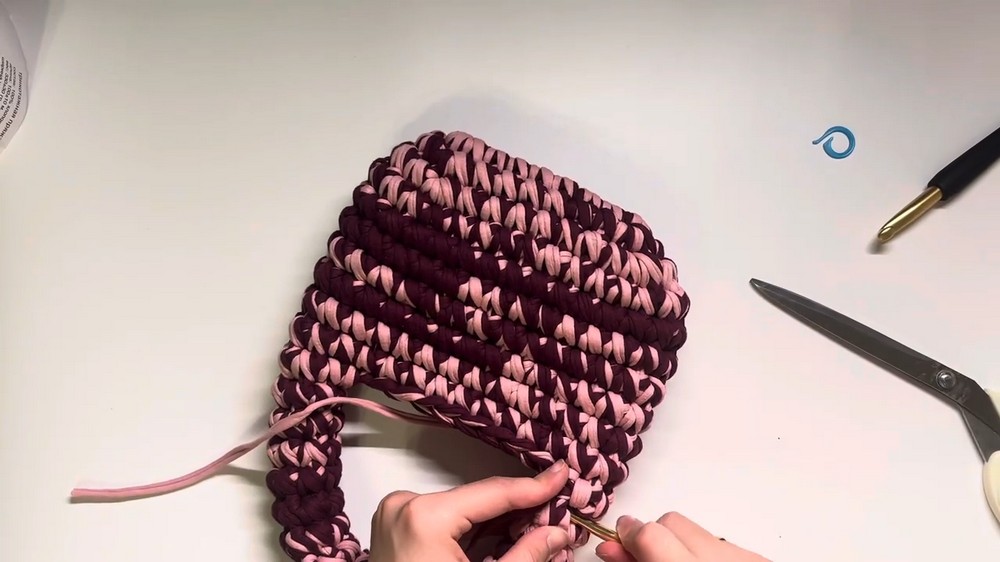
Step 4: Attach the Handle
- Create the Handle:
- Chain 6 (for a handle width of 6 stitches).
- Turn and SC in the second chain from the hook. Crochet SC into each stitch across (you will have 6 stitches in total).
- Continue this pattern, working SC rows back and forth, until the handle reaches your desired length.
- Remember to fold and measure periodically to match each side of the bag before deciding on the final length.
- Attach Short Handles:
- Using a long yarn tail from the completed handle, sew the ends of the handle to opposite sides of the bag.
- Use the same yarn and secure the stitches by sewing each edge down.
Step 5: Optional Long Strap
- Repeat the same steps as the short handle but make a longer chain for the strap.
- Standard length: 100 chains for a shoulder strap, or customize for crossbody styling.
- Use the same SC technique to create a sturdy strap.
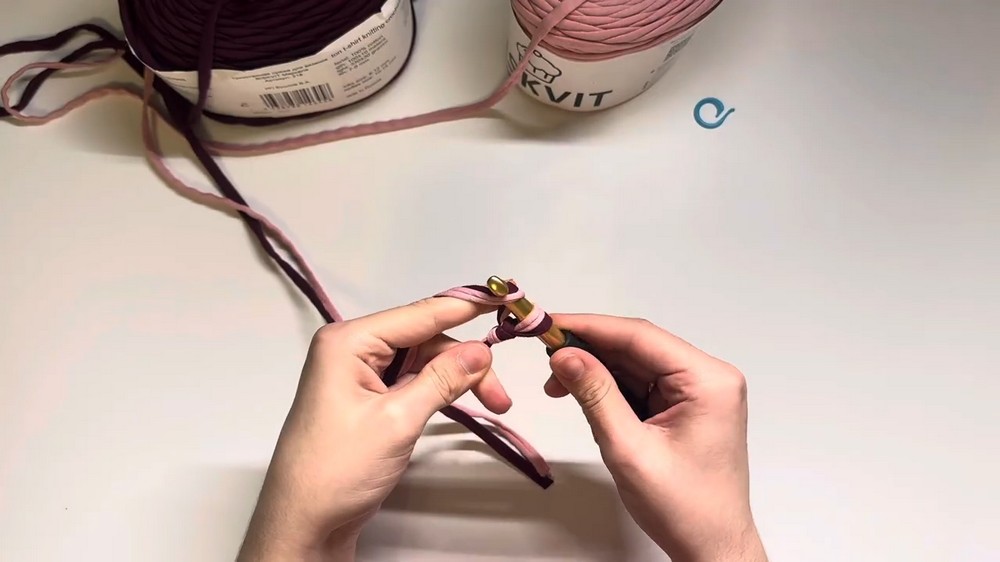
- Attach carabiners at each end of the long strap.
Step 6: Finishing Touches
- Secure the final stitches and cut any extra yarn.
- Weave in all loose ends using a yarn needle. You can tuck loose ends inside the handle for extra support and a cleaner finish.
- Steam block your bag to smooth it out and finalize the shape.
Customization Ideas
- Color Options:
- Alternate two colors with different rows to create a striped pattern.
- Use gradient or variegated yarns for a color-blended effect.
- Embroidery or Appliqué:
- Add embroidered designs, flowers, or patches for a decorative touch.
- Lining:
- Add a fabric lining to the interior to provide extra durability and allow the use of smaller yarns.
- Use of Other Materials:
- Replace the crocheted handle with leather straps or macramé for a mixed-media effect.
- Button or Zipper Closure:
- Add a button-and-loop closure using leftover yarn, or sew in a zipper for better security.
Pattern Variations
- Downsized Coin Purse:
- Start with 6 foundation chains instead of 8.
- Work 5 rows of walls for a compact coin pouch or accessory bag.
- Larger Everyday Tote:
- Start with 12-14 foundation chains for a wider base.
- Add an extra row or two of base increases and increase the wall height proportionally.
- Wristlet Bag:
- Replace the long strap with a short wrist strap.
- Crochet a handle of 20-25 chain stitches and attach it as a loop to one side of the bag.
Tips for Success
- Use Stitch Markers: While optional, they help maintain even stitches, especially when increasing the base.
- Mind Your Tension: Keep your tension consistent throughout for a polished look.
- Secure the Edges: When attaching the handle, ensure tight, even stitches to prevent fraying or loosening.
- Customization Planning: Test handle placement and strap length before finalizing to ensure ideal functionality.
Conclusion
Your Mini Crochet Handbag is a stylish and unique accessory that can be completed in just over an hour. Its elegant size and customizable features make it a perfect companion for special occasions or as a charming handmade gift.