Grab this fun Crochet Bag Pattern that turns yarn into a cute playful bag perfect for daily use and makes crocheting feel easy and exciting for beginners
A beautiful bag can make anyone smile, and crochet bags are no exception. These bags are made by creating patterns with colorful yarn, turning simple threads into stunning designs. Crochet bag patterns come in all shapes and sizes, big totes for shopping, small clutches for parties, or lightweight market bags for everyday use.
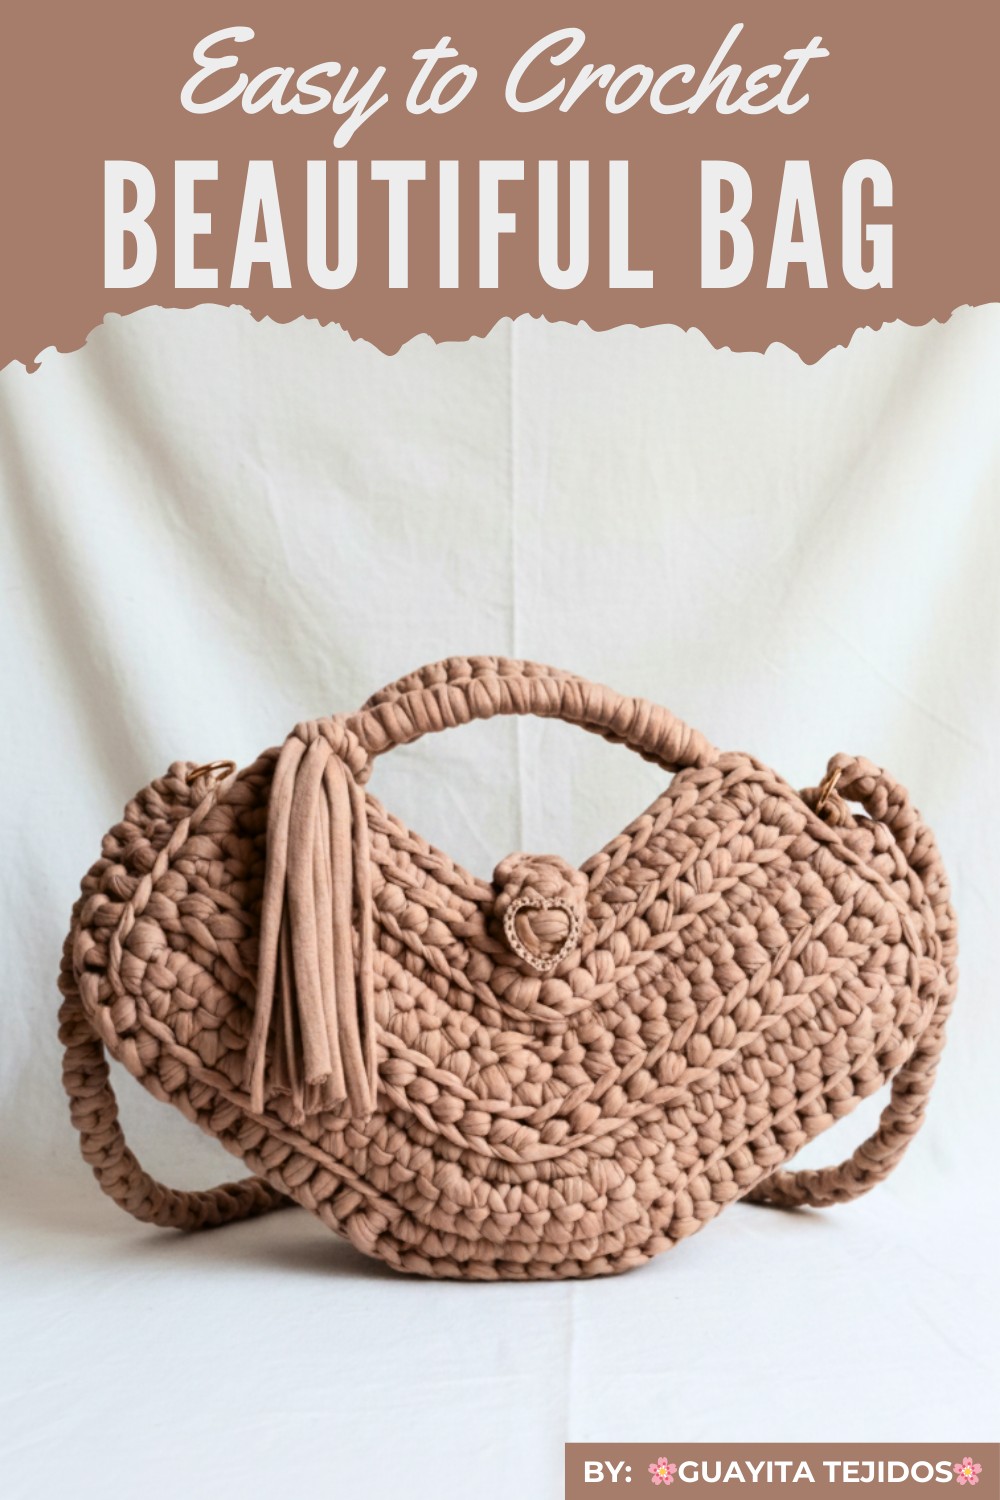
Adorable Crochet Bag Pattern for Daily Use
They often feature unique textures, vibrant colors, and even decorative details like flowers or beads. Perfect for carrying your essentials, they’re both practical and stylish. These handmade bags also make wonderful gifts and add a personal, eco-friendly touch to your wardrobe, showcasing creativity and charm everywhere you go.
Necessary Materials and Tools
To create the crochet bag featured in the transcription, you will need the following materials and tools:
- Crochet yarn (medium-weight, a slightly elastic material, or any preferred type of yarn).
- Crochet hook (5 mm, adjust size according to yarn thickness).
- Measuring tape (for accurate sizing and measurements).
- Scissors (for cutting yarn and fabric cleanly).
- Liquid silicone glue (to secure ends).
- Pliers (for placing the magnetic clasp).
- Magnetic clasp (2 cm in diameter for secure closure).
- Metal fittings (for attaching the handle, optional but enhances durability and elegance).
- Tapestry needle (for working on fine details and finishing curved edges).
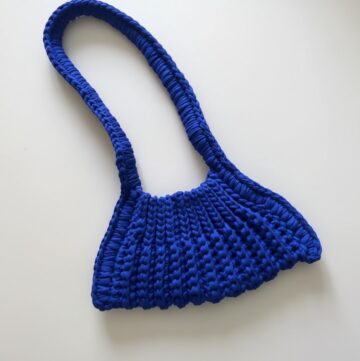
Pattern: Crochet Bag
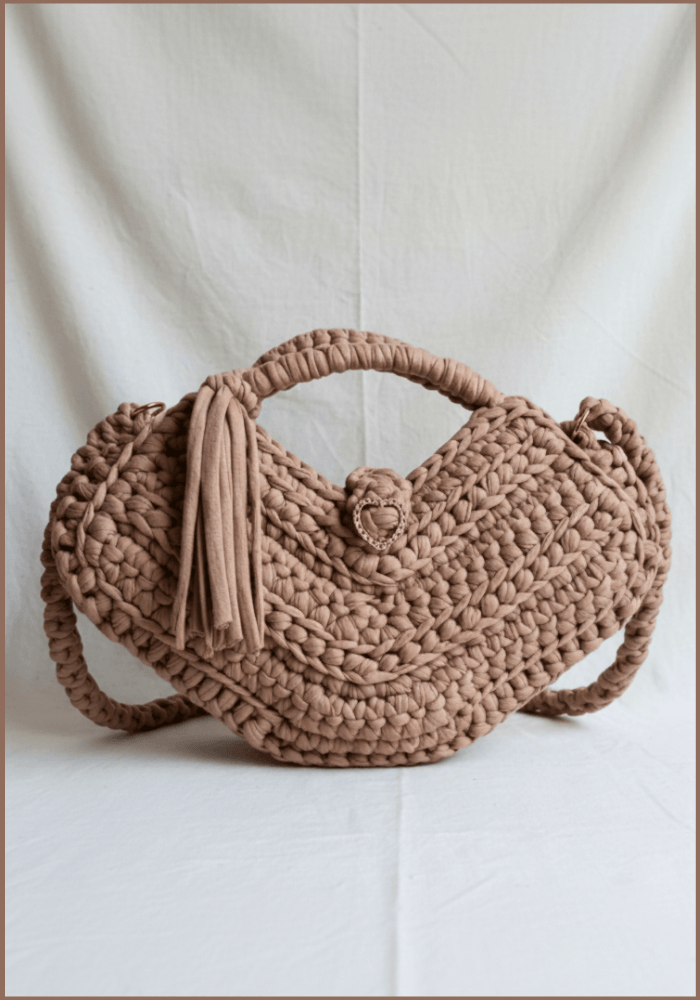
This pattern creates a large, versatile purse with decorative details and a magnetic clasp. Follow these steps carefully:
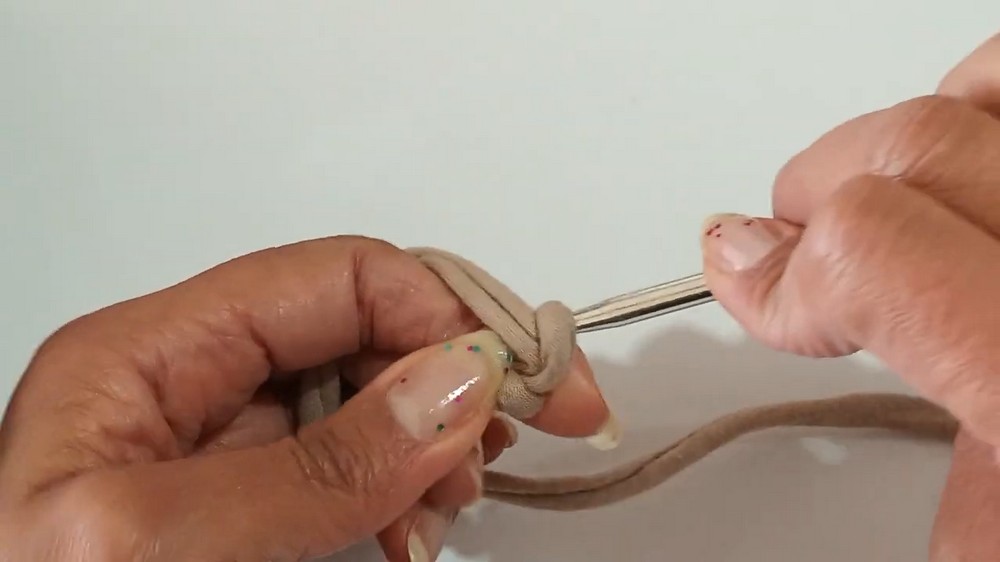
- Create the Base
- Begin by making a slip knot on your crochet hook.
- Chain 10 chains. Add 1 chain to turn to the next row (this chain acts as structural support).
- Work single crochets (SC) into the back of the chains, ensuring uniform stitch heights.
- Once you reach the row's end, chain 1 to turn. Repeat the process in subsequent rows for added thickness.
- Increase the Bag’s Base Size
- Following the single-row pattern, make 4 single crochets into the same center stitch to create a curve for the bag’s base.
- Continue working SC into the back of each chain, maintaining a consistent stitch across rows.
- Alternate increases at pivotal points (corners) to curve the edges for better formation.
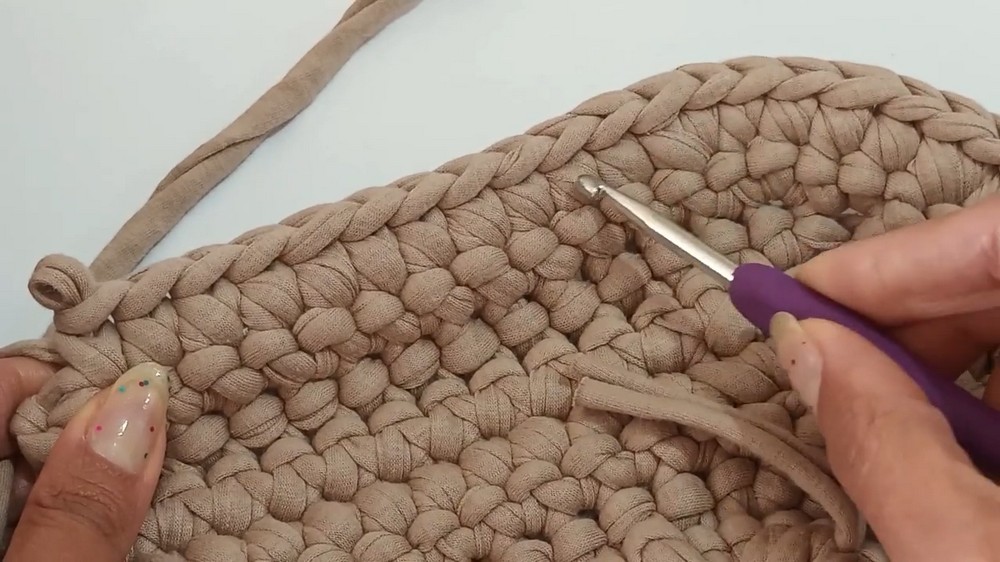
- Build the Bag’s Body
- Begin incorporating decorative stitches from the 3rd or 4th row. Use the looped stitch method:
- Take the thread toward yourself, insert the hook through the back portion of the chains, and pull the loop through.
- Form the stitch over the current chains, maintaining natural tension.
- As rows progress, include row increases at the corners by working 2 SC into the same stitch to create space and widen the bag.
- Begin incorporating decorative stitches from the 3rd or 4th row. Use the looped stitch method:
- Work the Upper Edge
- Switch back to a simpler single crochet stitch (SC) for the bag’s upper part.
- Increase rows uniformly and ensure the top couple of rows follow the shape of the bag's body.
- Close and Strengthen Edges
- After achieving the desired size, work slip stitches along the edge to provide structure and attach the two sides of the bag together. Use a tapestry needle or crochet hook for clean seams.
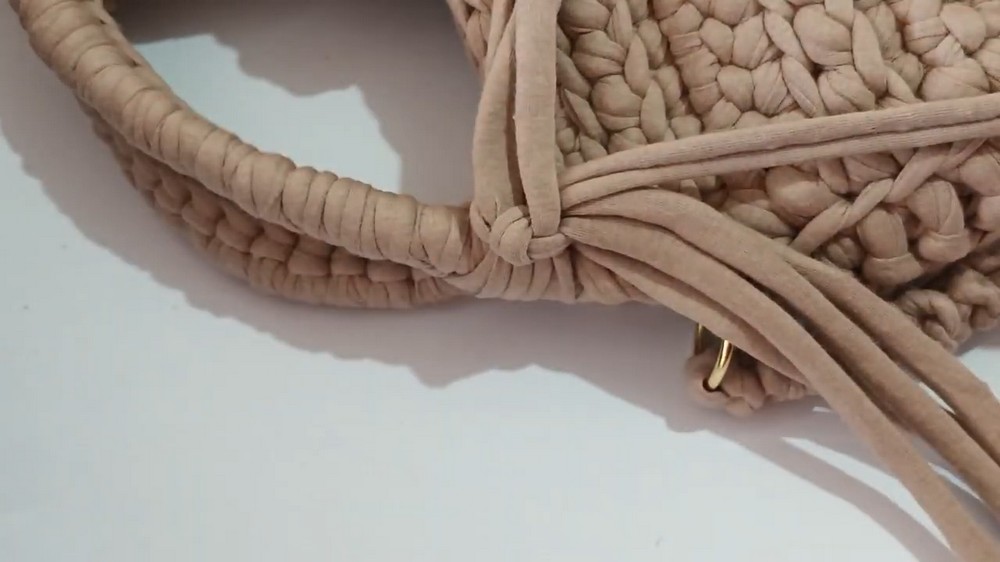
- Add the Handle
- Work the handle as a lace structure for elegance.
- Attach the handle on both sides using the metal fittings.
- Use slip stitch rows to achieve a strong and consistent handle that supports the weight of the bag’s contents.
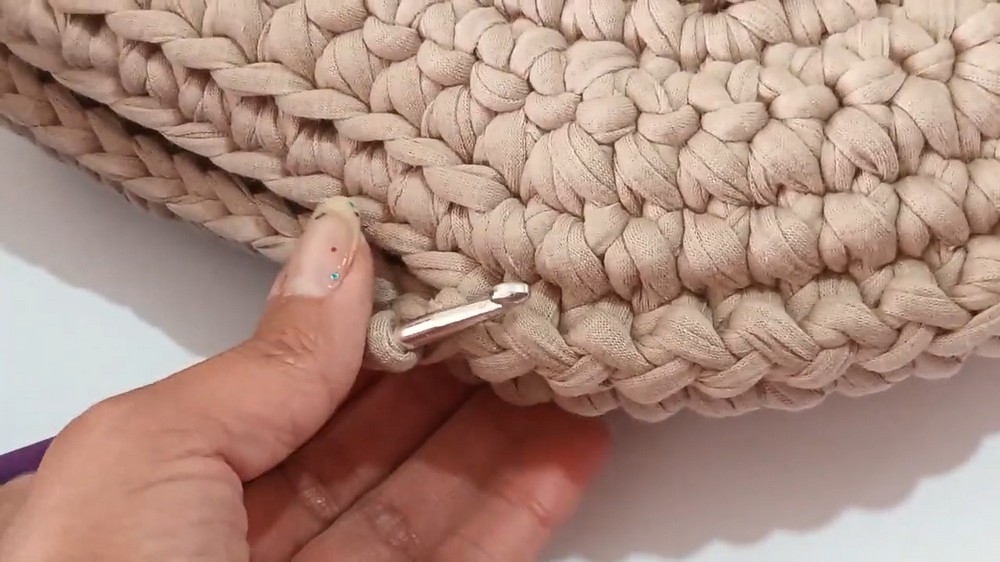
- Place the Magnetic Clasp
- Attach the magnetic clasp in a central position. Split the fabric into four parts to align the clasp securely.
- Adjust both sides so the clasp locks properly, ensuring a professional finish.
- Add Decorative Elements
- Use leftover yarn (cut into equal 40–50 cm strips) to add tassels or braids as optional decoration.
- Attach decorations using a needle or knotting to secure them at the corners or centered around the clasp.
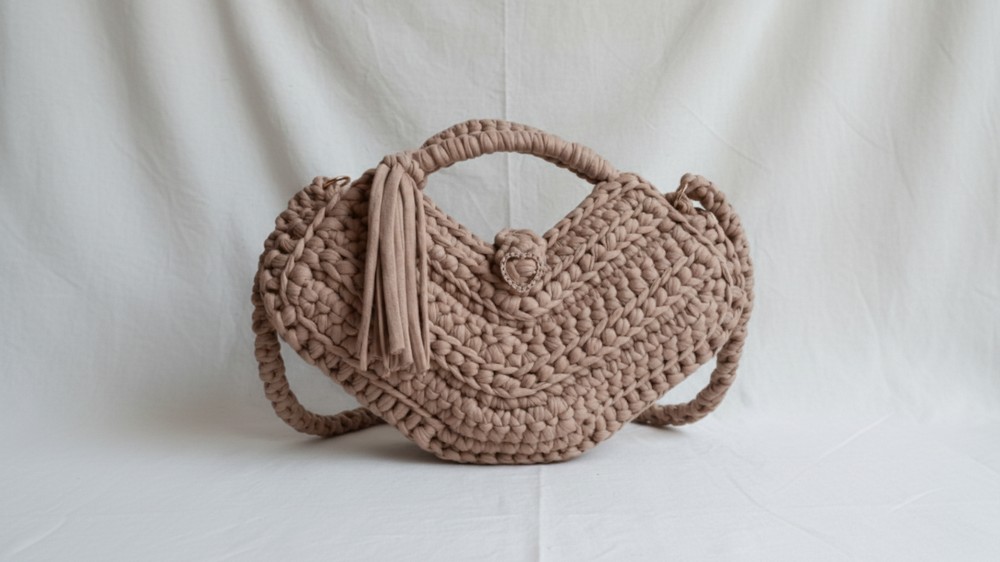
Measurements and Final Size
- Height: 17 cm.
- Width: 34 cm at the widest point.
- Handle Length: 72 cm.
- This design results in a large, wide purse that is perfect for carrying essentials. Adjust sizing by modifying the number of starting chains or rows.
Pattern Variations
- Color Variations:
- Use multi-colored yarn or ombre gradients for an exciting and colorful look.
- Incorporate stripes or alternating color schemes every few rows for contrast.
- Size Variations:
- For a smaller bag, reduce the initial chain length and rows.
- To make a larger tote-style bag, increase the starting chains by multiples of 5 and continue widening with additional rows as per the body pattern.
Tips for Success
- Maintain tension: Keep a uniform tension across all stitches to prevent an uneven look.
- Check alignment: Continuously check alignment while joining the edges or attaching the handle to ensure functionality and durability.
- Plan your design: Before working on decorative details or alternate colors, sketch or organize the plan to stay consistent.
- Test the magnetic clasp: Ensure it is properly secured to avoid loose connections during use.
Customization Ideas
- Add zipper pockets or linings with fabric for extra storage and durability.
- Use vibrant or textured yarn for a more premium look.
- Decorate with rustic wooden or metallic buttons, beads, or tassels.
Conclusion
By following this detailed step-by-step pattern, you can create a beautiful, practical, and stylish crochet bag. Perfect for a variety of uses, this bag combines elegance and versatility with your personalized touch. Whether for shopping, daily errands, or special occasions, this bag is a great accessory to showcase your unique taste. Experiment with color combinations and sizes, and make it truly your own.