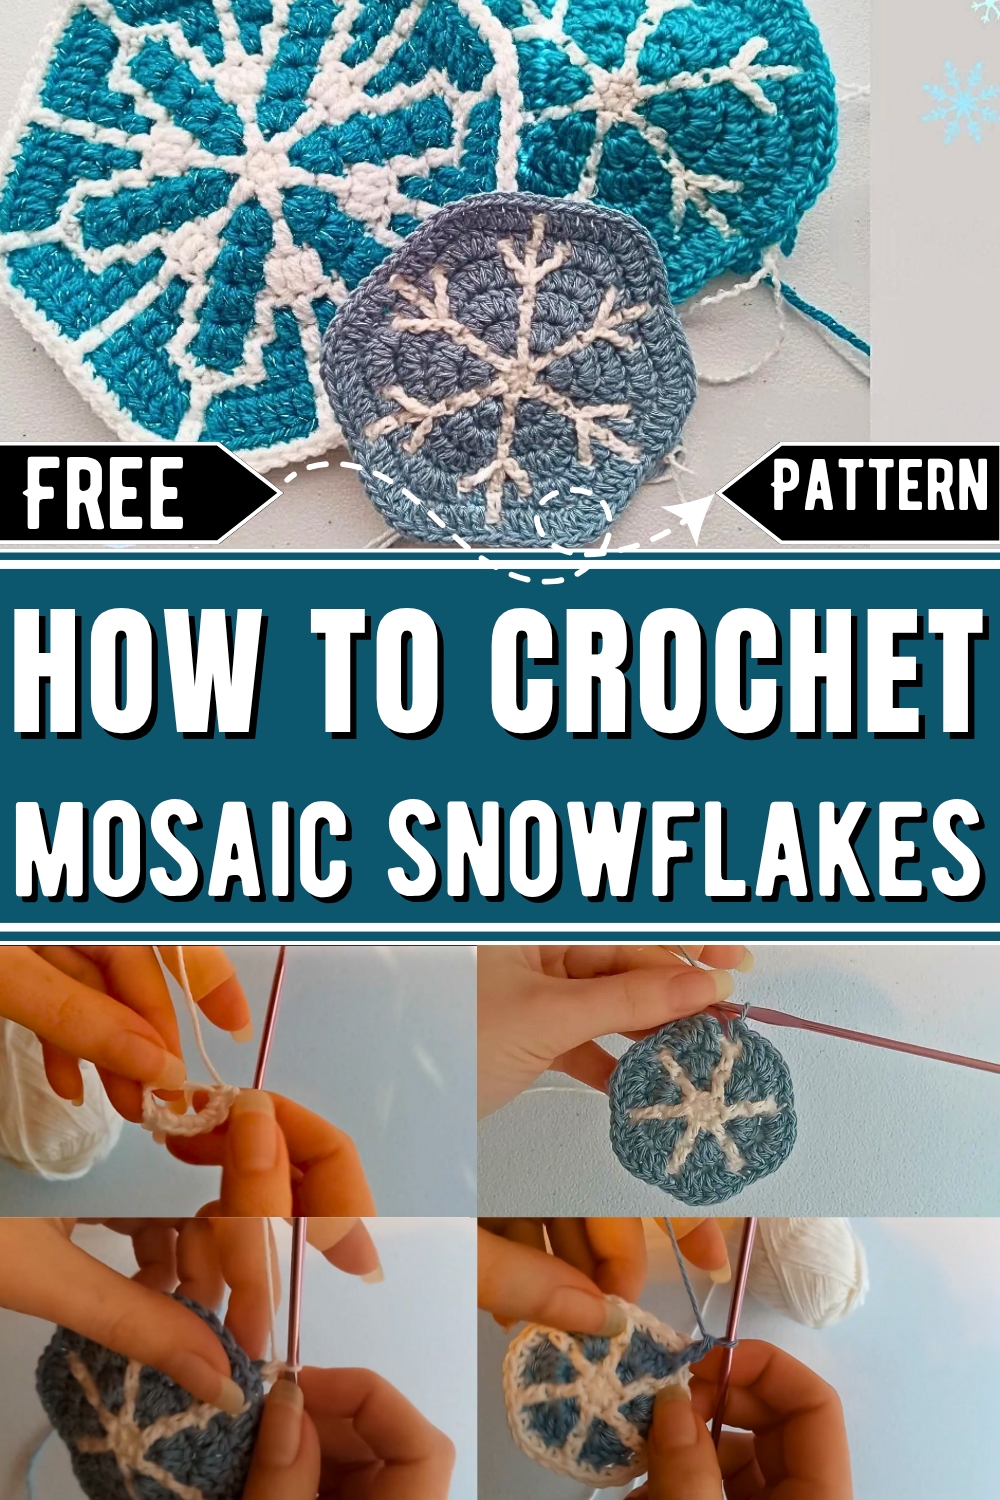
Bring the elegance of winter to your home with our free mosaic crochet snowflakes pattern; perfect for creating unique decorations and thoughtful handmade gifts.
Each snowflake is nature's masterpiece, no two ever the same, and this crochet pattern captures that individuality in yarn form. Mosaic crochet snowflakes bring the art of symmetry and texture to life, allowing you to create stunning decorations that evoke the essence of winter. This free pattern combines simple techniques with beautifully layered color arrangements, making it accessible for beginners yet satisfying for seasoned crocheters. The snowflakes can be used as charming holiday ornaments, delicate coasters, or striking accents for seasonal garlands and gift wrap.
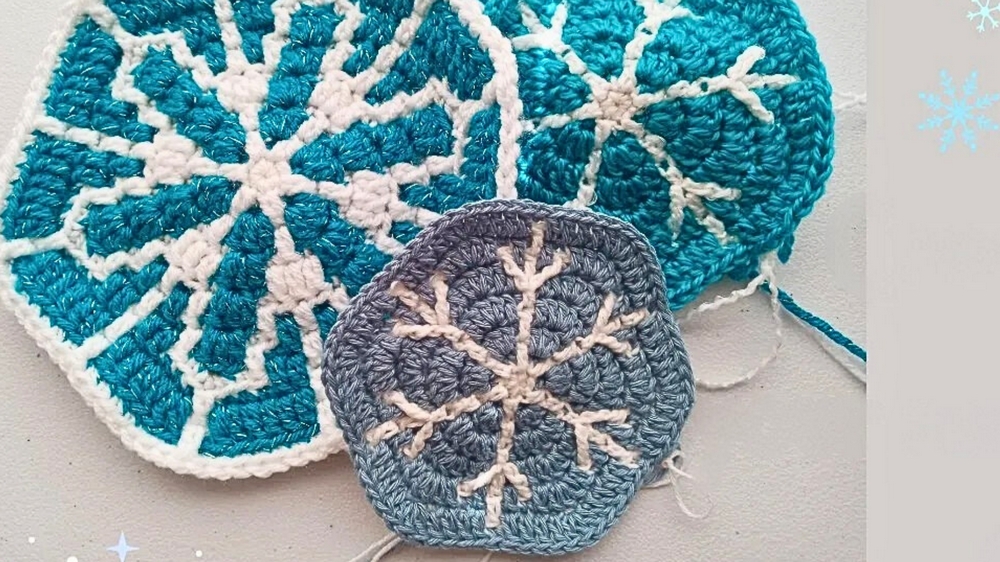
Mosaic Crochet Snowflake Creations
Beyond their beauty, crocheting snowflakes offers a quiet moment of creativity, helping to de-stress and focus your mind. These designs make perfect gifts, showcasing the unique connection between the giver’s effort and the handmade touch.
By using this pattern, you can transform yarn into elegant pieces that celebrate the magic of frosty days. Bright and colorful or soft and neutral, mosaic crochet snowflakes add warmth and charm to any space, capturing winter’s wonder in every stitch.
How To Crochet Mosaic Snowflakes
1. Materials Preparation
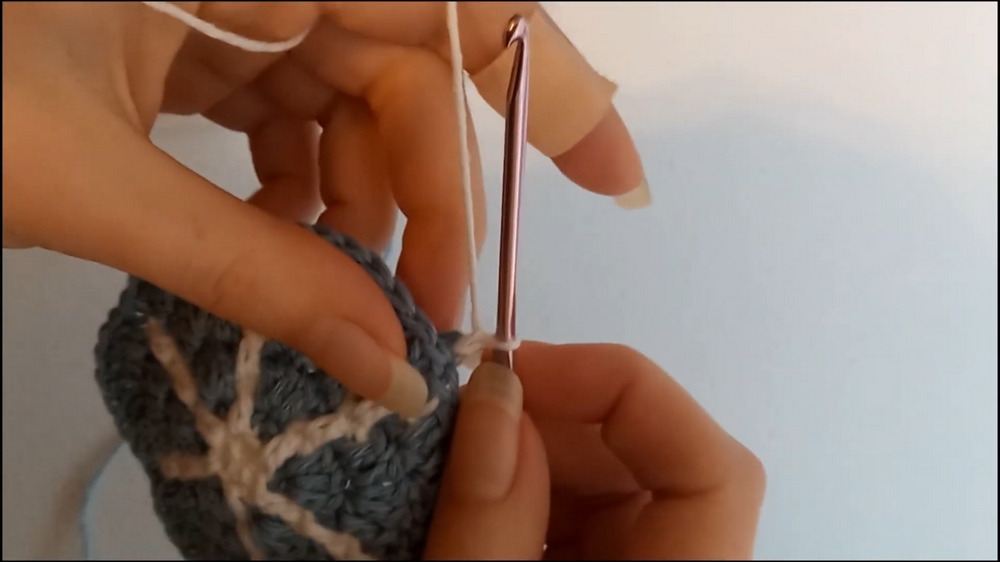
- Yarn Selection: Choose two contrasting yarn colors (e.g., white and blue) for the snowflake pattern.
- Tools: Crochet hook and scissors.
Introduction:
The pattern provides a comprehensive guide on creating unique and intricate Mosaic Crochet snowflakes using a combination of crochet techniques. This pattern combines single crochet, double crochet, and treble crochet methods with free-form designs, allowing you to crochet personalized snowflakes that can be used for winter-themed projects like blankets, cardigans, coasters, or custom decorations.
Step-by-Step Guide to Mosaic Crochet Snowflakes
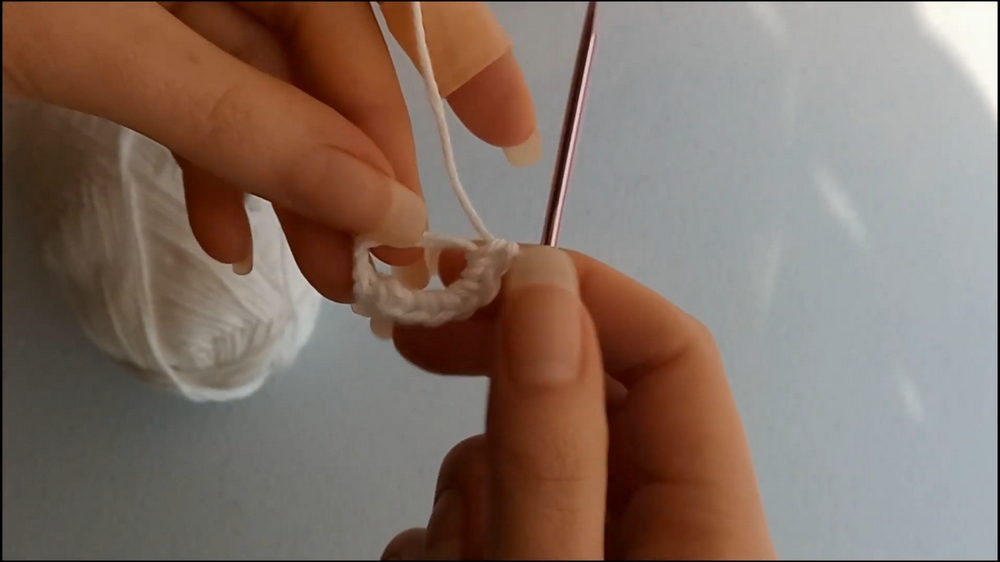
2. Start with a Magic Ring
- Create a magic ring and secure it with one chain stitch.
- Crochet 6 single crochets into the magic ring.
- Pull the magic ring tight to secure the stitches.
3. Invisible Join and Adding the Second Yarn
- Use the invisible join technique:
- Count back to the first single crochet.
- Insert your hook into both loops and pull the working loop through them.
- Attach the second yarn (e.g., blue) and create a chain stitch.
4. Round 2: Increasing in Back Loops
- For this round, work 2 single crochets in each back loop only (a total of 12 stitches).
- Finish round 2 by performing the invisible join with the first stitch.
5. Round 3: Begin the Snowflake Shape
- Increase Method:
- Add 2 single crochets in the back loop of the first stitch from the previous round.
- Skip the following stitch and make a double crochet into the front loop of the skipped stitch.
- Alternate between single crochet increases and double crochets into front loops for the round.
- At the end of the round, you should have 18 stitches total.
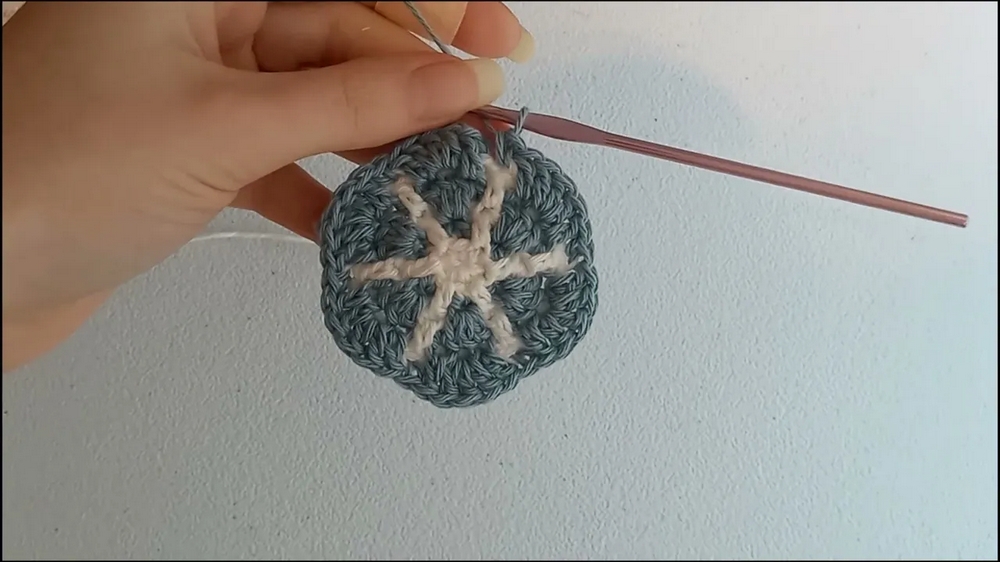
6. Round 4: Starting Double Crochet Spokes
- Continue with the pattern:
- You’ll align the increases in the middle of the snowflake spokes.
- Make 3 double crochets into a front loop in the designated spots.
- Single crochet into a back loop between double crochet sections.
- Finish this round with 24 stitches.
7. Round 5: Building Snowflake Structure
- Increase between spokes:
- Add 2 single crochets into the middle double crochet in the previous round.
- Make 1 single crochet into adjacent back loops.
- Use double crochet in front loops to extend spokes.
8. Round 6: Adding Outer Details
- Increase and customize spokes:
- Add double crochets to front loops.
- Make single crochets into back loops of certain stitches.
- Continue shaping the snowflake with symmetrical increases.
9. Round 7–8: Continuing Prong and Spoke Formation
- Add additional prongs using treble crochets worked into left or right side loops from double crochet stitches.
- Skip stitches as required to allow the treble stitches to extend outside.
10. Round 9: Free-Form Crochet for Star Points
- Begin "free-form" crochet techniques to craft expressive prongs.
- Treble crochet into specific loops to create pointed arms.
- Continue single and double crochets to enhance structure.

11. Rounds 10–12: Finishing the Snowflake
- Build final layers with increases:
- Add double crochets in front loops for depth.
- Use single crochets for smooth edges.
- Progressively create larger snowflake layers, completing up to 72 stitches on the final round.
Conclusion: Create Your Own Snowflakes
Congratulations! You have completed your first Mosaic Crochet Snowflake. This pattern is a perfect blend of Mosaic Crochet and free-form crochet, enabling you to crochet beautiful and unique designs. You can use the snowflakes in projects such as cardigans, blankets, coasters, or other winter-themed decorations.