Create a cozy Crochet granny square scarf Pattern that is easy to follow and perfect for beginners who want a colorful warm and stylish handmade scarf.
This is a timeless accessory rooted in the traditional granny square, which emerged in the 19th century as a popular way to utilize scrap yarn. Made from colorful yarn, typically wool or acrylic, and using simple crochet stitches, its modular design allows for countless variations in color and arrangement.
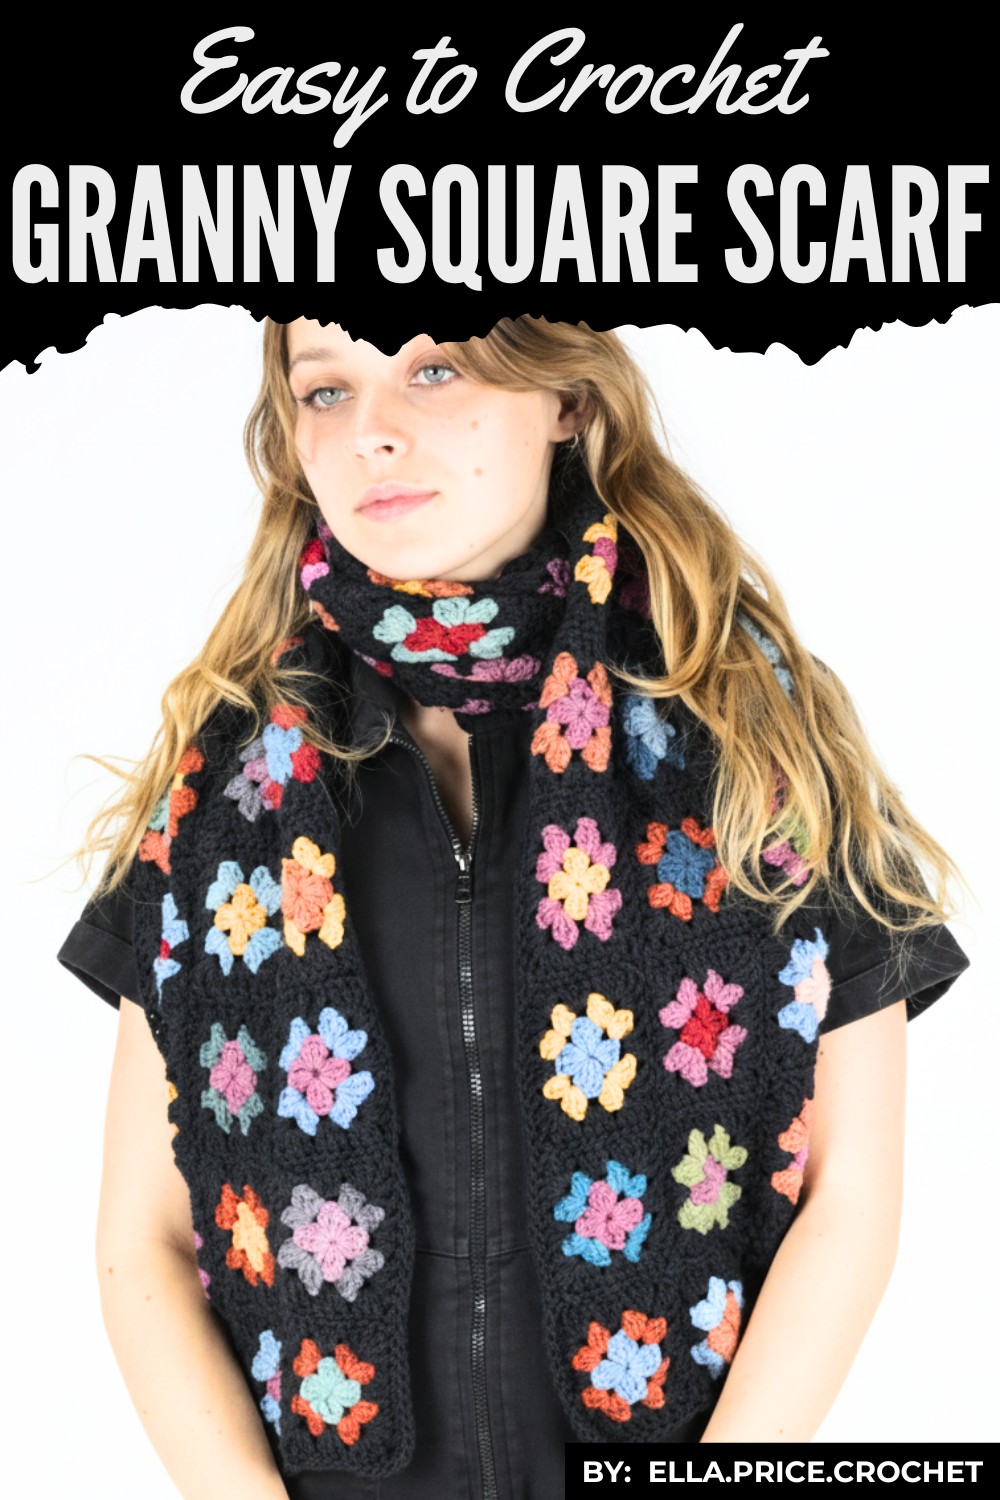
Vibrant Crochet Granny Square Scarf to Brighten Your Day
Styles range from bold, vibrant patterns to subtle, minimalist designs. Versatile in function, it works as a cozy scarf, a fashion statement, or even sustainable giftware. Celebrated globally, it reflects cultural creativity and craftsmanship, showcasing the enduring charm of crochet in both historical and modern fashion.
This step-by-step pattern will help you create a stunning and warm Granny Square Scarf consisting of 80 squares sewn together. Perfect for both beginners and advanced crocheters, this project is flexible, customizable, and a great way to use up scrap yarn.
Skill Level
Intermediate to Advanced
(Though great for motivated beginner crocheters as well)
Materials List
- Yarn:
- Scrap Yarn: For the inner and outer rounds of the granny squares (choose various colors).
- Main Color Yarn: Around 4 x 80m balls for the main color (you may need more or less, depending on your tension and scarf size).
Recommended yarn weight: DK (Double Knit) yarn or light worsted weight yarn.
- Crochet Hook:
- 4 mm (US G/6 hook)
- Scissors
- Embroidery Needle:
- For sewing loose ends and assembling granny squares together.
- Optional:
- Stitch Markers: For keeping track of rows or marking corners.
Key Abbreviations
- CH: Chain
- SC: Single Crochet
- DC: Double Crochet
- SL ST: Slip Stitch
- Cluster: 3 DC stitches worked into the same space.
- Corner Space: Chain-2 spaces found in each corner of the granny square.
Special Notes
- Gauge: Exact gauge is not critical; however, ensure all squares are uniform in size by maintaining consistent tension.
- Terminology: The pattern is written using US Crochet Terminology.
- Color Choices: The pattern allows for flexibility with colors. Use as many scraps as you like for variation or stick to a few alternating colors for a cohesive look.
Pattern Instructions
Step 1: Creating a Granny Square
Each square has 3 rows in individual colors. Follow these steps to create one square:
Row 1: Inner Circle
- Create a Slip Knot and insert it onto the 4 mm hook.
- Chain 4 (CH4), and then join with a Slip Stitch (SL ST) into the first chain to form a ring.
- Chain 3 (CH3)—this counts as your first DC.
- Work 2 DC into the ring, forming a cluster of 3 DC (the CH3 + 2 DC).
- Chain 2 (CH2) to create a corner.
- Continue working clusters of 3 DC separated by CH2 into the center of the ring until you form 4 clusters with 4 corners. (3 DC in each cluster and CH2 after every cluster).
- To close the round: After the final CH2, Slip Stitch into the top of the starting CH3.
- Fasten off and cut the yarn. Pull the loose end through to secure.

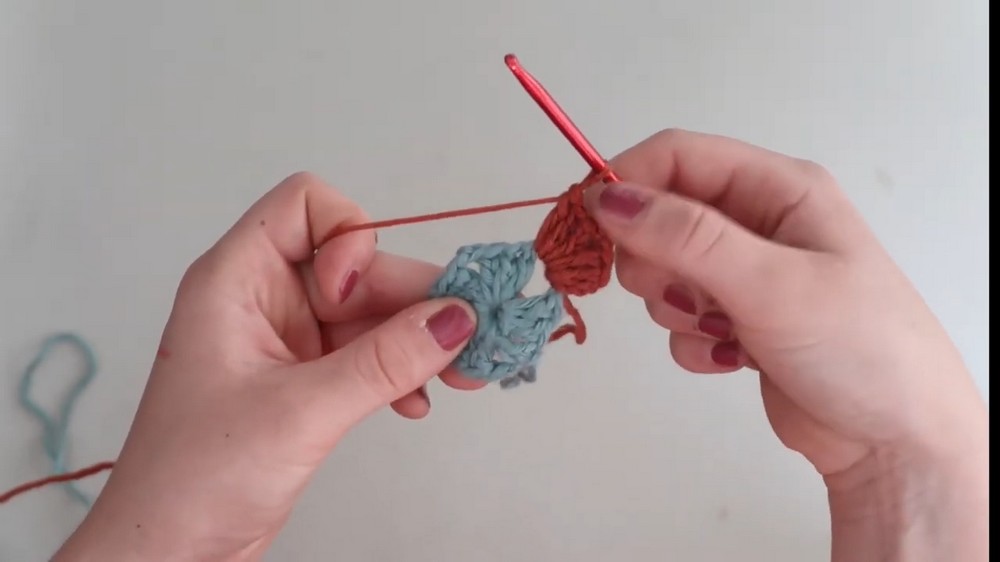
Row 2: First Round
- Choose your second color and tie it onto any CH2 corner space from Row 1.
- Chain 3 (CH3)—this counts as your first DC.
- Into the same CH2 space, work 2 more DC to form a cluster.
- Chain 2 (CH2) (this forms the corner) and then work another 3 DC cluster into the same CH2 space.
- Move to the next corner, working (3 DC, CH2, 3 DC) into the next CH2 space.
- Repeat this for the remaining 2 corners of the square.
- After working into all corners, Slip Stitch into the top of the starting CH3 to join, and fasten off.
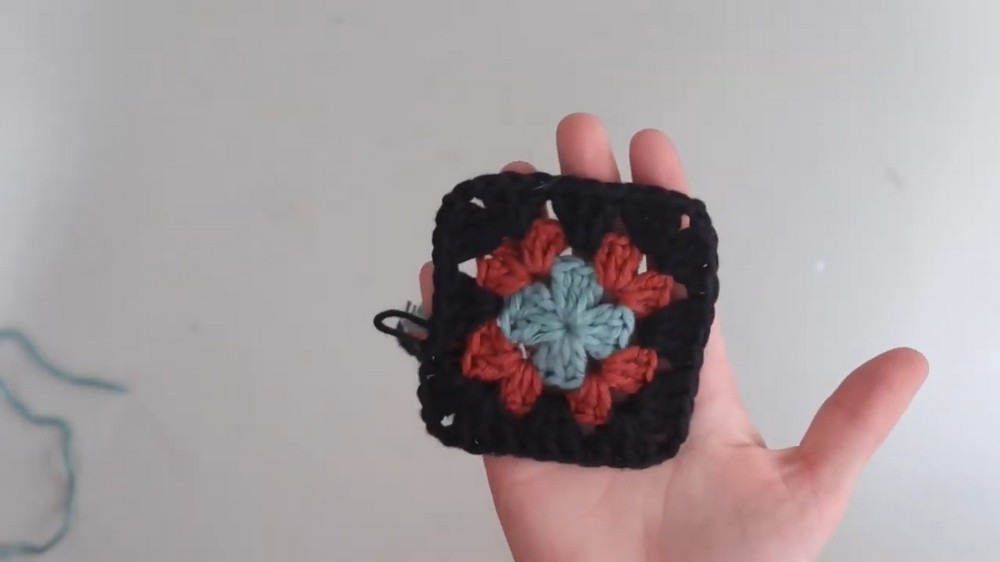
Row 3: Outer Round
- Choose your third color and attach it with a knot in any CH2 corner space.
- Start with CH3 (counts as first DC). Work 2 DC into the same CH2 corner space to form the first cluster.
- CH2 to form corner, and work another 3 DC into the same corner space.
- For side spaces (non-corner spaces), work 1 cluster of 3 DC into each side CH space (skip directly to the next gap without chaining).
- Continue around the square by repeating Step 3 for each corner and Step 4 for each side space.
- Close the round by joining with a SL ST into the top of the starting CH3.
- Fasten off and cut the yarn, leaving a small tail for weaving later.
Step 2: Making Additional Squares
- Make 80 squares in total.
- The tutorial suggests using 20 different colors for variety, but the color palette is up to your creativity.
- Ensure all finished squares are the same size by maintaining consistent tension and using the same yarn and hook.
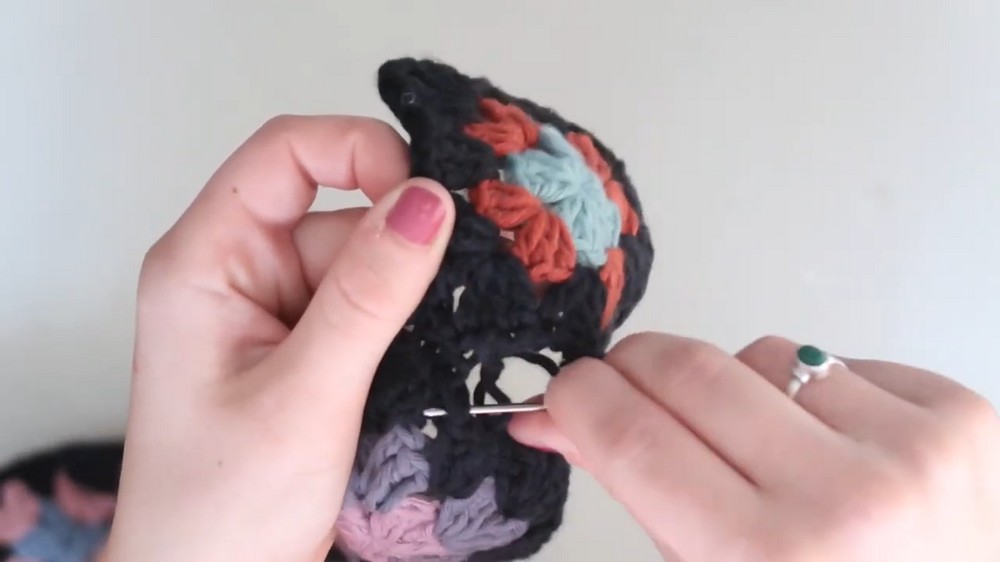
Step 3: Sewing the Squares Together
- Arrange the Squares:
- Lay the squares flat in the desired pattern and decide how many rows and columns you want. The tutorial suggests 20 squares long and 4 squares wide, but feel free to customize it.
- Thread an Embroidery Needle:
- Measure a length of yarn approximately twice the distance of the row or column you’re attaching. Thread this into the needle.
- Sewing Process:
- Hold two squares together with their right sides facing.
- Work through the top loops of the corresponding stitches on both squares. Insert the needle under both loops and pull the yarn snug.
- Repeat this process, working through pairs of loops across one edge of the square.
- Tie off at the end and weave in ends.
- Repeat until all squares are joined into rows. Then, sew the rows together using the same method.
Step 4: Adding a Finishing Border
- Single Crochet Border:
- With your main color yarn, attach it at any edge of the scarf with a slip knot.
- Work SC (Single Crochet) evenly around all edges of the scarf. For each corner, place 3 SC to maintain the shape.
- Add multiple rounds of SC if desired for a thicker border.
- Weave in Loose Ends: Use a tapestry needle to neatly weave in all remaining yarn tails.
Final Measurements
- Width: 4 squares wide (customizable to your preference).
- Length: 20 squares long (customizable).
- Adjustments: Add or subtract rows and columns depending on your desired scarf size.
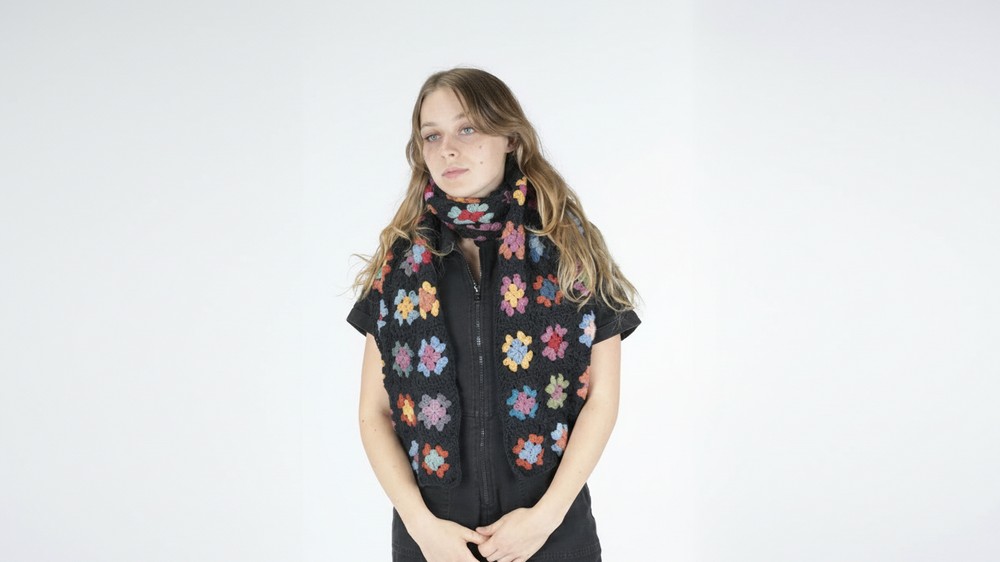
Conclusion
Your crochet granny square scarf is now complete! The finished scarf is a versatile, visually appealing, and cozy accessory. Whether you're using it for warmth or style, it’s a wonderful addition to any wardrobe.

Pattern Correction
- If you notice your squares becoming uneven, check your tension or verify you are working into the correct stitches and chain spaces.
- Always ensure corners have clusters of 3 DC, CH2, and another 3 DC to maintain a proper square shape.
Tips for Success
- Choose the Right Yarn: Use similar weights of yarn for consistent square sizes.
- Blocking: After joining all squares, block the scarf to ensure it lays flat and maintains its shape.
- Speed Up Production: Complete all squares in one go before sewing them together.
- Avoid Tangles: When using scrap yarn, organize and wind your yarn beforehand to avoid tangles.