Leap into charm with this Free crochet Frog Pattern, making cute, soft frogs that bring playful joy, whimsical touches, and sweet style to any collection.
Frogs often capture attention with their bright colors and playful movements, making them a favorite motif for soft, cheerful projects. This free crochet frog pattern turns simple yarn into a charming companion with rounded eyes, plump limbs, and a friendly expression that brings instant delight.
Whimsical Crochet Frog Pattern for Children to Enjoy
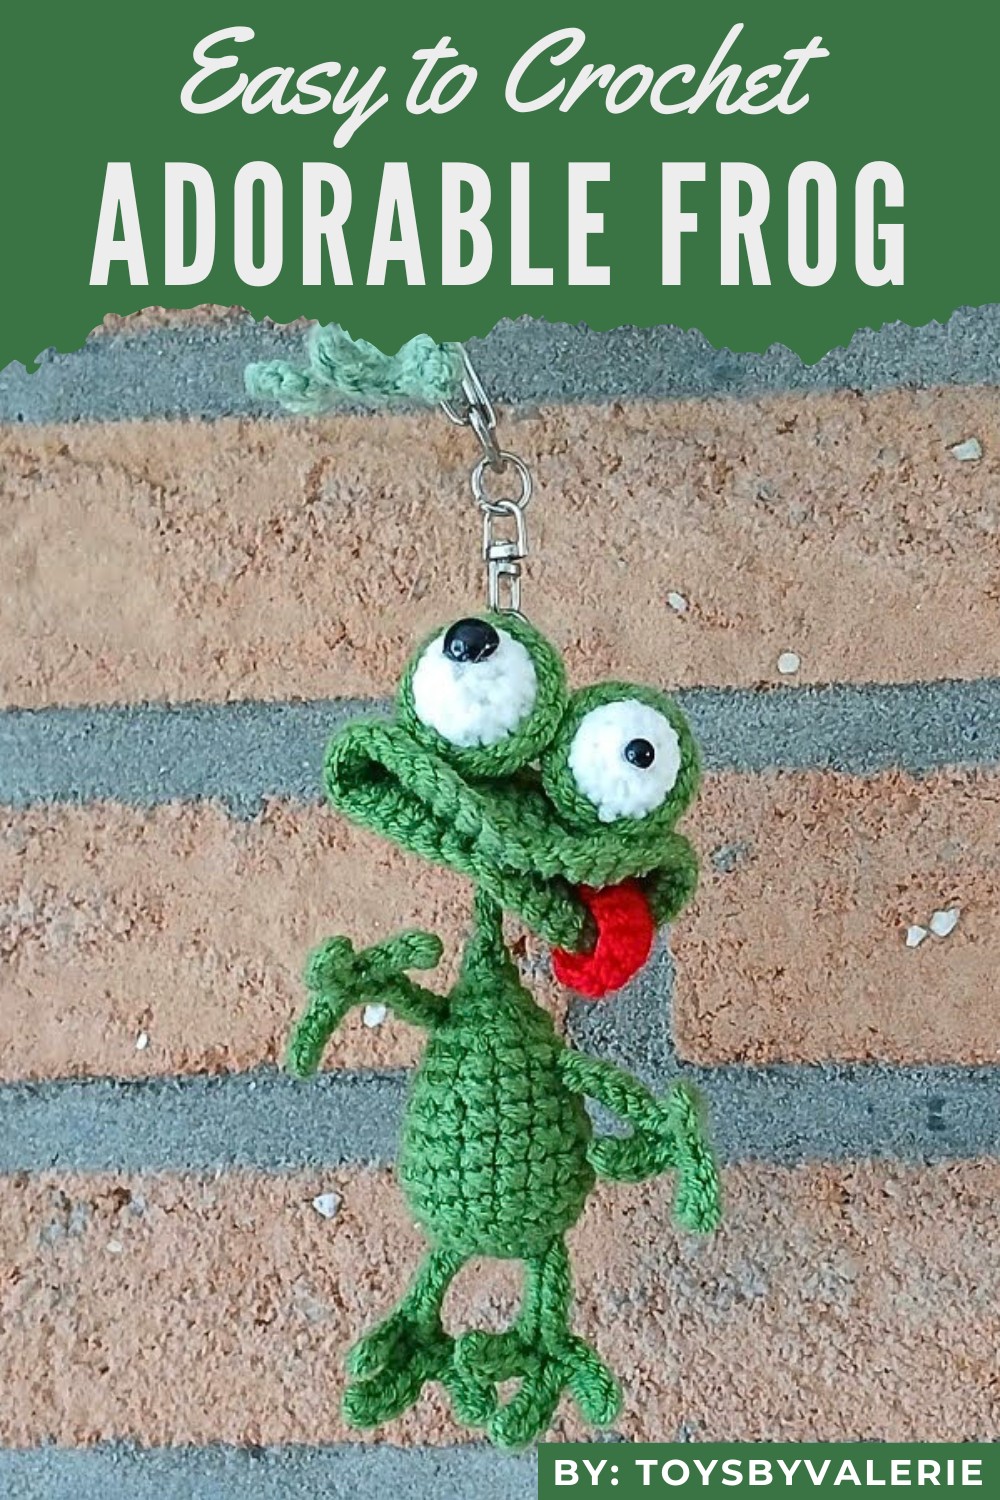
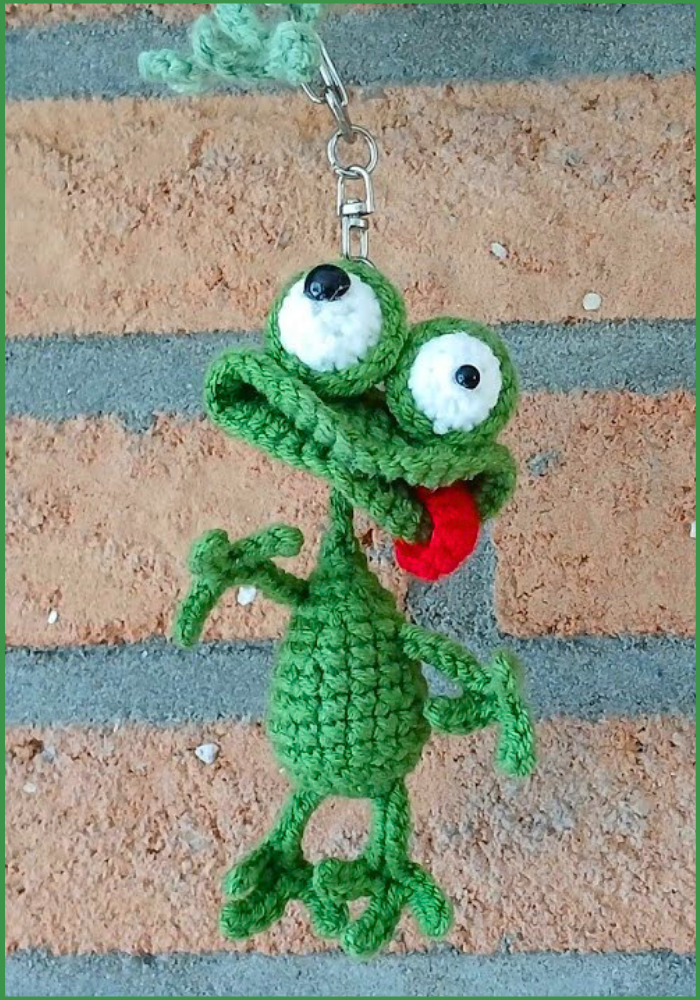
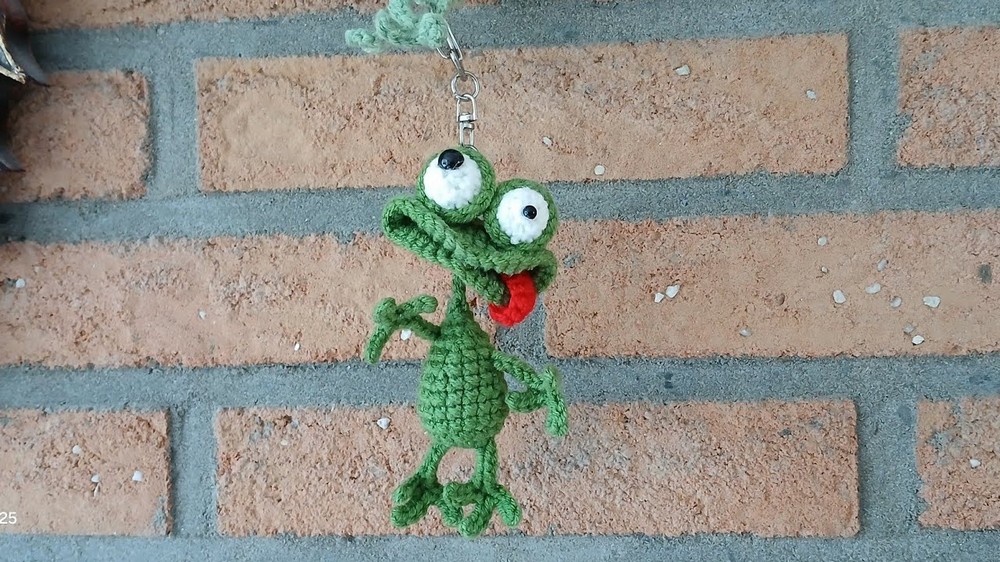
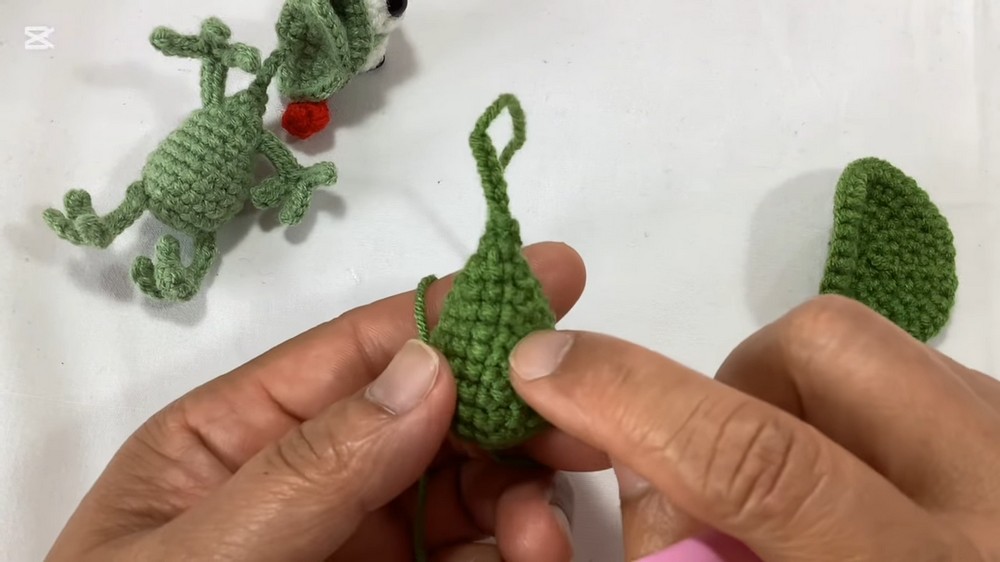
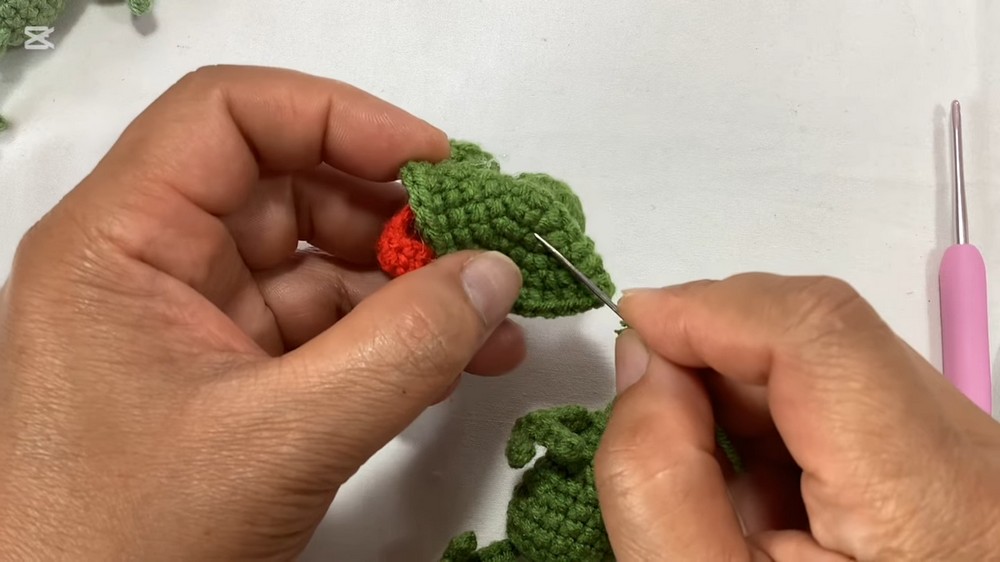
This tutorial guides you through crocheting an adorable Amigurumi figure, which the instructor describes as either a "frog" creature. You will work in separate pieces head, body, eyes, tongue, and limbs—and then assemble them to create a charming, unique soft toy.
Uses
-
Attach a ring to use the figure as a Keychain.
-
Use it as a small, decorative Hanging Charm.
-
Gift it as a tiny Soft Toy or desk ornament.
Materials
-
Yarn: 3-ply yarn in three colors: Green (main body), White (eye details), and Red (tongue).
-
Hook: A crochet hook suitable for your chosen yarn size.
-
Eyes: Two pairs of round safety eyes (or beads) in contrasting sizes (e.g., 7mm and 4mm) to create the unique "uneven eye" look.
-
Stuffing: Synthetic fiberfill for stuffing the head, body, and eyes.
Tools: Tapestry needle for sewing, scissors, and glue (for the tongue).
Whether used for decoration, gifting, or simply adding whimsy to daily life, this amigurumi frog stands out for its charm, practicality, and the heartwarming satisfaction attached to something made with time and care, bringing simple happiness to many.
Its small size makes it perfect for home décor, nursery shelves, desk accents, or even a lighthearted keychain that adds fun to everyday routines. The soft texture offers comfort, while the lively green tones provide a refreshing pop of color wherever it is placed.
Working through each step encourages calm focus, allowing the maker to enjoy a soothing and rewarding pastime that leads to a meaningful result. Once finished, this frog becomes a thoughtful handmade gift, offering warmth and personality that store-bought toys rarely match.
It can serve as a playful collectible, a cute desk companion, or a sweet reminder of nature’s charm.
Durable, adorable, and full of character, it brings joy to children and adults alike.
About Pattern
Special Features
-
Quirky Design: The instruction utilizes two different-sized safety eyes on a single creature, lending it a unique, humorous character.
-
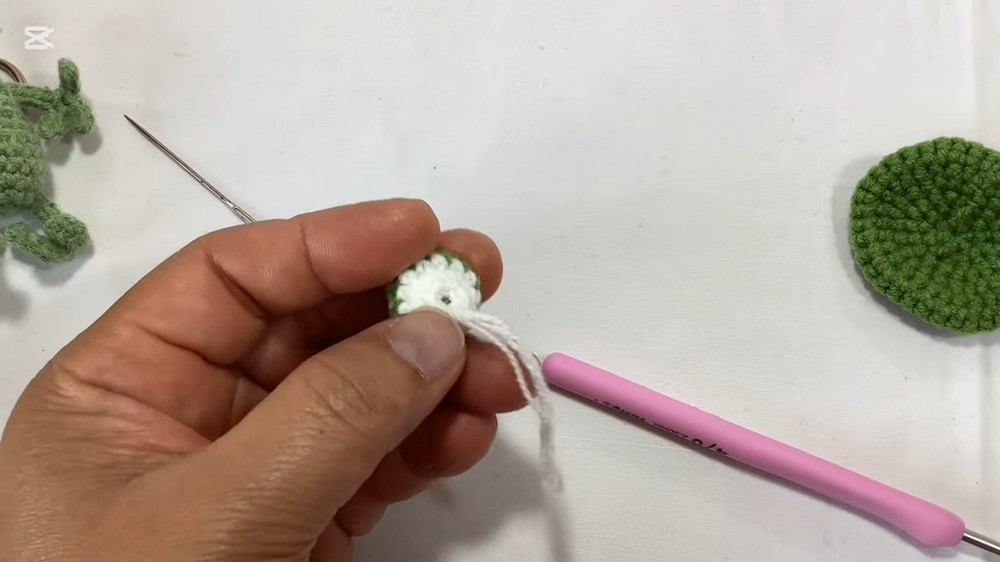
Layered Eyes: You crochet the eyes in two parts—a green outer cup and a white inner socket—to give them a distinct, three-dimensional look.
-
Shape: You build the head and body using classic Amigurumi increase and decrease techniques, resulting in a firm, rounded shape.
Level of Difficulty
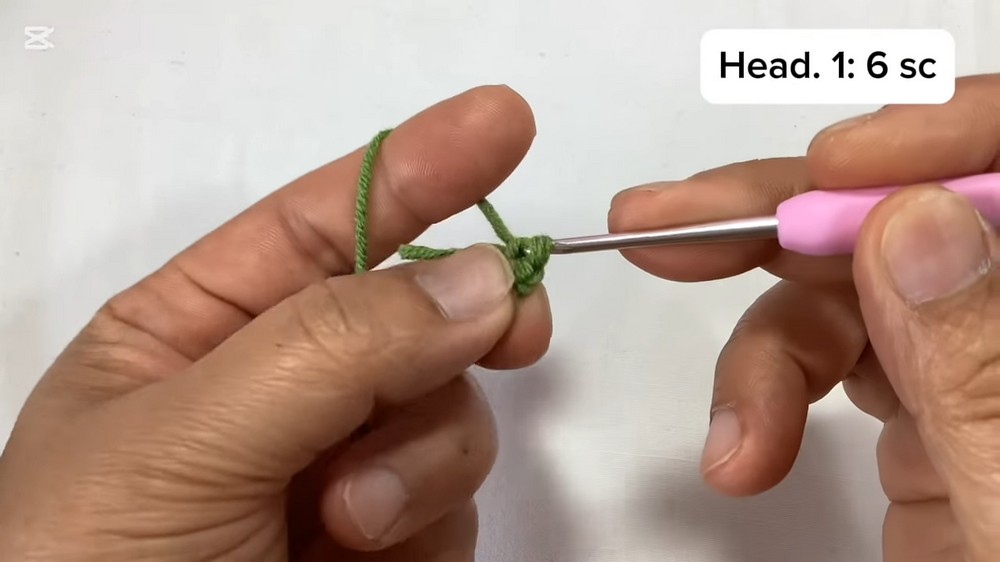
This project is for Intermediate crocheters. It requires proficiency in basic Amigurumi techniques, including working in the round, systematic increasing and decreasing, and careful assembly of small pieces.
Tutor's Suggestions
-
Eye Placement: Utilize a large eye on one side and a small eye on the other, or place one large and one small eye on each eye piece to achieve the desired unconventional look.
-
Stitching Method: You can choose to use a Slip Stitch (SL ST) to close each round or work in continuous spiral rounds, based on your preference.
-
Limb Orientation: When you sew the arms and legs onto the body, ensure you adjust the piece so the "fingers" and "toes" are facing the direction you want (e.g., the palm down or forward).
Step-by-Step Details
Conclusion
You have successfully crocheted and assembled this unique Amigurumi figure, defined by its charming, uneven eyes and distinct shape. This small toy is ready to be used as a keychain or hanging accessory.
Tip
Mind the Limb Direction: When sewing the arms and legs onto the body, secure the first stitch in a position that ensures the "fingers" and "toes" point forward, not backward, for a natural, appealing look. You may need to flip one of the pieces after finishing to match the orientation of the corresponding limb on the opposite side.