Wear a cozy playful outfit with Crochet Overalls Pattern that lets you create a comfortable stylish piece perfect for gifts home wear and casual fun.
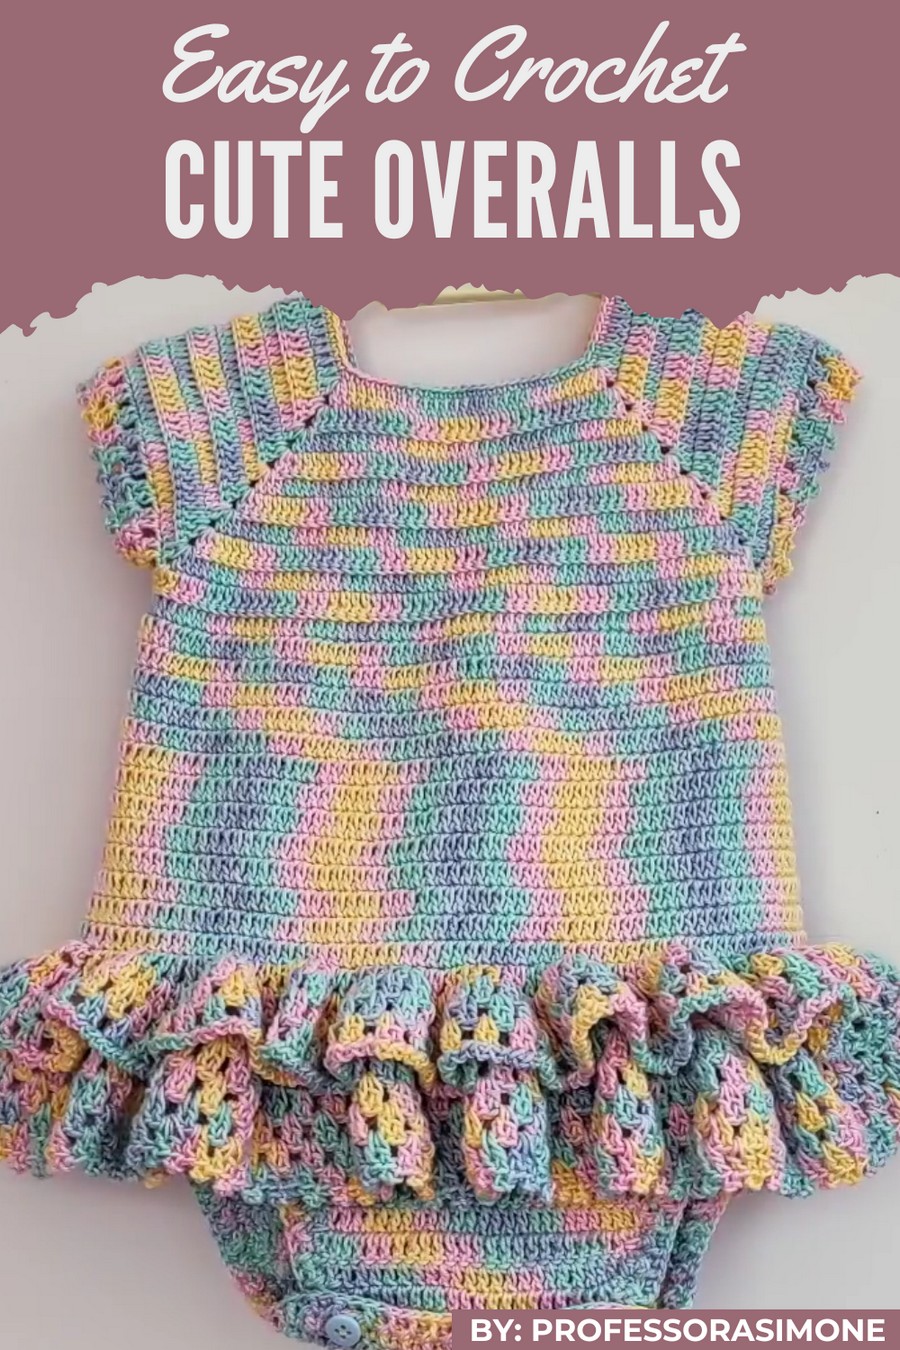
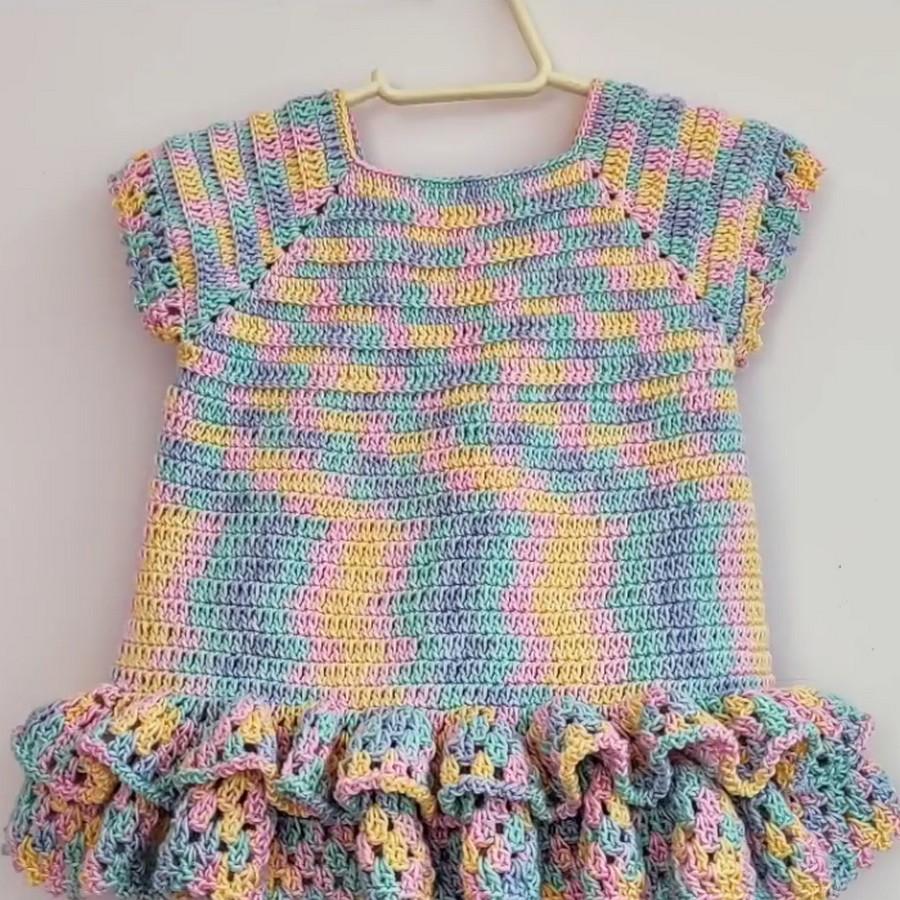
Ordinary outfits can sometimes feel plain, but this soft handmade creation brings charm, comfort, and style together perfectly. The Crochet Overalls pattern shows a cute, cozy garment made with soft yarn and neat stitches, featuring straps, pockets, and a simple yet adorable design that looks lively and friendly.
Fast & Fun Crochet Overalls Pattern for Any Skill Level
They can be worn by babies or kids at home, for outings, or even as a cute photoshoot outfit, and they also make a thoughtful handmade gift. Its most special features are the soft texture, adjustable straps, and durable construction, which make it unique, comfortable, long lasting, and perfect for adding a playful handmade touch to everyday wear.
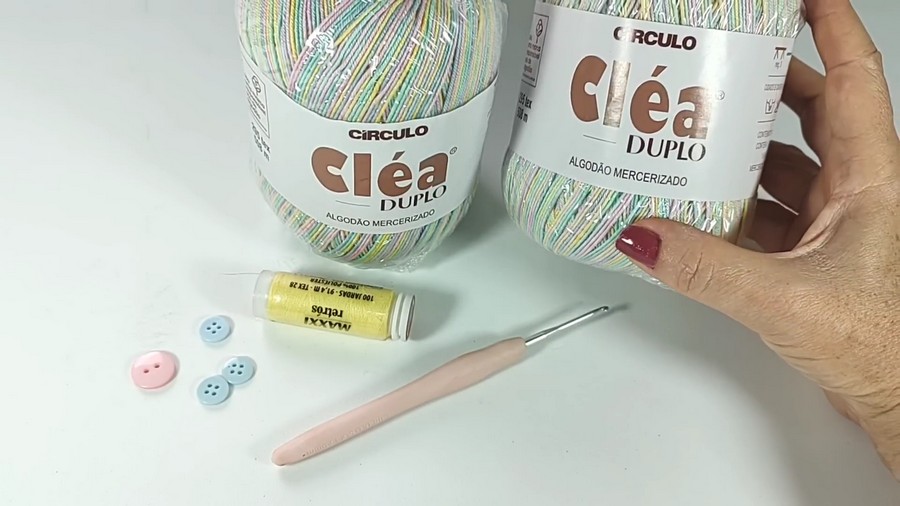
Necessary Materials
- Yarn:
- Two skeins of Cléa double yarn from Círculo (or a fine lightweight yarn of your choice).
- Crochet Hook:
- Size 1 crochet hook (or recommended hook size for your chosen yarn).
- Sewing Needle & Thread:
- For button attachment.
- Buttons:
- Three buttons for bottom closure (size can vary depending on preference).
- Stitch Markers:
- Essential for marking divisions and shaping segments.
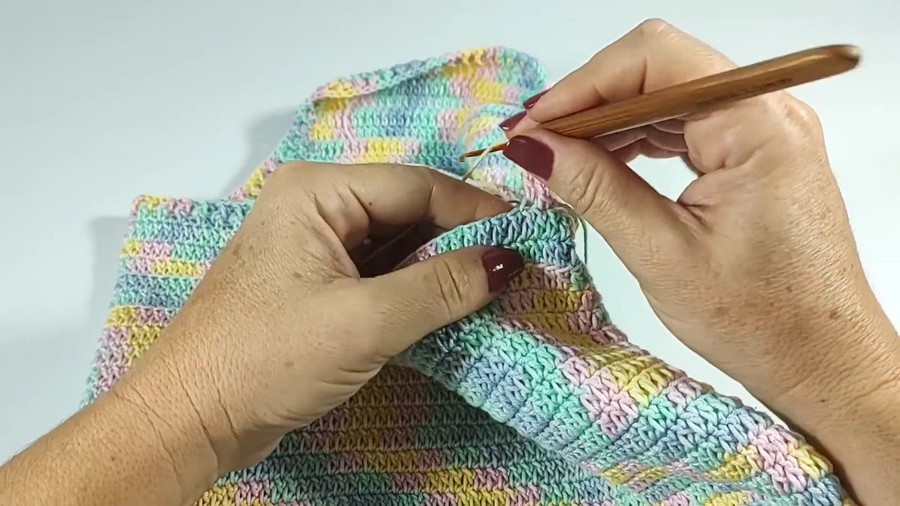
Step-by-Step Instructions
Part 1: Bodice Base Preparation
- Foundation Chain:
- Begin with 94 chain stitches.
- Double Crochet Row:
- Skip the first 3 chains after the foundation and begin working double crochet stitches in the 4th chain.
- Continue with 1 double crochet stitch per chain, totaling 12 stitches.
- Count your initial 3 skipped chains as part of the stitch count.
- Fan Stitch Division:
- After the 12 stitches, create the first division using a Fan Stitch in the next chain (2 double crochets, 2 chains, and 2 double crochets in the same chain space).
- Mark this division if needed using stitch markers.
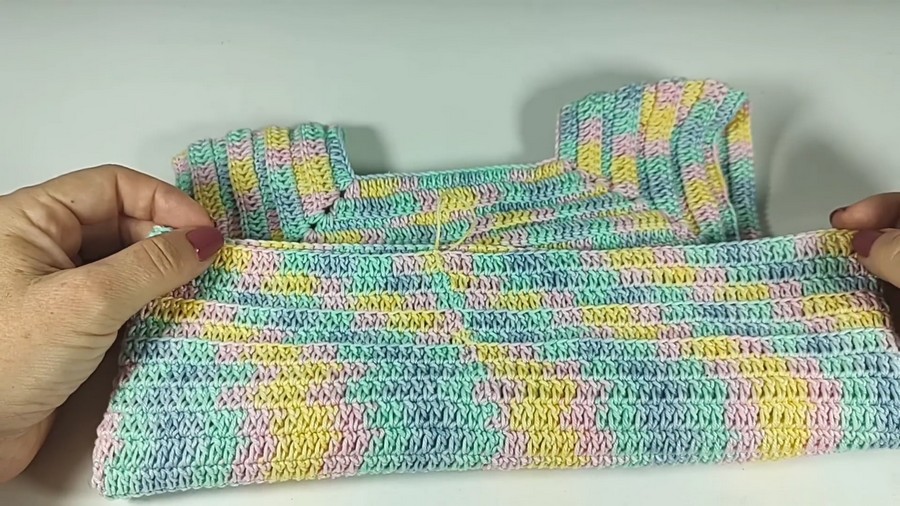
Part 2: Structured Sections
Sleeve Formation
- Work 20 double crochet stitches for the first sleeve section.
- Add a Fan Stitch to divide.
Front Section
- 24 double crochet stitches for the front bodice.
- Repeat the Fan Stitch for separation.
Second Sleeve Section
- Create 20 double crochet stitches, followed by another Fan Stitch.
Back Section
- Work 12 double crochet stitches on each side to complete the back section.
- Summary: After completing this structure, you will have 12 stitches for each side of the back, 20 stitches for each sleeve, and 24 stitches for the front bodice, separated by fan stitches.
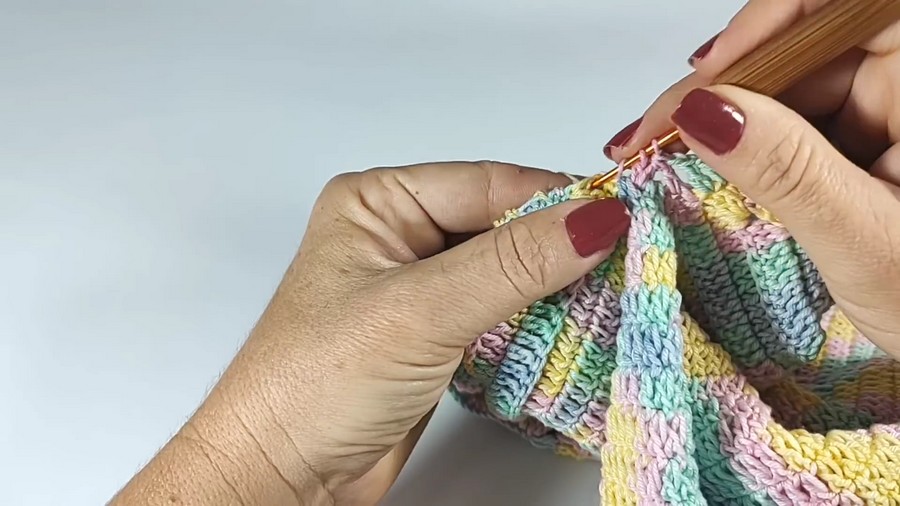
Part 3: Body Construction
- Work Rows:
- Work 9 rows of back-and-forth double crochet stitches, picking up only the back loops to create texture.
- Repeat fan-over-fan stitches at each division to maintain the shape.
- Armhole Separation:
- In the 10th row, begin closing the armholes.
- Join using chains between fans to complete the armholes.
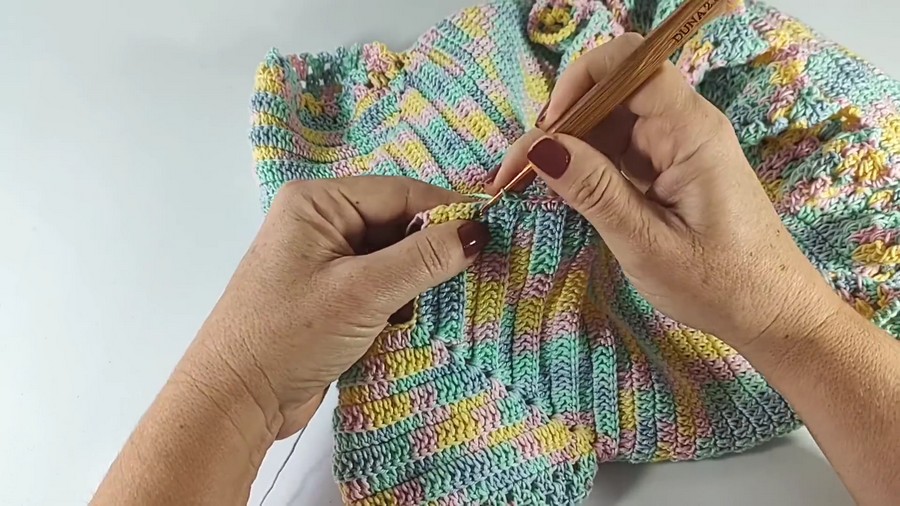
- Body Rows:
- Switch to working in circular rounds after the armholes are complete.
- Work double crochet stitches, picking up both loops of the stitch, for a smooth, continuous texture.
- Continue for approximately 14 rows.
Part 4: Ruffled Skirt Section
- Preparation:
- Begin working on the ruffles using the front loops previously left unworked from the bodice rows.
- Ruffle Rows:
- First Row: 1 double crochet, 1 chain stitch (repeat across).
- Second Row: 2 double crochet stitches in chain spaces, separated by 1 chain stitch.
- Repeat for four rows to create layered ruffles.
- Finishing Touch (Picot):
- Add elegant picot edging on the final ruffle row:
- Work 3 chains after each block and close with a slip stitch to form a picot.
- Add elegant picot edging on the final ruffle row:
Part 5: Panty Shaping and Finishing
- Separation:
- Fold the bottom section neatly and use markers to separate stitches:
- 10 stitches for back, 15 stitches for front per side (total 25 stitches per side).
- Fold the bottom section neatly and use markers to separate stitches:
- Reduction:
- Decrease stitches at the beginning and end of each row for both front and back sections until achieving proper shaping (12 rows for back, 8 rows for front).
- Edging:
- Finish panty edging with half double crochet stitches worked evenly across rows.
Button Placement
- Sew three buttons along the lower edge of the crotch area, spaced evenly using a needle and thread.
- Use the existing crochet stitches as buttonholes for closure.
Tips
- Check Tension: Ensure consistent tension across rows to achieve a uniform finish.
- Use Stitch Markers: Employ markers for sections like sleeves, front, and back to avoid miscalculations.
- Count Often: Keep track of stitch counts regularly to ensure accuracy.
- Block Your Finished Piece: Blocking helps smooth out stitches and align ruffle layers beautifully.
Creative options
Size Variation:
Adjust the foundation chain length and the number of rows for bodice and skirt sections to scale the size. Use these approximate measurements:
- For Newborn-Sized Bodysuit: Reduce by 10 stitches across the foundation chain and decrease rows in each section proportionally.
- For Larger Size: Increase the chain and row count, keeping proportions consistent.
Color Options:
- Use single-color yarn for a classic look or experiment with multi-colored stripes in the bodice and skirt for a playful finish.
- Alternate ruffle rows with complementary colors to create layered vibrancy.
Ending notes
This baby bodysuit design results in a practical yet stylish piece featuring textured layers, gentle ruffles, and secure button closures. Its elegant structure pairs functionality with charm, making it ideal both for casual wear and gifting.
As you complete this project, enjoy the satisfaction of seeing your crocheted masterpiece form beautifully while adding personal touches like color changes or embellishments. With this thoughtful crocheting process, you're sure to create a keepsake treasured by anyone who uses it.