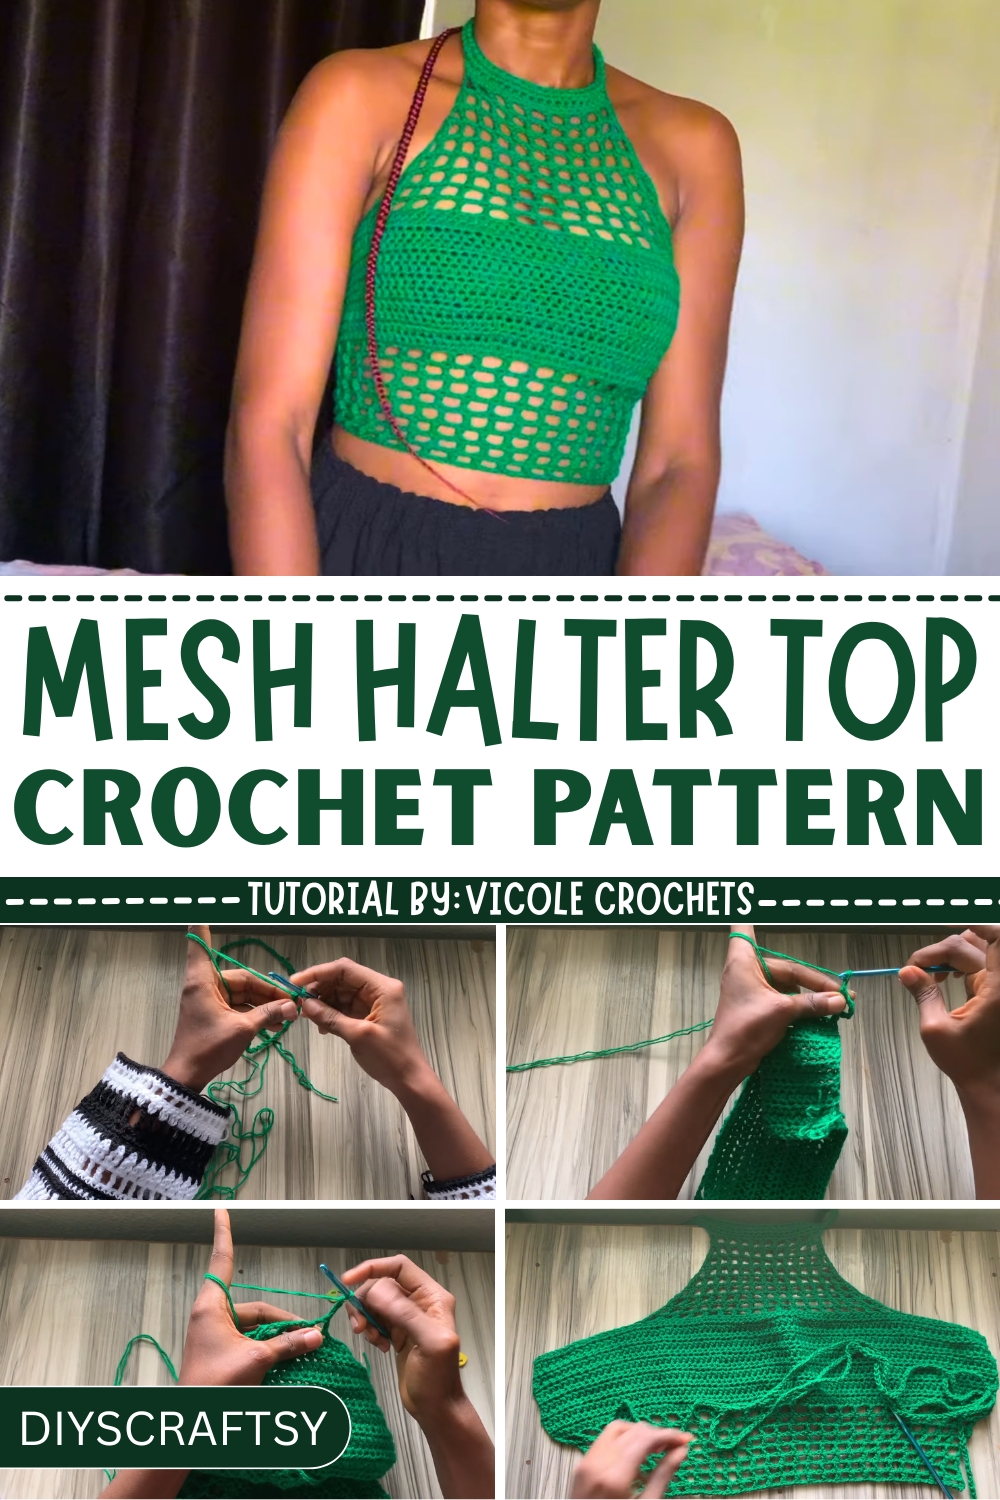
Breathe life into your summer wardrobe with the Crochet Mesh Halter Top Pattern, offering style, comfort, and endless versatility for any occasion.
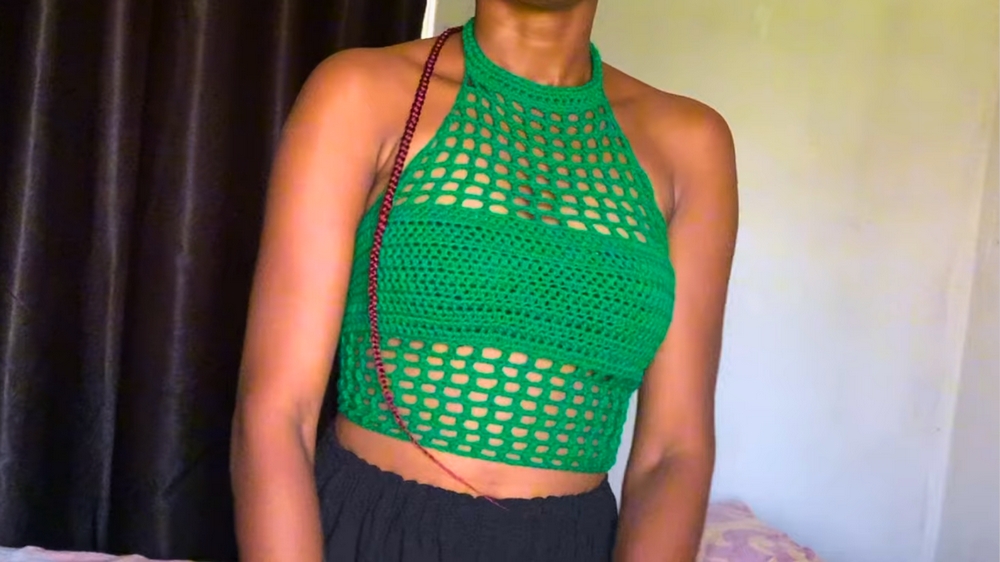
Lightweight, breathable clothing is essential for warm weather, offering both comfort and freedom of movement. A mesh halter top perfectly fits this need, balancing airy elegance with practicality. Its open-weave construction keeps you cool on sunny days, while the halter neckline adds a flattering touch that complements various body types. Designed for versatility, this wardrobe essential seamlessly transitions across occasions, whether layered over a bralette for a casual outing, paired with shorts at the beach, or styled with skirts for a sophisticated look.
Easy Crochet Mesh Halter Top Pattern to Make Now
What sets it apart is its flexibility it allows for customization with a wide range of colors, yarns, and textures, making each piece uniquely yours. It’s also an eco-friendly option, giving you the opportunity to reuse leftover yarns or choose sustainable materials for a more mindful approach to fashion. This stylish piece enhances any outfit, offering a subtle balance of functionality and charm.
In addition to its timeless appearance, it encourages creativity and self-expression, making it more than just another garment in your closet. The mesh halter top is the perfect combination of fashion-forward design and practicality, giving you a lightweight, versatile staple that suits both your individuality and day-to-day comfort.
Step-by-Step Details
Step 1: Gather Materials
The instructor suggests gathering the following materials:
- Yarn: Two balls of yarn
- Crochet Hook: 5 mm crochet hook
- Stitch Markers: To mark stitches
- Scissors: For cutting
- Measuring Tape: To take the necessary measurements
Step 2: Measure Your Bust Area
- Use a measuring tape to measure your bust area for the top’s fit.
- Leave some space for the crisscross design at the back.
- The chain should match the bust measurement but leave some chain length to account for the crisscross styling.
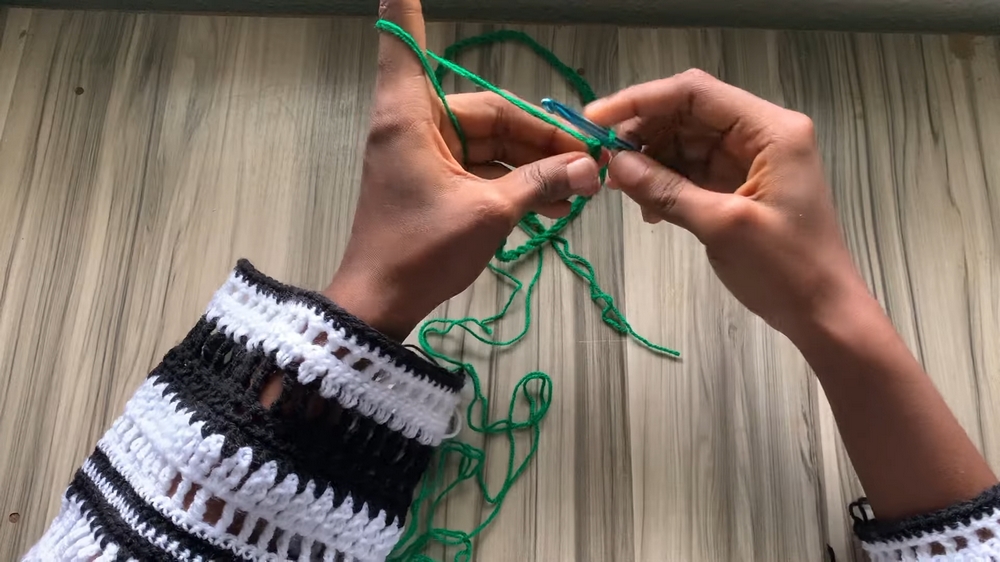
Step 3: Create the Base Chain
- Start by creating a slip knot.
- Make a chain of 79 stitches (or adjust according to your measurement needs).
Step 4: Begin Half Double Crochet Rows
- Work half double crochet (HDC) stitches in every chain. Skip the first chain as your turning chain.
- Repeat HDC rows until you complete a total of 12 rows or until the rows are long enough to cover your bust area.
- Ensure the final stitch in each row is consistent to prevent the work from decreasing unintentionally.
Step 5: Create Mesh Rows
- To start the mesh pattern, make a chain of 5 and turn your work.
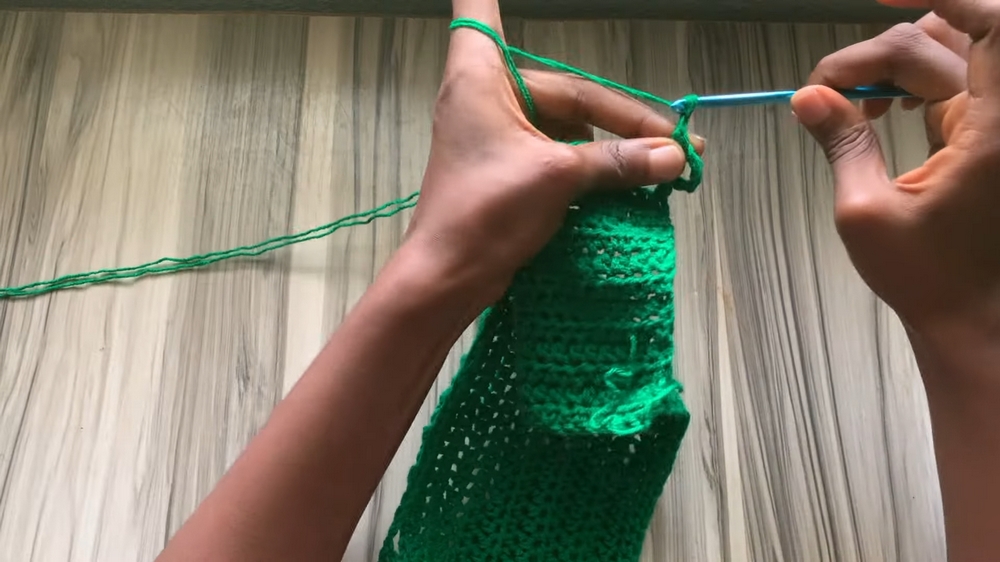
- Skip two stitches and make a double crochet into the third stitch.
- Repeat: Chain two, skip two stitches, and double crochet into the third stitch.
- Continue this mesh pattern to complete eight rows of mesh stitches (or adjust the rows based on personal measurements).
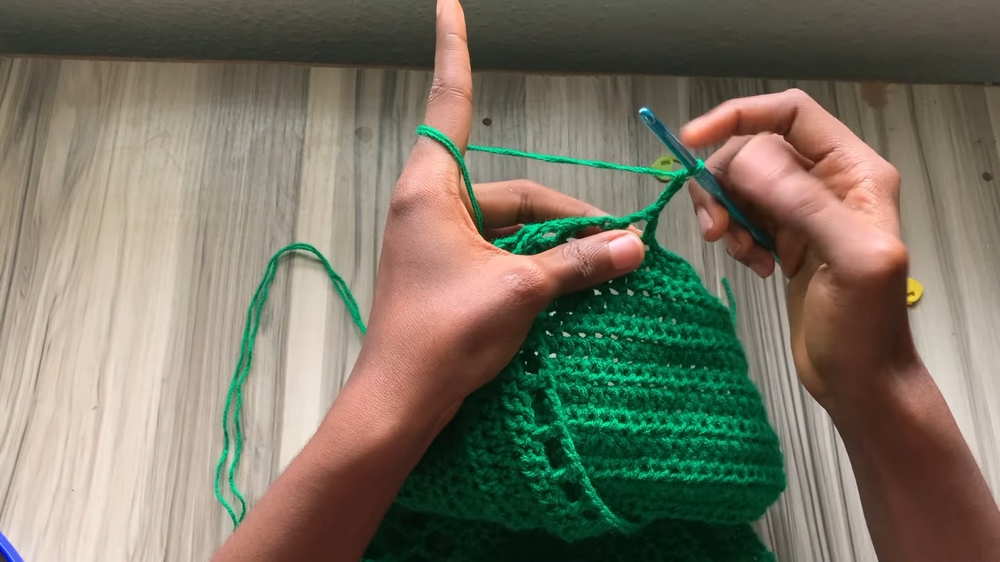
Step 6: Work on the Neckline Area
- Use stitch markers to determine where the neckline for the top begins. Ensure stitches on both sides are equal or only differ by one stitch.
- Start with decreasing mesh rows: Make a chain of 3 (instead of 5) for each starting row to decrease.
- Continue decreasing rows for the neckline, using a double crochet decrease for nine total rows.
Step 7: Add the Button Strap
- Create a chain of 15 stitches and secure it with a slip stitch.
- Work single crochet stitches into every chain space.
- Attach a button at the end of this strap to adjust it for fit and comfort.
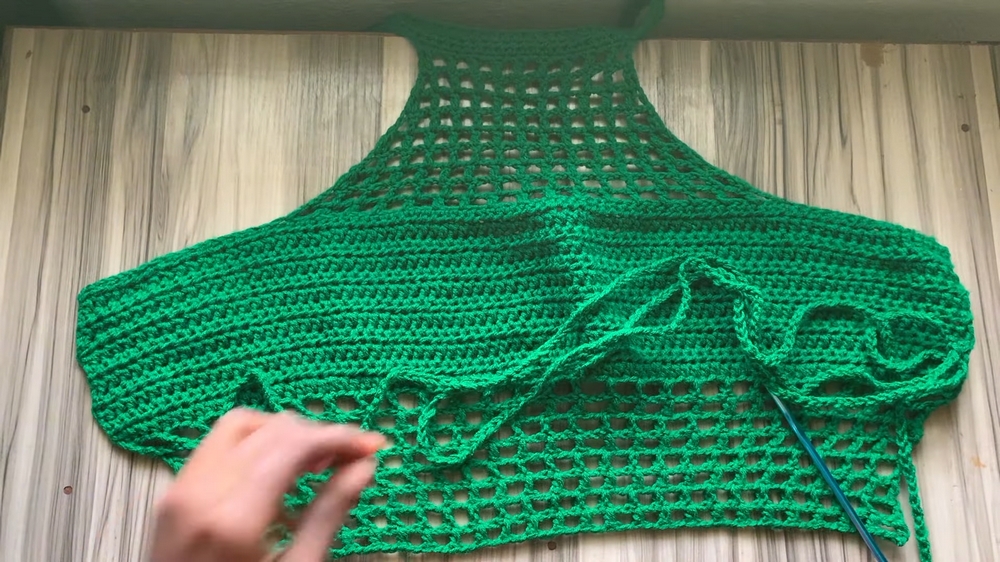
Step 8: Create the Crisscross Back Strap
- Make a long chain (approximately 350 chains) for the crisscross strap.
- Lace the chain through the mesh holes in the back, leaving intervals of three spaces for a secure crisscross pattern.
- Adjust the chain for tightness and style.
Special Features
- Mesh Stitch Pattern: Adds an elegant, breathable texture to the design.
- Crisscross Back: Provides a customizable fit and stylish look.
- Button Strap: Enhances comfort and functionality for the neckline.
- Customization: The design can be adjusted based on measurements, preferences, and desired length.
Level of Difficulty
Beginner-Friendly: The tutorial uses basic stitches like chains, half double crochet (HDC), and double crochet, making it ideal for beginners. Intermediate crocheters may also enjoy its simplicity and customization options.
Tutor’s Suggestions
- Stitches: Beginners should not worry excessively about perfection—as stated by the instructor; slight differences in stitches will not be noticeable.
- Fit Adjustments: Ensure the neckline starts from the desired area to match your comfort level. The crisscross strap design allows for versatile fit adjustments.
- Experiment: Increase or decrease the number of rows for the bust or mesh pattern to suit your individual measurements.
Uses
- Fashion Accessory: This top can be worn casually or layered with different outfits.
- Gift: Perfect handmade gift for friends or loved ones.
- Customizable Project: You can experiment with different yarn colors and textures for unique designs.
Tip
Stitch markers will help you maintain symmetry and track progress while working on the neckline. This ensures consistent placement for both sides of the top. It’s also a valuable tool to help beginners stay organized during complex crochet sections.
Conclusion
This crochet top pattern simplifies the process of creating a stylish and functional piece. With basic stitches and careful measurements, the project is easy for beginners to follow while allowing room for customization. The elegant mesh design, crisscross back, and adjustable neckline make the top a versatile addition to your wardrobe.


