Spice up your summer wardrobe with a fun and flirty crochet halter top pattern that’s perfect for beach days and festival vibes.
Once a humble method of keeping warm, crochet has evolved into a modern art form, gracing wardrobes with style and creativity. Among its versatile expressions, the halter top has risen as a standout garment, merging functionality with flair. Perfect for balmy summer days or layered with cozy cardigans in cooler months, this timeless piece offers more than just aesthetic appeal. Its breathable design keeps you comfortable in the heat, while the adjustable fit caters to individuality. Whether worn to festivals, beach outings, or casual hangouts, it’s the kind of outfit that effortlessly transforms everyday moments into opportunities for self-expression.
Stunning Crochet Halter Top Pattern for Summer Look
Beyond its endless styling possibilities, the process of bringing it to life opens up a space for mindfulness. Connecting each stitch invites focus and relaxation, turning the act of making into a soothing escape. The result? A sense of accomplishment wrapped up in a wearable work of art that effortlessly bridges vintage charm and contemporary trends.
Whether gifting or personalizing, these tops carry with them a touch of sentimentality, making them far more meaningful than any mass-produced counterpart. Beautifully versatile and unique to the individual behind each knot, they embody the perfect combination of fashion, comfort, and heartfelt creativity.

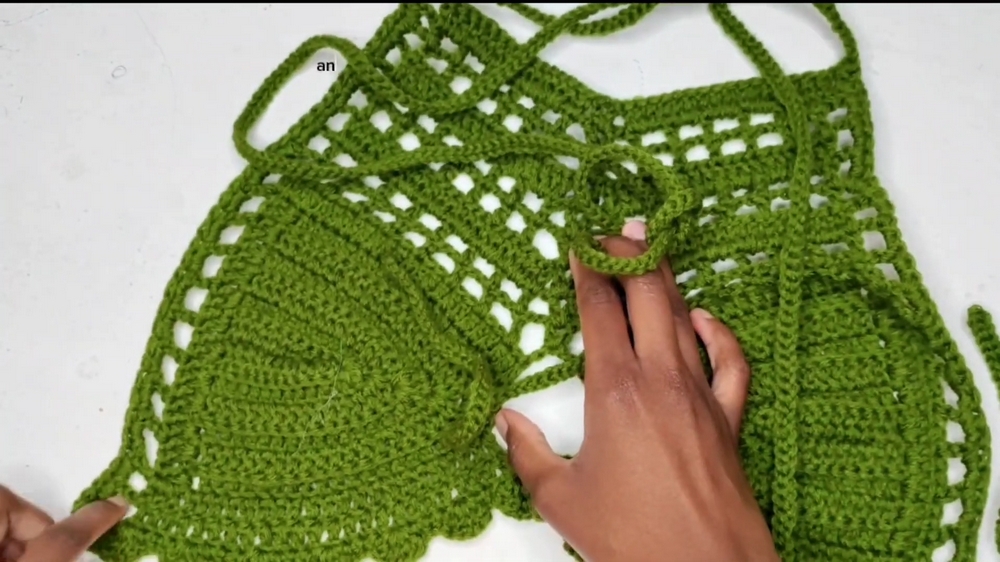
How to Crochet a Gorgeous Halter Top – Step-by-Step Guide
Step 1: Getting Started
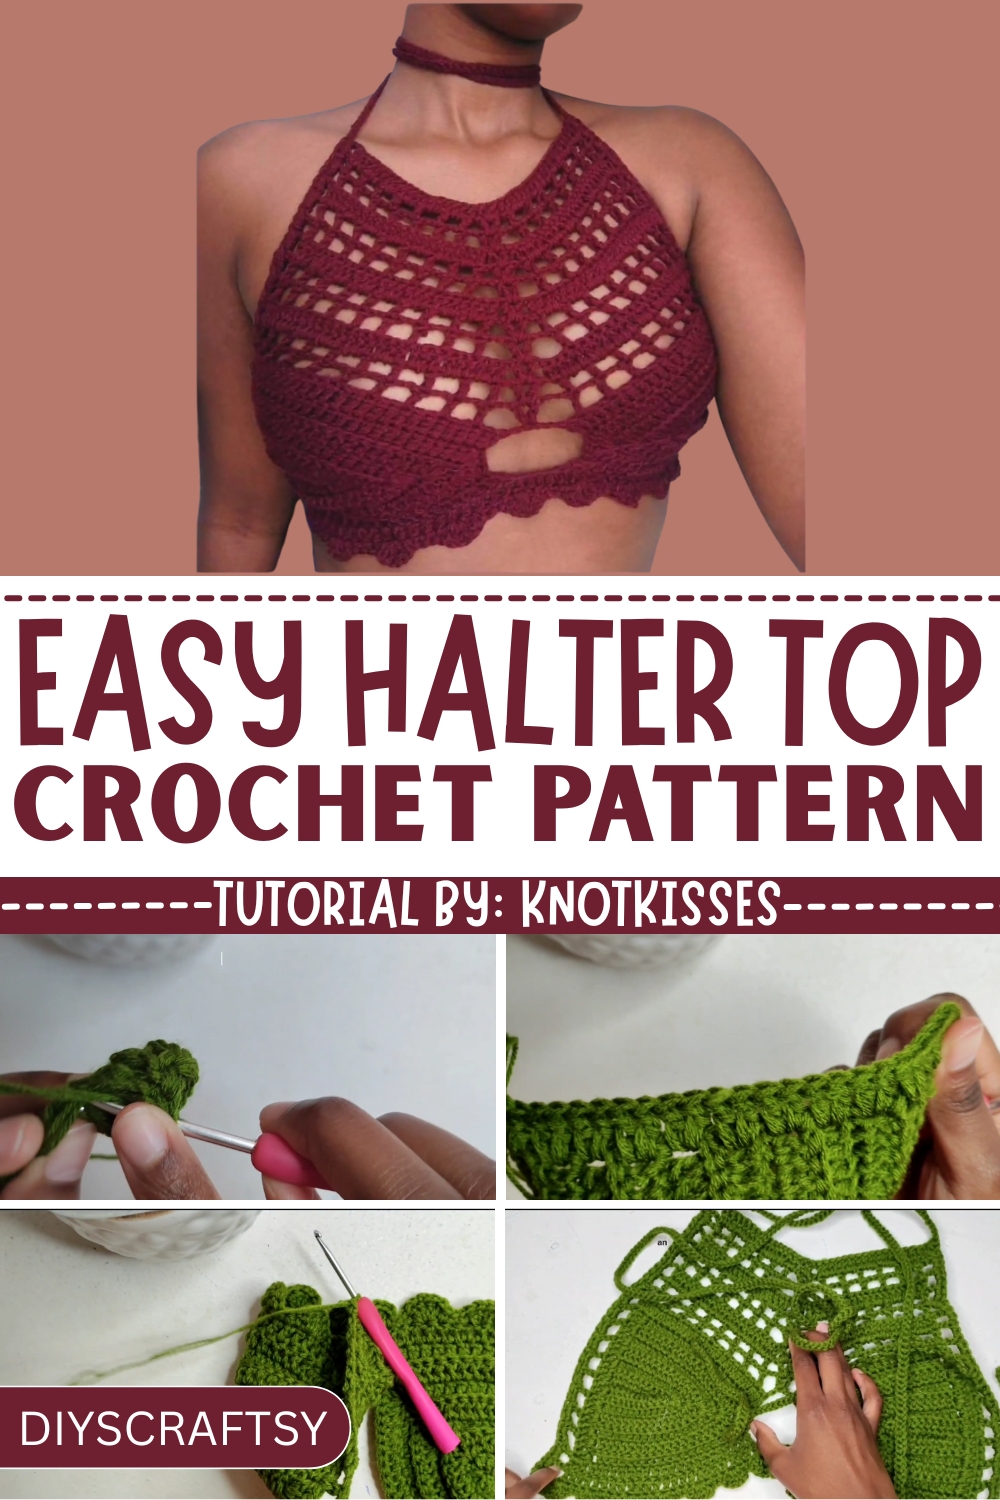
- Begin with a slip knot: Insert your crochet hook and chain 10.
- Foundation row: Add 3 more chains (making 13 in total) and begin double crocheting starting in the fourth chain from the hook. You'll create 12 stitches.
Step 2: Crocheting the First Bra Cup
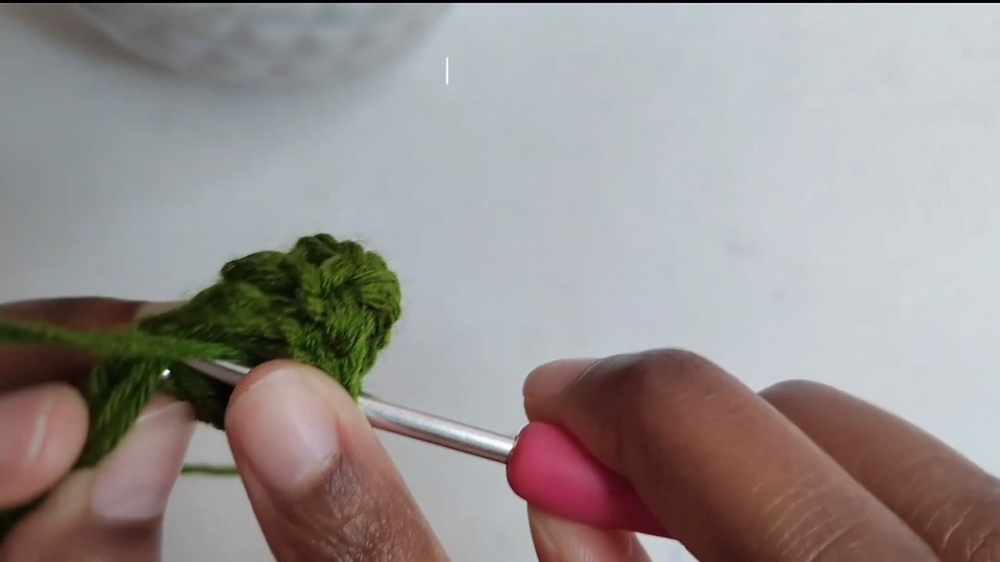
- Work double crochets along both sides of the row, ensuring you have the same number of stitches on each side (12 stitches per side).
- To shape the bra cup, chain 3 and turn your work. Work double crochets in the back loops for texture and add stitches at the top (double crochet 2, chain 1, double crochet 2).
- Repeat the pattern for 6 rows, growing the cup with every row by expanding at the top.
Step 3: Completing the Second Bra Cup
- Create a duplicate of the first cup following the same steps. Once it's complete, do not cut the yarn as you'll connect the cups next.
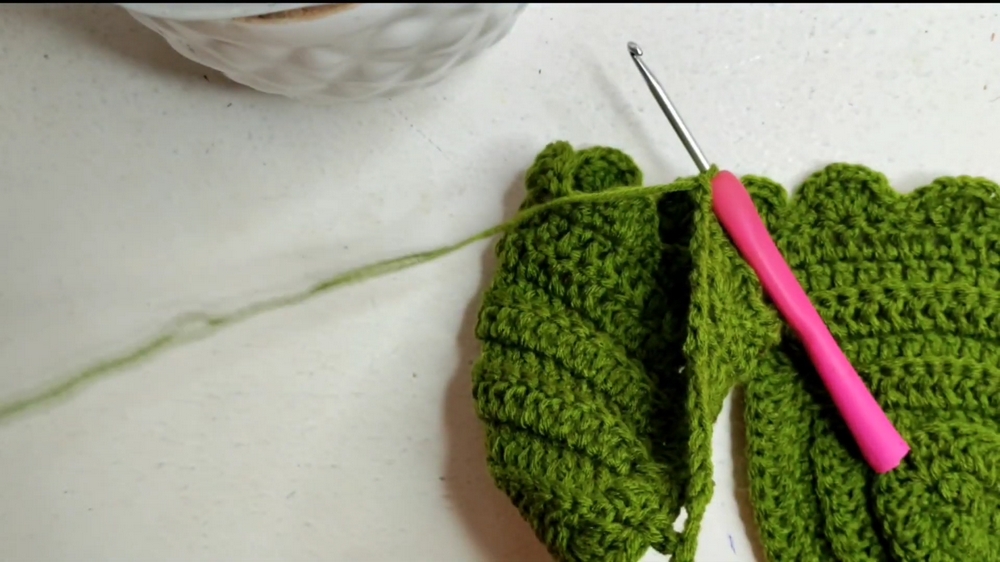
Step 4: Connecting the Cups
- Chain 5 to bridge the gap between the two cups. Work double crochets into the tops and sides to secure them together. Maintain consistency with the back loop crochet technique for a clean texture.
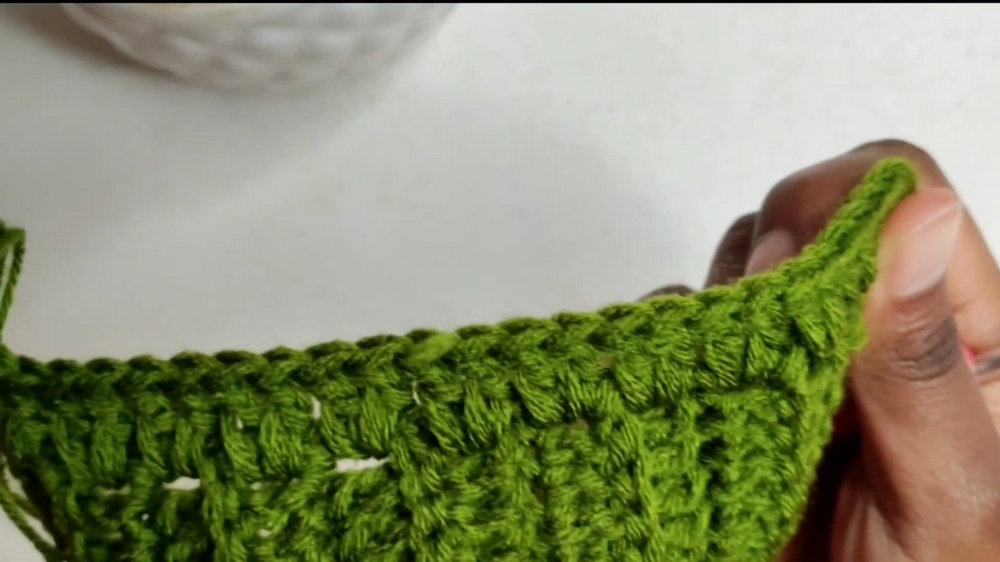
Step 5: Working the Bottom Design
- Crochet rows along the bottom edge of the bra cups, adding shells (2 double crochets, chain 1, 2 double crochets in the same stitch) and single crochet for alternating texture.
- Customize the length of the top’s bottom section as desired by adding more rows of double crochet before finishing with the shell design.
Step 6: Creating the Straps
- For the neck straps, chain 50. Add slip stitches back along the chain to give the straps firmness.
- Add single crochets along the side edges to neaten the border.
- Repeat the process for the other strap.
Special Features
- Customizable Fit: Adjust the size of the bra cups, strap length, and bottom for your desired fit.
- Back Loop Stitching: The use of back loop double crochets creates a unique textured finish.
- Shell Pattern Edge: The bottom edge design adds flair and elegance.
- Versatile Design: Perfect for summer parties, beach days, or layering under jackets.
Level of Difficulty
- Beginner-Friendly to Intermediate: The tutorial is detailed, breaking each step into manageable parts. Beginner crocheters can follow along, though familiarity with basic stitches (chains, double crochet, slip stitch) is required.
Tutor’s Suggestions
- Be patient with counting stitches: Regularly count your stitches to ensure symmetry on both sides.
- Personalize with colors: The tutor encourages experimentation with vibrant or neutral colors for a truly unique piece.
- Adjust the pattern to your needs: You can make the bottom longer or shorter depending on the style you're aiming for.
Uses of the Halter Top
- Summer Wardrobe Staple: Wear it as a stylish summer top.
- Layering Piece: Pair it with jackets or cardigans for cooler weather.
- Fun Beachwear: Ideal for a day at the beach or poolside.
- Gifts for Friends: Customize and gift it to your loved ones.
Materials Needed
- Yarn: Choose a soft, medium-weight yarn (e.g., cotton).
- Crochet Hook: Suitable for your yarn size (e.g., 4.0mm - 5.0mm).
- Scissors: For cutting yarn.
- Darning Needle: To weave in ends.
- Tape Measure: To ensure accuracy of your measurements.
Pro Tip for Success
When working on the straps and borders, weave in any loose ends as you go. This saves you the hassle of cleaning up lots of yarn tails at the end of the project.
Conclusion
This crochet halter top pattern is the perfect blend of style and skill. With its textured design, playful shells, and customizable fit, it’s a wardrobe winner you’ll enjoy making and wearing. Whether you’re crocheting for yourself or as a thoughtful handmade gift, this pattern is sure to impress.


