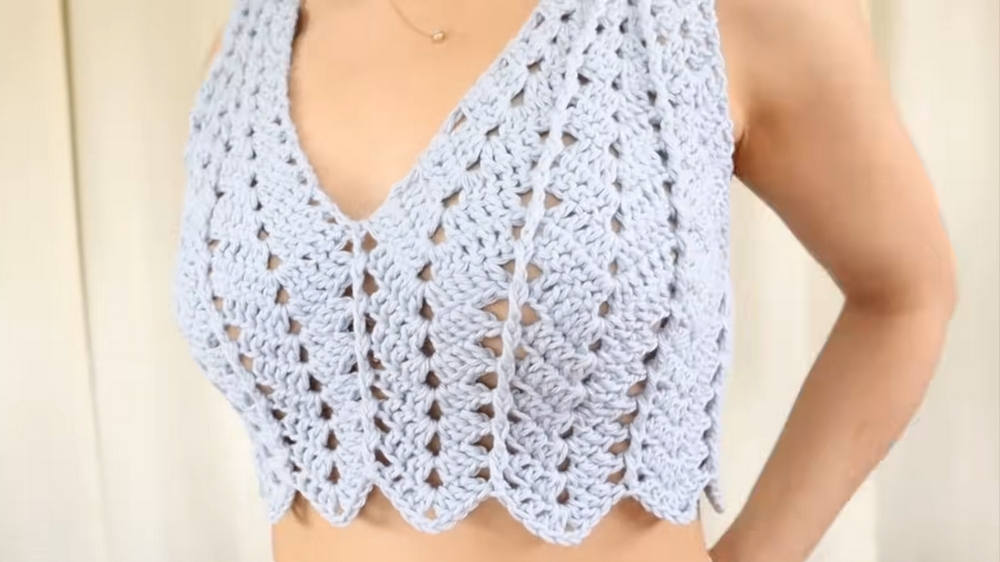
Showcase your unique flair with a chic crochet Top pattern that's perfect for adding a handmade touch to your everyday wardrobe.
There was a time when clothing was not just purchased but lovingly made by hand, each stitch telling a story. Today, that tradition continues with the timeless art of crochet, offering a unique way to enjoy both beauty and functionality. A crochet top stands out as a perfect blend of comfort and style, making it suitable for everything from breezy summer outings to layering during cooler seasons. It offers more than just aesthetics, it’s a thoughtful and sustainable addition to any wardrobe.
Trendy Crochet Top Pattern To Explore
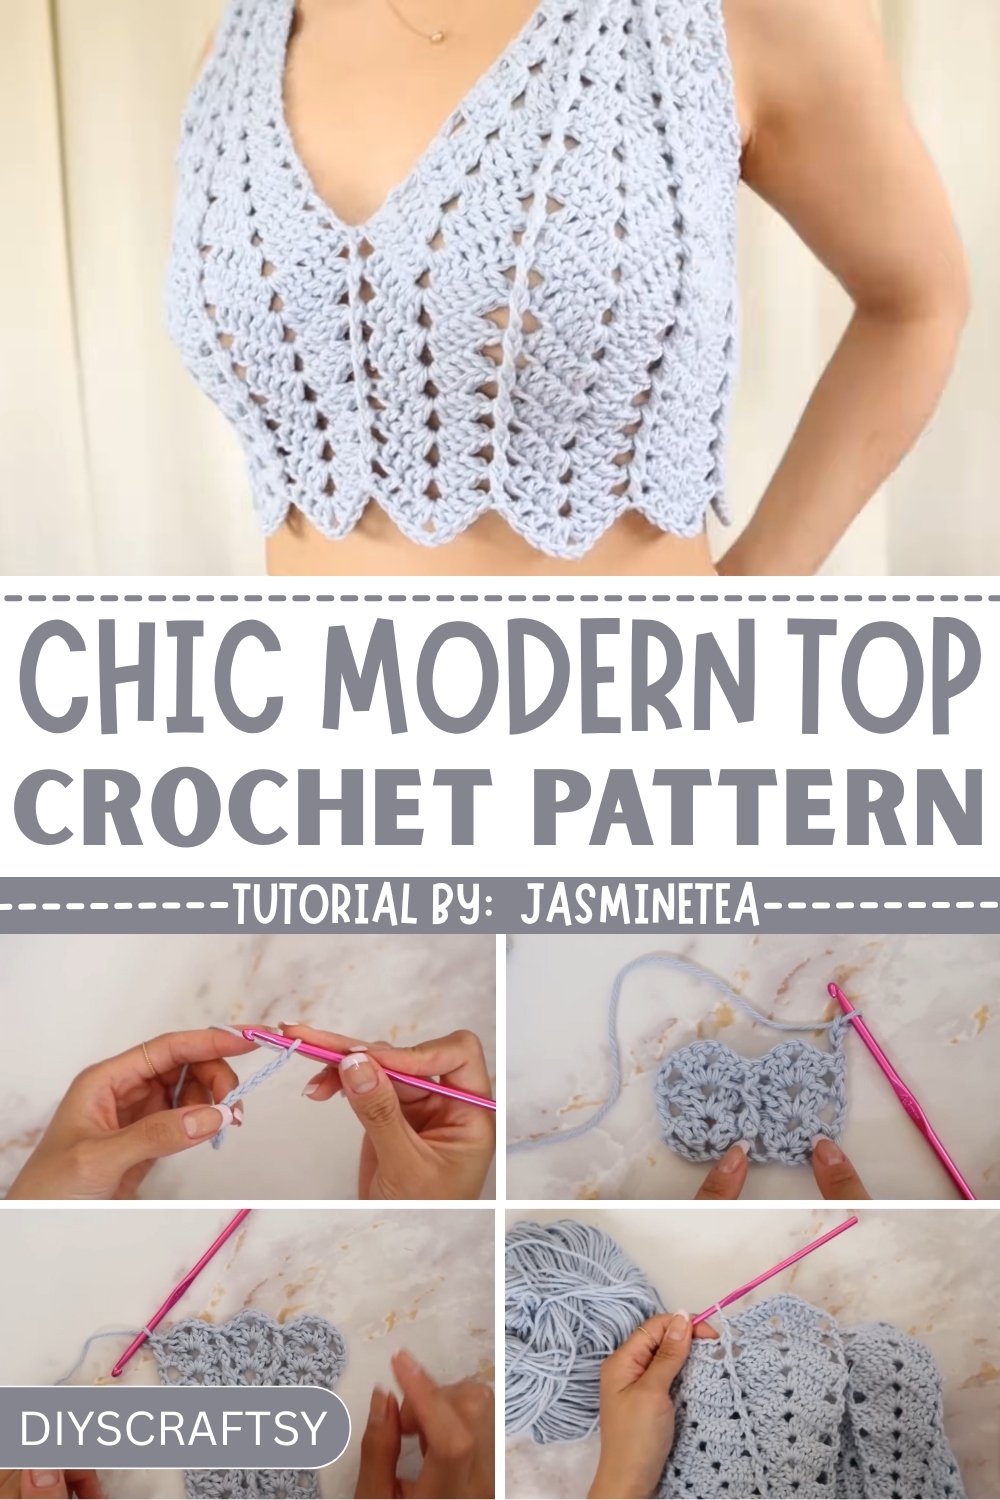
The intricate detailing and textured finish give a crochet top its distinctive personality, drawing attention without being overpowering. Lightweight and versatile, it adapts seamlessly to various occasions, whether paired with jeans for a casual look or styled for a more polished appearance. Its adaptability makes it a timeless choice that complements a range of outfits with ease.
Beyond its fashion appeal, a crochet top carries a sense of individuality and purpose. Owning or wearing one reflects a connection to slow fashion and a celebration of craftsmanship. It represents a step away from mass production and into something more meaningful. A crochet top is not just clothing—it’s a statement of creativity, sustainability, and personal expression.
Special Features of the Crochet Top
- Customization: The pattern is adaptable for any size by adjusting the number of rows and stitches.
- Embossed Texture: Alternates between front and back post stitches, giving the top a 3D textured look.
- Seamless Assembly: The top pieces are joined in the round, creating clean, professional-looking edges.
- Versatility: This top can be designed to fit different body shapes and tailored to preferences for tightness or looseness.
Level of Difficulty
The tutorial is beginner-friendly but involves intermediate techniques such as front and back post stitches, increases, and decreases. Beginners may learn the basics of post stitches along the way, while intermediate crocheters will appreciate the structured pattern and 3D effect.
Tutor's Suggestions
- Start Small: The demonstration is for size small, but the tutor provides clear instructions on how to adjust the pattern for larger or smaller sizes.
- Chain Carefully: Always count chains precisely to ensure even rows and accurate measurements.
- Measure Your Progress: Frequently measure your work to ensure it aligns with your desired dimensions.
- End Neatly: Secure yarn and weave ends as you go to avoid loose threads at the end.
- Make Notes: Keep track of the rows and increases/decreases for a smoother process, especially if repeating the pattern.
Materials Needed
- Yarn: 100% cotton yarn, weight category 4.
- Hook: 4.5mm crochet hook.
- Stitch Markers: Helpful for keeping track of rows and chains.
- Tape Measure: For accurate measurements during the process.
- Scissors: For trimming yarn.
Step-by-Step Instructions
Section 1: Creating the Strap
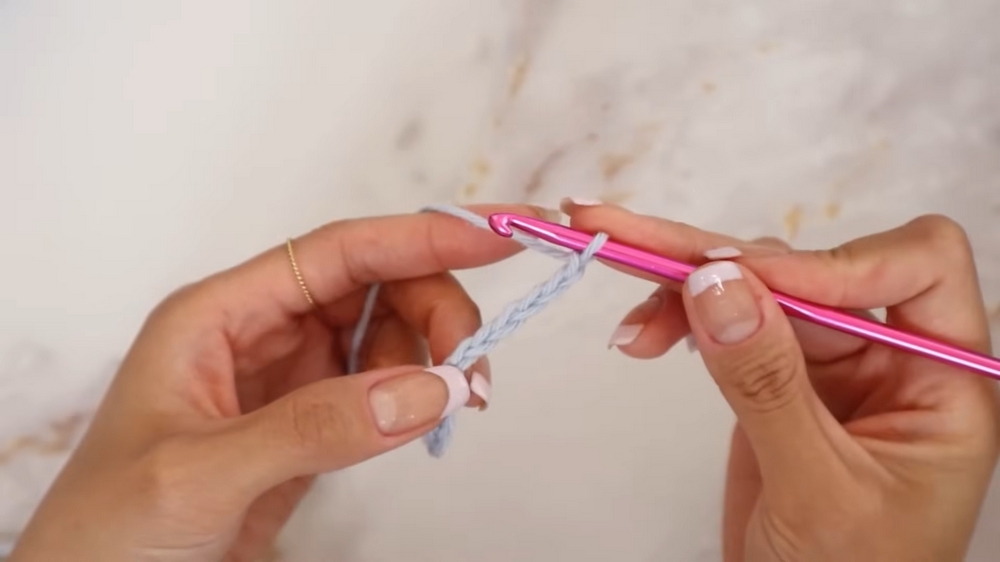
- Foundation Chain: Start with a chain of 12 stitches.
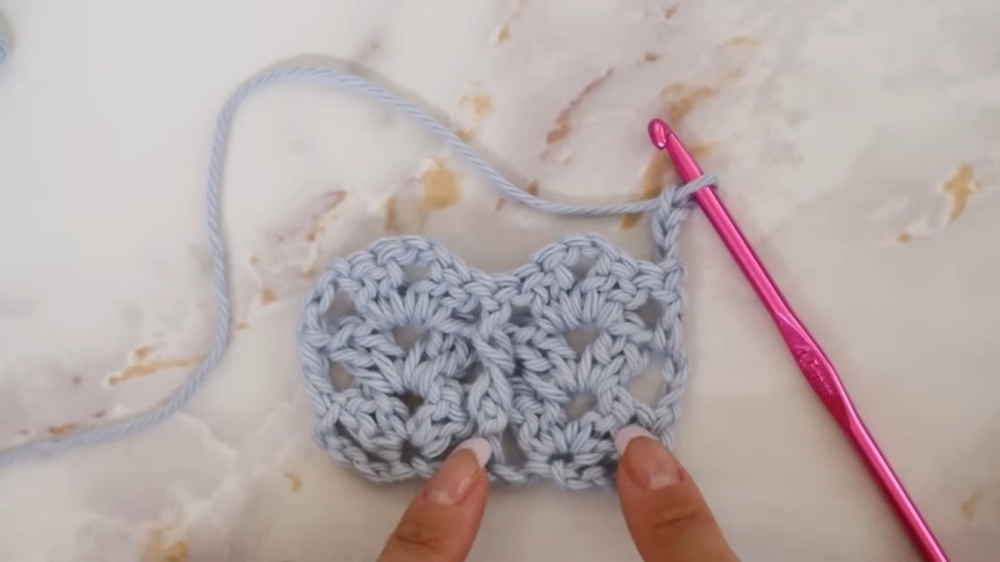
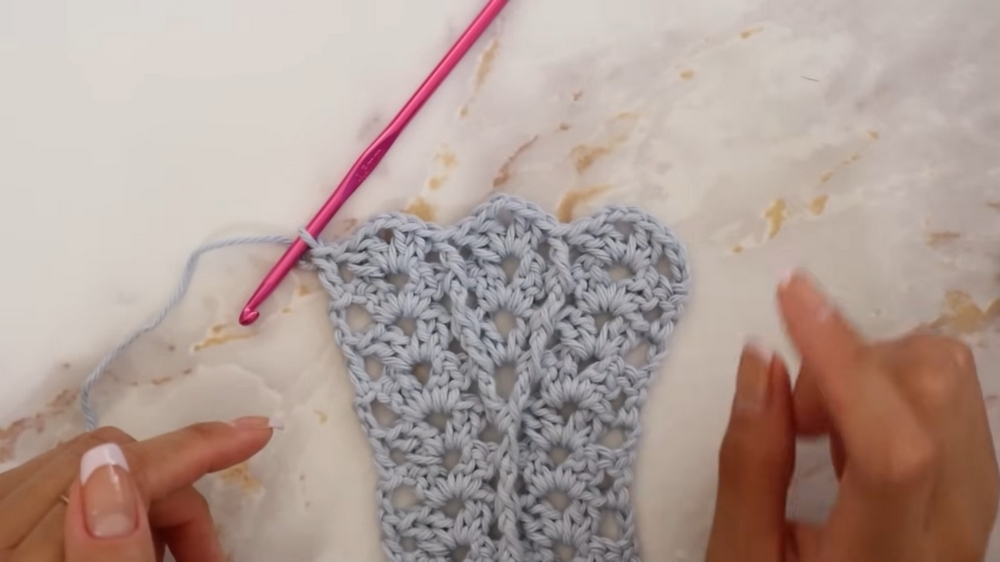
- Double V-Stitch: After chaining 12, chain 3 and place a double V-stitch in the marked third chain. A double V-stitch consists of two double crochets, chain two, and two more double crochets.
- Post Stitches: Alternate between front post and back post stitches for embossed texture in subsequent rows.
- Repeat Rows: Continue for a total of 6 rows, adjusting based on the desired strap length (top of the shoulder to collarbone length).
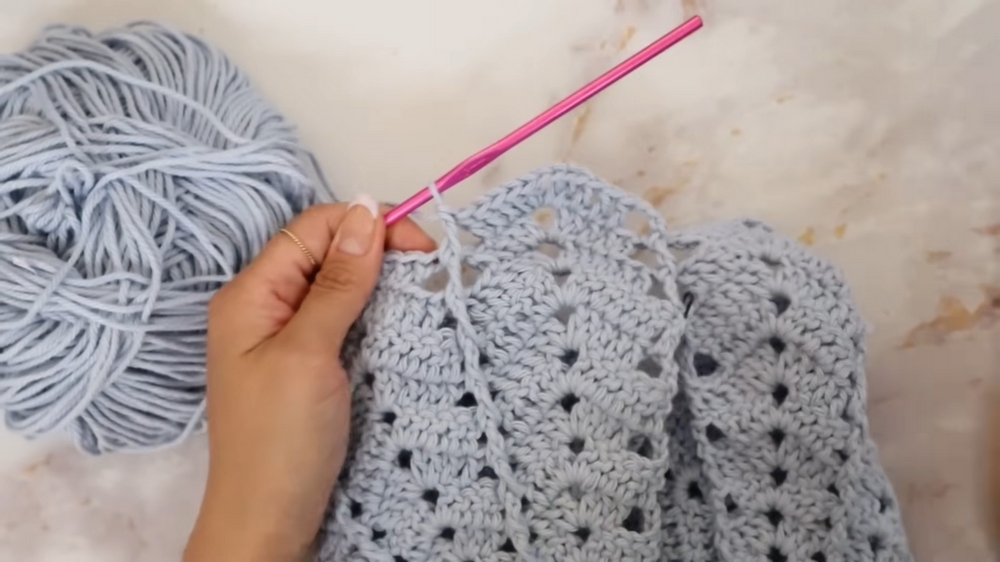
Section 2: Increasing for the Bust Area
- Increase Rows: Start the seventh row with increases (double V-stitches and additional post stitches per row). For each row, alternate between increase rows and repeat rows.
- Adjust Measurement: Measure progress to ensure the final width matches a quarter of the bust measurement. For example, a 32-inch bust would require a width of 8 inches.
- Stop When Ready: End the increase rows when the width reaches the desired measurement, ensuring the last row is an increase row.
Section 3: Creating the Opposite Panel
- Repeat Steps: Follow the exact pattern to create a second identical panel for the back.
- Leave Yarn Uncut: On the last panel, keep the yarn attached for seamless joining.
Section 4: Joining Panels
- Join in the Round: Attach the two panels together using slip stitches at the edges, creating armholes and the chest/back section.
- Work in the Round: Begin crocheting in continuous rounds without flipping rows.
- Maintain Pattern: Follow the established pattern (post stitches and double V-stitches) until the pieces are fully joined.
Section 5: Decreasing for the Rib Cage
- Begin Decreasing: Transition from increases to decreases by reducing the number of double crochet stitches surrounding double V-stitches in each round.
- Pattern for Decreases: Alternate between decrease rows and repeat rows (e.g., decrease 3, repeat 3, decrease 2, repeat 2).
- Stop Adjusting: Stick to the final decrease row once the desired fit is achieved around the rib cage.
- Repeat Until Desired Length: Continue repeating the final decrease row until the top reaches the preferred length.
Uses of the Crochet Top
- Styling: Can be used as a summer top, paired with skirts, jeans, or shorts for a casual look.
- Layering: Works as an inner top under jackets or cardigans for cooler weather.
- Gift: A customizable handmade gift for friends and family.
Tip for Success
To ensure a perfect fit, measure your bust and divide by four to calculate the portion of the width required for the panels. Always end on an increase row before joining and be consistent with post stitches to maintain uniform texture.
Conclusion
This pattern offers a detailed yet straightforward approach to creating a customizable crochet top. With clear instructions, adaptable sizing, and a stylish 3D textured design, this project is suitable for crochet enthusiasts of all levels. By following the steps, experimenting with increases and decreases, and maintaining careful measurements, you can crochet a personalized top that’s beautiful and functional.


