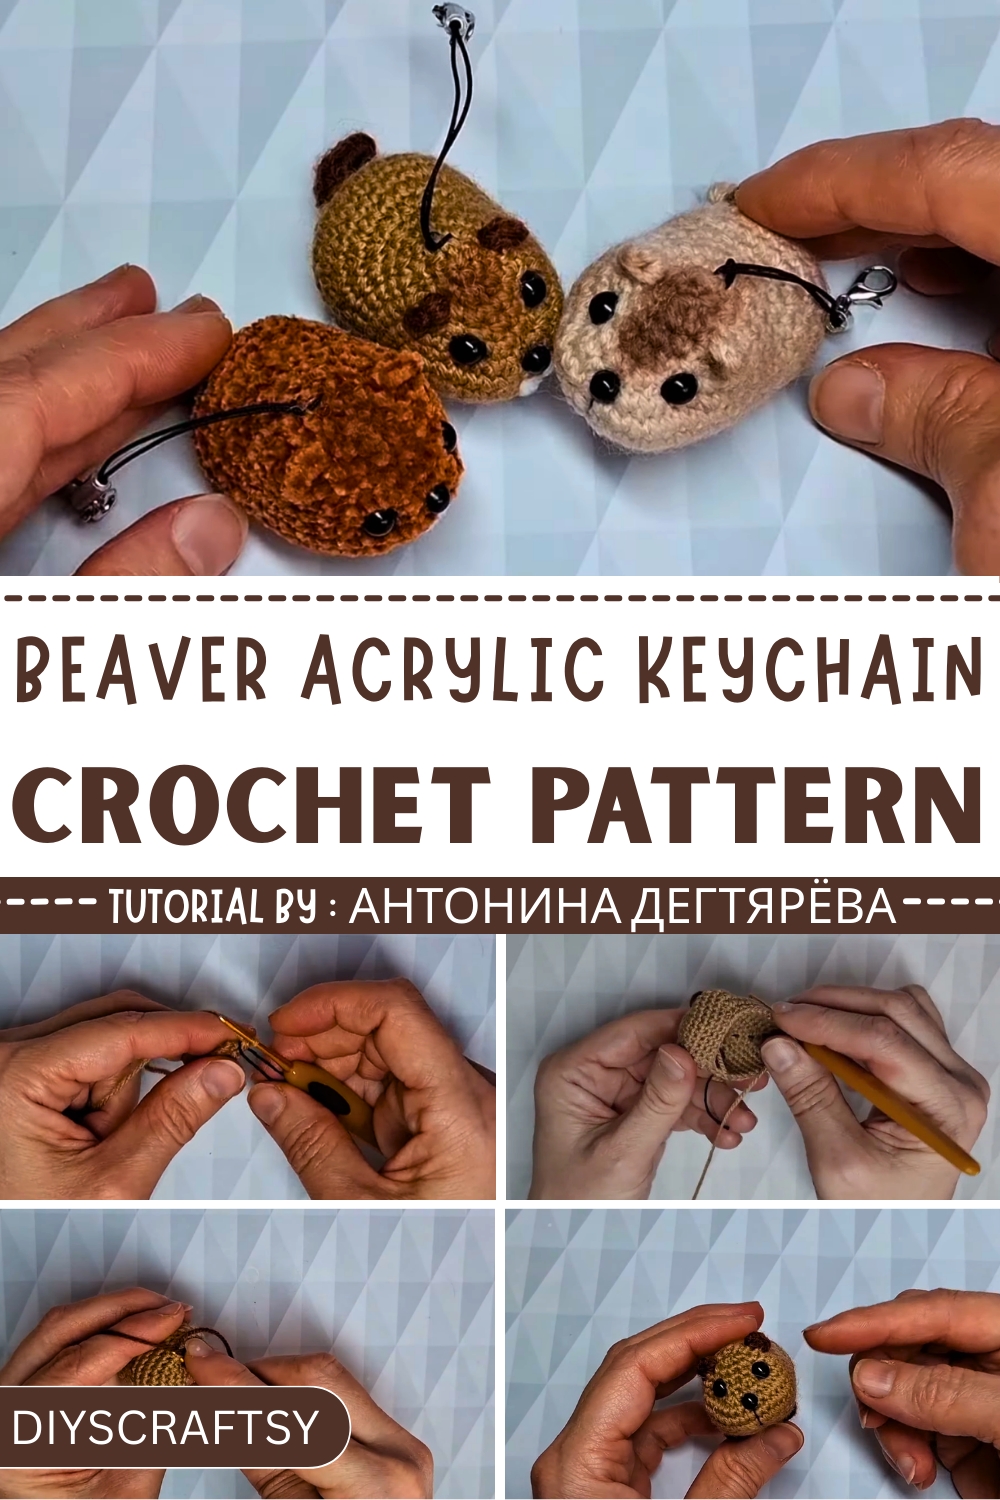
Delight in this Free Crochet Beaver acrylic keychain Pattern that turns keys or bags into charming, playful accessories with lasting appeal.
In small towns and busy cities alike, tiny handcrafted charms have always held a special place for their ability to brighten everyday items. This beaver keychain turns ordinary keys or bags into a cheerful, eye-catching accessory. Crocheted with simple techniques, the body and head are formed in one seamless piece, while the limbs, ears, and a textured tail are added to bring personality and charm. Its compact size makes it practical for daily use, and the sturdy keychain attachment ensures it stays secure wherever it goes.
Creative Crochet Beaver Acrylic Keychain Pattern
The step-by-step process involves working in rounds to shape the body, carefully positioning the safety eyes, and attaching all parts for a lifelike finish. Beyond being a playful crochet accessory, it encourages focus, patience, and fine motor skills for anyone following the steps. Perfect for gifting, swapping, or keeping as a personal keepsake, this little beaver adds a touch of handmade joy to daily routines.
With every stitch, its whimsical charm and functional purpose shine through, offering both visual delight and everyday utility. Even small creations like this keychain can infuse ordinary items with warmth, character, and a spark of creativity that lasts.
Special Features
- Compact Design: The keychain is small in size, making it lightweight and perfect as a portable accessory.
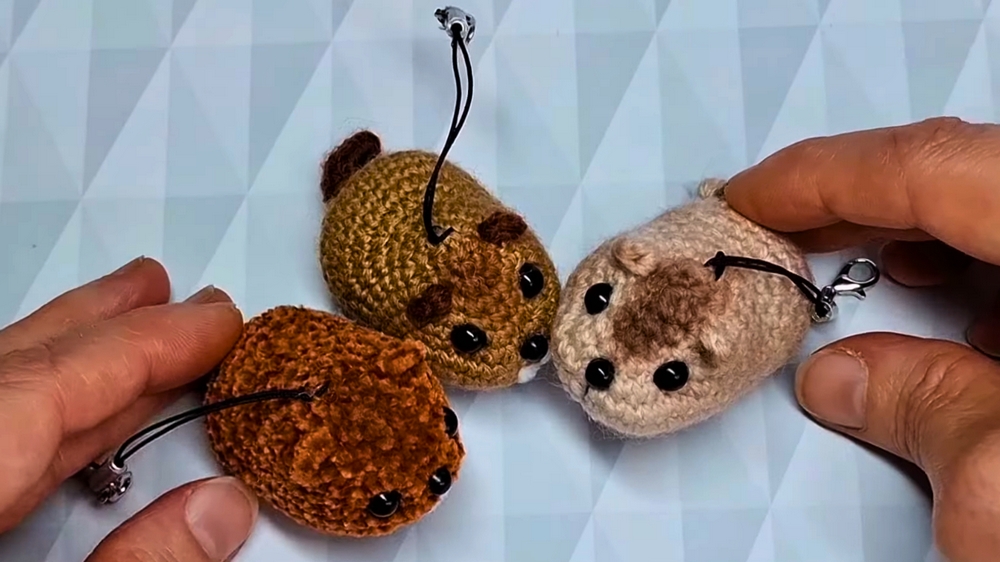
- Material Options: You can knit with acrylic yarn, velor yarn, or even plush yarn. However, the tutor suggests acrylic yarn for better shape retention.
- Customizable Details: The beaver has carefully designed features such as painted feet, glued eyes, embroidered teeth, and a tightly styled tail.
- Suitable for All Ages: While the beaver is designed as a keychain for teens and adults, it can also be made safe for older children.
Materials
- Main Yarn:
- Acrylic yarn (50g, 200m)
- Velor yarn for smaller variations if preferred.
- White yarn for teeth.
- Hook: Hook No. 2.
- Eyes: Glue-on half beads (7mm or smaller).
- Filler: A small amount of stuffing material for shaping the toy.
- Strong Thread: For tightening the cheeks and creating facial depressions.
- Keychain Ring: To make the toy functional.
- Optional Tools:
- Paint or eyeshadow for shading the features.
- Tweezers for precise stuffing.
Step-by-Step Instructions
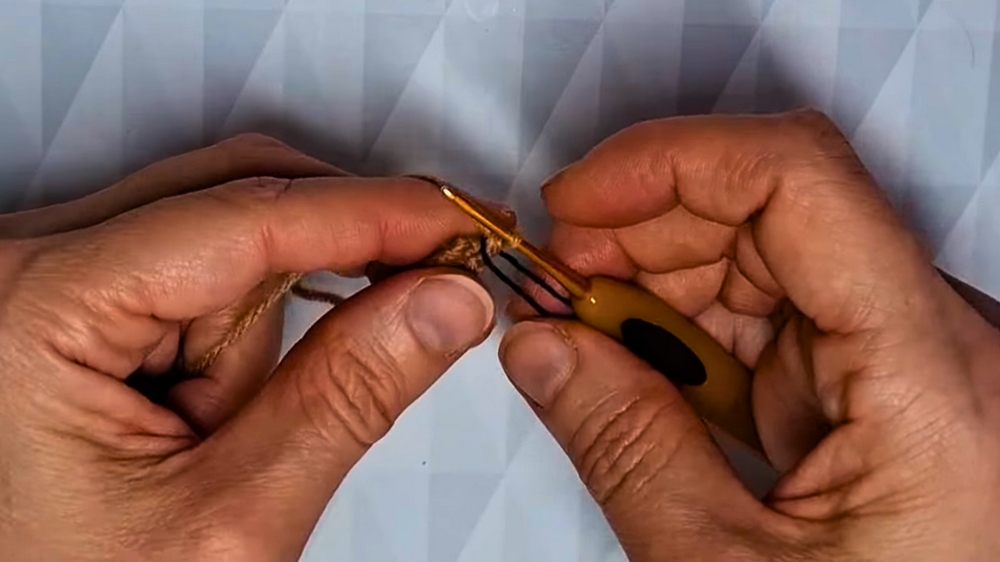
Row Setup
- Row 1:
- Start with a chain of 9 air loops.
- Knit an increase of 9 columns, then proceed with 4-in-1 increases, 6 columns, and another 4-in-1 increases.
- The last loop gives 20 total columns.
- Row 2:
- Knit 2 increases, 6 columns, 4 increases, 6 columns, and 2 increases.
- Total: 28 columns.
- Row 3:
- Begin with column increases for the front wall of the leg. Alternate between single increases and two-column increases around the body.
- Total: 40 columns.
- Continue adding small bumps for the legs, using contrasting threads to knit them with proper alignment.
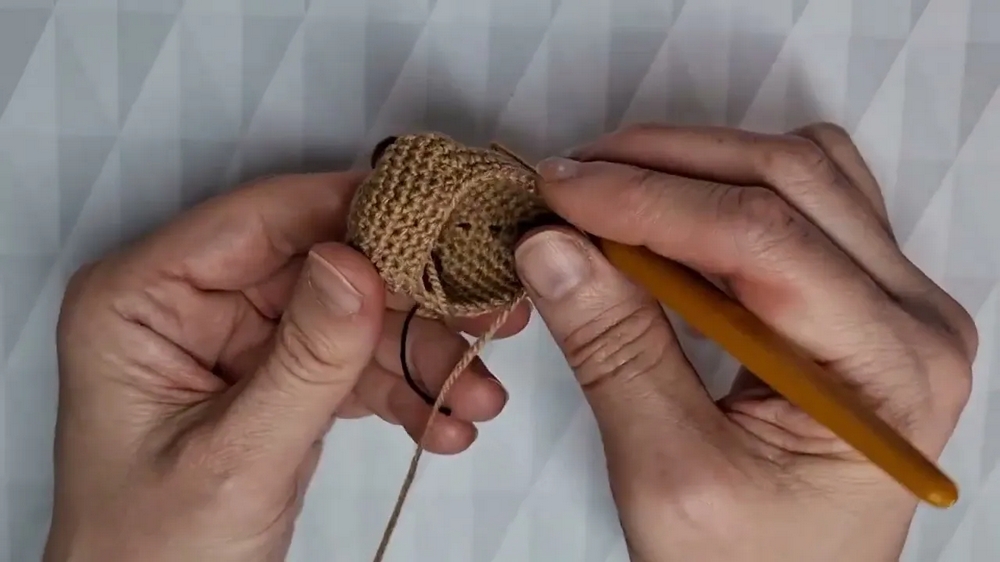
Building Features
- Shape the Body: Gradually knit rows with decreases and increases to maintain symmetry and shape. Use marking threads to keep accurate counts.
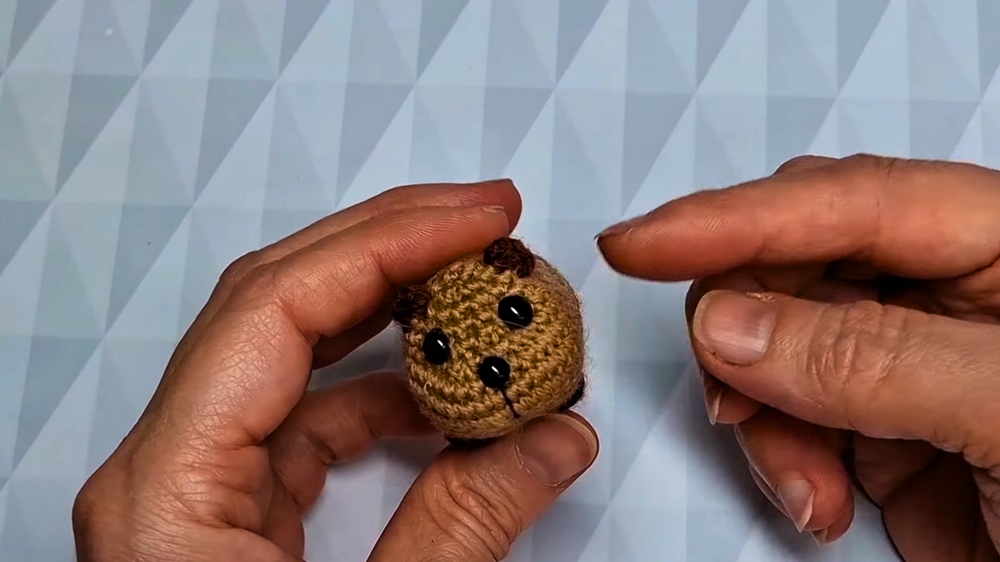
- Facial Details:
- Use a strong thread to create depressions for cheeks and define the eye and nose positioning.
- Glue smaller beads for eyes (recommend beads smaller than 7mm for better proportions).
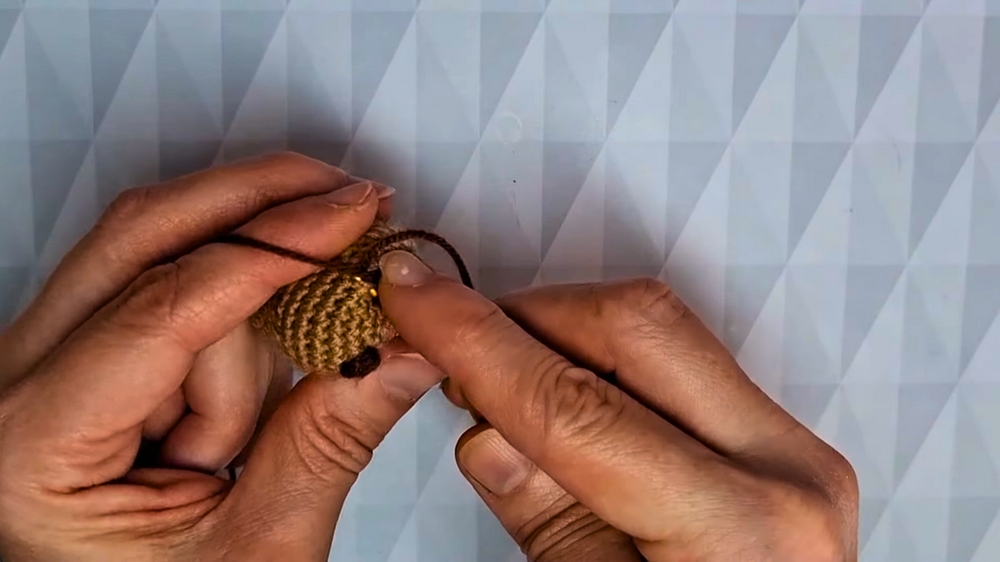
- Tail:
- Find the center point between the legs, and knit a small tail with chain rows and half-columns.
- Secure the tail with a knot and hide the loose ends.
Final Steps
- Stuffing: Carefully stuff the body using tweezers before closing the hole at the base with decreases.
- Ears: Pick loops above the eyes, knit half-double crochets, and tie off the threads.
- Teeth: Embroider white teeth under the nose area, making use of the rows for anchoring the thread.
- Painting Details:
- Add shading to the ears, legs, or tail using paint or eyeshadow for depth.
Difficulty Level
This project is Beginner to Intermediate depending on your comfort with detailed patterns. The tutorial is easy to follow if you pay attention to the marking techniques and carefully count stitches.
Tutor’s Suggestions
- Choose acrylic yarn for better shape retention, as plush yarn may lose detail on a small toy.
- Try lighter-colored yarn for easier visibility while working.
- Use smaller beads or decorations for facial features to maintain appropriate proportions.
- Adjust marking placements for good symmetry.
Uses
- Keychain: Attach to bags, keys, or other items.
- Decorative Toy: Create variations as gifts or collectibles.
- Custom Accessories: Modify colors and features to suit individual preferences.
Tip
Take your time when stuffing and shaping the toy. Proper filling helps maintain the right balance and adds a professional finish to the design.
Conclusion
The crocheted beaver keychain is a delightful project that combines functionality and creativity.


