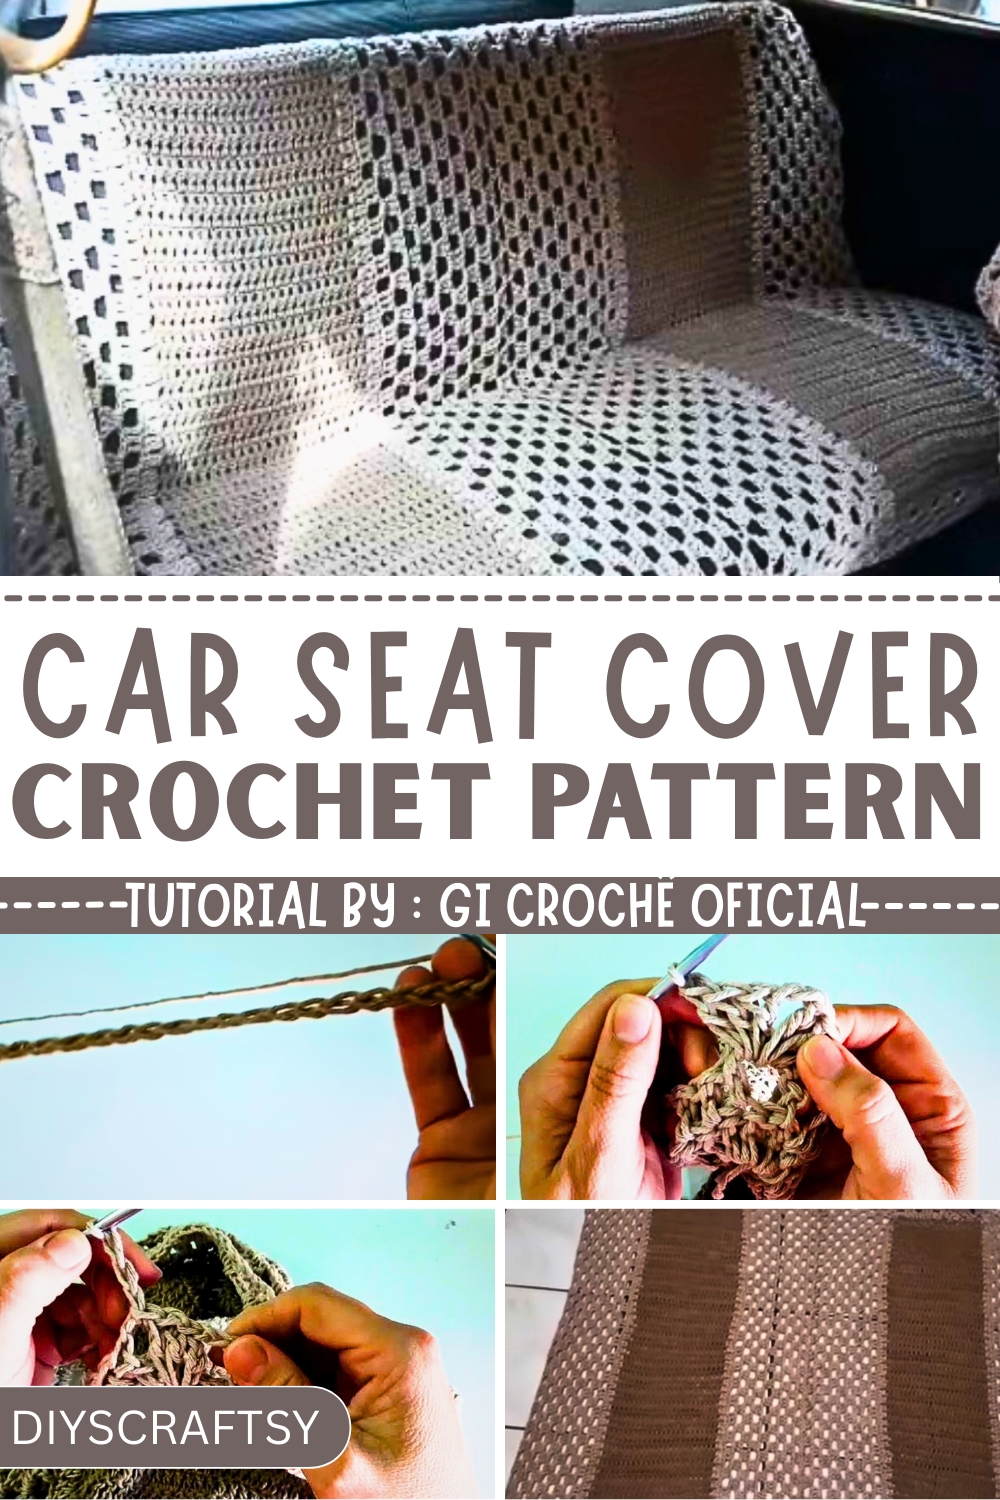
Protect and personalize your ride with this Crochet Car Seat Cover Pattern, a stylish, durable, and comfortable solution for everyday driving.
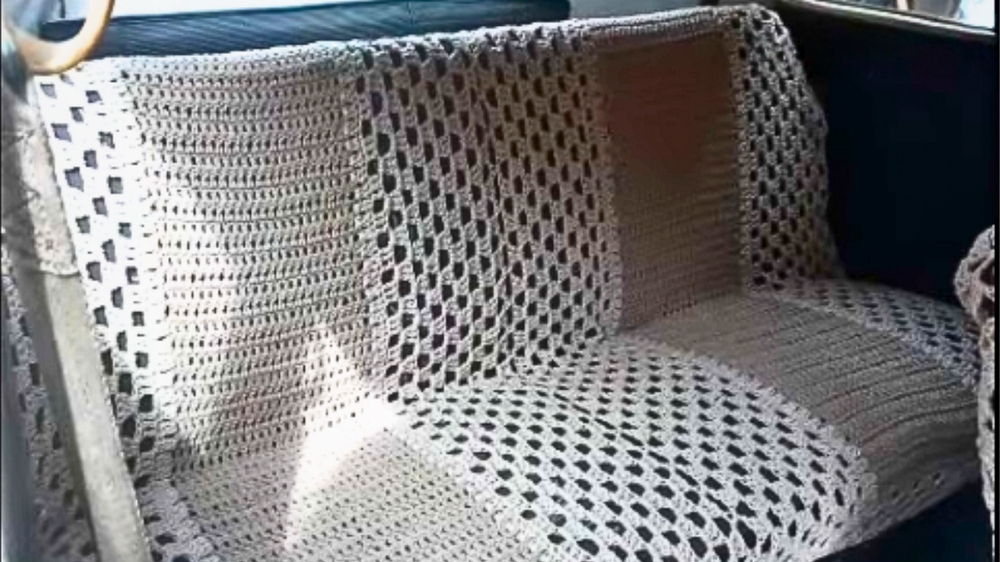
On a long road trip, comfort often becomes just as important as style, especially when spending hours behind the wheel. Car seats endure constant use, spills, and the wear of everyday life, making a protective yet stylish solution essential. The Crochet Car Seat Cover Pattern provides a practical and handmade approach to safeguarding your vehicle while adding a touch of personal charm. Its snug fit ensures seats are shielded from dirt, stains, and daily wear, prolonging the life of your car’s interior.
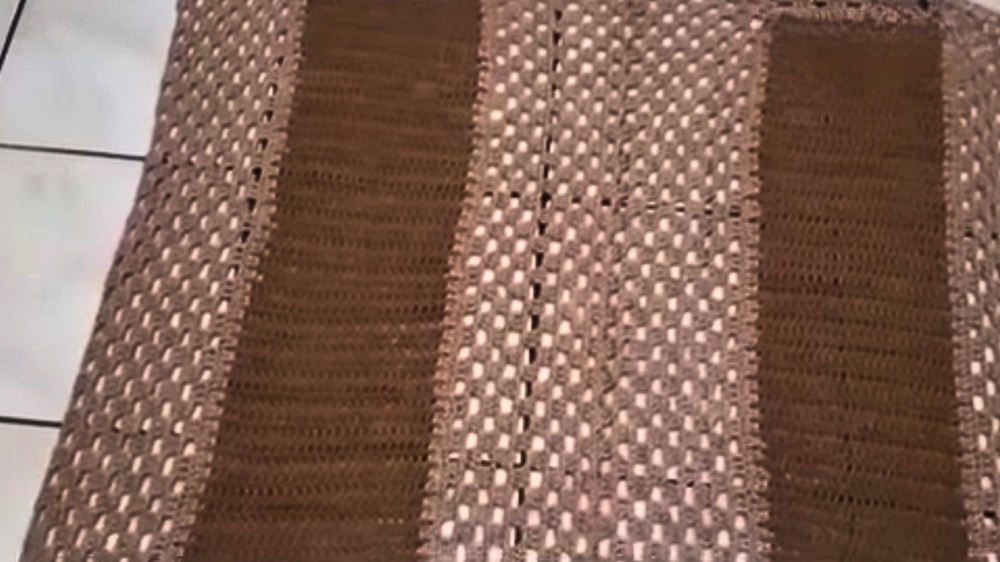
Crochet Car Seat Cover Pattern That Protects Your Seats
This crochet seat cover is not only protective but also breathable, offering comfort during long drives by preventing heat buildup. Its textured stitch adds visual interest while maintaining flexibility, making installation and removal effortless. Perfect for daily commuting, family trips, or rides with pets, this cover combines function with aesthetic appeal.
Beyond personal use, it makes a thoughtful, handmade gift for car enthusiasts or anyone who appreciates practical, stylish accessories. The Free Crochet Car Seat Cover Pattern demonstrates how functionality and handmade charm can coexist, transforming ordinary car seats into personalized, cozy, and visually appealing spaces. With this project, makers can enjoy both the satisfaction of creating something useful and the confidence of enhancing their vehicle’s interior in a unique, durable, and attractive way.
Materials Needed
- Beige Yarn (size 8): For creating the base.
- Suede Yarn (size 8): For additional design elements.
- Crochet Hook (5 mm): Used throughout the project.
- Scissors: For trimming and finishing.
- Measuring Tape (optional): To ensure the correct dimensions.
Steps and Instructions
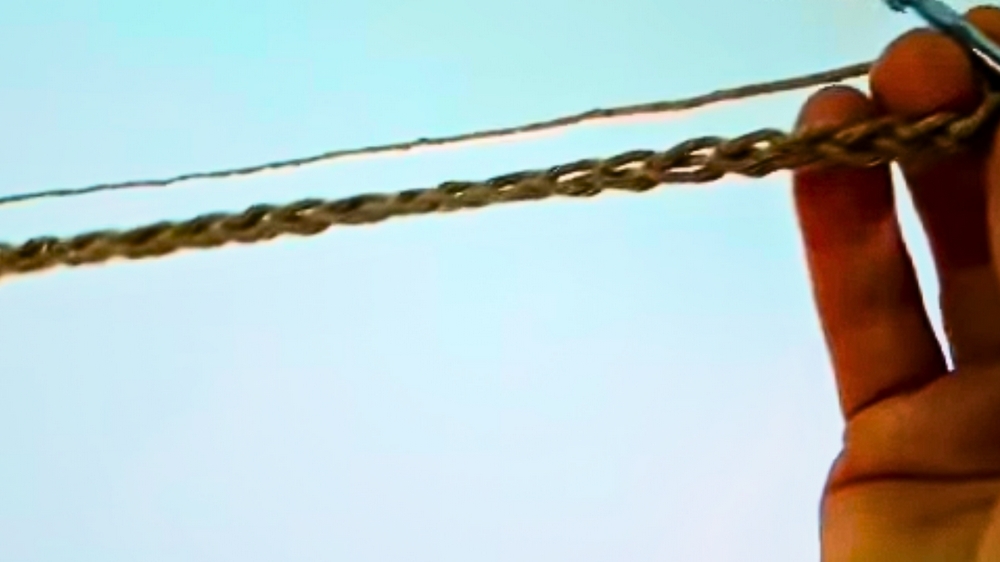
1. Starting the Center Strip
- Begin by crocheting 25 chains. This will form the width of the central strip of the cover.
- Add three more chains to start the first row.
- Create double crochets into the fourth chain (from the hook). Continue making double crochets along the initial chains.
- Complete this central strip with 55 rows of double crochets to achieve the desired length.
2. Adding the Side Panels
- Use a lighter-colored yarn and attach it to the edge of the central strip.
- Crochet two double crochets for each gap along the sides of the strip to create a solid panel.
- Repeat for the other side to achieve symmetry.
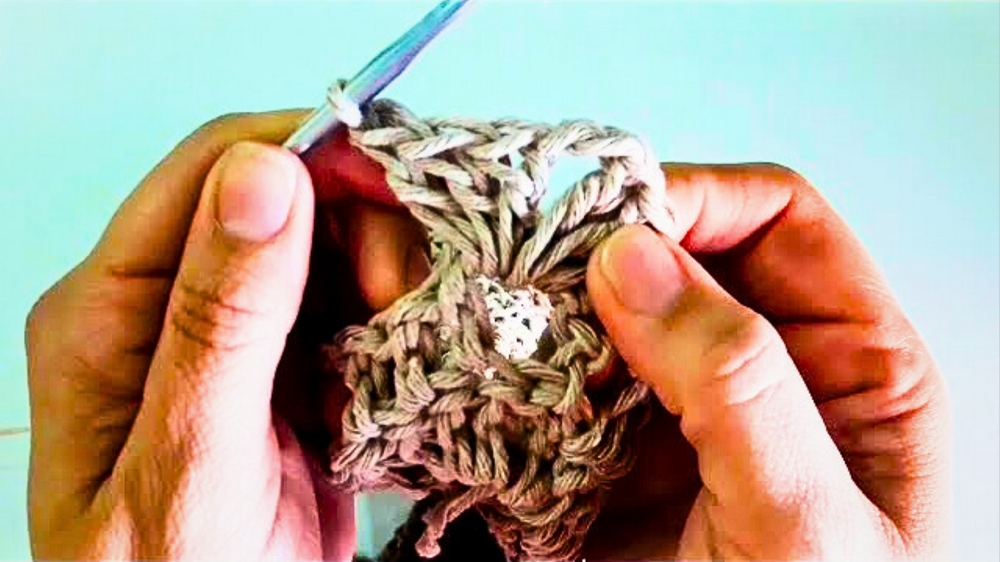
3. Creating Decorative Fans
- Work around the edges using fan patterns:
- Create blocks of three double crochets separated by two chains, skipping two chains in the base between each block.
- For the corners, work a fan: three double crochets, two chains, and three double crochets in the same gap.
- Complete two rows in this style to give the cover a lacy finish.

4. Side Rows for Seat Coverage
- To provide full coverage for the seat, crochet six rows on each side using the block pattern. Measure the seat for proper fitting, ensuring your work matches half the car seat’s width.
5. Making the Second Cover & Joining
- Create a second cover following the same instructions.
- To assemble:
- Align the covers with wrong sides facing each other.
- Use single crochet stitches to join them along one row.
- Ensure the stitches are even to avoid puckering.
6. Final Touches
- Add a simple border of double crochets around the top and bottom edges to tidy up the appearance.
- Make adjustments as needed to ensure proper fitting on the seat.
Special Features of This Crochet Project
- Custom Fit: The pattern is designed to fit car backseats perfectly, providing protection and aesthetic charm.
- Simple Stitches: Combines basic stitches (chains, double crochets, single crochets) with fan patterns for an elegant finish.
- Versatility: Allows for customization with different colors and yarn types.
Level of Difficulty
Intermediate.
The project utilizes basic techniques such as double crochets, but the scale of the work and need for symmetry might require some prior experience with crochet.
Tutor’s Suggestions
- Consistent Tension: Ensure your stitches are even for a polished look.
- Customization: Feel free to adjust the width or length based on the dimensions of your car seat.
- Double-Check Dimensions: Use measuring tape to ensure the cover is tailored to your backseat.
Uses of the Backseat Cover
- Protects Car Upholstery: Shields seats from dirt, spills, and wear.
- Aesthetic Appeal: Adds a handmade, personal touch to your car’s interior.
- Practical Gift Idea: Perfect for gifting to family or friends who appreciate handmade items.
Tip for Success
When joining the two pieces, align the sides carefully and track your stitches to ensure a smooth, seamless join. Incorrect alignment can affect the overall look and snug fit of the cover.
Conclusion
This crochet backseat cover is a rewarding project that combines functionality with creative skill. By following the step-by-step instructions and tips shared by the tutor, even intermediate crocheters can create a custom-fit cover that transforms a car’s interior. Not only does it protect the seats, but it also showcases the maker’s crocheting skills.


