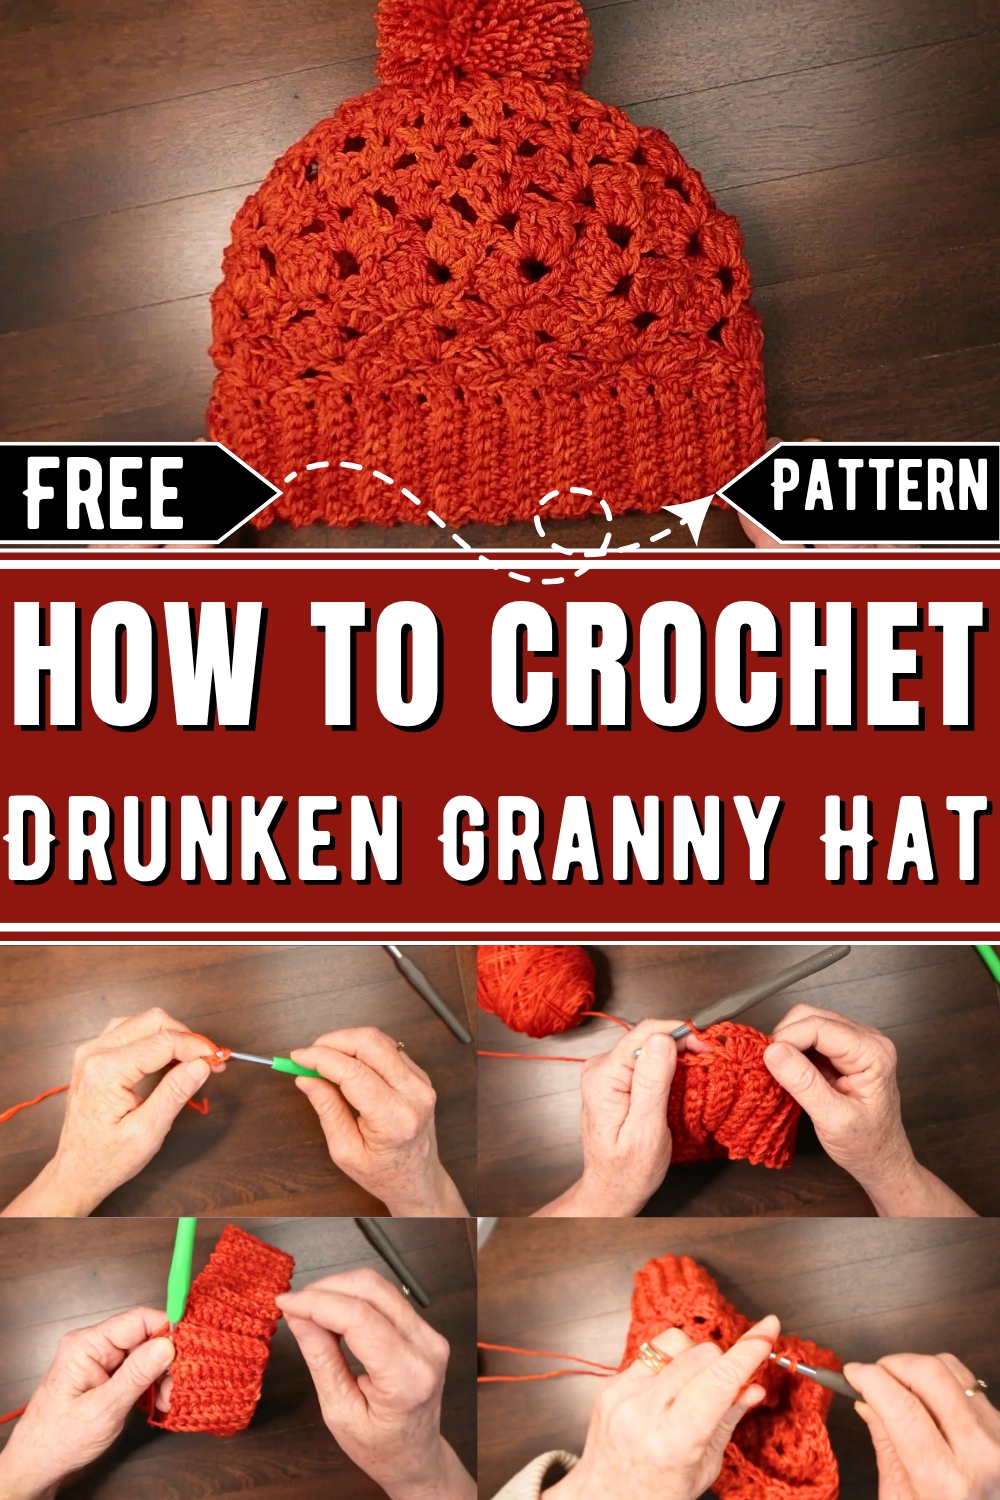
Add charm and warmth to your wardrobe with the Drunken Granny Stitch Hat pattern, featuring a unique zigzag design perfect for gifting or personal use.
Cold mornings call for accessories that are both cozy and stylish, and the Drunken Granny Stitch Hat fits the bill perfectly. This free crochet pattern combines functionality with charm, using a unique zigzag stitch that gives the hat its distinct texture and playful appearance. Ideal for all skill levels, the design is approachable for beginners while offering experienced crocheters a chance to experiment with colors and yarn types.
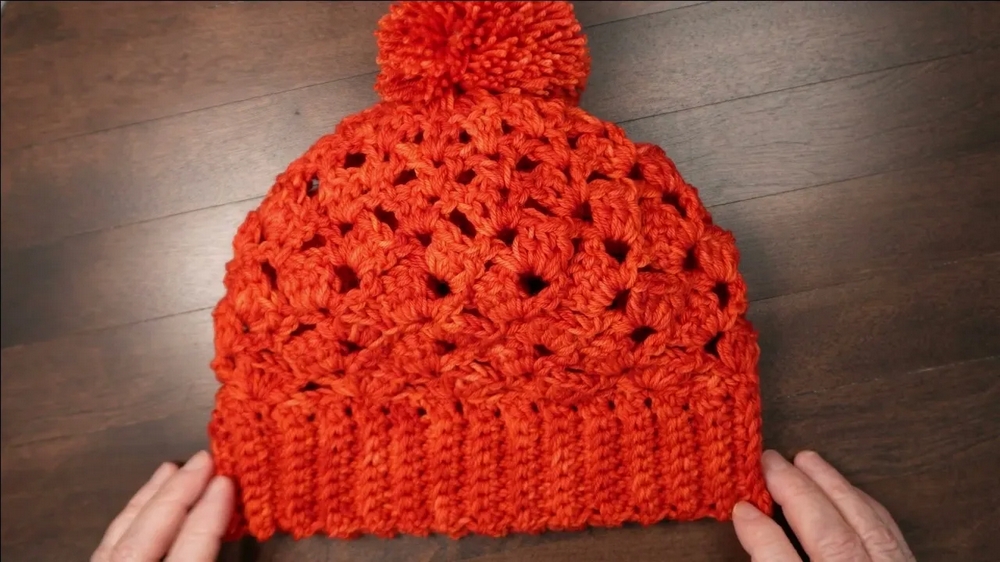
Crochet Drunken Granny Stitch Hat
The hat’s lightweight yet warm construction makes it an excellent choice for cooler weather, providing comfort without bulk. Its versatile design allows for endless customization, so you can tailor it to match favorite outfits or gift it to someone special. Practical and beautiful, the pattern is particularly suited to charitable projects, helping others stay warm during seasonal chills.
Beyond its practical uses, working on this crochet project offers an excellent way to relax and unwind. The repetitive motions of crocheting provide a calming activity, while the completed hat brings a sense of accomplishment.
How To Crochet Drunken Granny Stitch Hat
Materials Needed
- Yarn: Indigo Dragonfly 100% Superwash Merino lightweight yarn (#3) or bulky (#5). Optionally, use double strands of lighter yarn.
- Example yarn: 100g, divided into two strands (color: Paint Roller Derby).
- Hooks:
- 5.5 mm hook for hat ribbing (band).
- 6 mm hook for hat crown.
- Additional tools: Yarn needle and optional pom-pom materials.
Introduction
The Drunken Granny Stitch Hat combines style with practicality and offers a fun crochet project suitable for beginners and experienced crocheters alike. This pattern creates a stretchy and comfortable hat that fits a head circumference of approximately 22 inches. Below is a step-by-step guide to help you make this stunning crochet hat.
Step-by-Step Instructions
1. Hat Band (Ribbing)
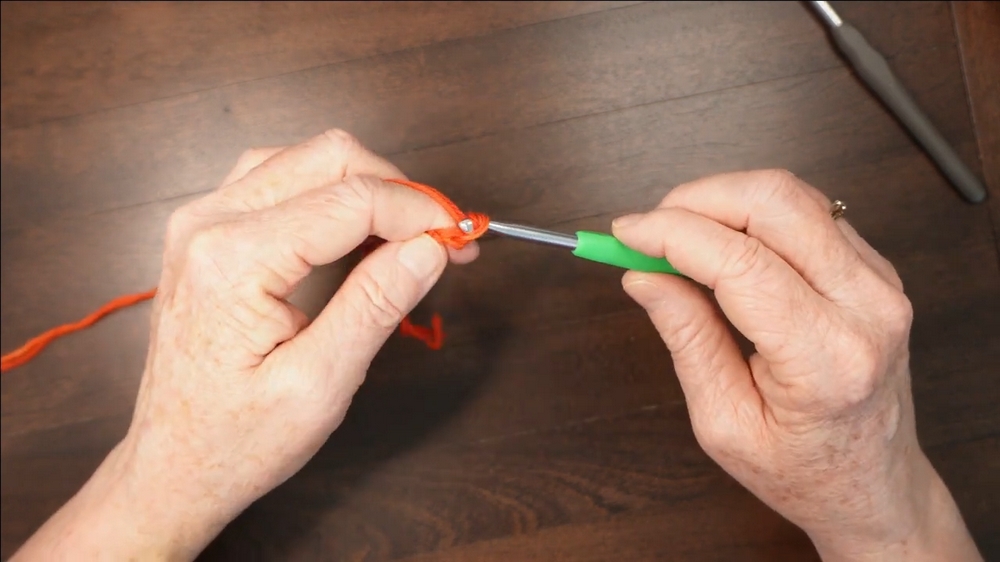
a. Creating the Foundation Chain
- Start by creating a slip knot and snugging it onto the hook.
- Make a chain of 9 stitches.
- Count to ensure you have 9 chains (the loop on the hook doesn’t count).
b. Starting Single Crochets
- Start in the second chain from the hook and work single crochets across the row (8 stitches).
- Chain 1 at the end of the row and turn.
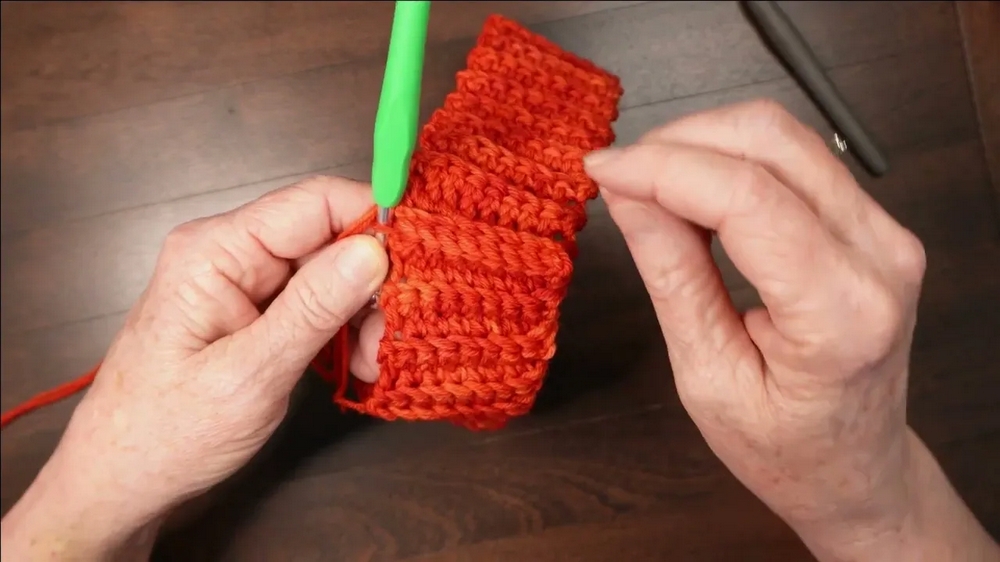
c. Back Loop Technique for Ribbing
- Work single crochets into the back strand of each stitch for a ribbing effect.
- Repeat for 60 rows (approximately 20 inches long).
d. Gauge Check
- Stretch ribbing and measure—ensure it fits comfortably around your head.
e. Joining Ribbing Ends
- Fold band, aligning row 1 and row 60.
- Slip stitch across all 8 stitches to join.
- Turn the seam to the inside of the hat.
2. Crown of the Hat
Switch to a 6 mm hook.
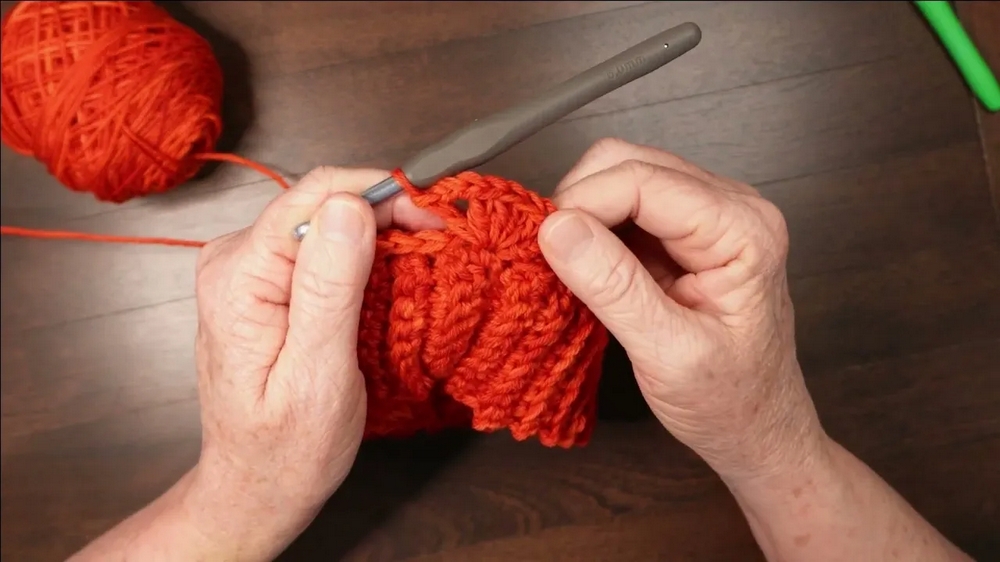
a. Single Crochet Foundation Round
- Work single crochets uniformly into the top ends of all 60 rows of ribbing.
- Create a consistent base by counting the single crochets (60 total).
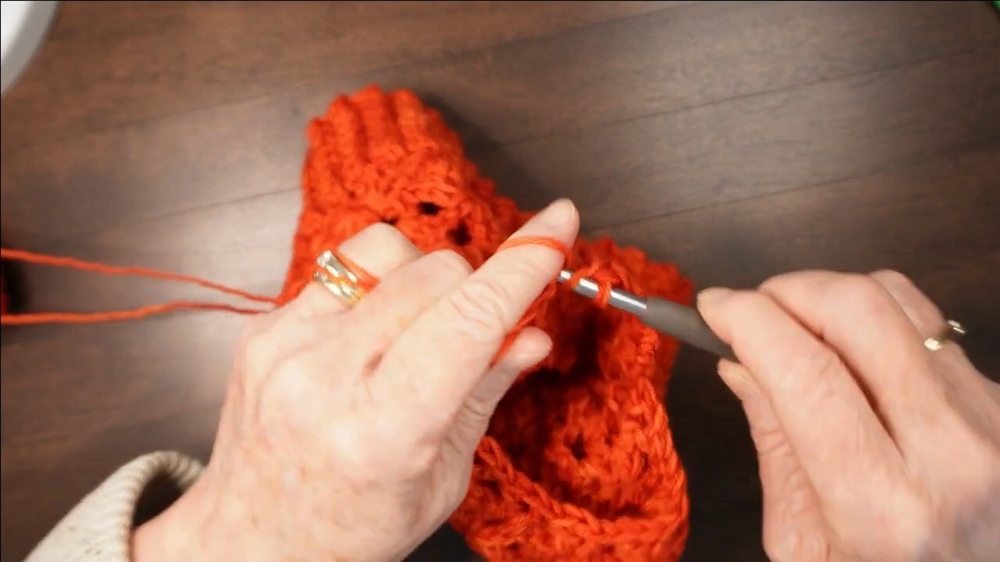
b. First Round of Drunken Granny Stitch
- Chain 3, then work 4 double crochets, chain 3, and 1 double crochet in the same stitch.
- Skip 4 stitches and repeat this pattern in the fifth stitch.
- Complete 12 motifs in this round (4 double crochets, chain 3, 1 double crochet).
c. Turn at End of Each Round
- At the end of each row of the Drunken Granny Stitch, turn the hat inside out.
- Alternate the leaning of granny stitch motifs from row to row.
d. Repeat Granny Stitch Rounds
- Complete a total of four rounds of the granny stitch.
3. Decreasing for the Crown
Gradually decrease the granny stitch groups to shape the hat crown:
a. Row 6 – Smaller Granny Groups
- Work 3 double crochets, chain 2, 1 double crochet into chain spaces.
b. Row 7 – Further Reduction
- Work 2 double crochets, chain 1, 1 double crochet into chain spaces.
c. Row 8 – Final Reductions
- Work 1 double crochet, chain 1, 1 double crochet into chain spaces.
d. Row 9 – Compact Round
- Work 2 double crochets into chain spaces (no chains between stitches).
- Ensure proper tension to create a seamless finish.
e. Row 10 – Closing the Crown
- Work double crochets in every other stitch (skipping 1 stitch between).
- Reduce to 12 stitches to close the opening.
4. Closing the Top
- Cut yarn, leaving a 6-inch tail.
- Thread the tail onto a yarn needle and weave through top stitches.
- Pull tight like a drawstring to close the crown.
- Secure with knots and weave in ends neatly.
5. Adding a Pom-Pom (Optional)
- Create your own pom-pom or attach a snap-on faux fur pom-pom.
- Secure the pom-pom to the hat’s crown using extra yarn tails or thread.
Conclusion
The Drunken Granny Stitch Hat is not just stylish but also incredibly versatile. With its playful zigzag pattern and comfortable fit, this hat can be customized to suit any style or occasion. Whether you’re creating it for yourself or as a gift, this project can be completed in just an evening, making it a quick yet rewarding crochet project.


