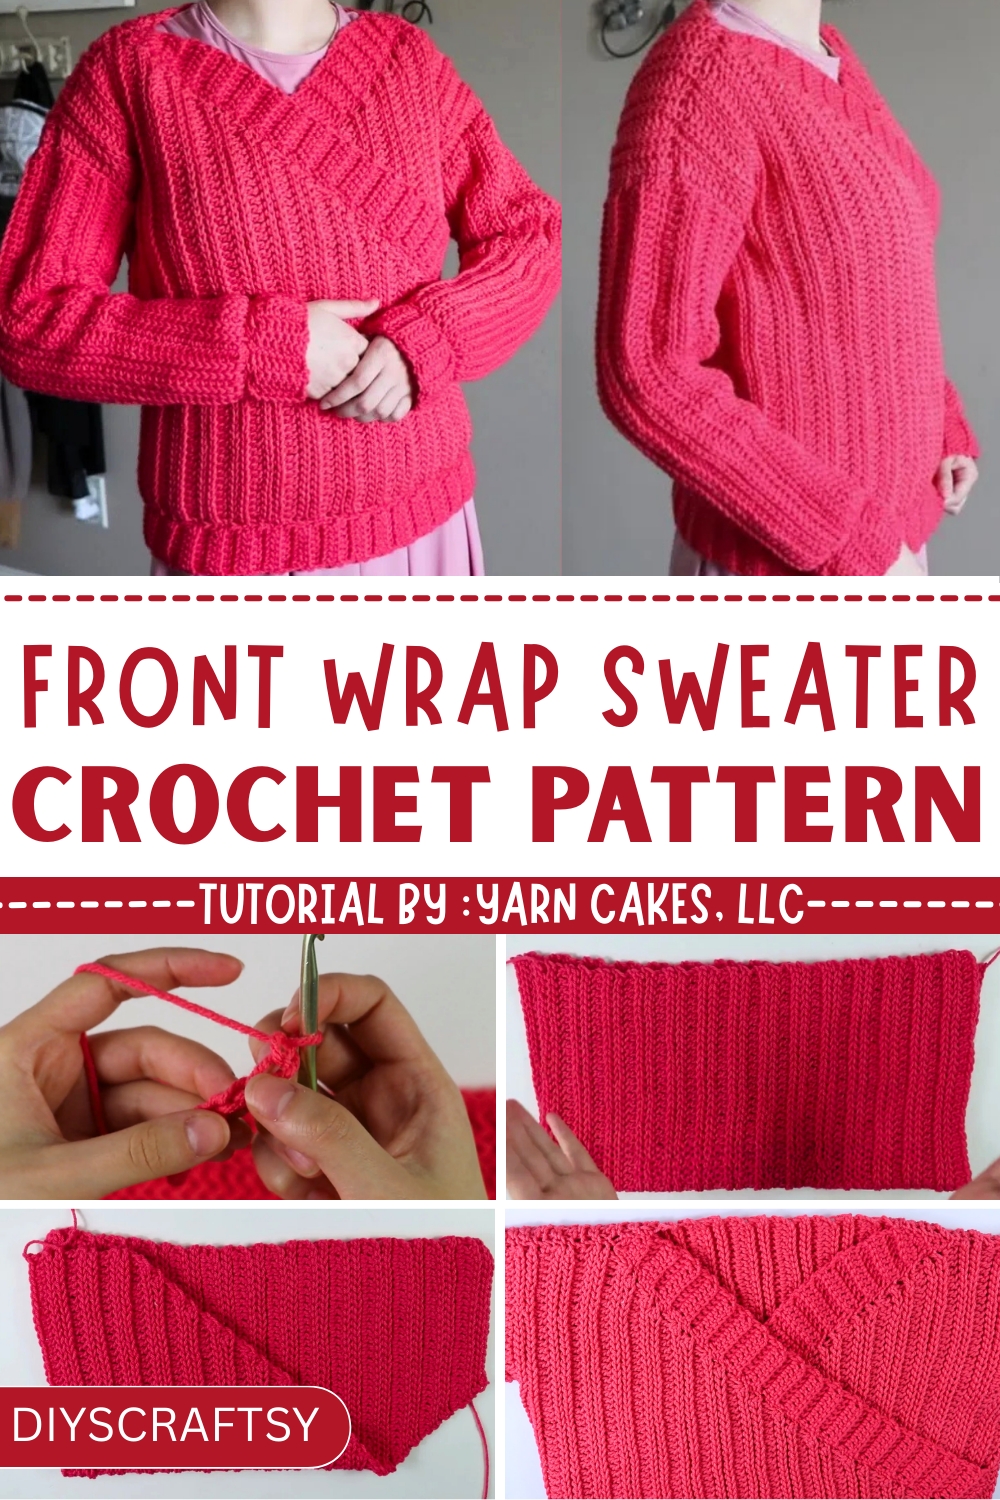
Graceful comfort flows through the Free Crochet Front Wrap Sweater Pattern, offering warmth, style, and a flattering fit for every season.
On chilly mornings, nothing feels more comforting than reaching for a soft, handmade layer that offers both warmth and style. A front wrap sweater has long been favored for its timeless look and practical versatility, making it a perfect addition to any wardrobe. With the Free Crochet Front Wrap Sweater Pattern, you’ll find an inviting project that results in a garment you’ll reach for again and again. This sweater pairs elegance with comfort, making it equally suitable for casual outings, cozy evenings at home, or as a thoughtful handmade gift for someone special.
Crochet Front Wrap Sweater Pattern To Pair With Any Outfit
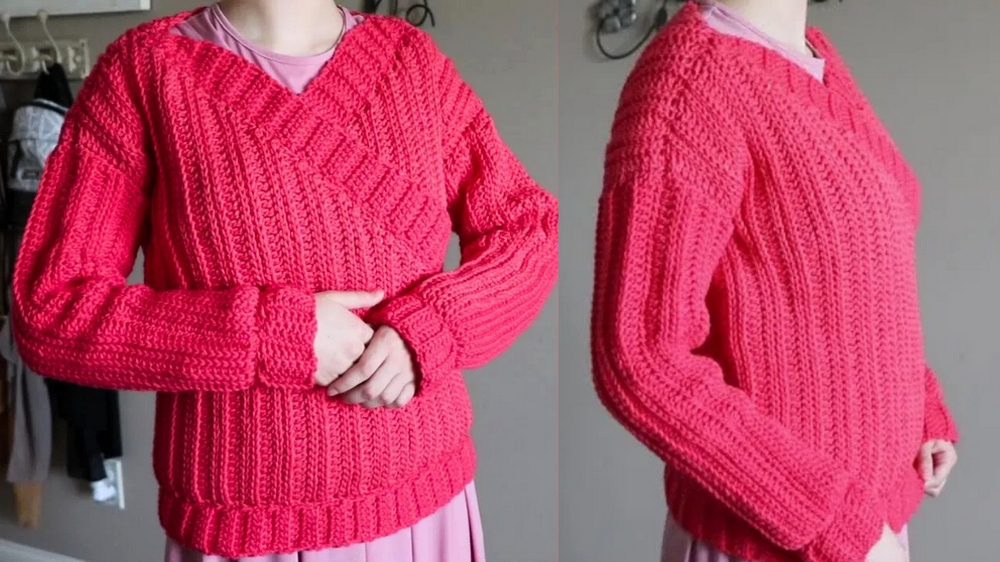
The wrap style flatters different body shapes while offering adjustability and ease of wear. Its lightweight yet snug fit makes it a wonderful layering piece through shifting seasons, offering warmth without bulk. The thoughtful construction allows you to enjoy the beauty of handmade wearables that carry both functionality and charm.
Whether styled over jeans for an effortless everyday look or paired with a skirt for a more refined occasion, this sweater adapts beautifully to personal taste. By working through this project, you not only gain a stylish wardrobe staple but also the satisfaction of shaping something both practical and graceful with your own hands.
Key Features of the Sweater
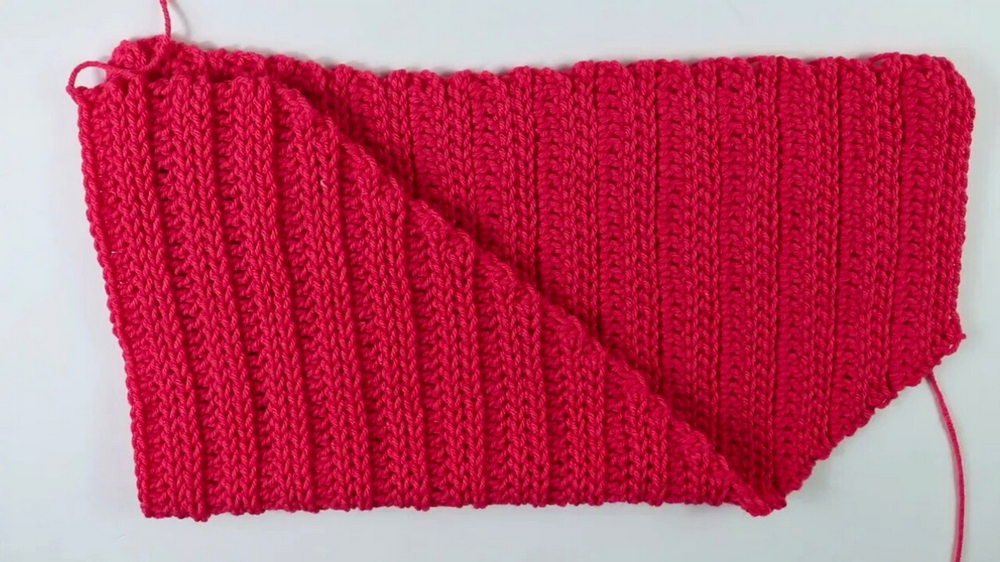
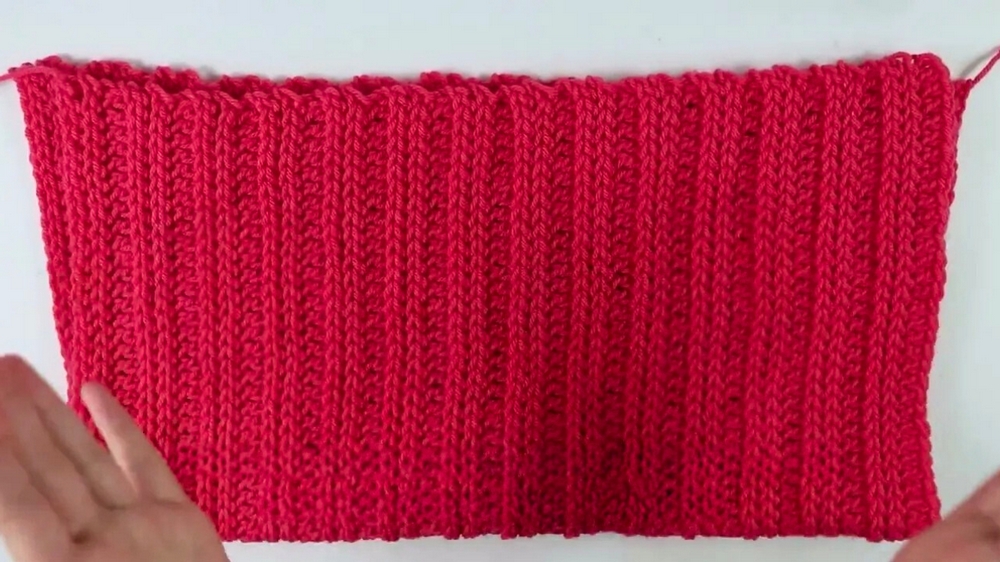
- Knit-Look Design: The pattern mimics the look of knitted fabric, achieving a smooth, textured surface with crochet techniques.
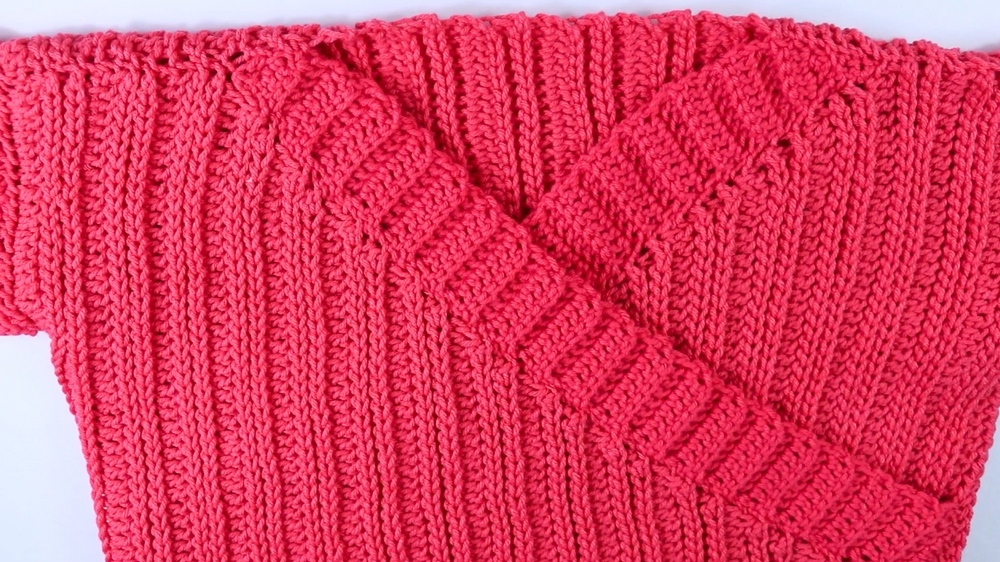
- Front Twist Detail: A chic and trendy twist in the front adds a modern touch to the sweater.
- Inclusive Sizing: The written pattern and tutorial provide instructions for sizes ranging from Extra Small to 3X Large.
- Tailored to Fit: Adjustments can be made to the length of the back panel and arms to customize the sweater's fit.
Level of Difficulty
This project is suitable for intermediate crocheters. While the individual stitches (e.g., back loop and back bar variants) are simple, the numerous assembly steps and decreases/increases demand attention to detail. Beginners may need patience and practice to follow along.
Materials Needed
- Yarn: Crafter Secret Big Idea in a large skein (Category 4). You’ll need two skeins for a size Small and potentially more for larger sizes.
- Hooks:
- 5.5mm hook for most of the paneling.
- 4.5mm hook for finishing details and borders.
- Other Supplies:
- Scissors.
- Tapestry needle (for seaming and weaving in loose ends).
Step-by-Step Instructions
1. Back Panel
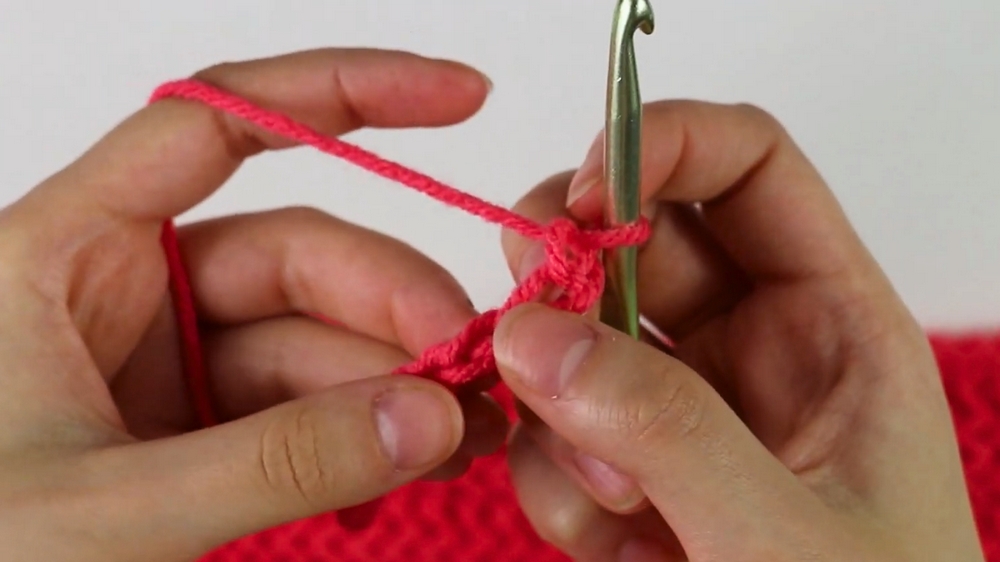
- Foundation Chain: Begin by chaining 65 (or more for your desired length).
- Row 1: Create double crochets across, skipping the first two chains.
- Rows 2-4: Use back bar slip stitches to form the knit-look texture.
- Repeat Pattern: Alternate three rows of back bar slip stitches with one double crochet row. Continue until you complete 56 rows.
2. Front Panels
- First Front Panel:
- Begin with the same foundation chain as the back panel.
- Work 12 rows in the established pattern, then add decreases to shape one side of the panel.
- Second Front Panel:
- Begin with a shorter chain (21 chains) and work in increases to create the mirror image of the first panel.
- Finish the shoulder section with 12 regular rows.
3. Sleeves
- Pattern:
- Start with a chain of 58.
- Crochet 19 single crochets, 19 half double crochets, and 19 double crochets across, creating tapered edges.
- Follow this with three rows of back bar slip stitches for the knit-look texture.
- Continue this sequence until the sleeve is 41 rows long.
- Cuffs:
- Use the 4.5mm hook to create a cuff with a chain of 9.
- Work rows of back bar double crochets, making 16 rows in total.
- Seam the cuff to the narrower end of the sleeve.
4. Borders
- Bottom Border:
- Begin with a chain of 9 and create a wide border with 68 rows of back bar double crochets.
- Seam this border to the bottom of the back panel.
- Front Borders:
- Start with a tapered chain of 3, working back bar double crochets to form 38 rows.
- Seam these borders to the front panels, ensuring the tapered end aligns with the front.
5. Assembly
- Seam Panels Together: Use whip stitching to attach the front and back panels along the sides, leaving 6.5 inches at the top for the sleeves.
- Attach Sleeves: Join the sleeves to the armholes by whip stitching, ensuring even stretching and alignment.
- Final Details: Seam and attach the bottom border, crossing the front panels, and aligning the edges.
Suggestions and Tips from the Tutor
- Anne's Suggestions:
- Keep Tension Loose: Loose stitches enhance the sweater’s flexibility and improve the knit look.
- Check Sizing: Refer to the written pattern for exact measurements tailored to your size.
- Be Patient with Assembly: This project involves many parts, so take your time to seam them carefully.
- Uses:
- This sweater is perfect for casual wear during colder months.
- With its stylish front twist design, it can be paired with high-waisted jeans or skirts for a cozy yet chic outfit.
Final Tip
When weaving in loose ends, use a sturdy tapestry needle to move through the hidden sections of the stitches. Secure the ends in multiple directions to ensure durability through washing and wearing.
Conclusion
Anne’s detailed crochet pattern provides an excellent guide for intermediate crocheters to create a knit-look sweater with a unique front twist. From its ribbed texture to its modern fit, the sweater combines comfort and style. With patience and attention to detail, you can create a versatile and trendy wardrobe addition.


