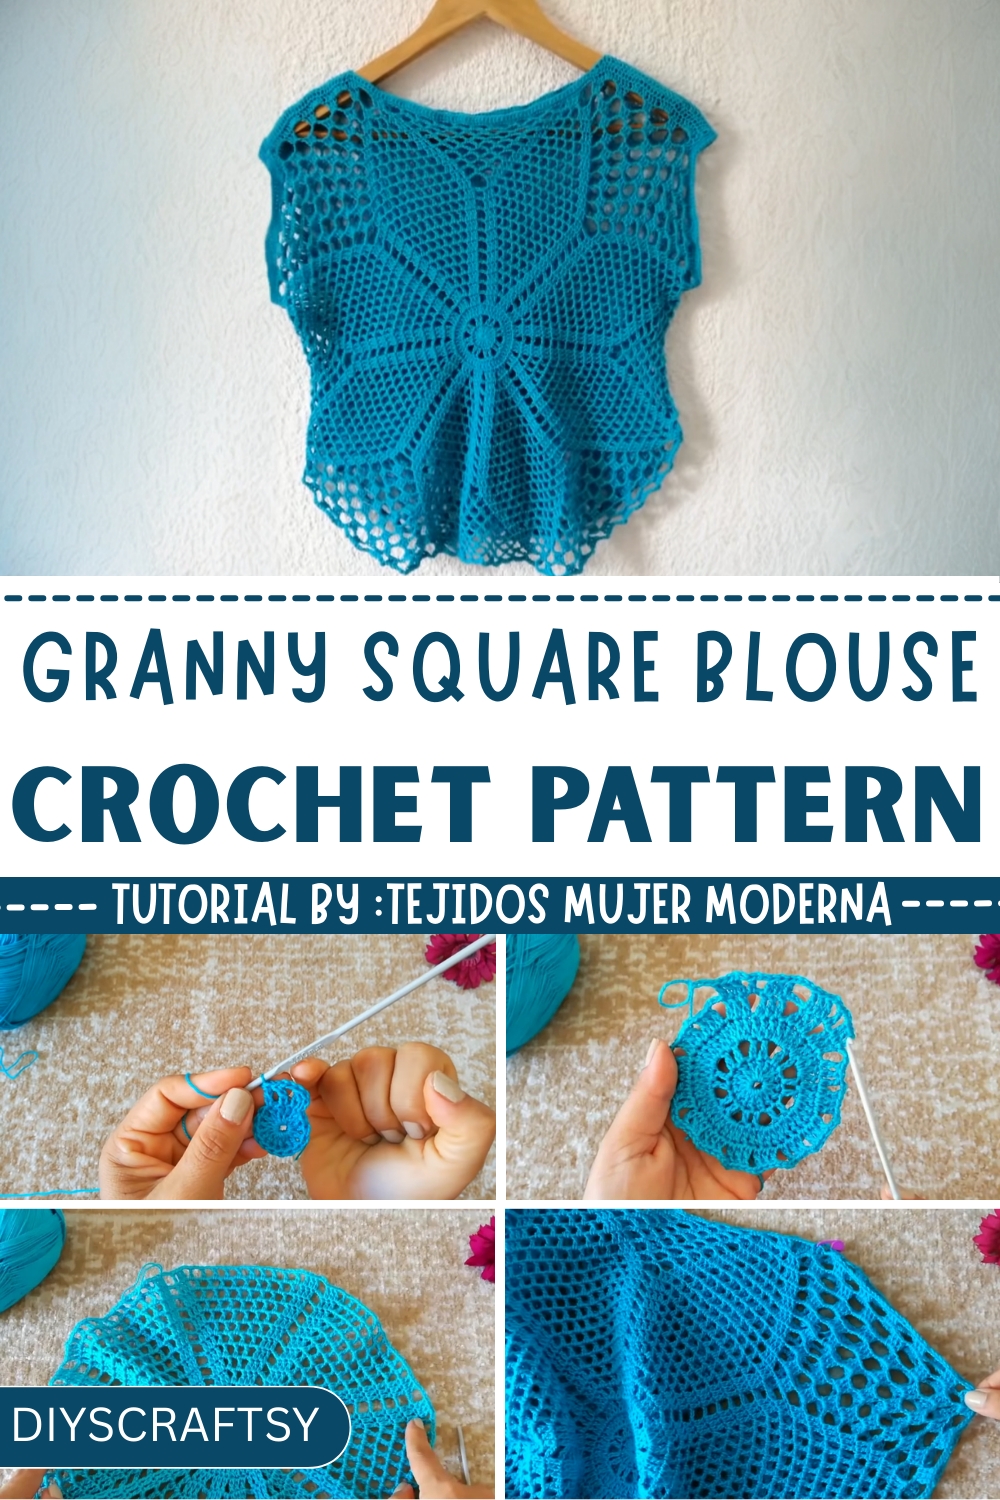
Step into summer style with this Free Crochet Granny Square Blouse Pattern, creating a breathable, chic, and versatile top perfect for casual outings.
Summer evenings often call for effortless style, where comfort meets charm in the simplest ways. A lightweight blouse with airy texture can turn ordinary outings into standout moments, whether paired with casual jeans or breezy skirts. This crochet Granny Square Blouse project captures that balance beautifully, offering a versatile garment that is both breathable and stylish. The technique centers on assembling interconnected granny squares, each formed with consistent stitches that create a harmonious, eye-catching texture. Beginning from the squares themselves, the blouse gradually comes together as each piece is joined, forming a flattering silhouette with gentle drape over the body.
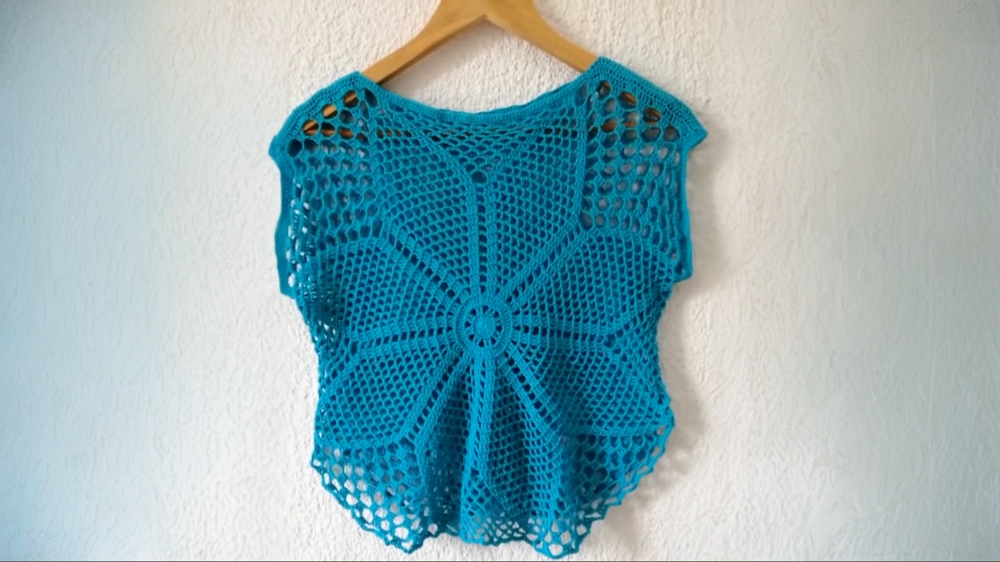
Crochet Granny Square Blouse Pattern That Moves Gracefully
The openwork allows airflow, making it perfect for warm days while adding subtle visual interest through geometric detailing. Sleeves can be kept short or extended, and the neckline offers room for customization, making it suitable for layering or wearing solo. Ideal for casual outings, summer gatherings, or even as a thoughtful handmade gift, this blouse combines aesthetic appeal with practicality.
Beyond functionality, Granny Square Blouse provides a satisfying experience for intermediate crocheters, encouraging focus on stitch consistency, assembly, and finishing techniques. Every square contributes to a cohesive, stylish garment that enhances personal style, comfort, and versatility, proving that handmade clothing can be as functional as it is visually delightful.
Step-by-Step Instructions
1. Preparing the Materials
- Yarn: Cotton yarn is recommended for its breathable and soft texture. The video suggests a thin yarn such as Omega No. 6 for a lightweight result.
- Hook Size: A 3 mm crochet hook is used in this tutorial. Hook size may be adjusted based on your gauge or yarn thickness.
- Other Tools: Stitch markers, scissors, and a measuring tape are helpful for precision.
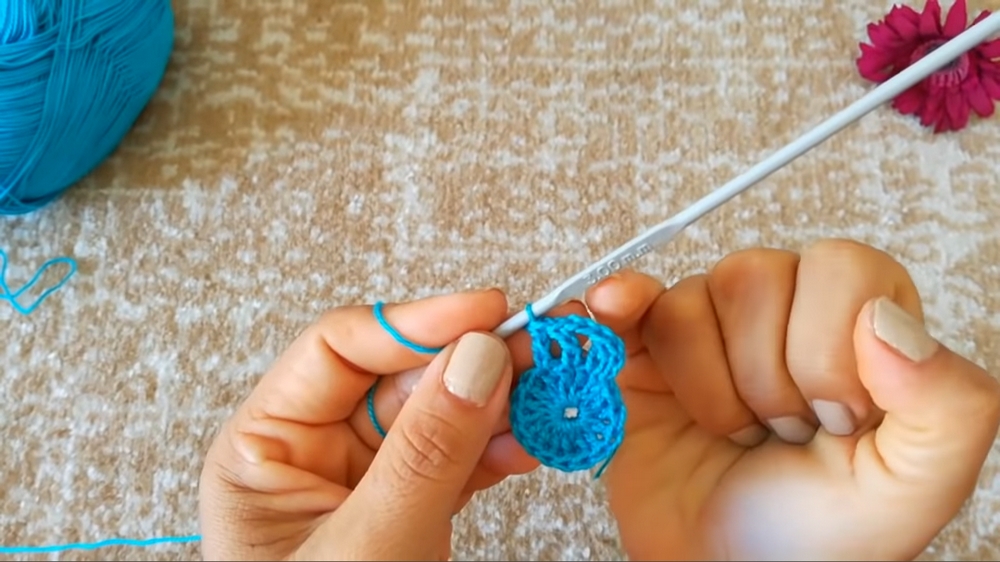
2. Creating the Initial Circle (Starting the Square)
- Form a magic circle.
- Chain 3 and begin with elongated treble crochet stitches. To make an elongated treble crochet:
- Yarn over.
- Insert the hook into the circle and pull up a loop.
- Yarn over, pull through one loop, then pull through two loops twice.
- Crochet 16 elongated treble crochets into the circle, counting the starting chains as one stitch.
- Close the circle with a slip stitch into the third starting chain.
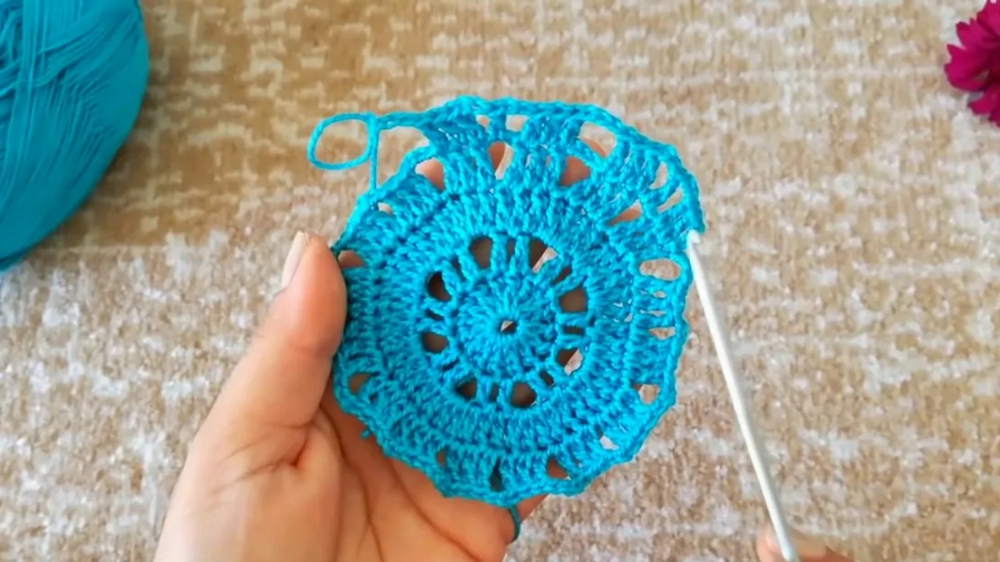
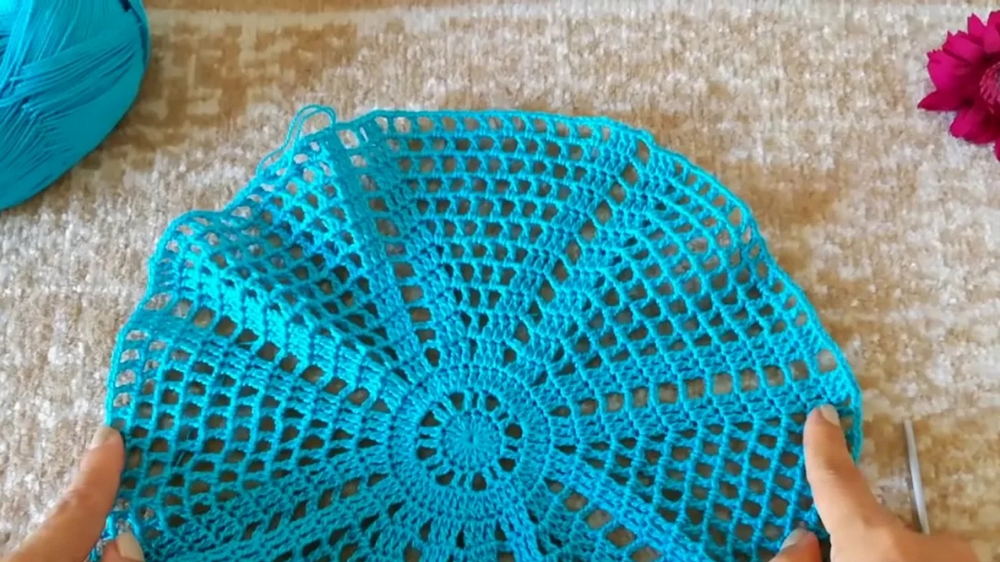
3. Expanding the Circle into a Floral Pattern (Rounds 2 - 6)
- For the next rounds, add petals and spaces by alternating elongated treble crochet clusters and making extra chains between clusters.
- Round 3 introduces increases: Add extra crochets in the middle of pairs and continue expanding the circle.
- Round 4-6: The petals are given shape by creating groups of 3 elongated treble crochets, separated by chains. This forms a beautiful floral motif in the center.
- Round 6: Begin creating the wider petal designs that will eventually transform into square corners.
4. Shaping the Square (Rounds 7-14)
- Repeat the floral sequence until there are 10 elongated treble crochets per petal.
- Use increasing and decreasing techniques to transition from circular to square shapes:
- Decrease stitches in the petals to make them taper.
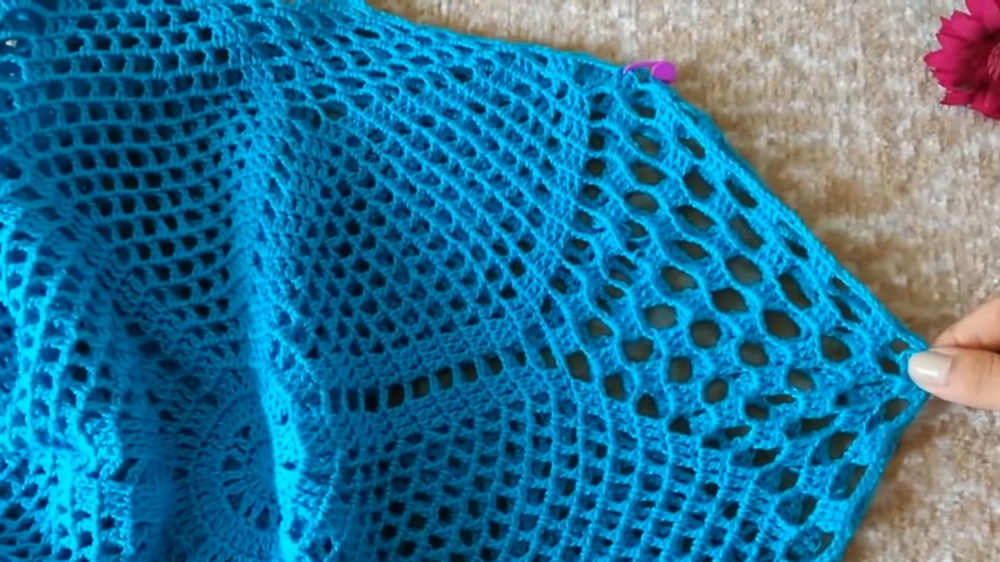
- Add net-like chain spaces between petals for corners and sides.
- Continue alternating motifs:
- Corners: Groups of 3 elongated treble crochets with 5 chains for spacing.
- Sides: Net-like stitches with half double crochets and chain spaces.
Tip: Ensure symmetry in the square by carefully counting stitches as demonstrated in the video.
5. Connecting the Squares for the Blouse
- Once the squares are complete, sew them together at the shoulders and leave room for the neck opening.
- Measure and mark for the armholes. Use stitch markers to define the sections to be sewn and those to remain open.
6. Finishing the Sleeves
- For each armhole, create sleeves by crocheting half double crochets in rounds.
- Work 4 rounds to create a cuff-like effect.
7. Adding the Final Touches
- Work a round of half double crochets around the bottom edge of the blouse to create a neat border.
- Leave the excess length open near the waist/hip area for a flowy design.
Special Features
- Floral Centerpiece: The blouse features a central flower that transitions into petals and eventually forms square corners.
- Net-Like Stitch for Airiness: The use of chain spaces between sections creates a breathable, airy design perfect for summer.
- Customizable Sizing: The piece can be personalized by adjusting the number of stitches or rounds.
Level of Difficulty
- Intermediate: The project is best suited for those comfortable with basic stitches (chains, treble crochets) and techniques like the magic circle, increases, and decreases.
- Advanced beginners seeking a challenging project can also attempt it with patience.
Tutor's Suggestions
- Count Stitches: The tutor emphasizes counting the treble crochets per round to ensure symmetry.
- Try It On: Test the fit during assembly to adjust the size of the armhole, neckline, and blouse length.
- Material Tip: Use lightweight yarn like Omega No. 6 to achieve the tutorial’s delicate look.
Blouse Uses and Applications
- Casual summer wear thanks to the breathable stitch pattern.
- It can be styled as beachwear or paired with a camisole for a layering option.
- Perfect for gifting as it has versatile sizing.
Conclusion
This crochet blouse combines floral artistry with versatility, making it a beautiful and rewarding project. The detailed steps in this tutorial provide a clear path for you to create your own unique garment. Whether you want to challenge your skills or crochet a one-of-a-kind top, this blouse is a great choice.
Final Tip
For seamless results, block the squares before assembly—this helps maintain the shape and evens out any tension variations. Happy crocheting!


