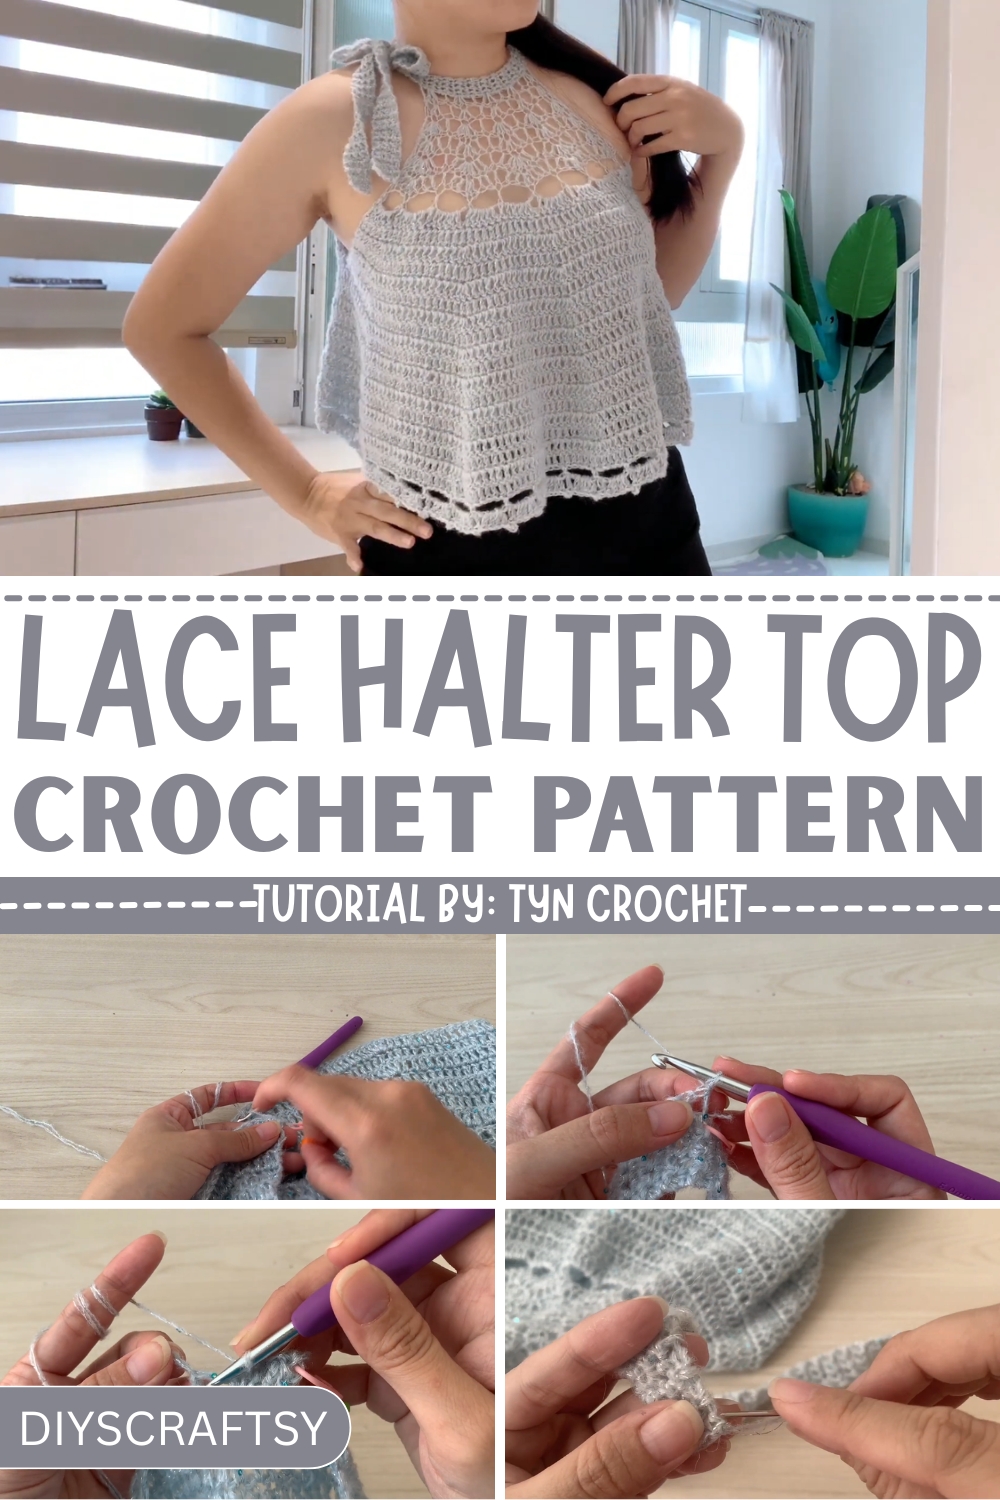
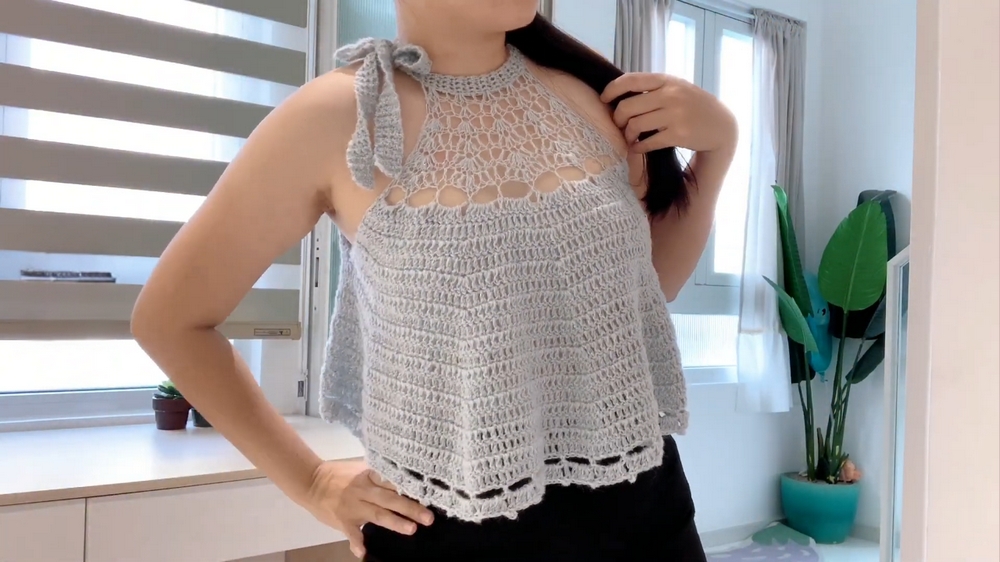
Spin your style game with a crochet lace halter top pattern that's fun to make, trendy to wear, and guaranteed to turn heads wherever you go.
Crochet has long been valued as a timeless method for creating intricate and delicate designs. Among its many possibilities, the crochet lace halter top pattern captures attention with its unique combination of sophistication and practicality. Light and airy in structure, this stunning piece is perfect for sunny days, elegant summer gatherings, or as a layering choice for a chic bohemian vibe. Its design beautifully balances modern fashion with classic lacework, making it both stylish and versatile.
Effortless Style with Crochet Lace Halter Tops
What sets the crochet lace halter top apart is its adaptability. The pattern allows for endless personalization, from choosing your favorite yarn colors to adjusting the fit for a perfect finish. Whether you prefer soft neutrals or striking bold shades, this top can complement any wardrobe. Its lightweight feel ensures comfort, while the intricate lace adds an unmistakable touch of elegance, making it ideal for a variety of occasions.
In addition to its aesthetic charm, this pattern offers practical benefits. Creating your halter top not only allows you to tailor it to your preferences but also promotes mindful, sustainable fashion. Handmade clothing reduces reliance on mass-produced items, supporting eco-conscious living. By incorporating this pattern into your projects, you’ll add a genuinely meaningful and beautiful piece to your collection.
Materials Needed
- Yarn:
- 2 rolls of gold sequin metallic microfiber yarn (Example: Suon Lan yarn, Code #17 in light blue with silver glitter and golden beads)
- Tools:
- Crochet Hook (5.0 mm)
- Wool needle
- Scissors
- Marker needles (to mark rows and stitches)
Crochet a Stunning Flared Camisole: Step-by-Step Guide
Project Overview
- Project Name: Flared Camisole with Lace Patterns & Bow
- Difficulty Level: Intermediate (requires some familiarity with basic and decorative stitches)
- Size Options: Includes instructions for size S, M, and L
- Main Features: Neck bow, shimmering lace, flared silhouette, sparkling finish
- Perfect For: Evening wear, casual chic, or summery vibes
Special Features
- Shimmering Metallic Microfiber Yarn: The camisole’s key highlight is its glittery effect, especially under evening lights, making it perfect for special occasions.
- Lace Detailing with a Romantic Vibe: From the bowtie at the neck to the hem with matching lace, this project combines elegance and originality.
- Flared Design: The body of the camisole is flared, which adds a flowing silhouette.
- Versatile Sizing Options: Instructions for sizes S, M, and L, with differences primarily in the armpit width.
Step-by-Step Crochet Instructions
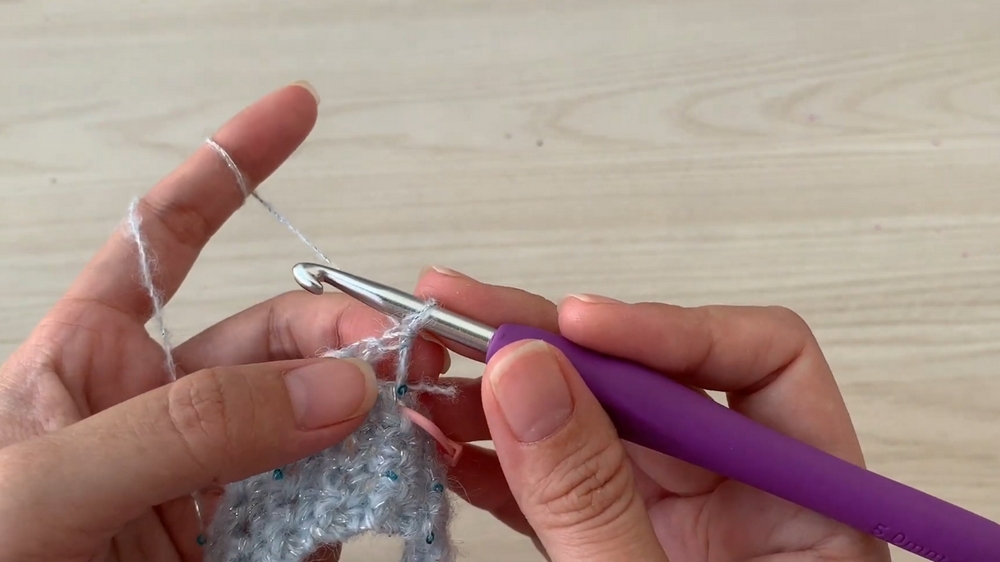
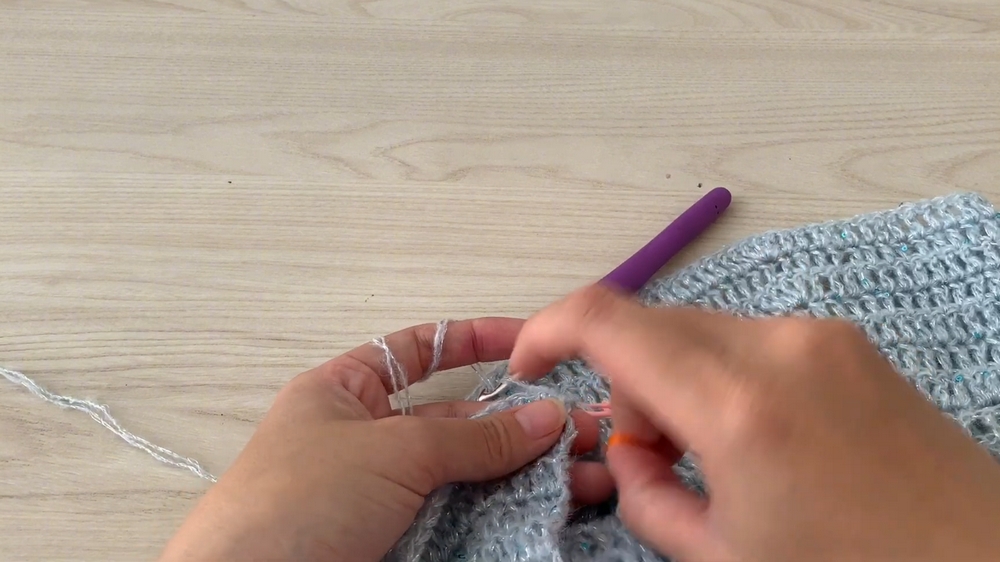
1. Start with the Bowtie Collar
- Yarn Prep: Double the yarn by using threads from two rolls.
- Crochet Basics: Start with a knot, chain 5 loose stitches, and work single crochet (SC) into the fourth chain.
- Row Repetition:
- Row 1: Crochet 4 SC stitches in the set row length.
- Rows 2+: Repeat SC rows without adding chains at the row start.
- Length Advice: Crochet until your piece reaches between 90-95 cm (adjust length to fit your collar needs).
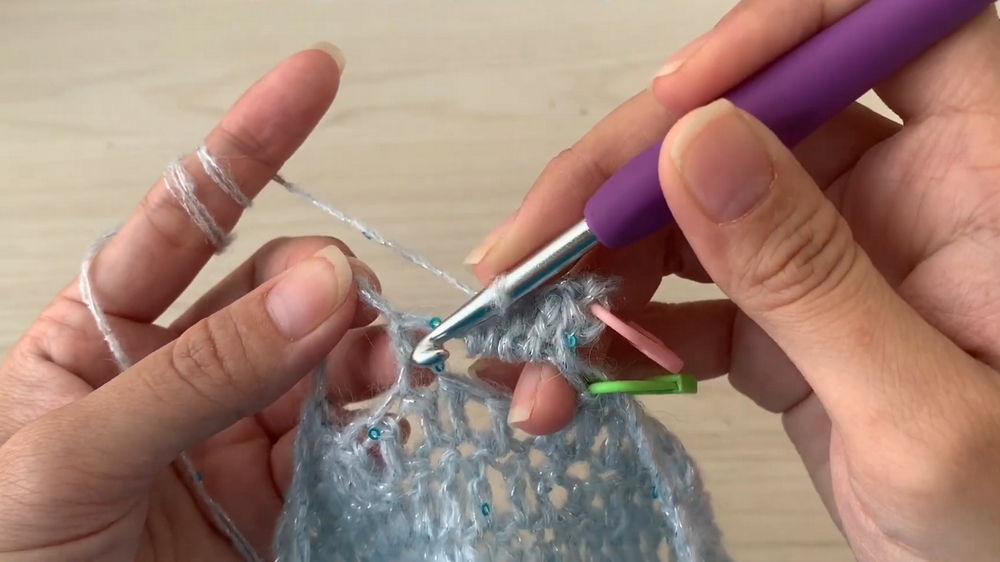
2. Create the Bib Section
- Planning the Position: Use marker needles to measure and divide bib sections—21 rows on each side from the collar center.
- Crochet Techniques for Bib:
- Begin by crocheting SC stitches and clusters of three single double crochet (SDC) stitches in each designated leg.
- Increase or add stitches where needed while marking first rows and key holes.
3. Work on the Flared Body
- Forming Rows:
- Rows alternate between "increase rows" and "regular rows."
- Increase rows involve adding stitches at intervals—always mark patterns in middle clusters.
- Pattern Continuation: Complete up to Row 25 for M size (adjust depending on size: Row 13 for S, Row 15 for L).
4. Connect Parts Together
- Bib Connection: Join the two bib pieces at the armpits to form circular rows from the body downwards.
- This forms the camisole foundation.
- Tip: Try it on to ensure the fit under the arms.
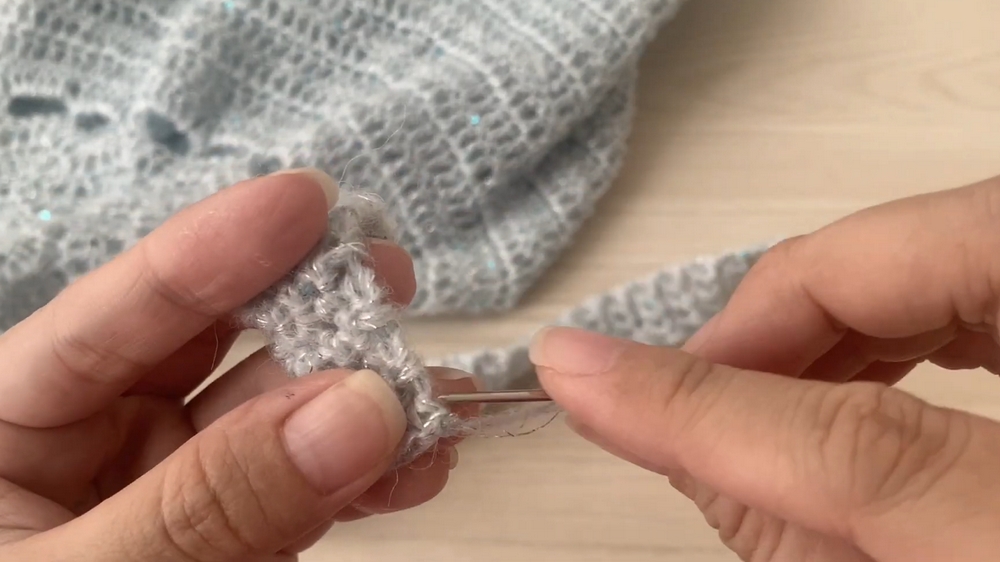
5. Add the Lace Hem
- Row 26: Mesh Design
- Create loops: SC into the first row leg, chain 4, skip four legs, SC into the fifth, repeating to create mesh rows.
- Row 27: Strawberry Lace
- Add decorative strawberry stitches on top of mesh gaps, working SC clusters in between. Repeat across the hem.
Tutor’s Suggestions
- Consistency: Always crochet loosely when working with metallic yarn as it can be trickier to maneuver.
- Mark Your Work: Use marker needles extensively to track rows and sections.
- Fit Check: As crochet tension differs from person to person, keep trying on the camisole to adjust the fit, especially for the armpit and body portions.
Level of Difficulty
- Intermediate: This project requires basic crochet knowledge and the ability to follow increases, decorative stitches, and regular pattern adjustments. If you’re familiar with SC, double crochet, and clusters, you’ll find this project rewarding.
Uses
- Evening Wear: Thanks to the shimmering yarn, it’s perfect as a dazzling top for social gatherings at night.
- Summer Chic Style: Light and breathable patterns make it adaptable for casual daytime looks.
- Craft Gift: This timeless camisole design makes a beautiful handmade gift for someone special.
A Pro Tip
When transitioning from rows with decorative increases (like three double crochets in one leg), always mark the center point of each cluster. This makes it easy to find your place for the next round without having to count every stitch!
Conclusion
There you have it—a complete guide to crocheting a flared camisole! With shimmering yarn, romantic bowtie details, and a creative lace structure, this is the perfect project to showcase your intermediate crochet skills. Tailor it to your size and style preferences, and enjoy the joy of wearing something handmade and stunning.


