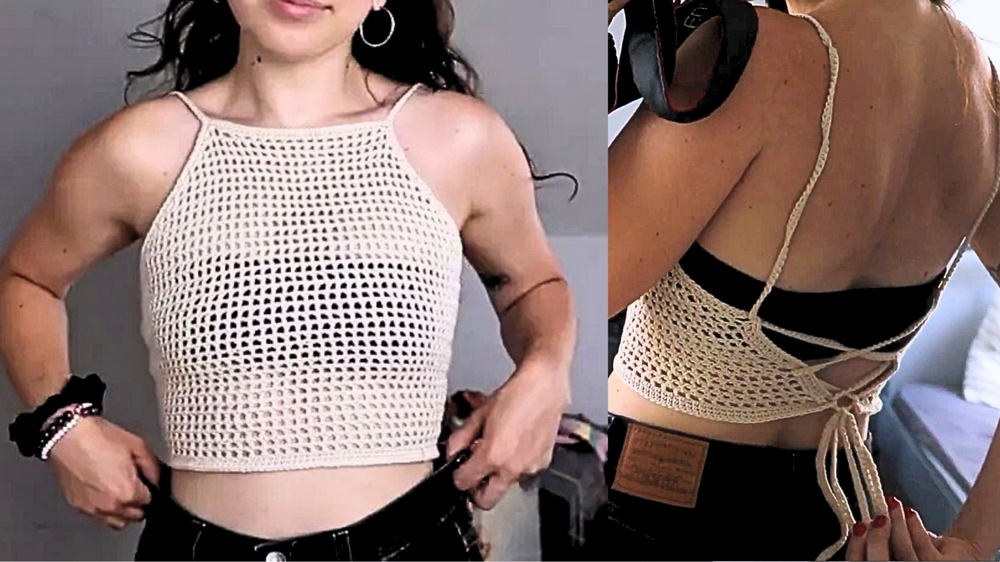
Stay cool and stylish with a chic crochet mesh halter top pattern that blends lightweight comfort, versatility, and timeless flair for any summer occasion.
Lightweight, breathable apparel is a summer essential, and crochet enthusiasts have found the perfect solution in the mesh halter top. This airy design pairs functionality with timeless style, making it ideal for casual outings or as chic beachwear. The pattern uses simple stitches to form a light, open mesh texture that offers ventilation while maintaining fashion-forward elegance. One of its greatest benefits is its adjustability—tailored straps and a customizable fit ensure that it complements any body type comfortably. The top isn't just about looks; it’s incredibly practical for hot weather, allowing you to stay stylish without sacrificing comfort.
Crochet Mesh Halter Top - Free Pattern

Made using fine yarn, the halter top strikes a balance between durability and softness, making it skin-friendly and ideal for sensitive skin. Beyond its aesthetics and comfort, this piece is a versatile addition to any wardrobe. Pair it with shorts, skirts, or even layered over dresses for a variety of outfits.
Lounging at home, heading out for a summer picnic, or spending the day poolside, the crochet mesh halter top elevates your style. Timeless yet modern, this design is a testament to the creative potential of crochet, offering something truly functional and fashionable for everyone.
How To Crochet Mesh Halter Top
Materials Needed
- Fine yarn (suggested: Drops Safran)
- 3mm crochet hook
- Stitch markers
Introduction
The pattern demonstrates how to make a simple, easy, mesh summer halter top using fine yarn and basic crochet techniques. This beginner-friendly project is fully customizable, allowing you to adjust the length and tie it in various ways. The pattern offers flexibility in design, making it perfect for a casual summer outfit.
Step-by-Step Details
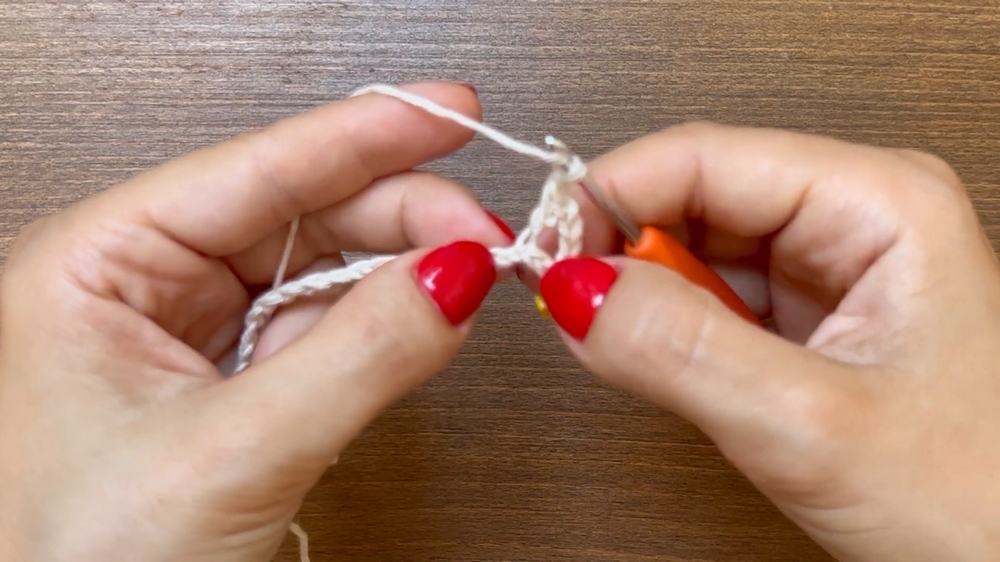
Step 1: Starting the Base
- Make a Slip Knot and Chain
- Start by creating a slip knot.
- Crochet a chain long enough to go from one side of your body to the other at the widest point of your chest. Ensure the chain length is a multiple of 2 plus 1 (e.g., 7, 9, 11, etc.).
- Mark the Corner
- Insert a stitch marker into the last chain to identify the corner.
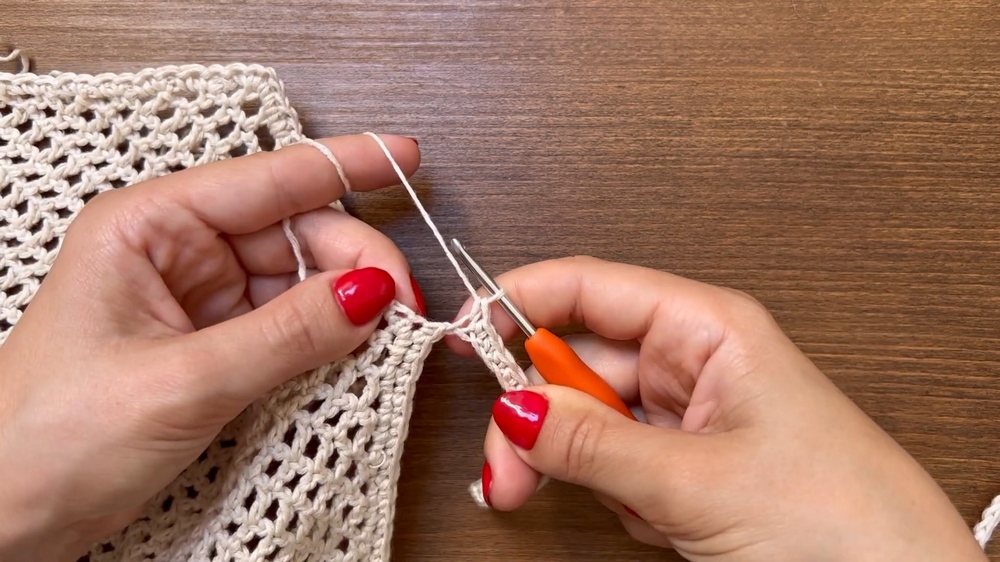
Step 2: Beginning the Mesh Pattern
- First Row
- Start with a double crochet into the 7th chain from your hook (this equates to the 3rd chain from the stitch marker).
- Chain 1, skip the next chain, then double crochet into the second chain. Repeat this process all the way to the end of the row.
- Subsequent Rows
- Chain 4, turn your work, and double crochet into the next double crochet from the previous row.
- Chain 1, skip the next stitch, and double crochet into the second stitch (always crocheting into the double crochets of the row before).
- Repeat until the mesh rectangle is long enough to reach about 15 cm before your armpits.
Step 3: Creating the Slanted Edge
- Decrease Mesh Squares
- Begin decreasing two squares every row to shape the slanted edge.
- Chain 3 (or chain 2 for a tighter look), turn your work, and double crochet into the next double crochet.
- Continue the mesh pattern, but omit chaining before the last double crochet to achieve the decrease.
- Repeat
- Repeat this decrease until the top is long enough as per your preference.
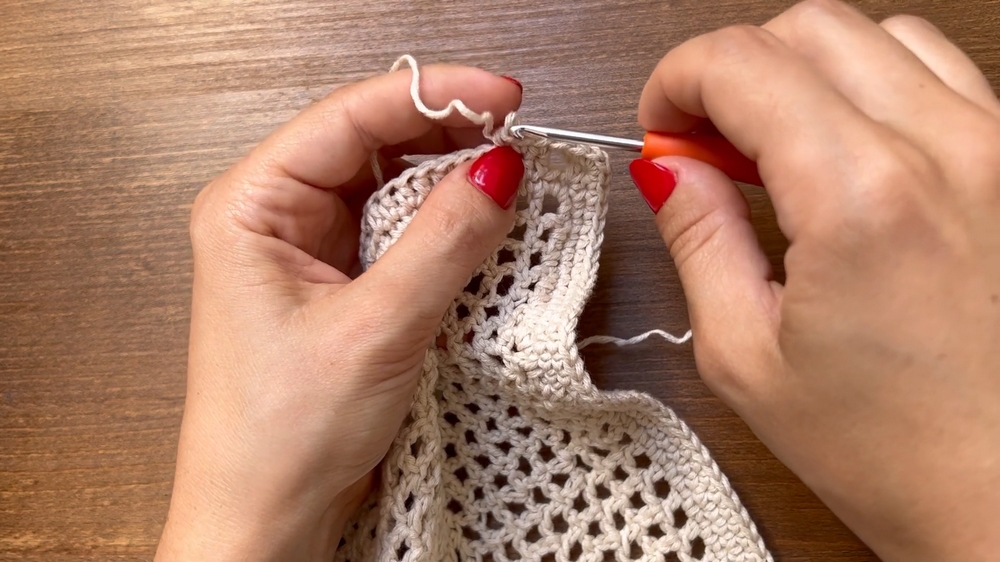
Step 4: Adding the Trimming and Straps
- Start Trimming
- Attach your yarn at the slanted edge and begin single crocheting all around the top.
- Single crochet into every gap and mesh line along the edges.
- Corners
- Add 3 single crochets into each corner for a clean, rounded edge.
- Create Gaps for Straps
- Chain 2, then half double crochet into the first stitch. Skip one stitch and half double crochet into the next. This creates spaces for straps in the middle of the top and bottom edges.
- Strap Creation
- Chain approximately 1.5 meters (or desired length) for each strap, then single crochet along the entire chain.
- Repeat for the second strap on the opposite side.
Step 5: Finishing the Top
- Final Edges
- Single crochet along all edges of the top to ensure smooth trimming.
- Place 3 single crochets into the corners.
- Fasten Off
- Slip stitch to join the round, cut the yarn, and weave in any loose ends.
Conclusion
This mesh summer halter top is a versatile and stylish outfit for warm weather. Thanks to its beginner-friendly design and customizable options, it’s perfect for those new to crochet. With simple double crochets, single crochets, and basic chain techniques, the top combines elegance with practicality. Whether you’re creating it for yourself or as a gift, this halter top is a fun and rewarding project that produces a beautiful summer accessory!


