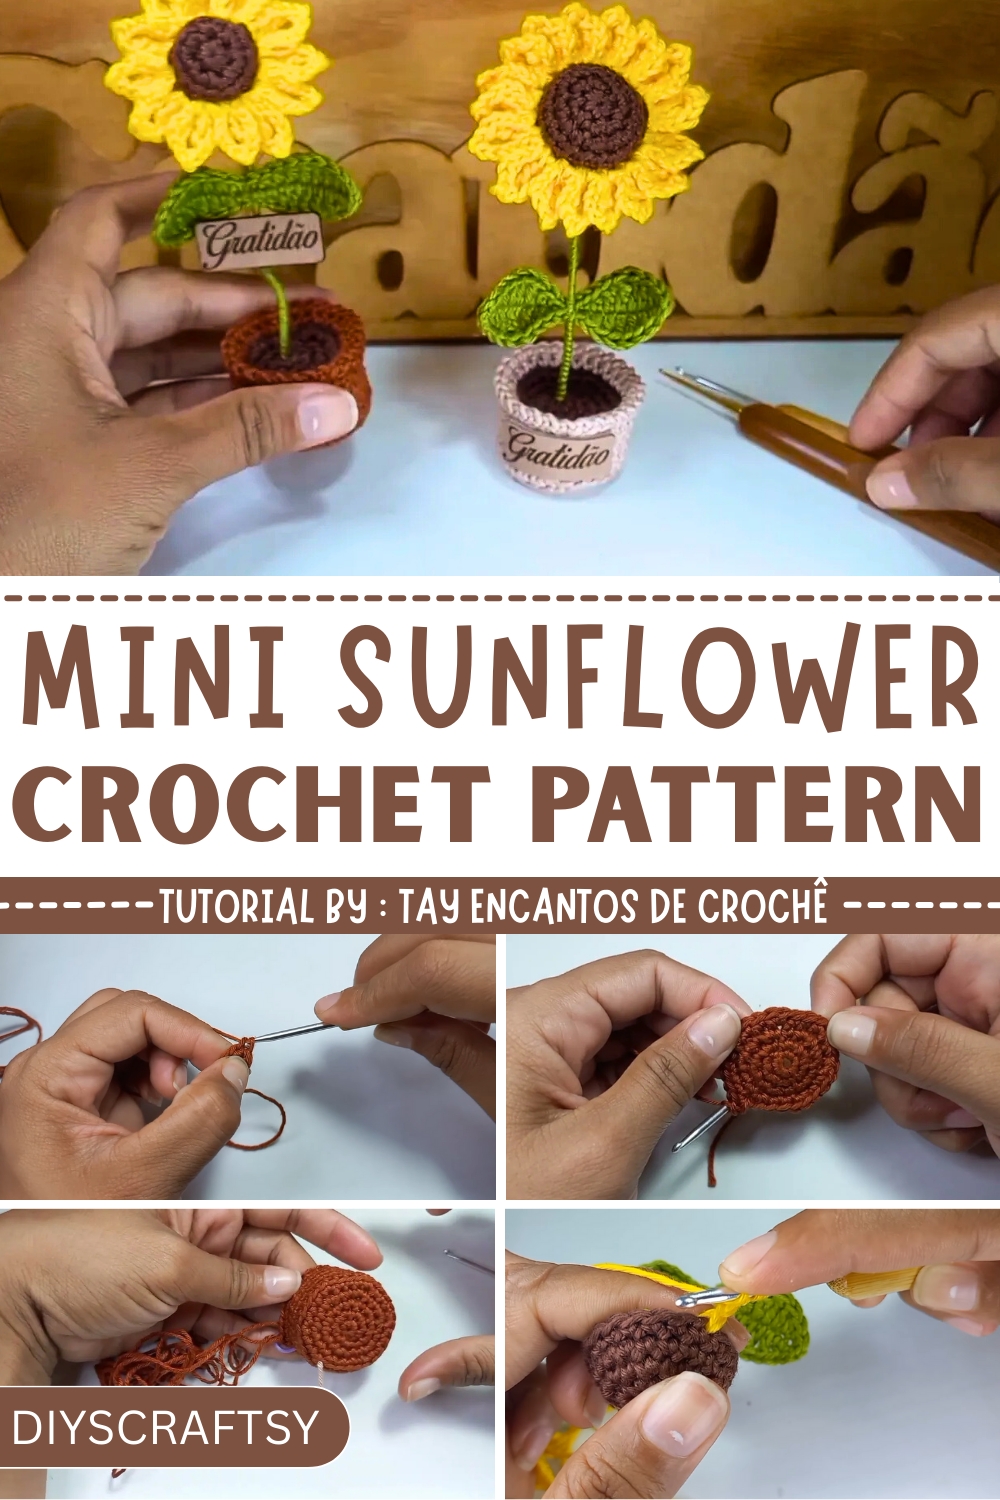
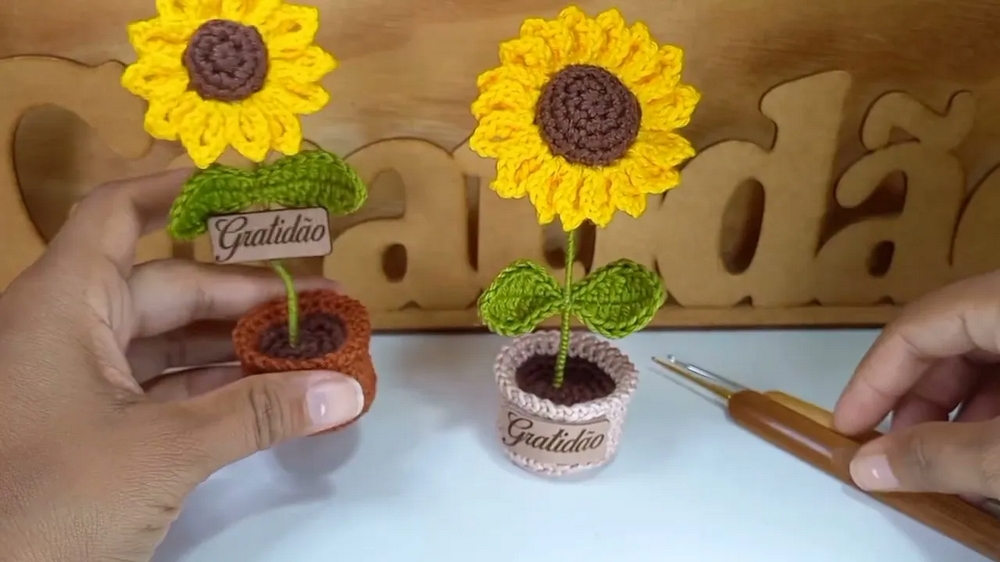
Radiate joy with this Crochet Mini Sunflower Pattern, a cheerful and versatile handmade accessory perfect for gifts or personal use.
Sunlight streaming through a window can instantly brighten a room, and a tiny handmade sunflower can do the same for your day. The Free Crochet Mini Sunflower Pattern captures this cheerful essence in a compact, handmade form, making it perfect for a variety of creative uses. Each tiny sunflower radiates charm and can be transformed into keychains, brooches, hair accessories, or decorative accents for bags, gifts, or home décor.
Free Crochet Mini Sunflower Pattern That’s Easy and Colorful
This mini sunflower is quick to make, ideal for crocheters of all skill levels who want instant satisfaction and a pop of color in their projects. Its lightweight, flexible texture allows it to be attached anywhere, enhancing everyday items with a handmade touch. Beyond aesthetics, these little sunflowers offer the joy of creating something tangible and vibrant, providing a mindful and calming activity for makers.
They also make delightful gifts, showing thoughtfulness and care in a simple, elegant form. With this Free Crochet Mini Sunflower Pattern, crocheters can bring cheerful, natural-inspired elements into daily life while practicing a skill that rewards patience and creativity. These versatile little blooms are not just decorative, they are small carriers of happiness, perfect for spreading warmth wherever they go.
Step-by-Step Details
1. Materials Needed
- Crochet Hooks: Sizes 2.5 mm and 2.0 mm
- Scissors
- Tapestry Needle
- Two Pliers: Cutting pliers and needle-nose pliers
- Tape Measure
- Galvanized Wire (13 cm long)
- Point markers
- Customizable Label (Taila used one with the word "Gratitude")
- Acrylic Ring (for stabilizing the base)
- Craft Glue and Glue Stick
- Lighter (optional for glue stick technique)
- Amigurumi Yarns:
- Vase: Tâmara color 7220
- Flower: Canary Yellow 1289 & Brigadeiro Brown 7569
- Leaves: Pistachio Green or Flag Green
- Stuffing Material
The links to materials are available in the video description.
2. Special Features
- The flower vase can be customized with different yarn colors and sizes (e.g., altering hook size creates varied dimensions).
- The project can be adapted to create different flower types such as roses, daisies, or tulips.
- Taila provides an alternative glue-stick heating technique for those without a hot glue gun.
- The finished product includes a steady base supported by an acrylic ring.
3. Step-by-Step Process
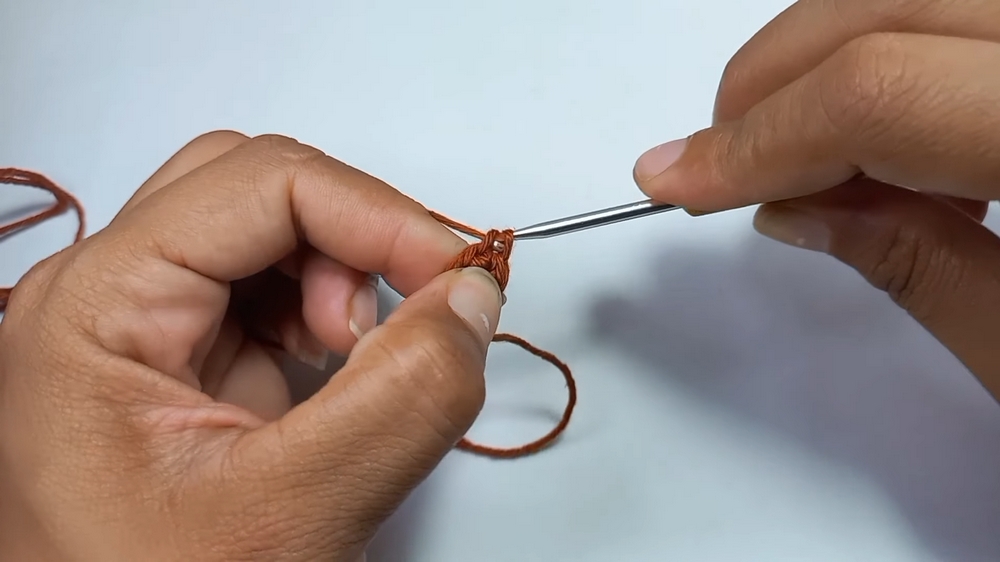
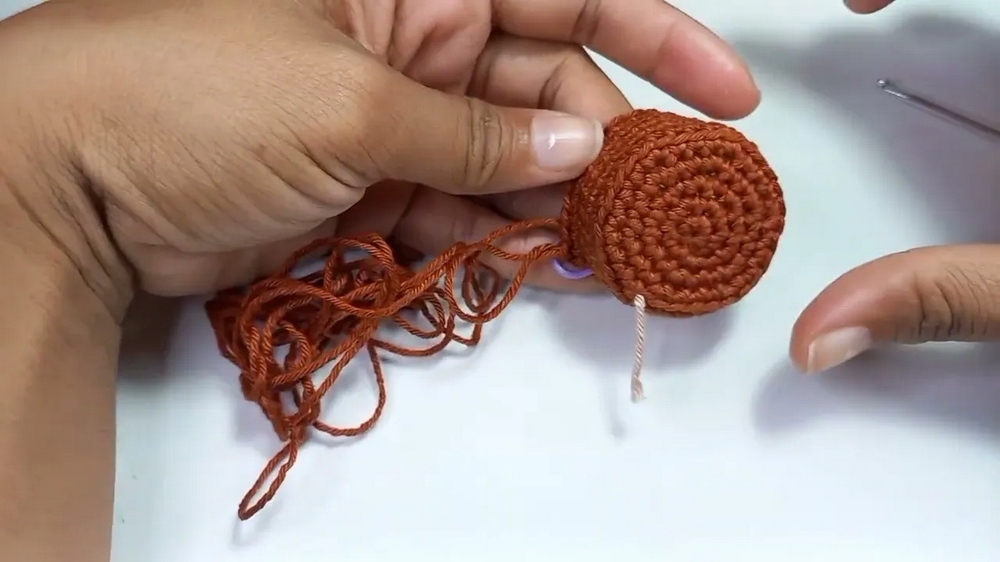
A. The Vase
- Start with a magic ring and make six single crochet stitches inside it.
- Gradually increase stitches over successive rows:
- Row 2: Two single crochets in each stitch (12 stitches total).
- Row 3: Alternate one double stitch (two single crochets in the same stitch) and one single crochet (18 stitches total).
- Subsequent Rows: Follow a pattern of extended spacing between double stitches (e.g., 2, 3, etc.).
- Construct the sides of the vase with five rows of single crochet stitches to create a cylindrical shape. Use stitch markers to ensure accuracy.
- Attach an acrylic ring with craft glue to create a stable base.
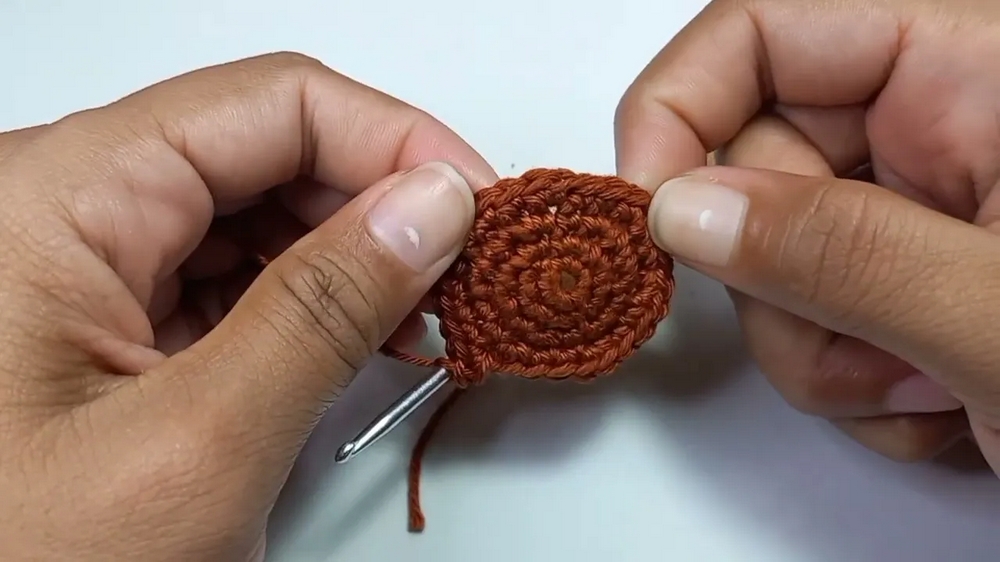
B. The Soil
- Use brigadeiro brown yarn and crochet a similar magic circle and increasing pattern like the vase base.
- Check for total rows (e.g., 18 stitches circumference in Row 3, then increase similarly).
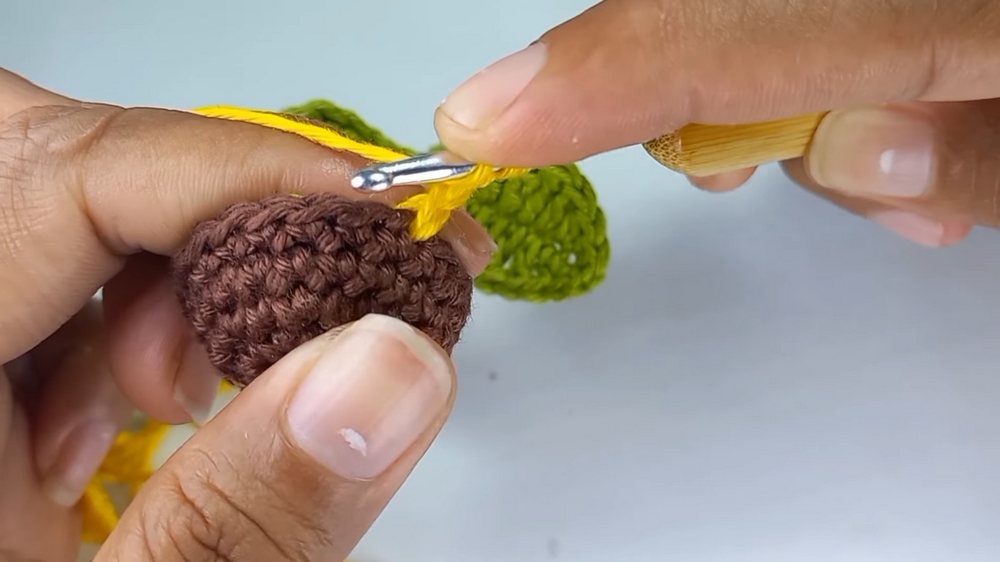
C. The Leaves
- Crochet 19 foundation chains.
- Skip the first chain, and work the subsequent chains with a mix of single, half-double, and double crochets to shape the leaf contour.
- Mirror this process on the other side of the chain to complete a symmetrical leaf form.
- Finish and secure with a tapestry needle.
D. Making the Flower
- For the petals:
- Attach yellow yarn and work petals using double crochets, chain loops, and slip stitches.
- Repeat this pattern for each base stitch to shape the flower head.
- Add a small amount of stuffing before completing the final petal.
E. Assembling
- Insert galvanized wire into the flower stem and wrap it with green yarn using craft glue.
- Attach the leaf to the wire stem at the desired position. Ensure it's secure using glue.
- Assemble the "land" into the vase and insert the flower stem. Bend the wire ends at the base to secure.
F. Decorative Label
- Attach the customizable label (e.g., “Gratitude”) to the vase or flower. Use glue to secure.
4. Tutor's Suggestions
- Customization: Experiment with yarn colors and flower styles for variety.
- Neatness: Add invisible closures and hide loose threads for a polished finish.
- Planning: Prepare all materials before beginning to avoid interruptions.
5. Uses
- Interior Decor: Ideal for home decoration or as office desk accents.
- Event Styling: Use as table decorations for parties or small events.
- Gift Option: Perfect as thoughtful gifts or souvenirs for clients and loved ones.
- Teaching Aid: A creative project to teach advanced crafting techniques.
Difficulty Level
The project is tailored for intermediate-level crochet enthusiasts. While beginners might find it challenging due to intricate petal shaping and assembly, the detailed tutorial ensures every step is accessible.
Tip
To save on crochet glue, use the glue stick heating technique. Heat small sections at a time and wrap the galvanized wire methodically. This technique is resourceful and minimizes waste.
Conclusion
Crochet flower vase project is a rewarding, intricate crochet suitable for functional decor or gifting. By following her clear instructions and incorporating your own creative flair, you can create a unique and eye-catching masterpiece.