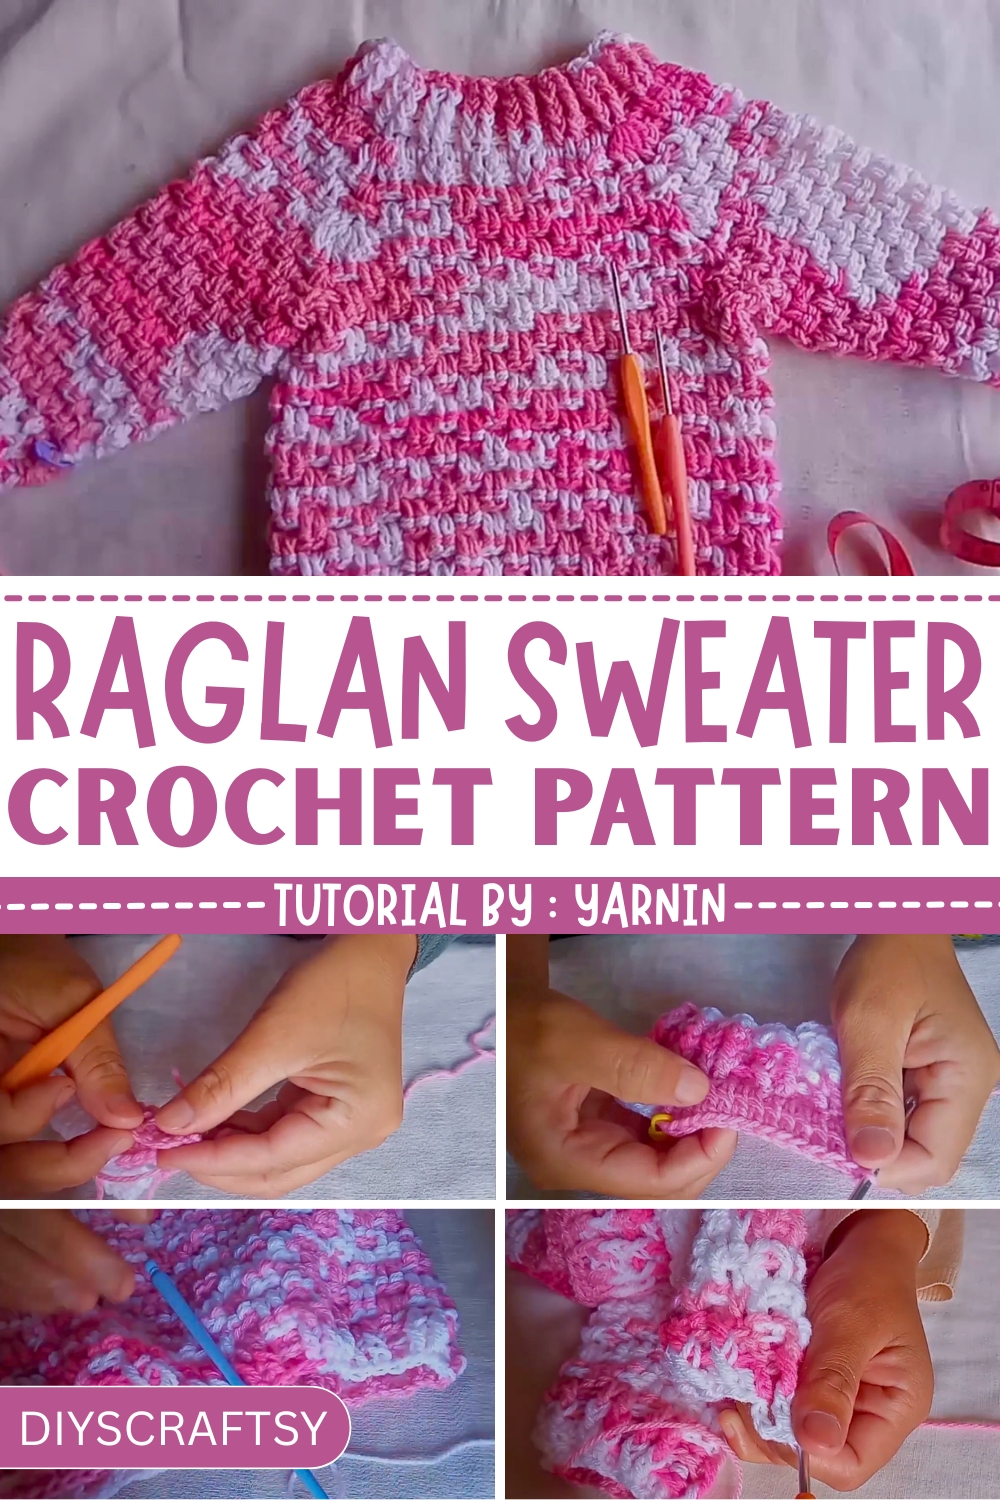
Slip into cozy style with this Free Crochet Raglan Sweater Pattern that offers seamless shaping and a flattering fit for year-round handmade comfort.
On quiet weekends when the weather hints at chill, there’s nothing quite like reaching for a handmade sweater that fits just right. That’s the comfort and charm this Free Crochet Raglan Sweater Pattern brings into everyday wear. Made with the simplicity of top-down construction, the seamless structure means fewer joins and a smoother finish, perfect for those who appreciate clean lines and effortless transitions.
Free Crochet Raglan Sweater Pattern for Beginners Who Struggle with Fit
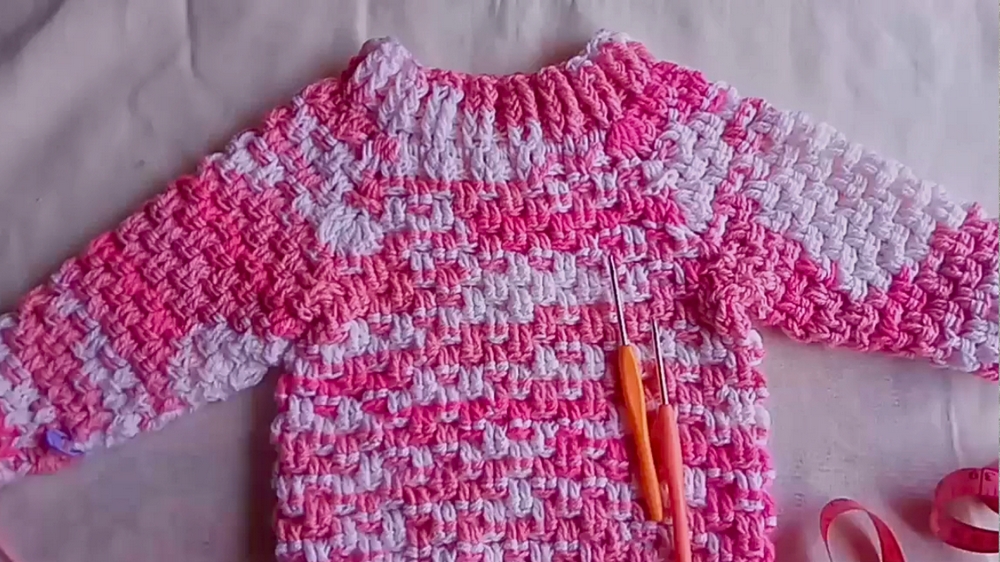
The raglan style naturally provides a flattering fit across the shoulders while offering flexibility in size, making it ideal for layering over tees or under coats. Whether worn indoors for a cozy day or paired with boots for a casual outing, its gentle drape and soft texture make it a reliable choice through changing seasons.
This sweater doesn’t just serve warmth, it adds a polished look to any outfit without effort. With minimal shaping and approachable instructions, it suits those newer to garments yet remains engaging for seasoned hands. The Free Crochet Raglan Sweater Pattern provides an easy way to stay stylish without sacrificing comfort. From the neckline to the hem, each stitch builds a piece that feels personal, wearable, and timeless—perfect for gifting, daily wear, or simply adding something special to your handmade wardrobe.
Special Features
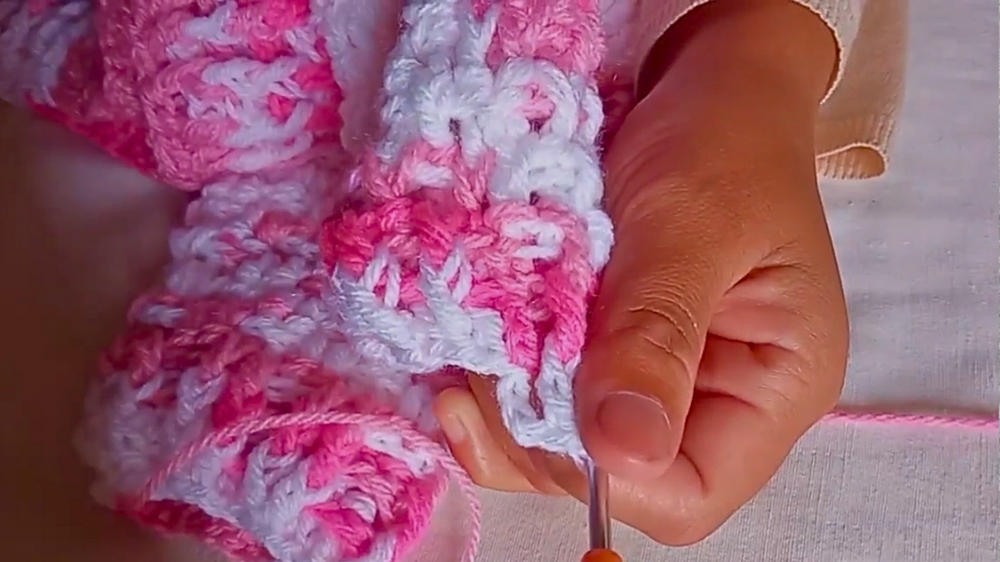
- Beautiful Dense Texture: The sweater features front post and back post double crochets that create a visually appealing texture.
- Adaptability: The design allows for size and fit adjustments based on measurements, making it customizable for different individuals.
- Detailed Explanation: Each section is explained systematically, ensuring every step is easy to follow.
- Professional Finish: Includes border finishing and tips for attaching sleeves smoothly.
Level of Difficulty
- Skill Level: Beginner to intermediate.
- The tutorial uses fundamental crochet techniques like double crochets, post stitches, slip stitches, and chainless foundations.
- While the yoke structure may challenge beginners, the instructions are patient and repetitive, making it approachable for newcomers eager to learn.
Tutor's Suggestions
- Hook Choices: Use a 4mm hook for the body and sleeves and a smaller 3.5mm hook for delicate areas like the neckline and cuffs.
- Material Recommendation: Work with a #3 weight yarn (light worsted/dk weight yarn), which is versatile and easy to handle for this type of design.
- Measurement Adjustments: Regularly measure the yoke and body to ensure proper fit. Stretch may occur, so consider this when sizing.
- Markers: Use stitch markers to keep track of corners for accurate increases and symmetry.
- Consistency: Avoid adding increases in every round, particularly for the armholes, as this will affect fit and sizing.
Uses and Materials
Uses:
- Perfect winter wear as the textured design traps warmth.
- Stylish casual option suitable for gifting or personal use.
- Can be modified for various sleeve lengths or body sizes.
Materials:
- Yarn: #3 weight yarn (Light Worsted/DK).
- Hooks: 3.5mm & 4mm crochet hooks.
- Stitch Markers: Optional but helpful for tracking progress.
- Scissors and Yarn Needle: For cutting and finishing.
Step-by-Step Details
1. Neckline and Foundation
- Begin with a chainless foundation of double crochets using the 3.5mm hook.
- Crochet 68 double crochets and join on the wrong side with a slip stitch to form a loop.

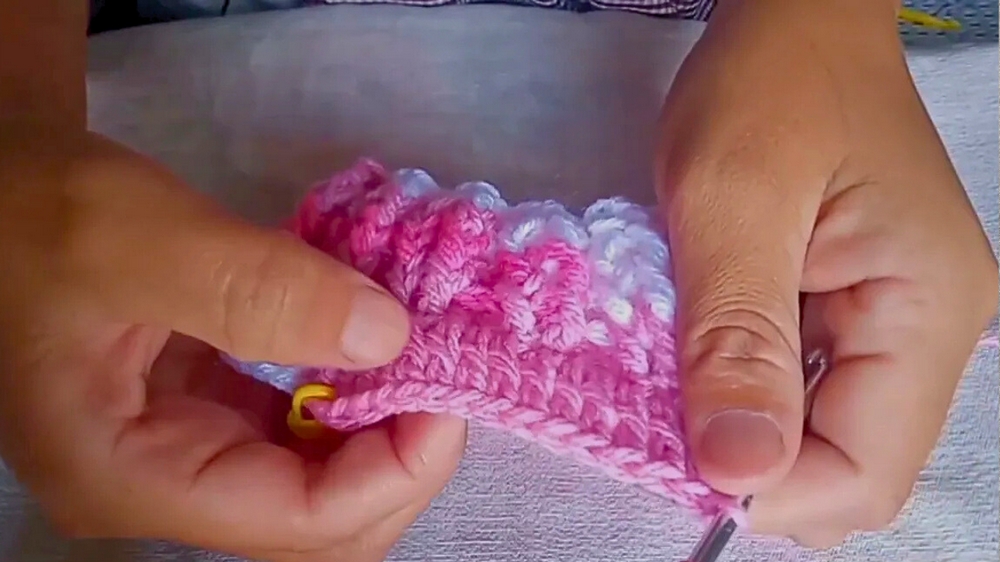
- Chain three and alternate between back and front post double crochets in sets of two to create the neckline texture.
- Continue this pattern for three rounds.
2. Transition to Main Body
- Switch to a 4mm hook for the body.
- Work double crochets while marking cardinal points (corners) for the yoke:
- Sleeves: 14 double crochets for each sleeve section.
- Front: 18 double crochets.
- Back: Balance the remaining stitches.
3. Front and Back Post Alternations
- Alternate between converting front post stitches into back post and vice versa for the textured look.
- Avoid consistent increases in rounds, especially for armholes.
4. Adjust Length and Fit
- After achieving the desired yoke width (by measuring across corners), chain additional stitches to create space for underarms.
- Continue working the sweater body in back and front posts to your preferred length.
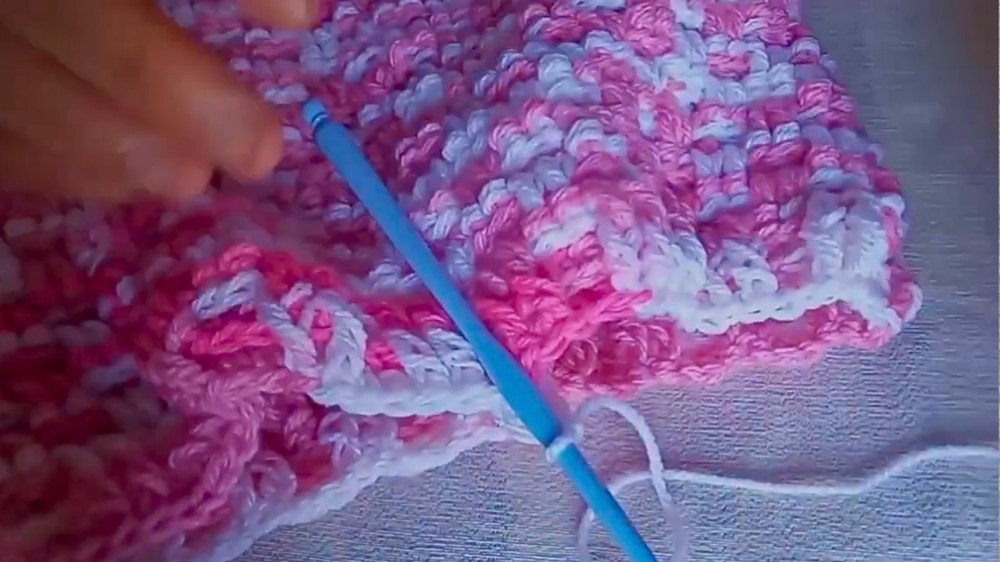
5. Border Finish
- Switch back to a 3.5mm hook for a tighter fit on the edge.
- Work three rounds without stitch conversions (back post remains back post, front post remains front post).
- Finish the edge by securing loose ends with a yarn needle.
6. Sleeves
- Attach yarn under the armhole.
- Start with clusters and work back and front post double crochets.
- Alternate between decreasing stitches every other round for a consistent taper.
- Work 15 rounds for the sleeve before switching to the smaller hook for final edging, similar to the body border.
Tip
To ensure uniform texture and symmetry, move the stitch marker after completing each round. This simple habit avoids confusion and helps in tracking progress.
Conclusion
This step-by-step tutorial provides a comprehensive guide to crochet a stunning textured sweater suitable for various uses. With adaptive sizing and detailed instructions on stitches and techniques, even beginners can confidently approach this project. The final result is a cozy, visually appealing sweater that’s perfect for layering or gifting.


