Wrap yourself in timeless comfort with this Crochet Sweater Pattern featuring intricate stitches, versatile style, and year-round wearability.
Long before the chill of winter sweeps in, people have reached for soft, warm layers that speak of comfort and style in equal measure. A crochet sweater pattern offers more than just warmth—it carries the charm of intricate stitches that feel like a gentle hug, each loop and thread forming a texture that’s both visually captivating and soothing to wear. Its heritage appeal is matched by its practicality, making it a staple for those who value both function and beauty in their clothing.
Crochet Sweater Ideas For Modern Sophistication
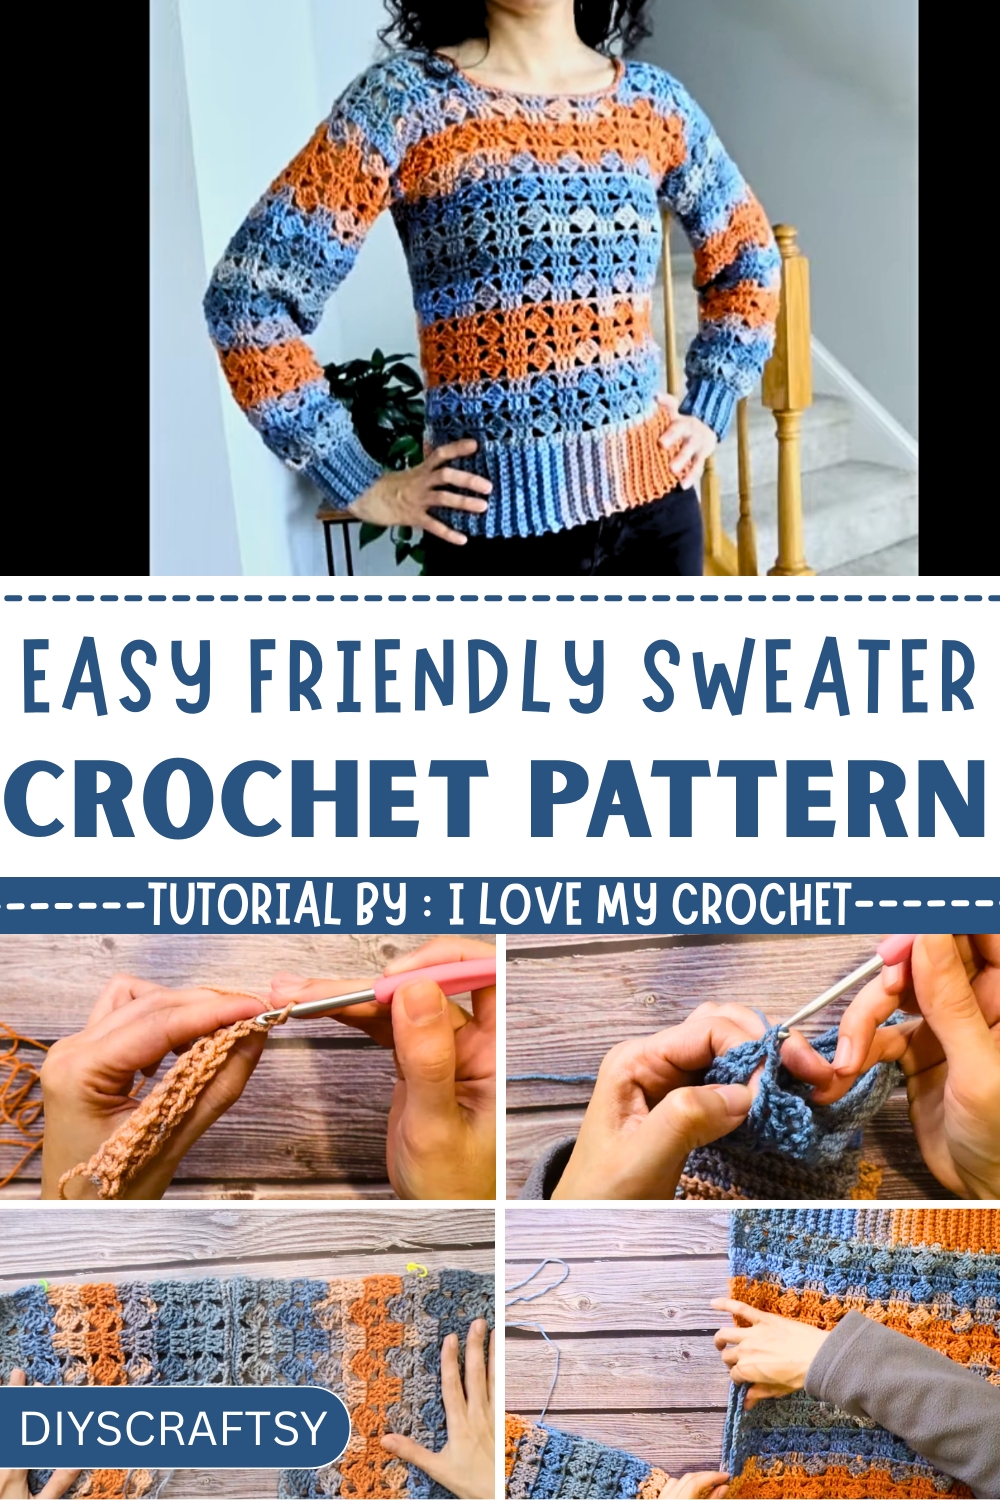
Its structure offers remarkable versatility, pairing effortlessly with casual jeans for a cozy weekend look or draping gracefully over skirts and dresses for a refined yet relaxed touch. The beauty lies in its thoughtful details, from symmetrical ribbing to flowing sleeves, ensuring it stands out without demanding attention. Breathable yet insulating, it adapts to varying climates, which makes it a dependable choice across seasons.
Those who wear it often remark on its comforting weight and the sense of individuality it provides, as no two pieces are ever truly identical. Whether gifted to a loved one or kept as a personal treasure, it speaks of time well spent and the quiet luxury of handmade charm. Every wear feels like a nod to tradition, while seamlessly aligning with today’s modern fashion.
Materials Needed
- Yarn: 100% acrylic yarn, with a thickness of DK (size 3).
- Each ball contains 100g and ~290m.
- For size small, you may need around three skeins.
- You can use solid or self-striping yarns.
- Hook sizes:
- 4.5 mm hook (main hook for most of the sweater).
- 4 mm hook (used optionally for the cuff elastic).
- Other Materials:
- Stitch markers.
- Scissors.
- A tapestry needle.

Special Features of the Sweater
- Designed for beginners, no advanced techniques are required.
- The sweater is constructed with a simple four-piece design: front, back, and sleeves.
- Stitch pattern: A combination of single crochets and a repetitive textured stitch (2-row repeat) that works up quickly.
- Features a vertical elastic band at the base of the sweater to ensure a comfortable fit that covers half the hip.
- Includes adjustments to tailor the sweep across the bust, shoulders, and neckline to fit your size.
- The sleeves are finished with a snug elastic wristband, achieved by changing to a smaller hook for tighter stitches (optional).
Step-by-Step Guide
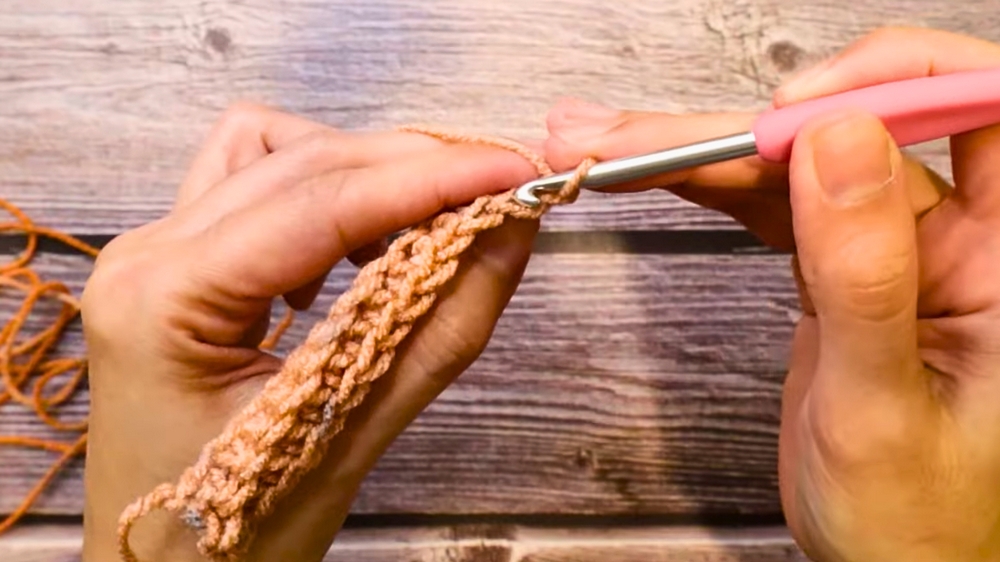
1. Create the Elastic Band Base
- Begin with vertical elastic made with rows of single crochets worked in the back loop only.
- Ensure the length reaches half the hip measurement.
- Use 13 loops (for a 9 cm/3.5 in wide elastic band) per row and crochet rows until it measures half the desired circumference (e.g., 53 rows for a small size).
2. Prepare for the Sweater Base
- Turn the completed elastic band horizontal.
- Create a foundation row of single crochets on one side of the band.
- Adjust the stitch count to meet the stitch multiple requirement: 8 + 3 stitches.
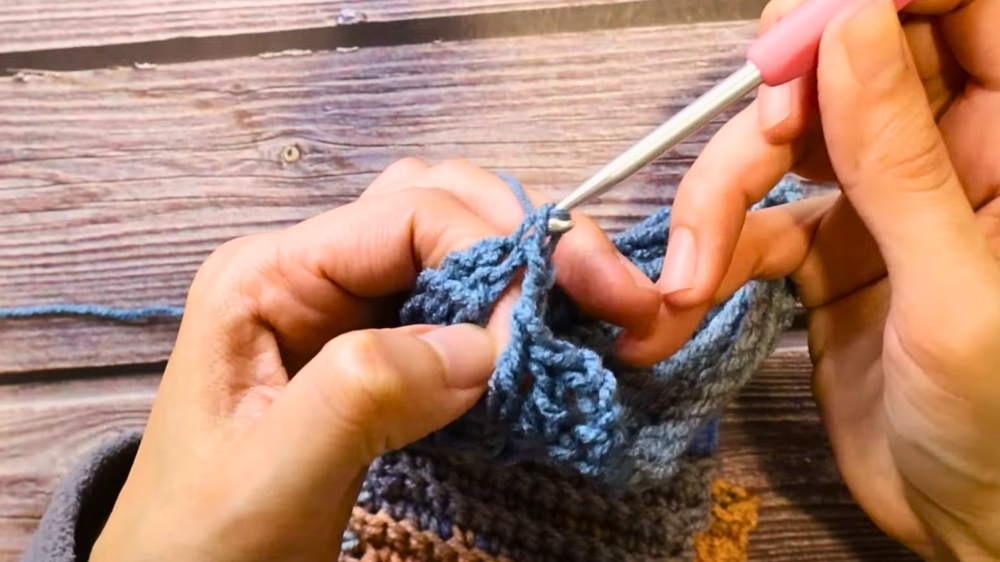
3. Crocheting the Main Body (Front and Back Pieces)
- Use the featured stitch pattern:
- Row 1: Create blocks of three double crochets followed by an inclined cluster (worked into a single double crochet with 3 chains to extend).
- Row 2: Chain 2 spaces, single crochets, and finish the double crochet clusters.
- Alternate between Row 1 and Row 2.
- Complete 22 rows for the front (or the desired length).
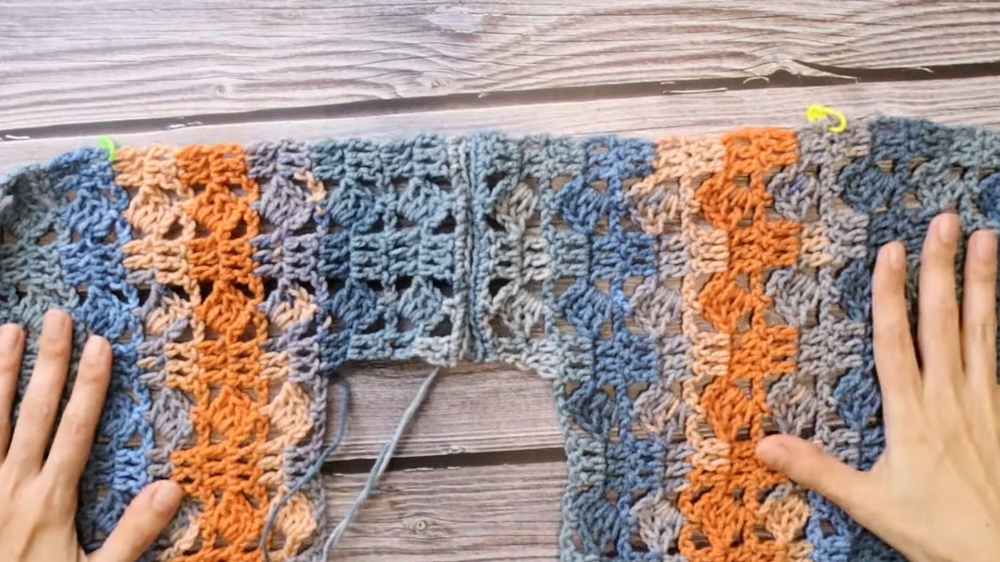
4. Shape the Neckline
- To create the scoop neckline for the front:
- Divide the piece into left shoulder, neck gap, and right shoulder sections.
- Work additional rows for the shoulders, shaping the neck gap as directed (decrease stitches near the neckline).
- For the back:
- Follow the same process, but create a shallower neckline with fewer rows (only 2 rows for back neck shaping).
5. Sleeves
- Attach the yarn at the armhole edge and crochet a continuous base round of single crochets.
- Begin the 2-row stitch pattern for your sleeve.
- Complete 26 rows for a long sleeve or adjust for your desired length.
- Optional: Use a smaller hook for the wrist elastic. Reduce stitches if necessary for a snug fit.
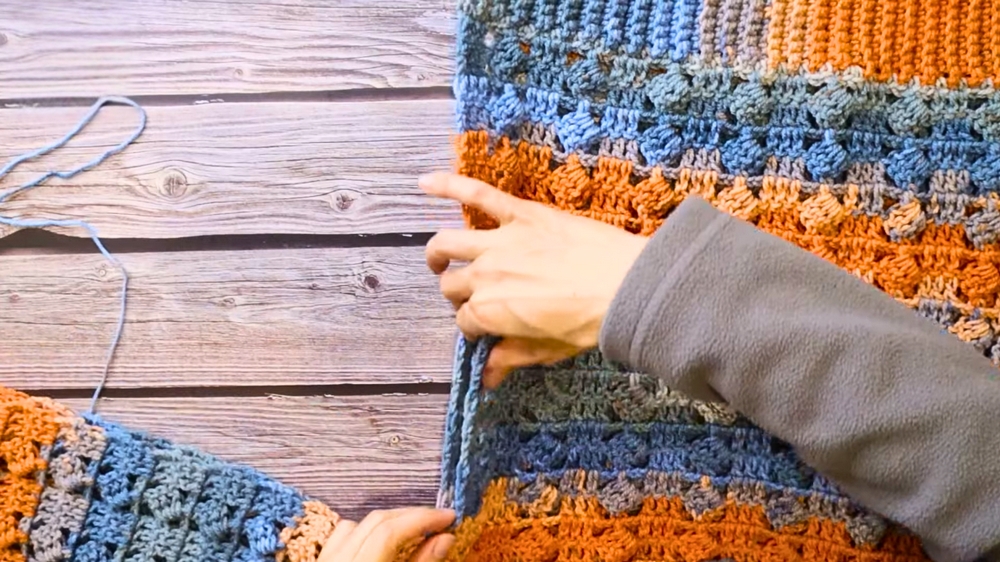
6. Assemble the Sweater
- Seam the shoulders using slip stitches or single crochets.
- Identify and mark the armhole on both sides of the sweater.
- Fold the sweater inside-out and seam together the underside of the sleeves and side seams.
7. Final Touch
- Make a single crochet border around the neckline for a clean and polished look.
Tutor’s Suggestions
- Adjust Hook Size: The instructor recommends using a 4.5 mm hook for the main body but switching to a 4 mm hook for the sleeve cuffs to make them tighter.
- Customize Size: Adapt the number of stitches to your measurements (e.g., increasing rows for a larger hip size or arm width).
- Count Stitches: Constantly count your stitches, especially in the elastic band section, as it’s easy to accidentally skip or add stitches.
- Yarn Choice: Use a yarn that highlights the stitch design. Solid colors and variegated yarns both work beautifully.
Difficulty Level
- Beginner Friendly: The project is designed to be simple with no advanced stitches. It primarily uses single crochets, double crochets, and some shaping techniques, which are explained in detail.
Uses
- The sweater is perfect for casual everyday wear.
- Its cozy texture and soft acrylic material make it suitable for cooler weather.
- It also works great as a comfortable loungewear piece.
Tip
Before starting, complete a swatch to check your gauge, especially for the elastic band. This ensures a perfect fit around the hips and adjustments can be made early.
Conclusion
This beautiful crochet sweater is a perfect project for beginners who want to create a stylish yet comfy wardrobe piece. Through its detailed structure – elastic band base, textured stitch pattern, comfortable sleeves, and that final polished neckline – you’ll enjoy learning and crocheting every part of it. So grab your yarn and hook, and let’s get crocheting!


