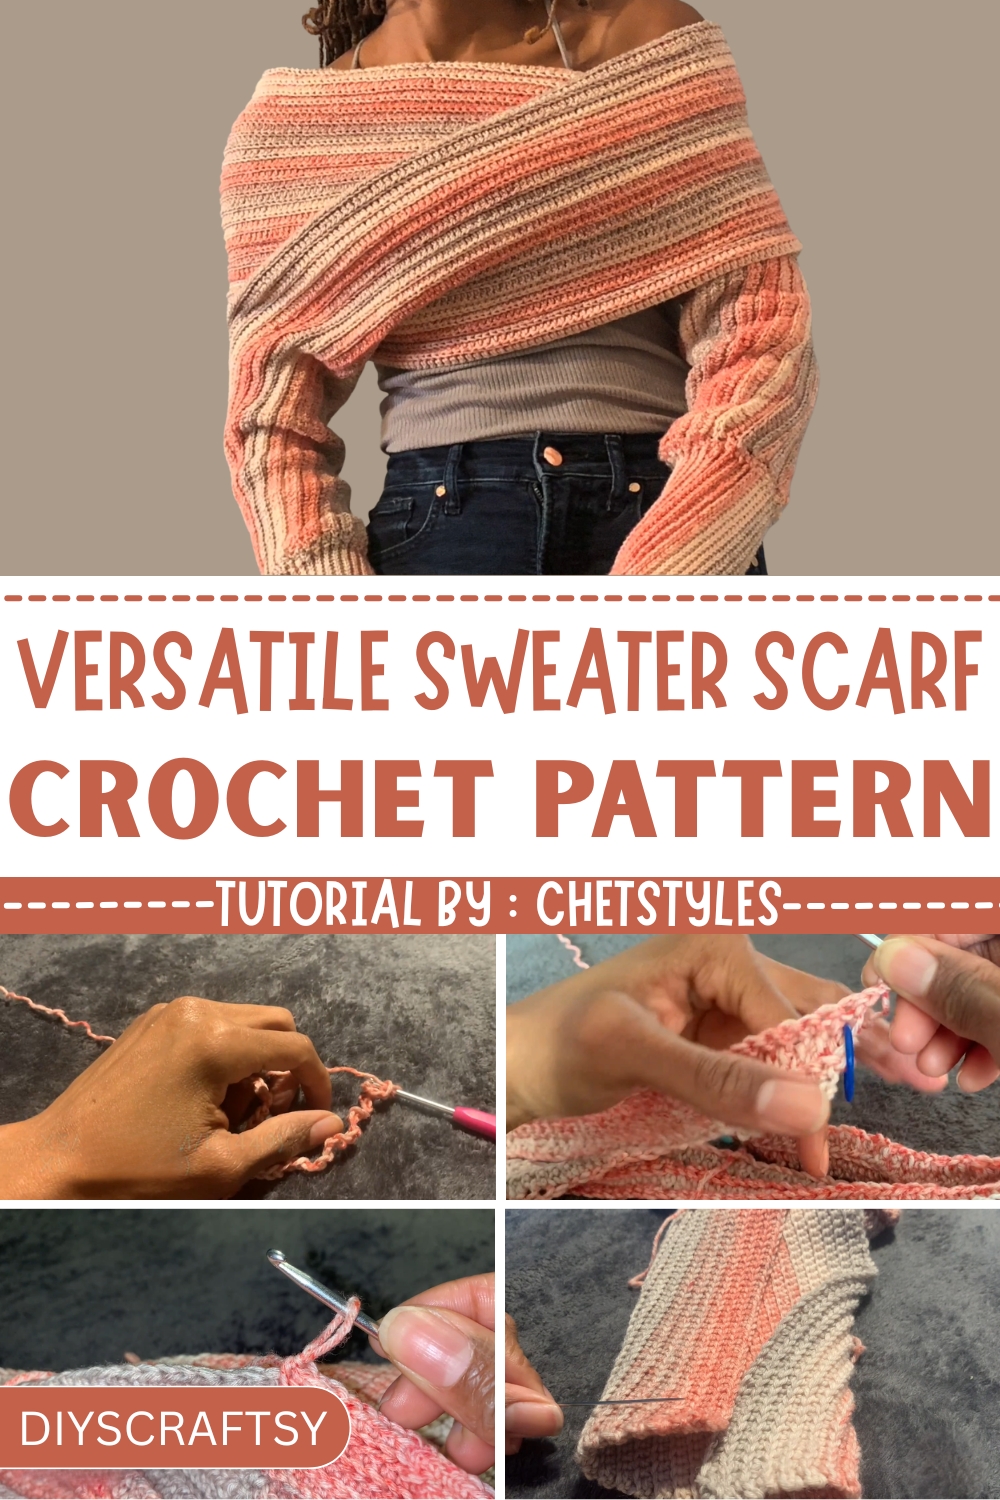
Refresh your winter wardrobe with this Free Crochet Sweater Scarf Pattern offering cozy comfort and stylish layering all in one smart and simple design.
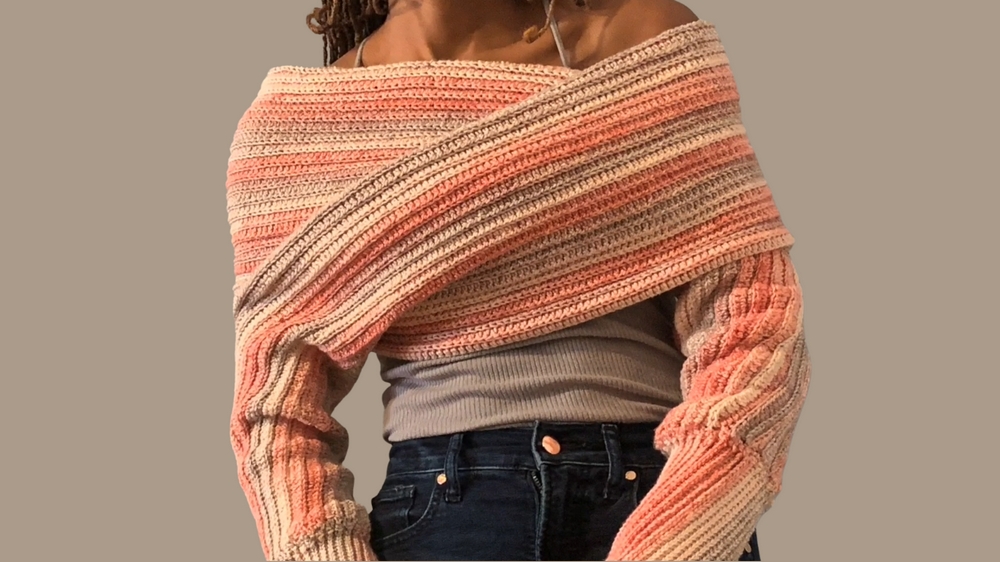
On brisk mornings when a chill lingers in the air, layering becomes more than a necessity, it’s a thoughtful expression of comfort and style. That’s where this cleverly constructed sweater scarf comes into play. With the warmth of a sweater and the ease of a scarf, it wraps the shoulders and neck in a cozy, tailored fit, while still offering freedom of movement. Its built-in armholes prevent slippage, ensuring it stays perfectly draped throughout the day whether you’re strolling through the park, reading on the porch, or heading to the office.
Free Crochet Sweater Scarf Pattern That Combines Comfort and Chic Style
Soft, medium-weight yarn enhances its structure while maintaining breathability, making it suitable for autumn afternoons or mild winter evenings. The textured stitches give it visual depth, while the clean, modern lines add understated elegance to both casual and semi-formal outfits. Neutral tones keep it versatile for various wardrobes, but it can easily be personalized with bold colors or subtle variegations.
More than just a seasonal staple, this sweater scarf offers the charm of handmade utility with a fashionable silhouette. It’s equally practical and flattering, foldable enough to tuck into a tote, but impactful enough to elevate a simple look into something that feels composed and thoughtful without trying too hard.
Special Features
- Unique Design: Sweater scarf combines the warmth of a scarf with functional, wearable sleeves.
- Back Loop-Only Technique: Emphasis on working in back loops to create a ribbed texture.
- Customizable Sizes: Includes instructions for small/extra small, medium/large, and extra-large/XXL sizes.
- Alternating Rows: Uses single crochet and half double crochet stitches in alternating rows for texture variety.
- Ribbed Sleeves: Features ribbing for the sleeves to provide comfort and a polished finish.
Materials Needed
- Yarn: Haiku Simplicity Spray Yarn (Color: Girly)
- Crochet Hook: 3.5 mm
- Scissors
- Tapestry Needle
- Measuring Tape
- Stitch Markers
Level of Difficulty
- Beginner-Friendly: While the techniques used are basic, attention to detail is emphasized for counting and consistency.
- Time Commitment: The tutorial mentions it will take "a bit of time" due to the rows and ribbing, but is described as easy to follow if instructions are adhered to.
Tutor’s Suggestions
- Counting Is Essential: Use stitch markers to avoid counting errors and make it easier to track progress in rows.
- Avoiding Frustration: Don't skimp on stitch markers—place them after every two stitches when you begin.
- Take Your Time: Follow the steps slowly, especially when creating ribbed sleeves and alternating rows.
- Lighting Considerations: Work with good lighting since certain parts may require close attention to small details, like slip stitches and working in back loops.
Uses
- Versatility: The finished project can be worn in various styles—it's a scarf and cozy sweater sleeves all in one.
- Seasons: Perfect for fall and winter weather.
- Gift: A thoughtful handmade present for family and friends.
Step-by-Step Instructions
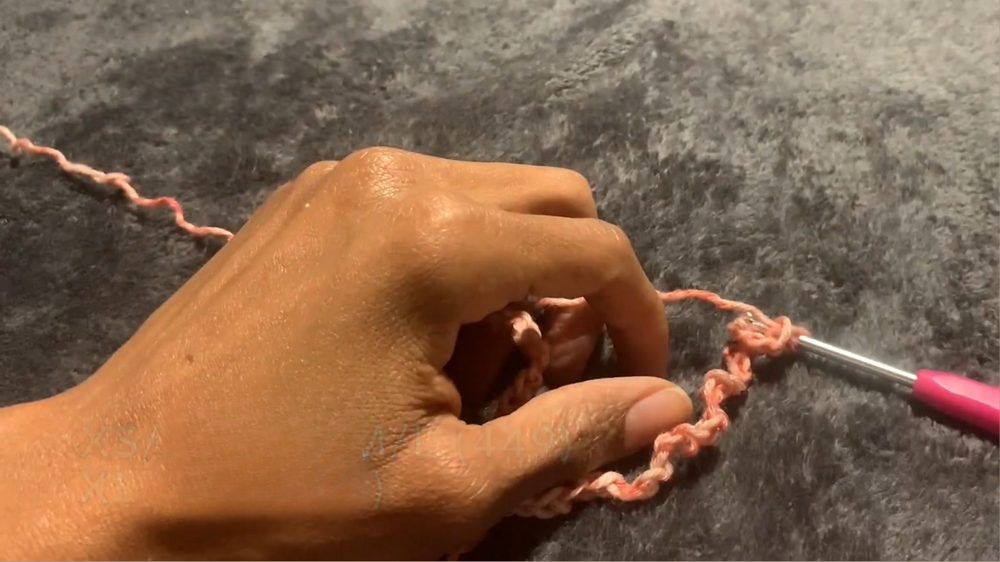
Step 1: Creating the Initial Foundation Chain
- Determine your size:
- Extra Small/Small: 375 chains.
- Medium/Large: 449 chains.
- Extra Large/XXL: 523 chains.
- Extra Small/Small: 375 chains.
- Use a stitch counter or markers to help track chain counts.
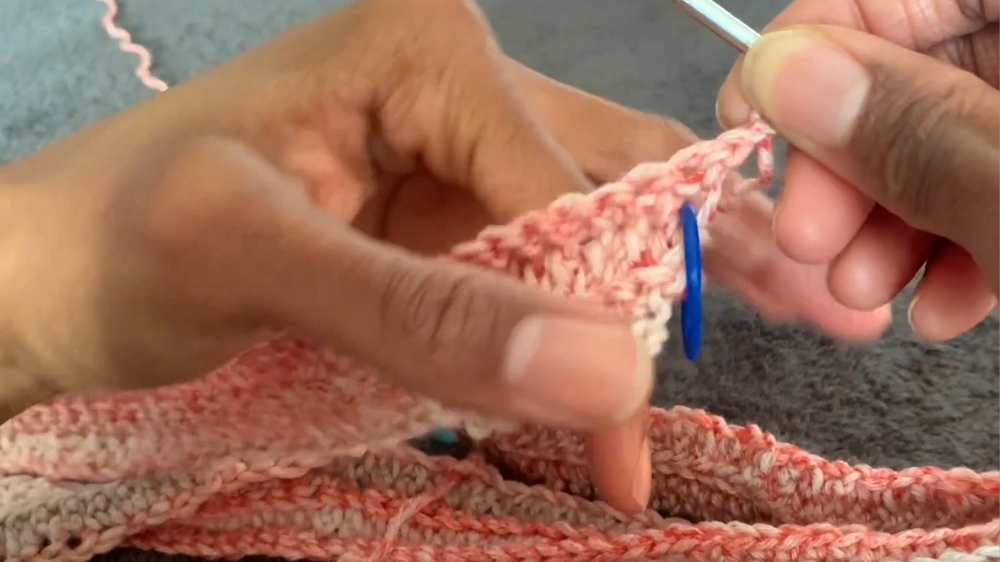
Step 2: Row-by-Row Construction
- Row 1: Half Double Crochets (Back Loop Only)
- Chain 2 (turning chains).
- Skip the first two chains, yarn over, and insert hook into the third chain.
- Complete half double crochet (HDc) stitches in every chain across.
- Row 2: Single Crochets (Back Loop Only)
- Chain 1 (turning chain).
- Skip the first chain and begin single crochets in the back loops along the row.
- Place a stitch marker at the beginning of the row for easier tracking.
- Alternating Rows:
- Odd Rows (Row 3 and onward): Perform half double crochets (back loop only).
- Even Rows (Row 4 and onward): Perform single crochets (back loop only).
- Continue alternating stitch types until you complete the total rows:
- Extra Small/Small: 43 rows.
- Medium/Large: 49 rows.
- XL/XXL: 57 rows.
Step 3: Creating Ribbed Sleeves
- Foundation Border:
- Add single crochet stitches along the scarf's width:
- Place one single crochet in single crochet rows.
- Place two single crochets in half double crochet rows.
- Continue until the entire width is bordered.
- Add single crochet stitches along the scarf's width:
- Sleeve Chains:
- Chain 47 (46 + 1 turning chain).
- Attach stitch markers for accuracy.
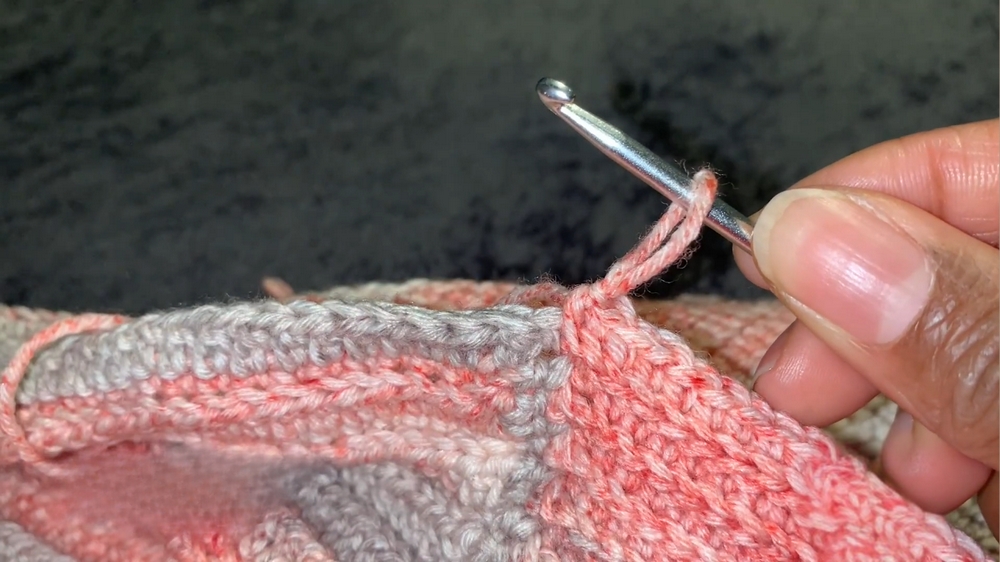
- Constructing Ribbing:
- Alternate back-loop slip stitches and single crochets, repeating:
- Slip stitch (back loops only) away from the scarf edge.
- Single crochet (back loops only) towards the scarf edge.
- Repeat until ribbing covers the entire sleeve.
- Bind off when complete and fasten at the edge.
- Alternate back-loop slip stitches and single crochets, repeating:
Step 4: Creating the Second Sleeve
- Repeat the same procedure for the opposite side of the scarf.
- Mirror the ribbing technique and seamlessly bind the sleeve.
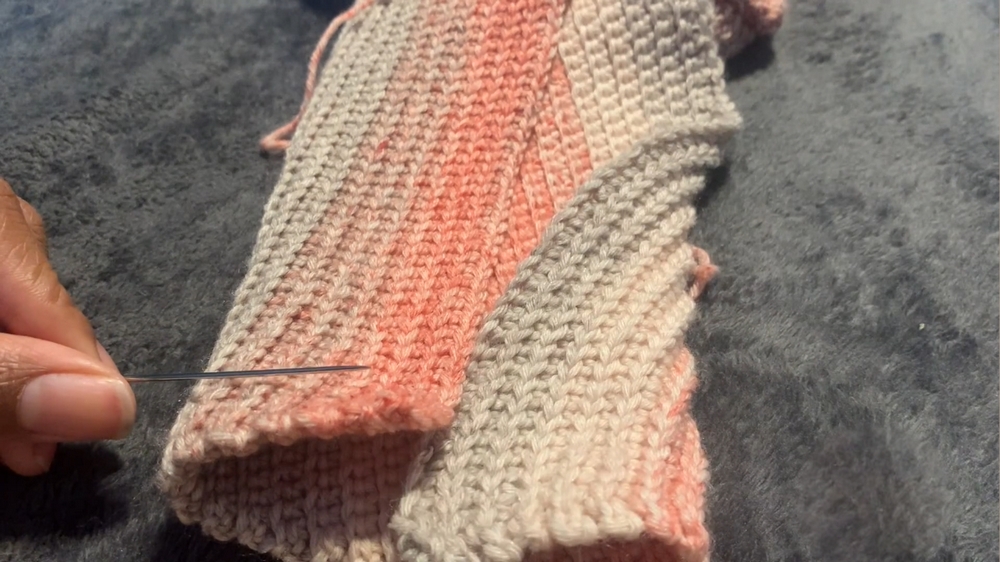
Step 5: Seaming Sleeves
- Measure Sleeves: Use measuring tape to mark off 20 inches on either edge of the scarf.
- Seam with Mattress Stitch:
- Use a tapestry needle to sew the edges together in a "back-and-forth" motion behind the bars.
- Pull taut periodically to ensure a seamless finish.
- Finalize: Knot and fasten off once the sleeves are seamed securely.
Conclusion
This sweater scarf project is a stylish, functional accessory that combines basic crochet techniques with creativity. Whether you're a beginner exploring textured stitches or an intermediate crocheter refining your skills, it offers an enjoyable challenge. Customize it with colors of your choice and feel free to explore additional styling options once complete.
Bonus Tip
To ensure a clean, professional result:
- Block the finished scarf before wearing or gifting. Lightly spray or wet the scarf, pin it into the desired shape, and let it dry naturally. This will even out stitches and highlight the ribbed texture.


