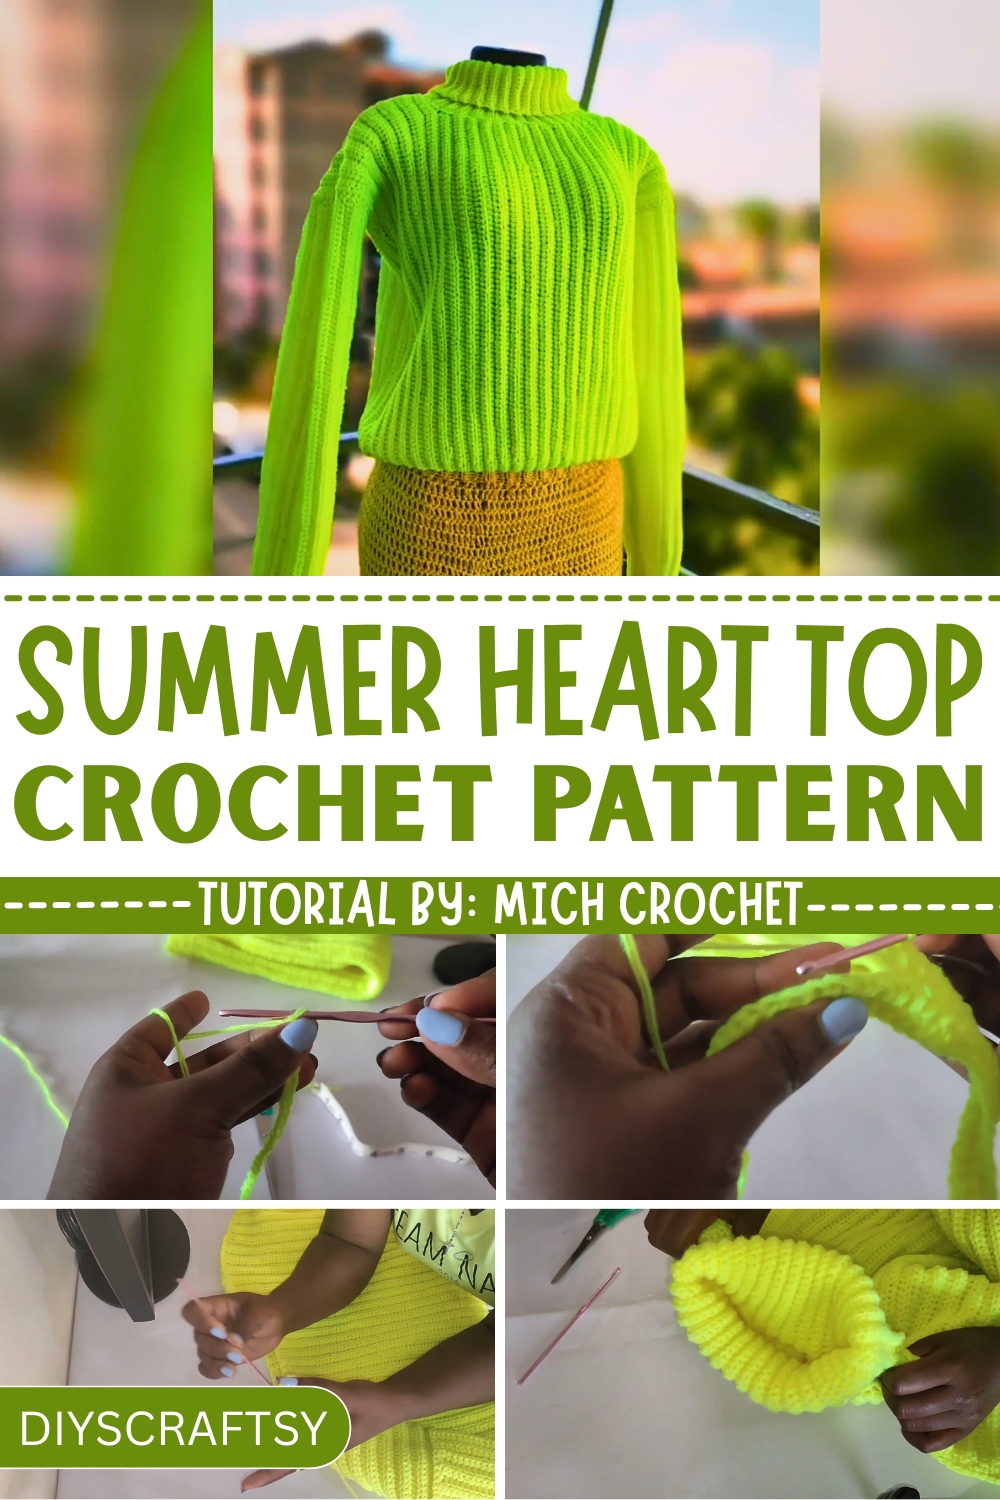
Snuggle up in style with a Crochet Turtle Neck Sweater Pattern, where cozy meets classy, and your hooks create magic you can wear.
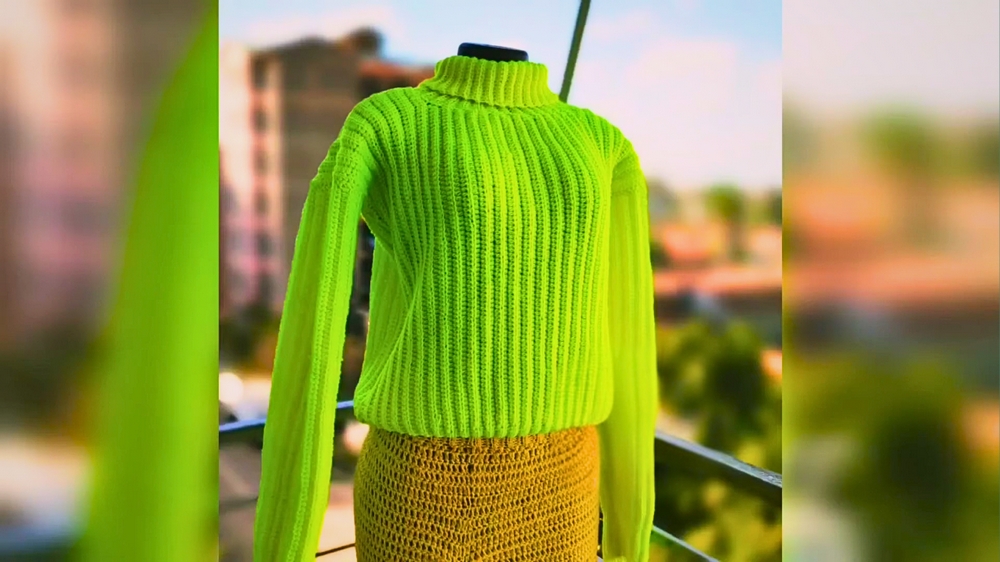
As the first chill of the season kisses the air, there’s nothing quite like wrapping yourself in the luxurious comfort of a handmade crochet turtle neck sweater. More than just a piece of clothing, it tells a story of warmth, care, and timeless elegance. The intricate stitches create a texture that feels as delightful as it looks, making it a perfect companion for breezy autumn walks, chilly winter evenings, or even layering on cool spring mornings.
How to Crochet Turtle Neck Sweater for Comfort and Style
The high, snug neck lends not only sophistication but also delivers functional warmth, protecting you from biting winds while adding a polished touch to any outfit. Its versatility knows no bounds pair it with jeans for an effortlessly casual look or layer it with tailored pieces for a refined appearance. Beyond its wearability, the process of crocheting this sweater offers a calming escape, where each rhythmic stitch becomes a form of meditation.
It’s an opportunity to create something both practical and beautiful, while also honing a skill that merges creativity with functionality. Whether for gifting or self-indulgence, this sweater stands as a delightful expression of style and comfort, ensuring that every moment spent wearing or making it feels just a bit cozier.
Step-by-Step Guide for the Crochet Turtleneck Sweater
Materials Needed
- Yarn: Select a type of yarn suited for sweaters. Jackie does not specify the exact yarn but advises you to choose one that works with a 3.5mm hook.
- Crochet Hook: A 3.5mm crochet hook was used in the video.
- Scissors: For cutting the yarn.
- Measuring Tape: To check the panel lengths and ensure proper fit.
- Stitch Markers: Optional, but very useful for marking stitches and panel sections.
Steps to Create the Turtleneck Sweater
1. Start with the Panels
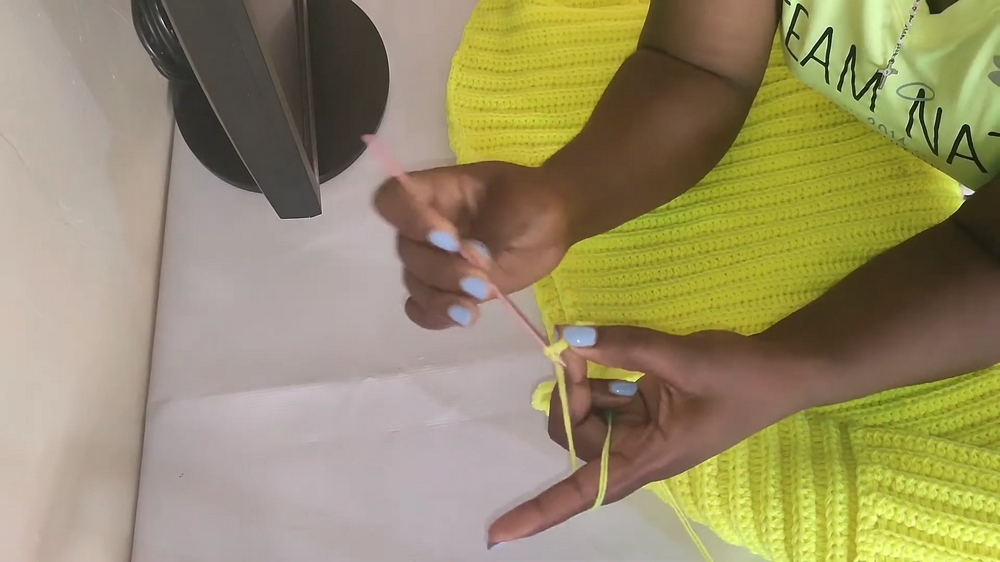
- Begin with a slip stitch.
- Chain 100 stitches (or adjust for your desired panel length).
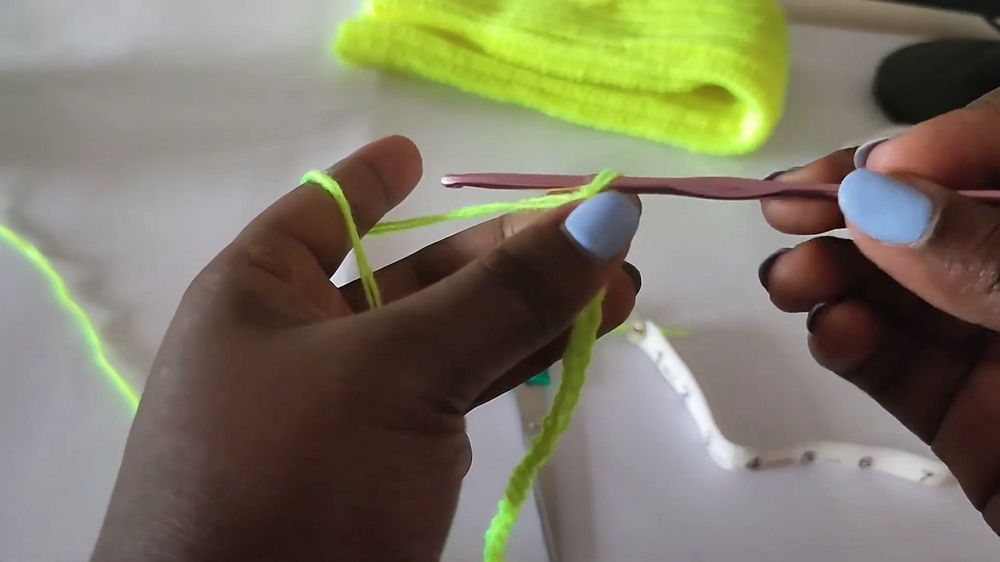
- Add 2 chains for turning.
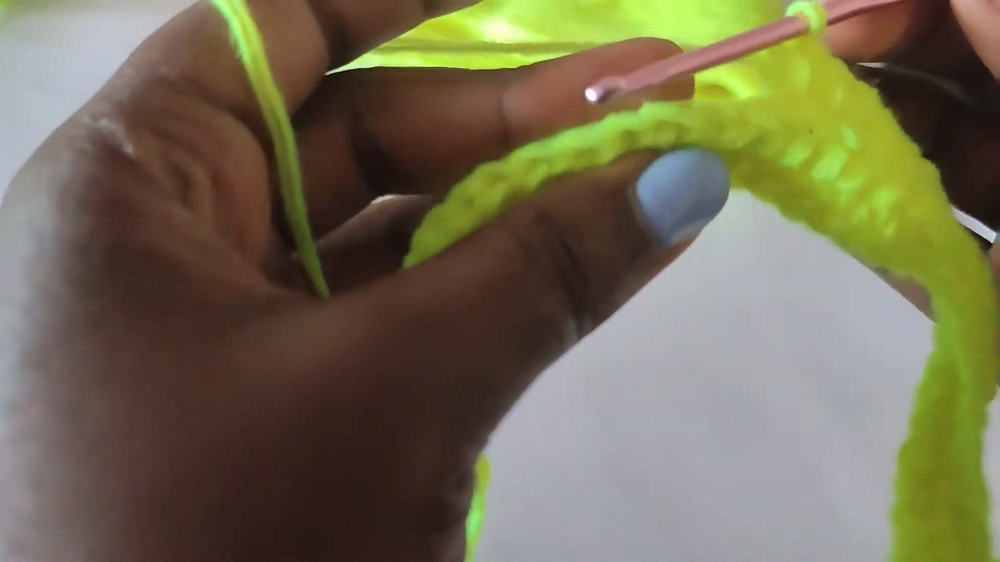
- Work half-double crochet (HDC) stitches starting from the 3rd chain. This stitch is used to create a ribbing pattern.
- Alternate between working half-double crochets and regular back loop stitches for all rows to maintain the ribbing pattern.
- Stitch 15 single crochets at the bottom for a tighter fit at the base of the sweater.
2. Back and Front Panels
- Create two panels of the same size, each measuring approximately 25 inches when stretched or customized to your measurements.
- For the shoulder sections, work fewer stitches per row (e.g., 90 for 100-stitch rows) to leave space for the neckline.
3. Work on the Sweater Body
- Once the front and back panels are complete, crochet approximately 30 rows in total (adjust for your width and length requirements).
- Add more rows at the chest or shoulders as needed, ensuring a symmetrical width.
4. Join the Panels
- Use single crochet stitches to join the front and back panels together. Jackie prefers this method over slip stitching or sewing for a smoother finish.
- Begin with the shoulder seams, then attach the sides.
5. Make the Arms
- Use the same ribbing stitch for the sleeves as the main body.
- Start with a chain for the desired arm length (e.g., 30 rows), and match the ribbing pattern.
- Once complete, fold the sleeves and attach them using single crochet to the armholes.
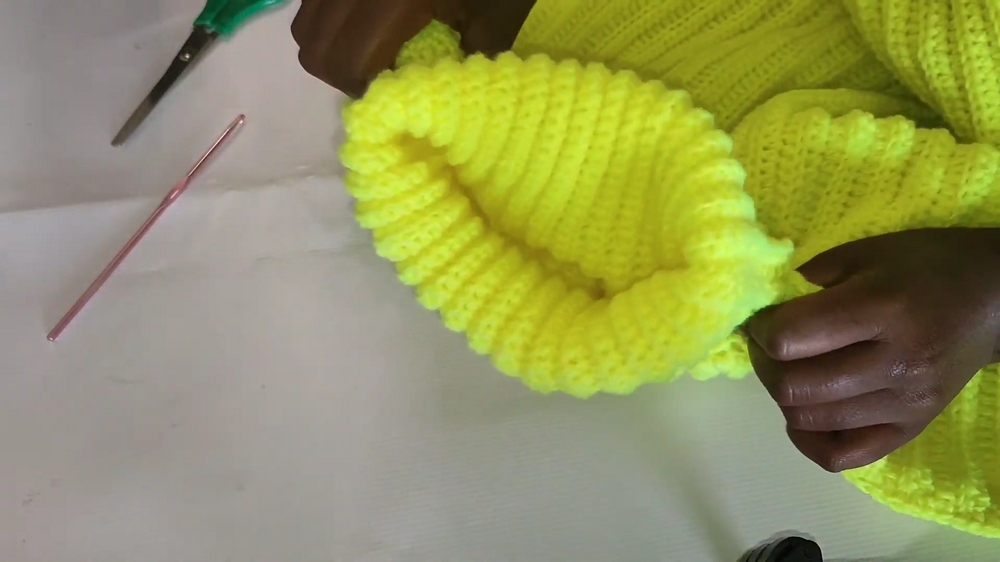
6. Work on the Turtleneck
- Start with a chain of 30 stitches for the turtleneck.
- Use single crochets in the back loop only to create the ribbing.
- Connect the turtleneck as you go around the neck opening, ensuring a snug but stretchable fit.
- Use slip stitches for a seamless join to avoid visible seams.
Special Features of This Sweater
- Ribbing Pattern: The entire sweater, including the body and arms, uses the ribbing stitch for a uniform, textured look.
- Custom Fit: Jackie emphasizes measuring as you go to ensure the sweater fits comfortably.
- Stretchable Turtleneck: The turtleneck stretches to fit larger heads while sitting snugly at the neck.
Tutor’s Suggestions
- Measuring Tips: Measure the panels when stretched to ensure you achieve the perfect fit for your size.
- Custom Adjustments: Adjust the length of the chains, rows, or turtleneck to suit your body dimensions and preferences.
- Single Crochet for Joining: Use single crochet to join panels, as it creates a neat and secure seam that isn’t overly tight.
- Mistakes are Okay: Jackie points out that small errors are part of the process. If you catch a mistake early, fix it to avoid issues later, especially with sizing or pattern consistency.
Level of Difficulty
This project is rated Beginner to Intermediate:
- Beginners can try this with basic knowledge of half-double crochet, single crochet, and the ribbing stitch.
- Intermediate crocheters will enjoy the opportunity for customization and fine-tuning the fit.
Uses of the Turtleneck Sweater
- Everyday Wear: A chic and cozy addition to your wardrobe.
- Seasonal Use: Perfect for fall and winter due to the warmth of the ribbing pattern and turtleneck.
- Gift Idea: Handmade with care, this sweater makes a thoughtful gift for loved ones.
Jackie’s Tips
- When creating the ribbing stitch, always work in the back loops to maintain the textured look of the sweater.
- Avoid making stitches too tight, especially on the arms and neckline, to keep the sweater comfortable.
- Use stitch markers for even panel seams and accurate measurements.
Conclusion
This turtleneck sweater tutorial is a fantastic project for crocheters of all skill levels who want to create a warm, stylish, and professional-looking garment. With its ribbing texture and a snug turtleneck, this sweater is both functional and stylish, perfect for cold weather or gifting.
Final Tip
Take your time joining panels and measuring thoroughly – the final fit of the sweater will thank you for it!


