Build your own DIY crash pad to protect yourself when you skateboard, rock climb, or just hang out with friends. There are plenty of reasons why you should build a DIY crash pad. If you ever fall hard and have to lie on the ground for a while, this will help you avoid getting injured. Crash pads are used in rock climbing and skateboarding to cushion the fall and protect the athlete from harder surfaces. They work by absorbing some of the shocks of the fall, making it less likely that the athlete will suffer a severe injury. It's also nice to have something that's soft to land on in case you don't make it up a high-rise building. With the right materials and tools, you can build your own DIY crash pad in a day.
DIY Crash Pad Projects
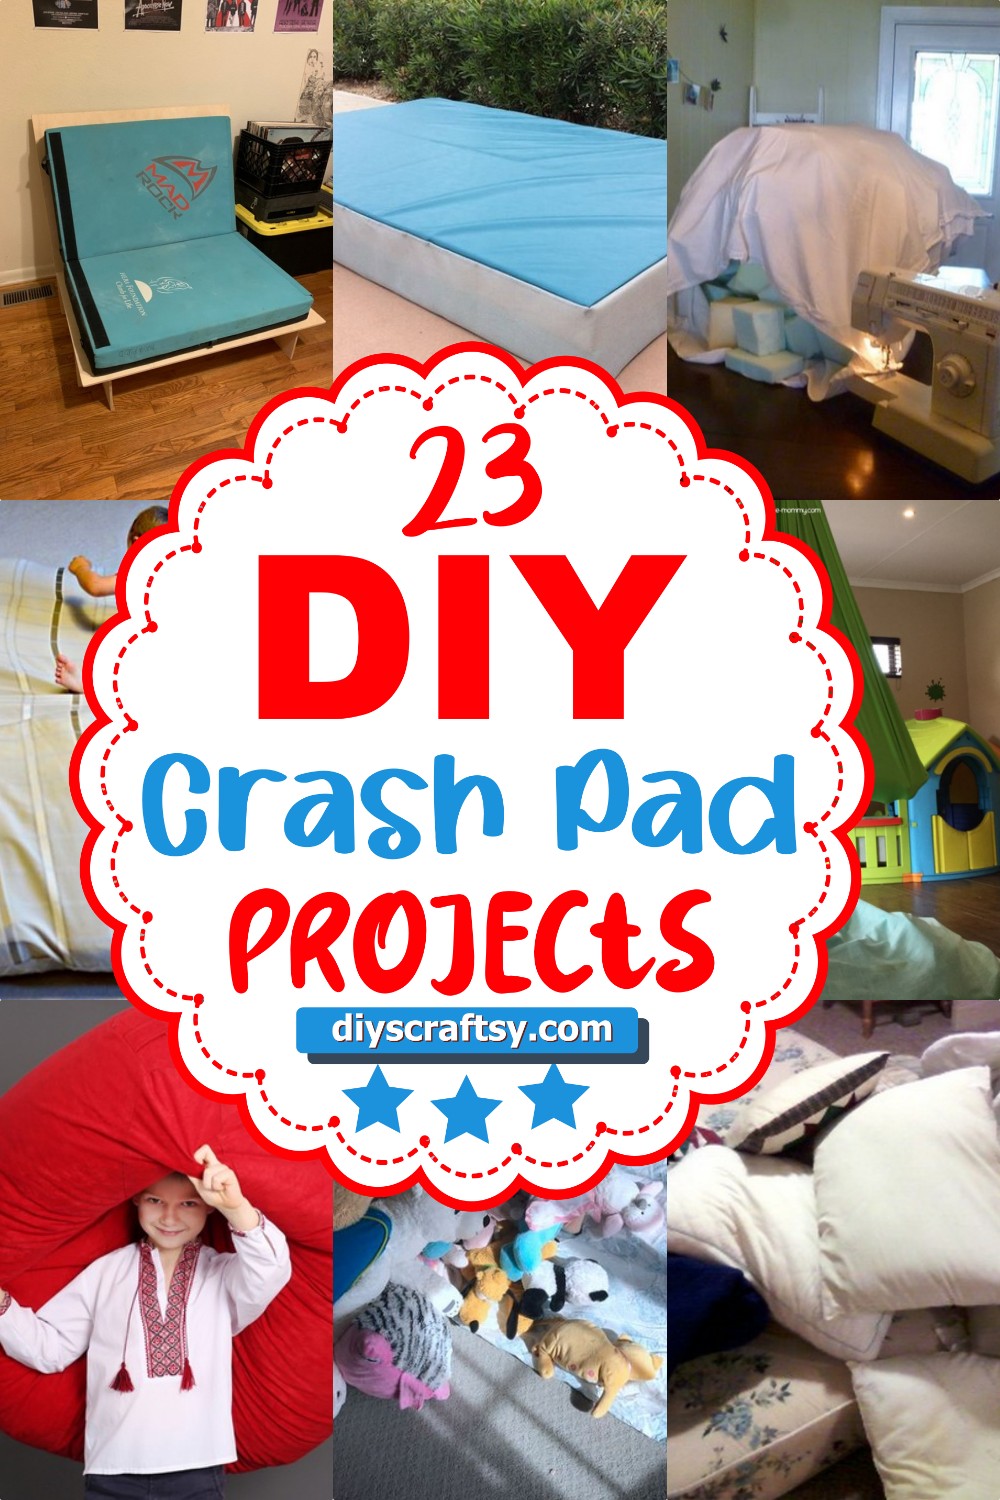
Depending on your needs, you can build a crash pad to protect your body or just to keep your equipment safe. If you are looking for an easy and affordable way to protect yourself from injuries caused by falling hard, this guide contains 23 DIY Crash Pad Projects to go. This guide will help you understand how to build one of your own so that you're better protected when you need it. The best thing about making your own DIY crash pad is that it will be made especially for you and your needs. You can use foam, wood, and other materials to build it in any shape or size. Building a DIY crash pad is also very affordable and easy to do. All it takes is some time and a few tools.
How To Make A Climbing Wall Crash Pad
This article will help you create a climbing wall crash pad. If you are looking for steps in making a climbing wall crash pad, then this article is a must-read. All the instructions to make a climbing wall crash pad are mentioned in this video tutorial. First of all, you need to create a slot on the wall and frame it off the size of a twin bed. This climbing wall crash pad is well padded and should protect an adult from a fatal fall. The padding is packed tightly in between two sheets of plywood that have been screwed together. It also has additional protection from falling objects because it's surrounded by plywood on all sides.
Crash Pad Couch

This DIY project is so easy, you'll kick yourself for not thinking of it first. For just a few bucks and an afternoon of your time, you can create the perfect place to sit in your home office or read nook using an ottoman, some fabric, and a little creativity. This step-by-step tutorial takes you through all of the details, from planning and shopping for wood, to cutting, sanding, and assembling. This is also a great project to do with your kids. They can help paint the wood and assemble the pieces. All you need for this project is a few power tools, some wood glue, some paint, and an afternoon.
DIY Indoor Swing & Crash Pad

Here's a great DIY project for you to build your own indoor crash pad! An indoor swing is a great place to start practicing when learning how to ride a skateboard. By keeping the board on the ground while you practice, it makes it easier to learn how to balance. This is also a great spot for kids to practice too! Crash pads are typically used in ramps and half-pipes where riders can fall and hit the ground. A crash pad can also be used as a landing zone for slides and small jumps as well as keeping your board from getting damaged if it lands on the ground.
DIY Crash Pad

Making a DIY crash pad is an easy way to make your own bed on the go. It can also be used anywhere, for example, at the beach, in the park, or at a friend's house. Here is a simple DIY crash pad that you can make. The first thing you have to do is get supplies ready; you will need foam, glue, thread, etc. The creator started by gluing the foam together and cutting it into the size he wanted. He then covered it with black fabric and addressed any imperfections before sewing everything together with a sewing machine. Finally, he put the foam in the cover and sewed up the last side so that his DIY crash pad was complete.
DIY Crash Pad With Removable Cover

Crash pads are a necessity for many skaters. They protect the floor and act as a cushion in case you fall. They also help absorb some of the force from falling and can protect your knees against the concrete.
Trying to find one that is both durable and affordable can be difficult. If you're handy with a sewing machine, you might be able to create your own crash pad in no time. In fact, you can look at some of the tutorials online to help you make your own. The first step is to gather all the materials that you need. Be sure to buy more thread than what's recommended on the package because it will break often when you're sweing this type of project together. You will also need stuffing, scissors, a pin or two, and a sewing machine if possible. For this project, we recommend using fabric that is wider than it is long so that it's easier to handle when sewing.
DIY Crash Pad For Kids

Making a DIY crash pad for kids is the best thing you can do for them. It's much better than letting your children sleep on the floor. If you don't have enough space in your bedroom, making a crash pad can be a good option to help your children get better sleep. If you're wondering how to make a bed in your room, we've got something that will interest you. All you need is duvets, pillows, blankets, or fluffy towels. Just like this picture. Just make sure that it's soft and comfortable enough for your children to enjoy sleeping with it every night. Are you ready to get started?
DIY Trampoline Crash Mat
A Trampoline Crash Mat is a good safety and security device to prevent accidents from happening. You'll need to make a DIY trampoline crash mat, but you'll be surprised at how easy it is. You just need some pillows, cardboard, blankets, seal tape, and lots of patience to finish this project.
The main thing to remember when making this DIY trampoline crash mat is that you will have to start with the four corners first. The reason for this is because they are the most important parts of this whole thing. You'll need to have them properly fixed so that they won't move at all. Just follow the video tutorial above and you'll see that it's really easy to do.
DIY Bouldering Crash Mat
When you go bouldering, you have to have a crash mat. You could easily get injured if you fall from high and don't have the protection of a crash mat. In this project, we will help you make your own padding for your crash mat, which is much cheaper than buying it. Many are made with carpet padding, but that can be expensive. We will be making ours with two sheets of carpet padding, a flatbed sheet, a backpack, two small bungee cords, many feet of paracords, a large needle, and scissors. This might take up to an hour or more until you finish but it's worth the time.
Cheap Crash Pad DIY
What you really need for your DIY crash pad is a foam mattress. If you don't have one, you can create one by yourself. And it's not that difficult to do so. Remove the foam pieces from the sofa cushion. Apply glue on the inner side of each piece. Make sure to apply evenly and thoroughly. Place the mattress on a flat surface and let it dry overnight. After drying, sew the pieces together using a needle and thread. Make sure to backstitch each time you go through the same hole or else it will tear apart when you place weight on it. Tie off the last stitches with several knots on both ends of the seam and the job is done!
DIY Crash Mat Sewing Tutorial
The crash mat sewing tutorial video will help you learn how to sew your own cushioned crash mat at home. It's a great way to make extra money. This crash mat is great for kids and adults. The steps are simple and easy, and it's something you can do all by yourself. The cushion foam can be bought at any fabric store, or online, and the sewing machine can be rented out. Sewing clips are needed to keep the fabric tight while sewing it. When you're finished with the crash mat, it will be very strong, so it will last a long time and save you money in the future. This tutorial is great if you want to create your own design or sell them as an entrepreneur. You can also try making a custom size that fits your needs.
How To Make A Crash Pad

Here’s a tutorial that shows you a whole new approach on how to making a crash pad. Materials needed to make this crash pad are; Two duvet covers, old pillows, cushion foam, needles, button thread to sew it, and a zipper to close it. First of all, you take the two duvet covers and stuff them with a pillow then sew them together with a needle and thread from bottom to top. Then you fill the gap in between the pillows with the foam and again sew them together. You have to be careful while sewing because you have to leave some space between the pillows so you can fit inside them. Now, you're done.
Easy DIY Crash Mat

Make your own crash mat. A crash mat is a piece of gym equipment that will help you do a variety of exercise moves. It provides stability and cushioning for your body so you can safely practice a variety of moves that require floor work. Crash mats are usually only used in gyms, but you can make your own from common household items.
Crash mats consist of a number of foam blocks that are covered with another piece of material such as canvas or vinyl, so they won't damage the floor. The blocks are arranged in different ways to provide a variety of surfaces for doing exercises such as sit-ups, push-ups, and rolls. You can make your own crash mat using just an inexpensive futon cover and some foam blocks.
DIY Sensory Crash Pad

Do you have a child that loves sensory play? Sensory play can help your child develop their senses. The great thing about sensory crash pads is that they are inexpensive to make, very versatile, and easy to clean. Your child can play with the various fabrics and textures that it provides as well as do different activities on it. You can also use it as a calming tool during a time-out or when your child needs to calm down after a meltdown. The process is fairly simple and should only require one afternoon of work to complete.
DIY Super Kids Crash Pad

A super kid crash pad is an easy and cost-effective way to keep your kids warm at night. All you need is a twin duvet cover, lots of stuffed animals, blankets, and pillows. Follow these steps to make your own super kid crash pad.
Get a twin duvet cover. If the existing cover has a zipper, use it to fill the cover with as many stuffed animals, blankets, and pillows as it can hold. If not, take the cover off and sew or hot glue the opening closed so there won't be any stuffing coming out. Fill the cover with as many stuffed animals, blankets, and pillows as you can manage. You may want to click on the link below for more details.
Decorate! You may want to use some glow-in-the-dark stars or paint constellations on the ceiling. You can also draw pictures of planets and moons or hang up posters of outer space. Put on your pajamas, jump inside your super kid crash pad, and go to sleep! You will be ready to blast off into outer space in no time!
Homemade Crash Pad

The blankets and duvet you have are usually so many, but you feel that you cannot get rid of them because they are so warm and comfy. However, blankets and duvets always take up a lot of space on your bed. This Homemade crash pad tutorial will help you solve this problem! So if you have too many blankets and duvets that are taking up lots of space in your house, this Homemade crash pad tutorial is definitely the one for your issue. Check out the link below for more details.
DIY Crash Pad

This is a great DIY project for those of you who want to save money on buying a crash pad. The foam chunks are very inexpensive and you can find fabric at your local department store. It is not the prettiest, but it works just fine. The first step for this project is to lay out your foam chunks in the shape you want. Then you need a sheet of fabric or a sleeping bag that you can use to wrap around the foam pieces. Next cut four sides of the material and attach them together using sewing methods. The last step is to stuff it with extra foam chunks and seal the last side. When you're done, you will have a DIY crash pad. This crash pad will work well if you are hiking or camping in cold weather.
Making A Crash Pad

Making a crash pad is an easy way to have a comfortable place to sleep when you're camping. You'll need four or five old duvet covers, some pillows, and stuffing, and two pieces of fabric for the top and bottom of the pad. If you don't want to use old stuff, you can pick up a few cheap pillows at Walmart or Target. First, layout one piece of fabric for the bottom of the pad. Then take a couple of the old duvet covers and lay them diagonally on it so they go from corner to corner. Stuff each one lightly with pillow stuffing or whatever else you have handy. Lay another duvet cover on top of it with its edge lined up with the edge of the first one.
Next, place your second piece of fabric on top of that one so that it forms a seam where they overlap. Sew along this seam using a sewing machine or by hand with a needle and thread. Finally, stuff in about 2 feet worth of pillow stuffing into each end for comfort, sew this end closed, and tuck in the edges to keep all your stuffing in there. You should now have a nice comfortable pad to sleep on when you're camping in your tent!
19. Climbing Wall Crash Pad DIY
When you climb indoors, you don't just have to be careful of your safety and the safety of others around you, but also of your equipment. The flooring is one of the most overlooked parts, but it is essential. For this wall crash pad, you'll need a denser foam, soft foam in the middle layer, and closed-cell foam to give you that security. When climbing on a wall with a crash pad, it's important that the pads are soft enough to absorb the impact when falling or climbing hard and fast.
The process is pretty simple and easy to do yourself too! You can make it as big or small as you like; this DIY project can be used for anything from small bouldering walls to large competition walls. All you need are some high-density foam sheets, a softer foam, and some closed cell foam for extra protection. What's great about this project is that if you have an existing pad in place, all you need to do is just add more layers to get a much softer surface!
How To Make A Bespoke Bouldering Mat

The art of bouldering is all about creativity! There are no rules or regulations so you can go as high as you please, as long as you have a nice landing pad underneath you. In fact, bouldering doesn't even require a mat, but if you want to keep your back free of rope burns, you'll probably want one…
Here are a few tips on how to make your own bouldering mat!
1) Find some old gym mats. Some climbing gyms will be more than willing to give them away. Just ask nicely!
2) Cut them into the shape of your choice. If they're already the right size, no need to do anything else other than having them nearby when you're climbing. If they're too big or if you're crafty, feel free to cut them down to your preferred size and shape! You can always use a hammer and nail for this.
3) Enjoy your new custom-made bouldering mat!
Sensory Playroom DIY Crash Pad

If you've got little kids, you know that sensory play is a necessity when it's time to wind down. This DIY sensory crash pad is super easy to make and doesn't cost much. In minutes, you can have a soft, cushy space for your kids to spend time processing things they've experienced throughout the day. Layout the larger pillow on your workspace and lay the smaller pillows on top of it in any configuration you'd like. Place the blanket on top of the pillow pile, trimming it so that it fits. Staple or sew the edges of the blanket down to keep everything in place. Voila! You've got a great DIY sensory crash pad for your child!
How To Make A Crash Pad
In this guide, we will show you how to make a crash pad. Crash pads are just what they sound like – a great place to sleep after a long day of bouldering. A crash pad is basically a giant piece of foam that you can jump on. Crash pads are great for bouldering and make it so you don't have to worry about landing on hard ground or rocks. They also serve as a place to put your stuff while bouldering. Crash pads can be expensive, but they don't have to be! In this guide, you will learn how to make one from things you can get at any hardware store or big box store.
DIY Gymnastics Crash Pad
If you're into gymnastics, a crash pad is a must for training. However, it's not exactly cheap to buy one and sometimes, you can even find yourself overspending on the item because of all those extra features you really don't need. So what if there's another way to make one? We're talking about how to make your own homemade Gymnastic crash pad without spending too much. In this post, we'll be finding out how to create your very own crash pad without breaking the bank. To do so, we'll be using some stuff that you might already have in your house or can easily purchase at your local hardware store. So, let's get started.
Homemade Crash Pad For Weight Lifting
In this video, you will find out how to make your own crash pad for weight lifting. Crash pads are an absolute must if you want to lift heavyweights. They provide a place for you to land if you drop a barbell on your chest or face. This can be a lifesaver in the event that something goes wrong during your workout. This crash pad is inexpensive and easy to make. It will provide you with ample padding to prevent injury and it can easily be stored under your bed or in a closet when not in use.


