You’ve gotten your costumes ready and are all set to attend a Halloween party. Now you need to make a witch hat. That’s what you want to be, right? A witch hat on its own looks spooky but with a black dress and a pointy nose, it will make you into an instant witch. You need not spend money buying store-bought ones. There are many ideas for witch hats you can use for making a stylish hat that can also protect your hair from getting messy. How about crafting your very own DIY witch hat! You can make one with just a few materials and some creativity. This article features DIY witch hat ideas that you can use as guidelines, or simply inspiration.

We’ve researched and compiled a list of 25 DIY Witch Hat Ideas that you can make from the comfort of your home. Choose one, or all, to create with your kids or wear on Halloween night. The witch hats in this article are not only inexpensive but also easy to make. Most of the witch hats are made of fabric, others are made of cardboard, felt, and different materials. Take a look, choose your favorite, and get started.
How To Make A Witch Hat
A witch’s hat is a staple part of any witch costume. It can be easy to make even if you don’t have many crafting skills. All you need is some black cardboard, tape, and a marker.
The best way to start is by drawing and then cutting out the basic shapes of the hat. The top and bottom of the hat can belong to rectangles, with a smaller rectangle in the middle. The brim will be one long rectangle that follows the curve of the top of your hat. Once you have all of your pieces cut out, use some tape to attach them to each other. Try to make it so that all of your cardboard pieces are glued together without any gaps between them. This will give you a sturdy hat that isn’t flimsy or weak.
If you want to decorate your hat, now is the time! Use lots of different colors for fun patterns and designs! When you are happy with how your DIY witch hat looks, carefully remove it from the tape and glue it together at the top with some more tape or glue. Once it is all put together, you can wear it! Or, display it on your wall as a cool decoration!
DIY Witches Hat Is Sparkly And Pretty

In this tutorial, we will show you how to make a witch's hat out of felt. It's actually really easy. You'll need felt, scissors, and needle and thread. The creator chose to make it sparkly, but you can leave yours plain if you'd rather. All you have to do is cut out the basic shape of the hat and then just stitch up the sides.
There are lots of different ways that you can decorate your hat. You can add ribbon or lace, doodle on it with fabric paint, or embellish it with beads or sequins. No doubt this project is pretty easy and the hat looks great on almost anyone!
How To Make A Scary Witch Hat
This project is not for kids, as it involves a cutting knife. Adults should make sure to use the knife carefully in order to avoid injuries. The creator of this project did a great job as she was able to create a scary witch hat. The hat is made out of cardboard, which would make people think that the hat was made out of paper. However, there is no need to worry as this hat is not flammable and it can be used indoors or outdoors. This DIY witch hat is really unique and would surely help children dress up as witches for Halloween.
Paper Plate Witch’s Hat

This paper plate witch's hat is the perfect Halloween decoration. It is simple to make and can be displayed anywhere in your home. The materials needed are inexpensive and easy to find.
Instructions are here. 1. Cut the top off of a paper plate and the rim from a second paper plate, you should now have two identical circles. 2. Cut a third, identical circle from a plain white paper plate. 3. Using glue, stick the two cut-out circles together and place them on top of the plain white plate to form a cone-like hat shape. 4. You can now decorate it with colored paper scraps and cotton balls if you wish. 5. Use extra glue to secure everything in place, then let dry overnight before displaying it in your home!
How To Make A Witch Hat With Fabric
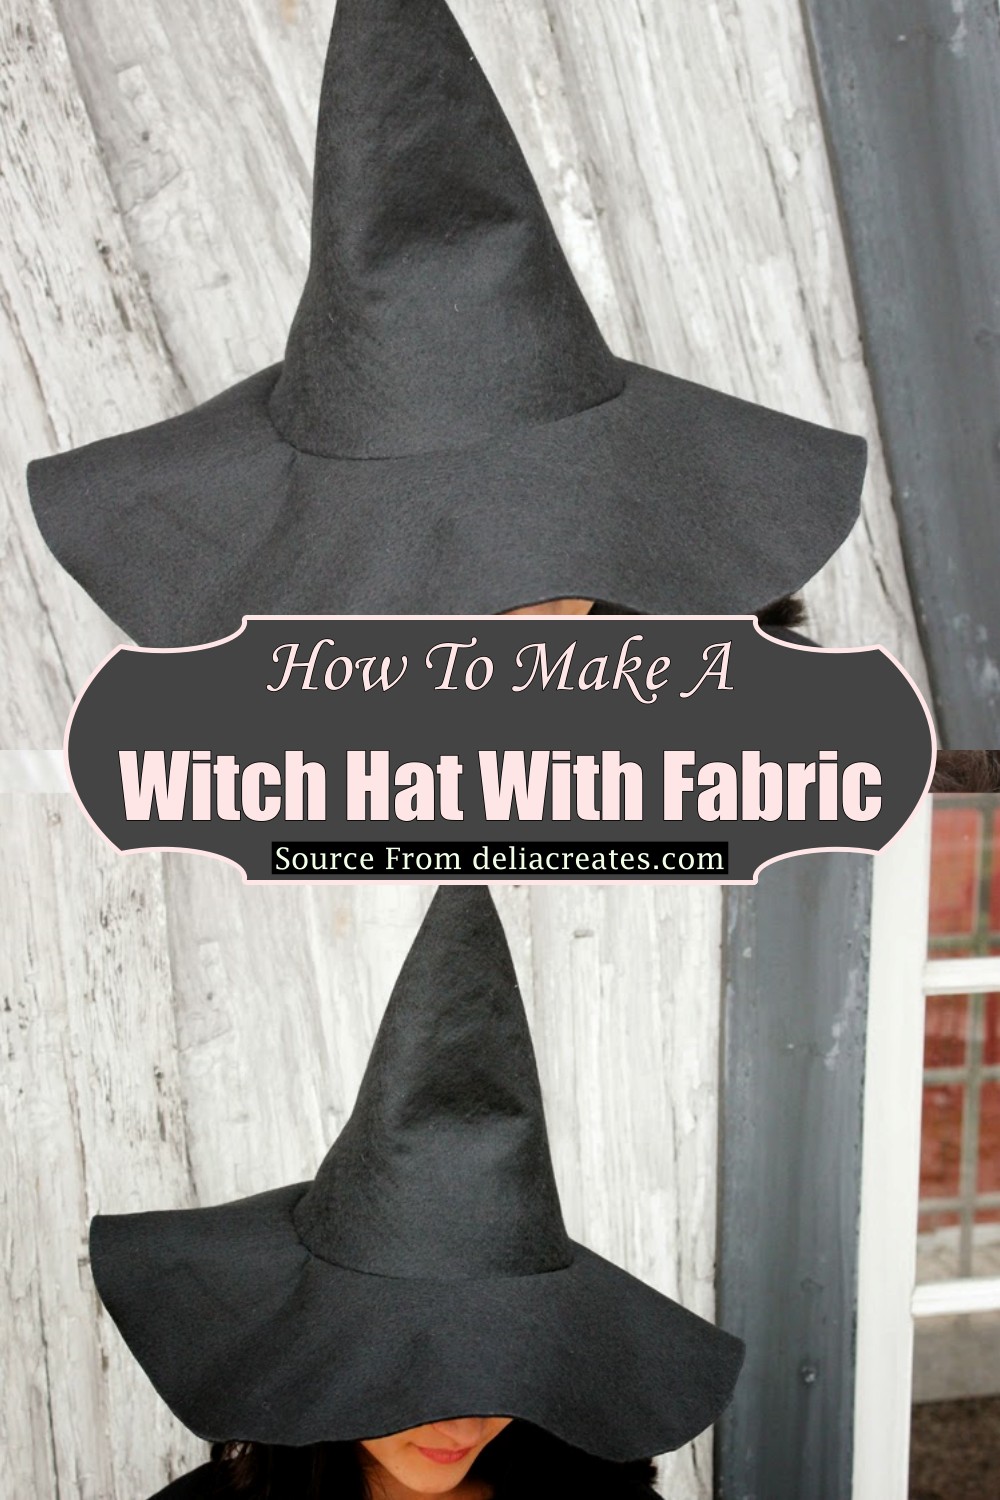
This is one of the most popular Halloween costumes for children. A witch hat with fabric is a safe and comfortable choice if you are looking for a cute and funny Halloween costume. You can easily make this DIY witch hat with fabric. This guide will also show you how to make a witch hat without sewing, which is also a great option if you are not skilled in sewing.
First, we'll talk about the materials you need in order to make the hat, then we'll give you instructions on how to make it. At the end of this article, you will see some tips on how to make a black cat witch hat. This is an easy project that any person that is interested in making Halloween costumes can do.
DIY Witch Hat Decoration

There are some materials that are needed in order to create a DIY witch hat. These materials include black paper plates, scissors, and a glue gun or double-sided tape. The next thing you have to do is simply decorate the hat with other Halloween embellishments. You can use ribbons with spiders, skulls, and any other thing you wish.
After you have completed all the steps above, your Halloween decoration is now ready. You can place this on your home's front porch so it will really give your home a spooky look and everyone who sees it would be scared of it. You can place it near the entrance of your house so whoever enters will see it first. If you want to give your home a more fun look, you could also add colorful ribbons to it and hang it from the ceiling or somewhere else in your house.
DIY Witch Hat

If you’re going out with your friends looking for a unique look, then this DIY Witch Hat will surely leave them in awe. This witch hat has features that make it more appealing. The brim is lined with black fur and the crown part is covered with the same material. The inside of the hat has a silver lining that makes it even more fantastic to look at.
You can also accessorize this hat with a feather boa and some black beads which are attached to the tips of the hat. This DIY Witch Hat would not only make a great Halloween costume but can also be used as a wonderful party accessory.
Baddest Witch In The West Halloween Costume

Who says you have to be a wimp, waiting for the Big Bad Wolf to blow down your house? There is nothing wrong with taking matters into your own hands. It can be a lot of fun figuring how to put together a killer look that illustrates your wicked style and lets you stand out in the crowd.
There are many different ideas for making your own costume. Some of the best ideas come from those who use their imagination and work with what they already have at hand. This project will show you how to make an awesome, kind costume that is sure to get you noticed!
DIY Witch Hat

Halloween is coming and it’s time to make some spooky crafts. You can make your own witch hat or you can use a variety of materials to create the look you want. It’s all about getting creative. Here’s another DIY witch hat that you can try to make for your upcoming Halloween costumes.
This is a fun activity for kids to do with parents because they get to be creative, too! They can also help out in choosing the material used for the hat and in the sewing part. Let your kids enjoy this wonderful holiday with you by making these simple but cute hats.
DIY Dead Roses Witch Hat

This project is relatively easy. The materials you need for this project are a sewing machine, needle, thread, scissors, wire, hot glue gun, rose petals, newspaper or plastic bag, and wire cutter.
Once you have all the materials and tools required, start by making a paper pattern by folding a piece of newspaper in half and drawing a rectangle that looks like the base of your hat. Then you will start cutting out the shape of your hat using scissors. After cutting out the shape of your hat, cut out the inner part that will be used to sew it onto your hat.
The next step is to fold the corners of your rectangle so that it can fit on top of your head easily while wearing it. Next, sew on the inside part of your hat; this will ensure that when you wear it won't slip down easily as you move around wearing it. Now take one end of your wire and fold it in half; this will be used to attach your flowers to the hat. Once done with attaching the roses to your hat, you can now hot glue them onto the hat so that they don't slip off easily.
Gandalf’s Hat DIY
This DIY tutorial is for a black felt wizard's hat, but you can easily change the colors to make it suit your tastes. The cone shape is cut from a poster board and then covered with black felt. This video will teach you how to construct the cone. After that, you need to add a brim around the edge and sew on some tassels. The hardest part of this project is attaching the tassels. The rest of the construction is easy.
This project doesn't take long and makes a great costume accessory for Halloween or playing dress-up at any time of year!
How To Make A Witch Hat With Paper
Making a witch hat with paper is a project that is easy to make and will take approximately twenty minutes to complete. It can be done by anyone, regardless of their skill level at DIY. Also, it doesn’t require too many materials for you to complete the project. It’s an ideal project for Halloween as it helps children create their own homemade witch hats with paper. The material you need includes paper, scissors, paint, glue, cardboard, and markers. Make sure you have a pair of old clothes or something that you don’t mind getting dirty because once you start making the witch hat with paper your hands will be covered in paint.
DIY $2 Witch Hat
If you are a fan of witches and they happen to be your favorite Halloween characters, then why not wear a witch hat or make one? It may look difficult at first but once you get the idea, it is quite easy and inexpensive.
Talking about crafting, you can even make your own Witch Hat from scratch. All you need is an empty paper roll, some scissors, markers, and decorations that will make it more appealing. The most important thing about making this kind of friend is patience and time. In fact, if you are in a hurry, there are people who made a prototype for one just to sell it.
How To Make A Witch’s Hat
Making a witch hat is not as hard as you might imagine. This project is great for children and adults alike, as it is a fun costume piece that can be used for Halloween or for dress-up playtime. In addition to the materials mentioned above, you will need scissors, glue, tape, and paints. Before starting this project, you will want to draw or trace the pattern onto your black cardboard. You can use colored pencils or markers to do this. The template provided below will allow you to create several hats without any issues. If preferred, you can also trace a large hat of your own size using the same technique.
Once traced, cut out the pattern using your scissors. This can be done in one solid piece if you have extra-large cardboard on hand. Your next step will be to tape together the two main parts of the hat using tape on their inside edges. The top portion of the hat should be taped around its outside edge to form the brim while the bottom portion should be taped around its outside edge to form the cone portion of the hat. You now have a basic witch's hat that can be decorated however you wish.
How To Make A Witch Hat

Making a witch hat is one of the best ways to complete your Halloween costume. They are simple to make and you can find most of the materials you need at a local craft store. You can even personalize your witch hat by adding personal touches such as ribbons, lace, and fabric flowers. Before you begin sewing, cut out two cone shapes from the black felt. The first cone should be large enough to fit over your own head and the second should be about four inches shorter than your first cone.
DIY Edible Witch Hat

This witch hat is a great edible Halloween treat. It’s easy to make and a great alternative to the traditional store-bought candy. Ingredients 2 cups Flour 1 cup Sugar 1 teaspoon Baking Soda 2 teaspoons Cinnamon ½ teaspoon salt 3 tablespoons butter, melted 1 Egg white (beat until foamy) ¼ cup Milk 2 drops of red food coloring 6 drops of green food coloring.
In a large bowl, whisk together flour, sugar, baking soda, cinnamon, and salt. Stir in butter, egg white, and milk until well blended. Stir in red and green food coloring until the mixture is evenly colored. Spoon dough into a pastry bag fitted with a large star tip. Pipe dough into witch hat shapes on an ungreased cookie sheet. Bake at 400 degrees for 7-10 minutes or until lightly browned on top. Cool completely before storing in an airtight container.
DIY Cheap Witch Hat

Witch hats are one of the most recognizable symbols of Halloween. Every year, thousands of people create their very own witch hats by using large cones and spray painting them black. While this is a great way to make a hat, there are even better ways to make a witch hat.
This tutorial will show you how to make a witch hat without using spray paint or a cone. All you need are two black party hats and some feathers. This is an easy project that you can complete in less than 30 minutes. It costs less than $5, so it’s also very cheap.
DIY Mini Witch Hat

With a bit of imagination and the right crafting skills, you can make your own witch hat. For most of us, the only difficulty is finding a perfect pattern for the hat. Luckily for you, we have found an awesome pattern that is easy to follow and fun to work with. You can use this mini witch hat pattern to create an adorable Halloween costume or treat bag filler this winter. You can customize the hat to whatever size or color you want, so this DIY project will be perfect for every occasion! Are you ready to get started?
DIY Witch Hat Headband

The tutorial is very detailed, so there is little room for error. The step-by-step instructions are accompanied by pictures and videos. The materials to make this headband are cheap. The cost of making this DIY headband will cost less than $10, which is much cheaper than the price of a purchased product. The tutorial is clearly written, making it easy to follow the steps. Each step contains pictures and videos. This headband can be used for kids, teens, and adults. You can wear it for Halloween or a costume party.
This is a very easy tutorial that is great for Halloween. You can even wear this headband to your next Halloween party. This is a great project to do with the kids. The tutorial is easy to follow and you'll have fun making it. This witch hat headband will make a great accessory when you're trick or treating, going to a Halloween party, or just hanging out.
How To Make Felt Witch Hat

Making a Halloween costume is often hard, especially if you are not a pro. One of the most important parts of a costume is the hat. You can buy or make it, but this time we will show you how to make one of the coolest hats ever!
First, you will need to draw your design on paper. Take your time and be sure that everything is symmetrical. Then cut it out and put it on top of the felt. Start cutting out all the pieces and arrange them on top of each other until you get the desired shape. Next, you will have to sew everything together. Be careful not to make any mistakes or holes, especially in thin areas. Finally, when everything is sewn, add some ribbons or anything else that you think might look good with your hat.
Before wearing your hat around, test it on your head to see if everything fits properly. If there is an adjustment that needs to be made, do it now before everything is sewn together permanently.
DIY Witch Hat

If you’re looking for fun to make a DIY project for Halloween, then here is one for you. It’s called DIY Witch Hat and it’s all about creating a colorful witch hat. For this project, the creator used some roses, a faux spider web, and two small branches of dead leaves. The rest of the materials she made herself using paper. She also used an old mirror that she painted gold, some foil paper, and a glue gun. The instructions included in the tutorial are pretty easy to follow and understand. If you like it, check out the tutorial and start making your own DIY Witch Hat!
DIY No-Sew Witch Hat

A DIY no-sew witch hat is the perfect Halloween decoration or cosplay costume accessory. The process is simple and the materials are inexpensive, especially if you use what you have on hand. The spider included with this project is optional, but it helps to make the hat more spooky. It also gives you a chance to practice your sewing skills if you're not ready to tackle the entire project yet.
We recommend watching the video from start to finish before getting started on your own project. Use this tutorial as a guide for your own witch hat creation, but feel free to add more details or change elements of the design as you see fit.
DIY Witch Hat For Dog

Creating the headpiece for your dog is simpler than you would think. You will need a piece of cardboard, some hot glue, and a stuffed animal. Start by cutting a long strip from the cardboard and then begin to roll it into a cone shape. Next, you will need to cut out some triangles from the cardboard. Hot glue these along the length of the cone to make the hat that your dog can wear.
Now it's time to make the hair of your witch hat. Take your stuffed animal and cut it into pieces so that you can create the hair you are looking for, with lots of layers. Hot glue these all around the headband using your hands or a hot glue gun and then add some googly eyes for effect! Finally, add some ribbons on the top and bottom so that you get the desired length of this witch hat for dogs. Pull through two holes at either end of the cone and tie in bows at the ends to finish off this adorable witch hat for dogs!
DIY No-sew Witch Costume

Have you ever wanted to dress up as a witch for Halloween, but didn't have the cash for a store-bought costume? Well, today is your lucky day! This DIY No-Sew Witch Costume will only set you back $35 and it's the perfect, easy last-minute costume.
The best part about this costume is that it is almost completely no-sew. All you need are supplies from your local craft store and a good attitude. You can be a tricky witch! There are two different versions of this costume, one that uses magic markers to draw symbols on the fabric, and one that uses iron-on transfer paper. The magic marker version is definitely easier, but the transfer paper gives you more freedom to customize your look!