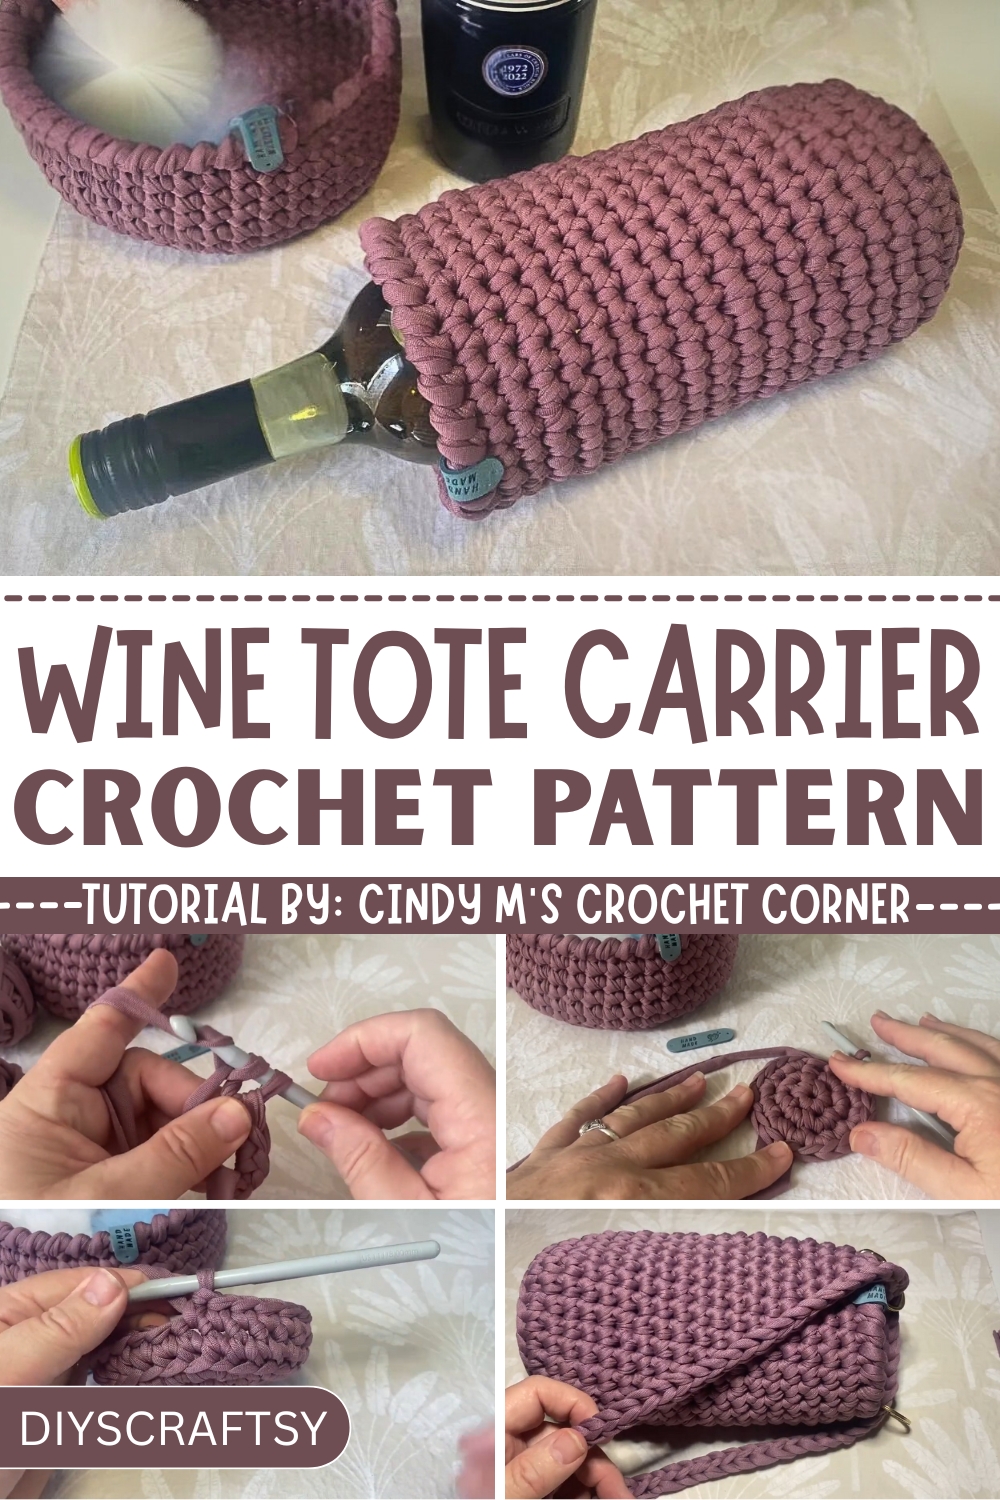
Carry your wine in style with this Crochet Wine Tote Carrier Pattern, perfect for gifting, eco-friendly use, and adding a handmade charm.
There’s a quiet charm in the thoughtful details we bring to life’s simplest moments, and a crochet wine tote carrier is one such treasure. It’s not just about carrying a bottle, it’s about elevating the experience, turning an ordinary gesture into something memorable. Delicate yet sturdy, its skillful construction ensures your wine is cradled in comfort and style, making it perfect for everything from casual picnics to elegant dinner parties.
Chic Crochet Wine Tote Carrier Pattern Everyone Is Talking About
What sets it apart is its personal, handmade allure, a reflection of tradition meeting modern practicality. This tote is more than an accessory; it’s a statement of care, ideal for those who value sustainability as much as beauty. By replacing disposable bags with something so timeless, you champion both the planet and a love for artistry.
Whether gifted as a reusable treasure or carried to enrich your own occasions, it leaves an impression of understated elegance. A crochet wine tote becomes part of the story a witness to shared laughter, heartfelt toasts, and cherished moments. Let it add a layer of meaning to the way you share and savor, wrapping your wine and your thoughtfulness with a touch of graceful creativity.
Step-by-Step Guide to Crochet Wine Bottle Carrier
Materials Used
- Yarn Type: T-shirt yarn (specifically the A Ridge brand), which is stretchy and easy to work with.
- Hook: 8 mm crochet hook.
- Other Supplies: A glue gun for attaching optional tags, stitch markers, and scissors.
Step-by-Step Instructions
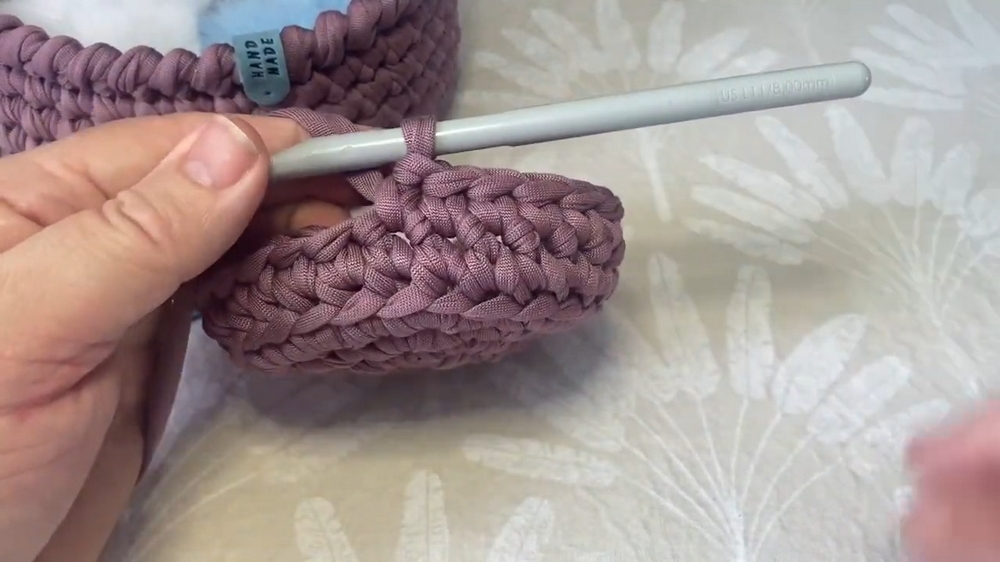
Step 1: Base Construction
- Start with a magic ring and chain one.
- Make six single crochets into the ring and pull the tail tight to close.
- Slip stitch into the first single crochet, chain one, and begin the second row.

Step 2: Expanding the Base
- For Row 2, do two single crochets per stitch (total of 12 stitches).

- For Row 3, alternate two single crochets in one stitch and one single crochet in the next, repeating this pattern around the row to increase its size.
- Repeat an expansion row (e.g., 2 in 1, and 1 in the next stitch) until the base measures roughly 9 cm (for a standard wine bottle width)
Step 3: Starting the Sides
- On the next row, begin transitioning to the sides by working single crochets into the back loop only. This technique creates a crease that forms the sides of the carrier.
- Crochet normally into the stitches (not just the back loop) in subsequent rounds as you build height.
Step 4: Building Up the Sides
- Continue working single crochet rows upward until the carrier reaches 24 cm high or as desired.
- Cindy notes that each row adds approximately 2 cm, so you may need 12 rows or more depending on bottle height.
- On testing with the bottle, Cindy decides to add 7 more rows to reach the neck of the wine bottle.
Step 5: Adding a Decorative Edge
- On the final row, add decorative flair by using the crab stitch (a reverse single crochet).
- Insert into the back stitch, pull through two while working backwards around the opening of the wine carrier.
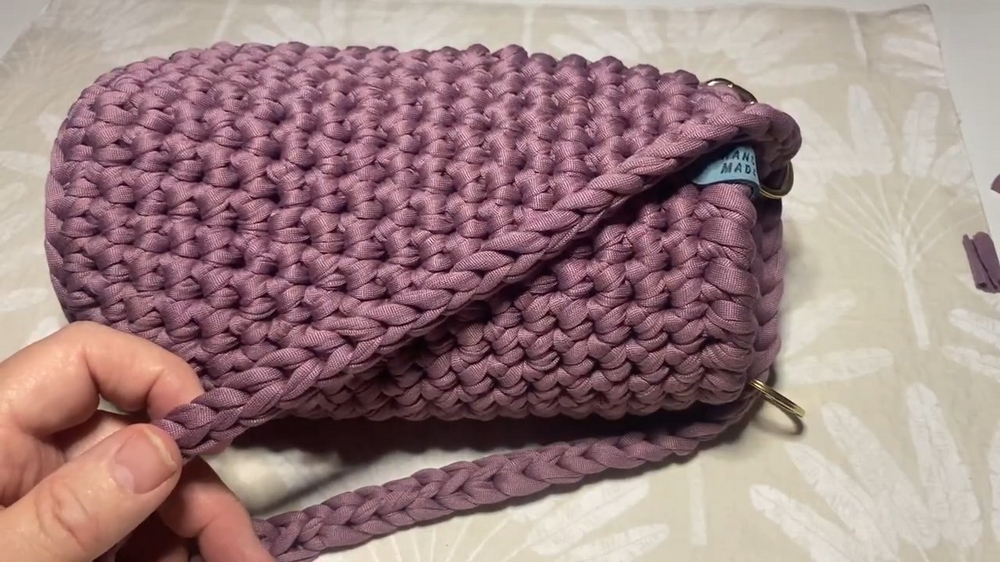
Step 6: Adding Straps
- Create a short handle or an over-the-shoulder strap using a simple chain stitch:
- Pull through and twist the yarn repeatedly to form a thick and sturdy strap.
- Attach the strap securely to the sides of the carrier by feeding loose ends back through stitches or tying knots.
Step 7: Attaching Tags (Optional)
- Use a glue gun to attach a small handmade tag. Cindy suggests using heat-resistant material as backing for the glue.
- Align the tag for a clean, polished look.
Special Features
- Durable and Stretchy Material: The T-shirt yarn is ideal for creating sturdy crafts like this carrier.
- A Matching Set: Pairs with other crochet items like baskets (available in Cindy’s other tutorials).
- Customizable Design: Adjust size, height, and strap length depending on personal preference.
Difficulty Level
- Beginner-Friendly: Cindy describes this tutorial as straightforward and manageable, taking approximately 30 minutes to complete. Techniques like the magic ring, single crochet, and crab stitch are relatively simple for those familiar with basic crochet skills.
Tutor’s Suggestions
- Sizing: Measure frequently to ensure the base and height fit your specific wine bottle.
- Customization: Add decorative elements or matching pieces to personalize the carrier.
- Use Leftover Yarn: Cindy recommends using leftover yarn for parts like straps and tags for a cohesive design.
Uses
- Functional Storage: Perfect for safely carrying wine bottles.
- Gifts: A unique handmade accessory to pair with a bottle of wine.
- Decor: Adds an elegant touch to wine-related setups or dinner tables.
Tip
When working with the crab stitch (reverse single crochet), take your time because the backward motion can feel tricky at first. If you're new to it, practice on scrap yarn before finishing the carrier.
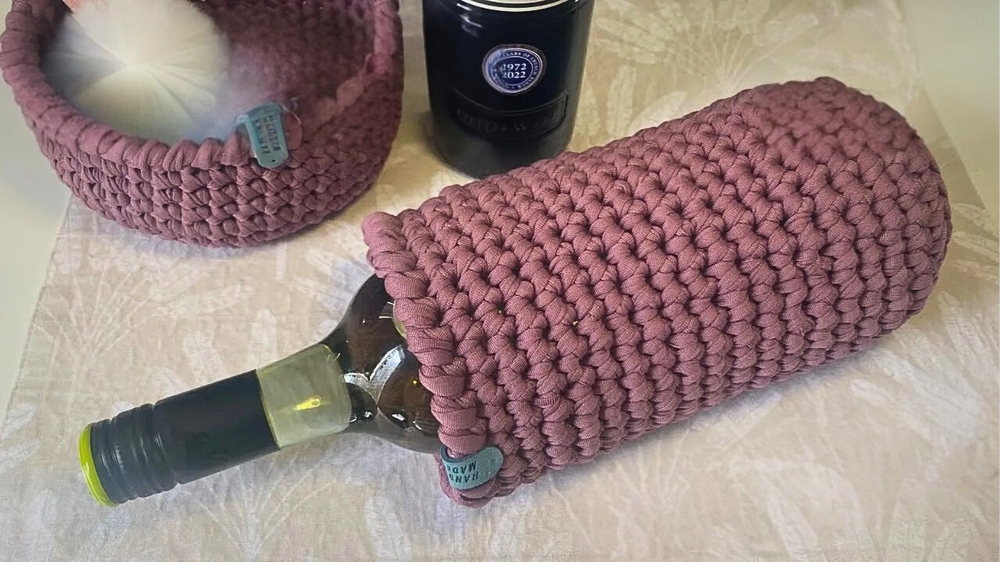
Conclusion
Cindy wraps up the project by demonstrating the completed wine bottle carrier, encouraging viewers to experiment with size and additional features like straps or tags. This tutorial emphasizes simplicity, functionality, and creativity, making it a fun and rewarding crochet project for all skill levels.


