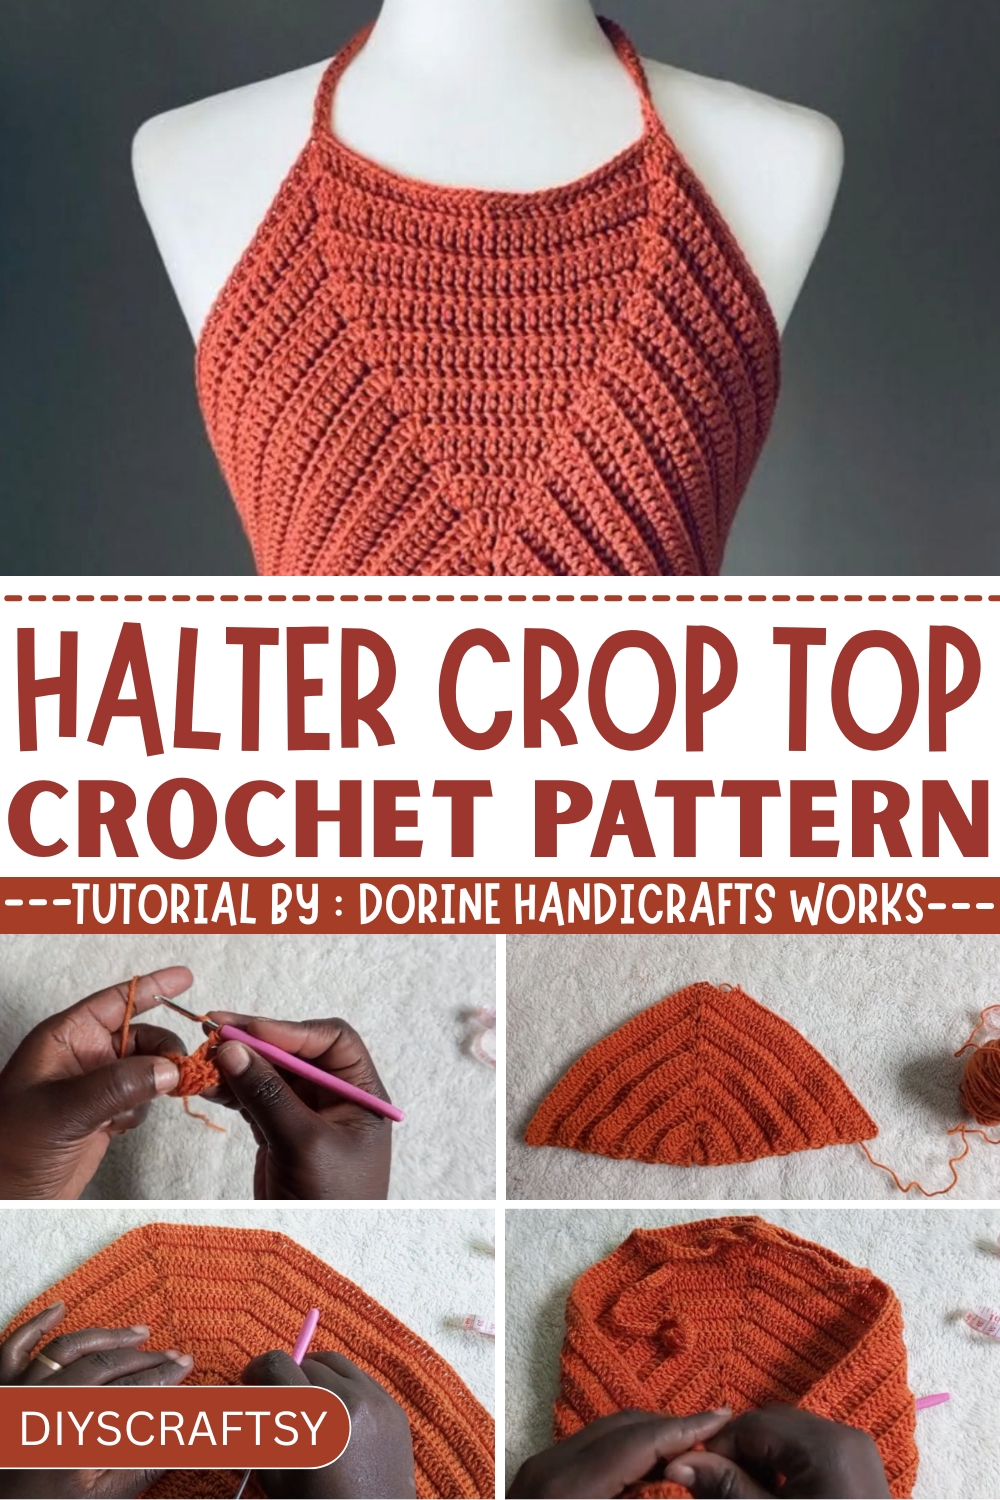
Feel summer-ready with this Free Crochet Halter Crop Top Pattern, perfect for stitching a flattering, breathable top that adds charm to any warm-weather outfit.
On a bright afternoon at a local market, a simple halter crop top turned heads, not for being flashy, but for its graceful shape and effortless appeal. That moment captured what makes this top special: it's stylish without trying too hard. This crochet halter top stands out with its airy structure and flattering cut, offering comfort and charm all in one piece.
Summer Staple Free Crochet Halter Crop Top Pattern You Can Wear Anywhere
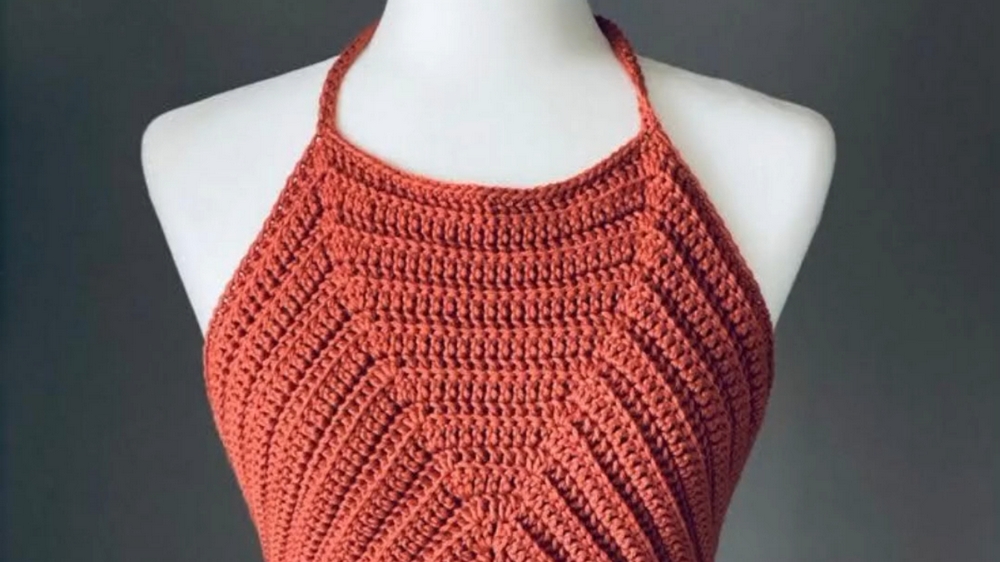
Featuring an open back, adjustable ties, and a gently contoured neckline, this top balances minimalism with personality. It uses foundational stitches like chains, single crochet, and double crochet to shape a snug yet flexible fit. The edges stay neat, and the shaping around the bust provides both support and polish, making it a go-to choice for warm-weather wear.
Wear it solo on hot summer days or pair it with a lightweight kimono or button-down shirt for a layered look. It’s equally fitting for beach strolls, casual brunches, or music festivals. Beyond its visual appeal, it works up quickly and offers a satisfying rhythm for the hands, ideal for those seeking a refreshing, wearable project. This halter crop top blends comfort, style, and everyday usefulness into one effortless piece that can rotate easily through any modern wardrobe.
Design Highlights
- Backless with Adjustable Ties: The halter top ties at both the neck and back, offering a customizable fit. Two ropes on either side of the top allow you to adjust how it wraps around your body.
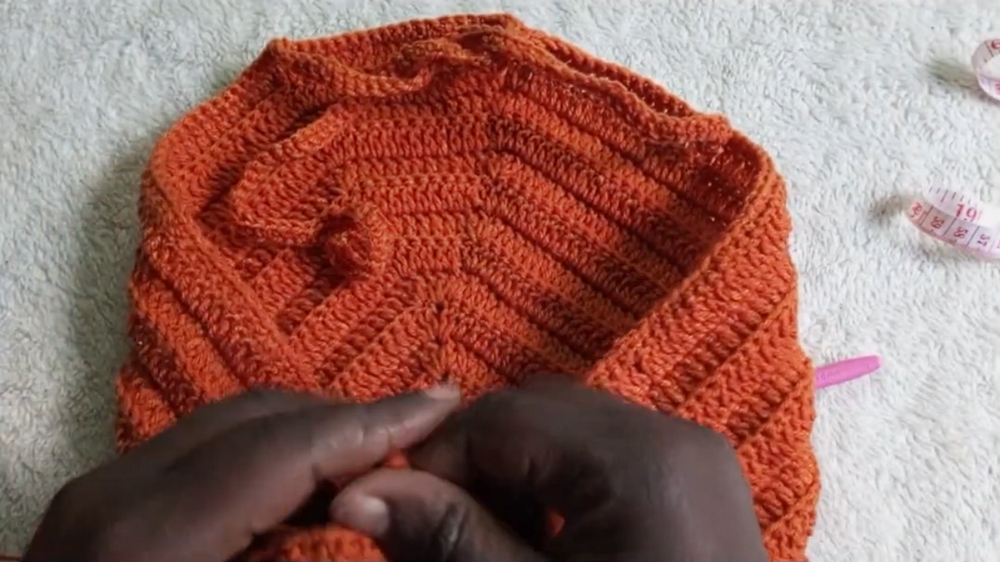
- Triangle Panels in the Front: The top has a triangular pattern for the bust area, which gives it a modern and aesthetic look.
- Scalable Design: The size of the halter top can be adjusted by adding or eliminating lines or rows, making it suitable for all sizes from extra small (XS) to extra large (XL).
Materials Needed
Doreen outlines the necessary materials for the project:
- Medium-Sized Yarn: Any type of medium-weight yarn works well for this crochet design.
- Crochet Hook (3.0 mm): A standard-sized crochet hook suitable for medium yarn.
- Scissors: For cutting the yarn as needed.
- Tape Measure: Useful for making precise measurements (optional if you have pre-existing measurements ready).
- Stitch Marker: While not mandatory, a stitch marker or contrasting yarn can be helpful during the process.
Step-by-Step Instructions
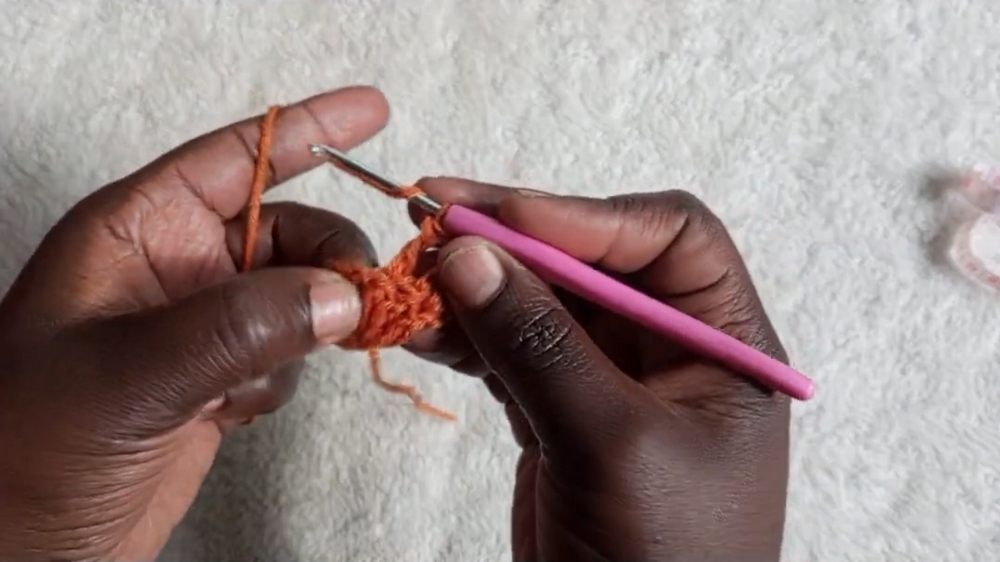
Step 1: Starting the Foundation
- Begin with a magic ring (or work four chains and slip stitch to form a ring if you're not familiar with the magic ring method).
- Chain three, which serves as the starting stitch. This will act as the first double crochet for the round.
- Work five double crochets into the magic ring, chain one, and then work five more double crochets into the magic ring.
Step 2: Building Rows
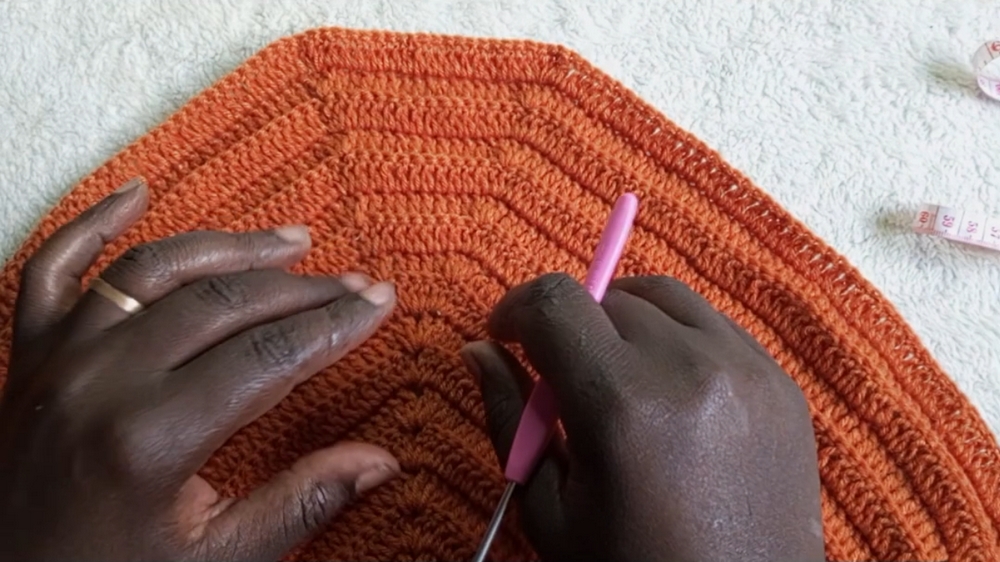
- From the second row onward, use back-loop-only stitches for a neater design and stretch.
- Chain three at the start of every row (acts as a double crochet) and make two additional double crochets in the first loop.
- Continue with double crochets in the back loops until you reach the chain one space at the middle of the triangle.
- In this middle space, add two double crochets, a chain one, and another two double crochets to expand the triangle.
- Repeat the same process on the other side and complete the row.
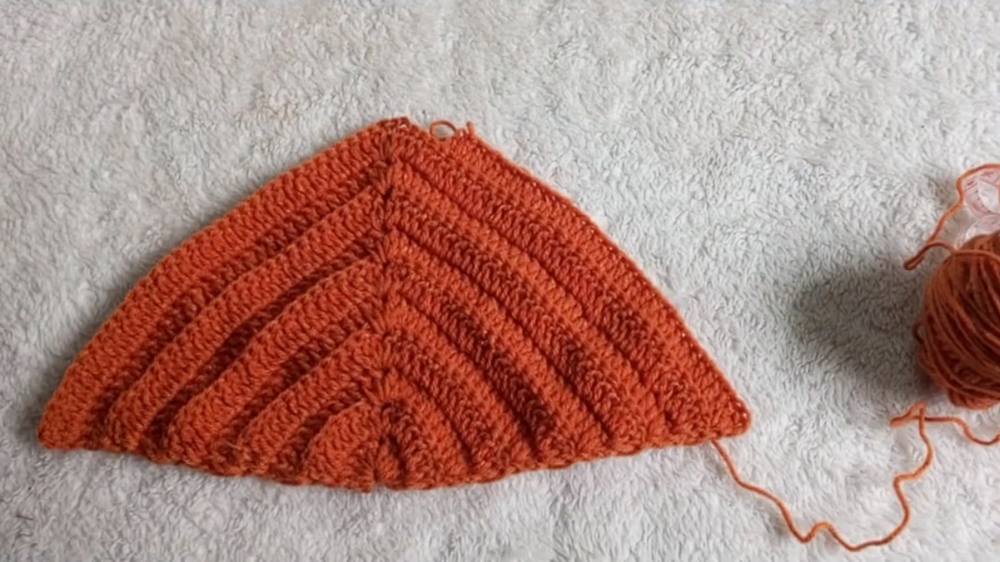
Step 3: Repeating Rows
- Repeat rows two and three, maintaining the increases at the middle chain space, until you reach the desired triangle size.
- Doreen recommends 10 rows for a small size, but you can add more rows to increase the halter top size.
Step 4: Adjusting for Larger Sizes
- For larger sizes, repeat the triangular additions in rows while increasing both sides proportionally. Doreen’s demo featuring 13–14 rows is suitable for larger bust sizes.
Step 5: Adding the Ropes
- Top Neck Rope: Once the triangles are crocheted:
- Chain 50 chains (or adjust the length to your preference) to create the neck straps.
- Attach this chain to the corners of the triangle using single crochet stitches.
- Back Ties: Similarly, add long ropes to the bottom corners of the triangle by chaining 50 and attaching them at the edges.
- These ropes serve to secure the halter top behind the neck and back.
Tutor’s Suggestions
Doreen provides several helpful tips throughout the tutorial:
- Use a stitch marker to track your rows and prevent confusion on where to increase stitches.
- If you want the top to fit loosely or snugly, adjust the number of rows as needed and, if required, use a tape measure for accuracy.
- Using a back-loop-only technique gives the design a neat and textured appearance.
- If you're an advanced crocheter, the design can be modified further by adding more rows and experimenting with alternative patterns.
Uses
- The halter top is versatile and trendy, making it a great addition to a summer wardrobe.
- It's ideal for casual outings, beachwear, or as a layering piece with high-waisted pants or skirts.
Level of Difficulty
- Beginner to Intermediate: While the basic stitches (magic ring, double crochet, chain stitch) are beginner-friendly, the use of back-loop-only and maintaining symmetry may require attention to detail.
- Clear instructions from Doreen make this a manageable project for anyone willing to practice.
Conclusion
The tutorial emphasizes the importance of maintaining proper tension, using stitch markers, and following the pattern repeats to achieve a high-quality result. The finished product is trendy, lightweight, and stylish—perfect for various occasions.
Final Tip
Personalization is Key: Experiment with different yarn colors or textures to make your halter top uniquely yours. For extra durability, secure the knots tightly at the neck and back ropes.


