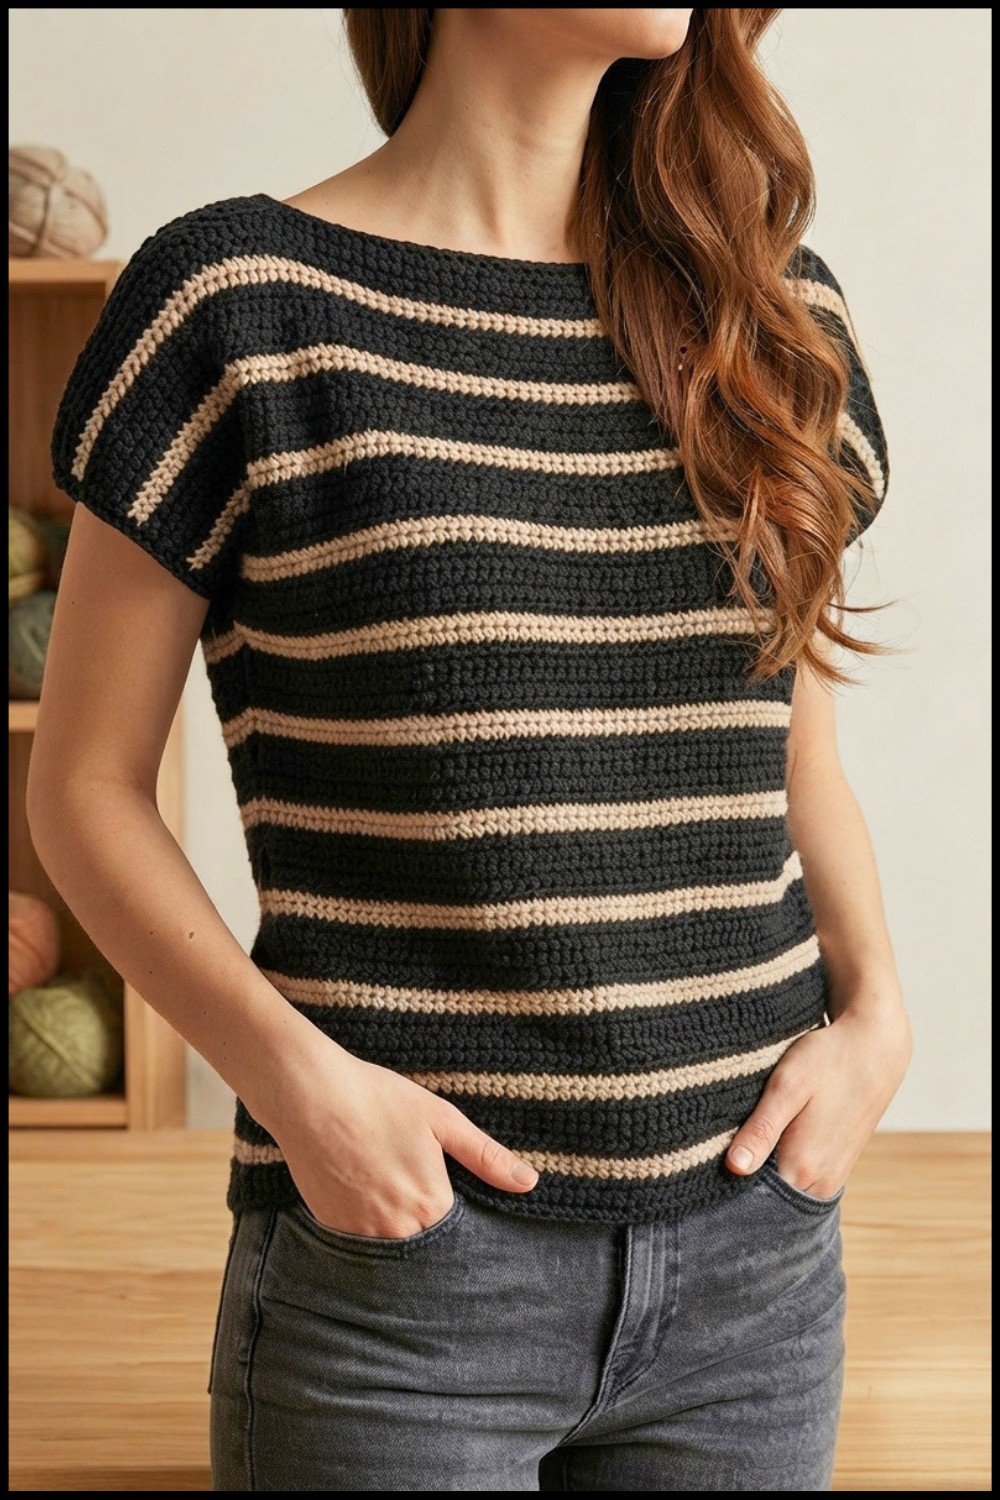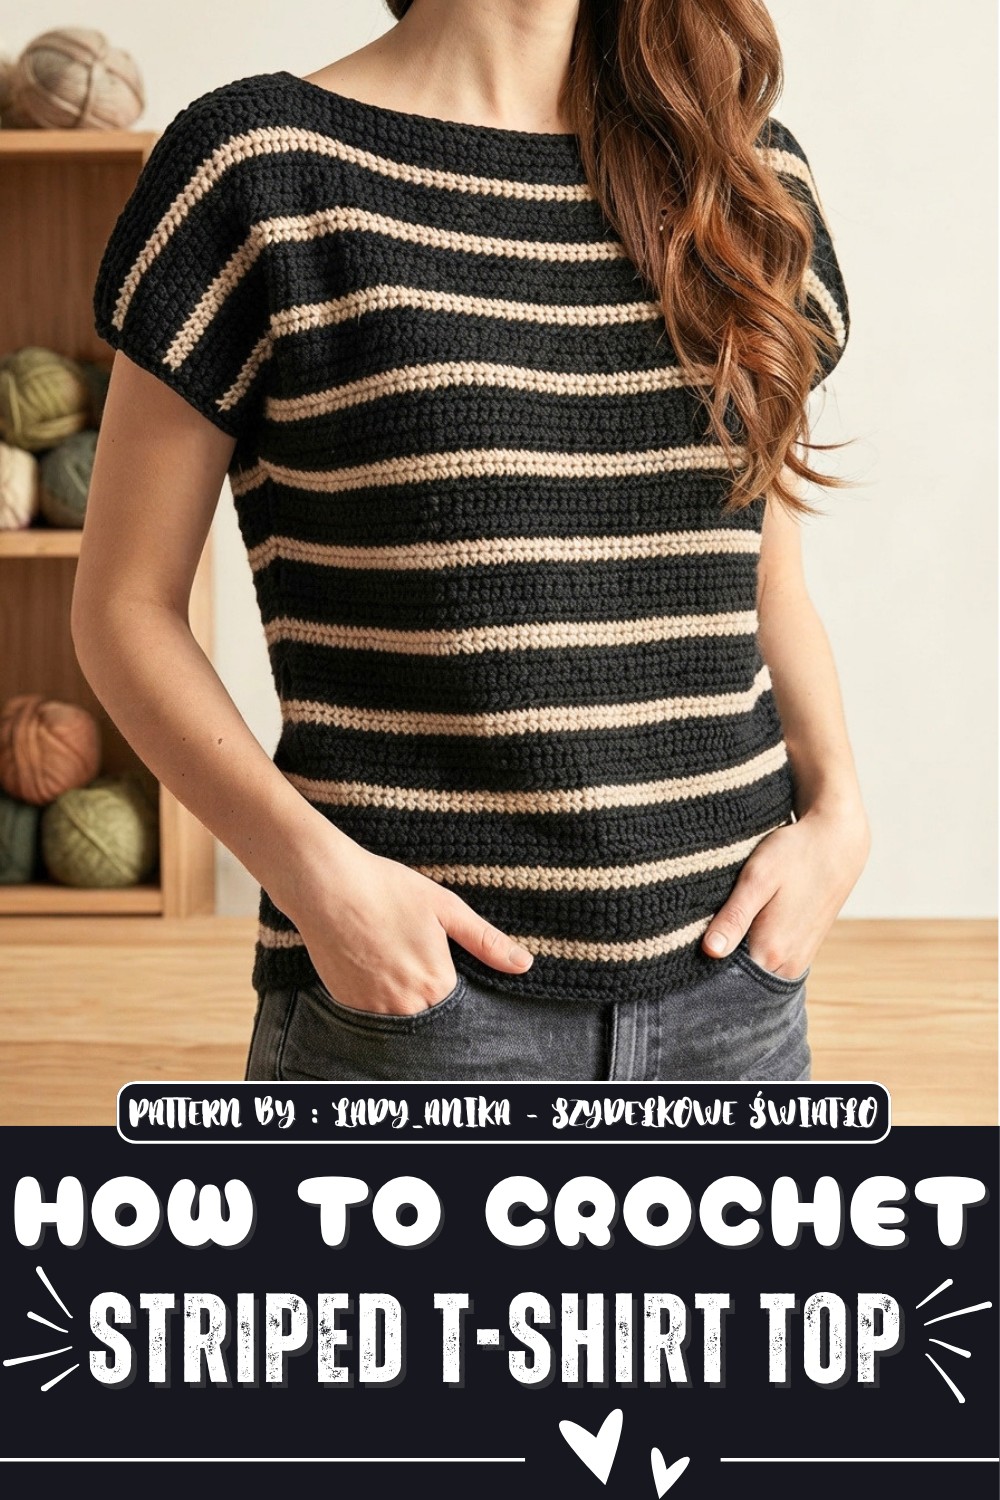
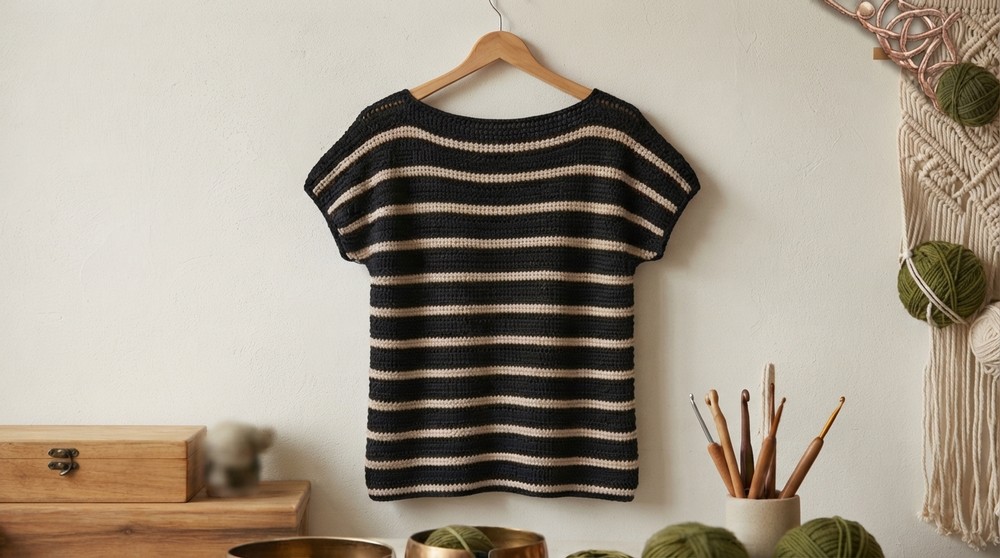
This top can fit into many everyday outfits. Wear it with jeans for a relaxed day, or pair it with shorts when the weather is warm. It can also look cute with a skirt for a simple summer outfit. The striped pattern gives the shirt a playful style without needing many extra details.
Color choice is one of the best parts of this project. Light shades can make the top feel soft and fresh, while strong colors can give it a fun and bold look. You can also pick colors that match clothes you already have in your closet.
The project is presented by Lady_Anika - Szydełkowe Światło, a YouTube channel filled with crochet ideas and helpful video tutorials. Watching the tutorial can make it easier to see how the shirt is built and how the stripes are added.
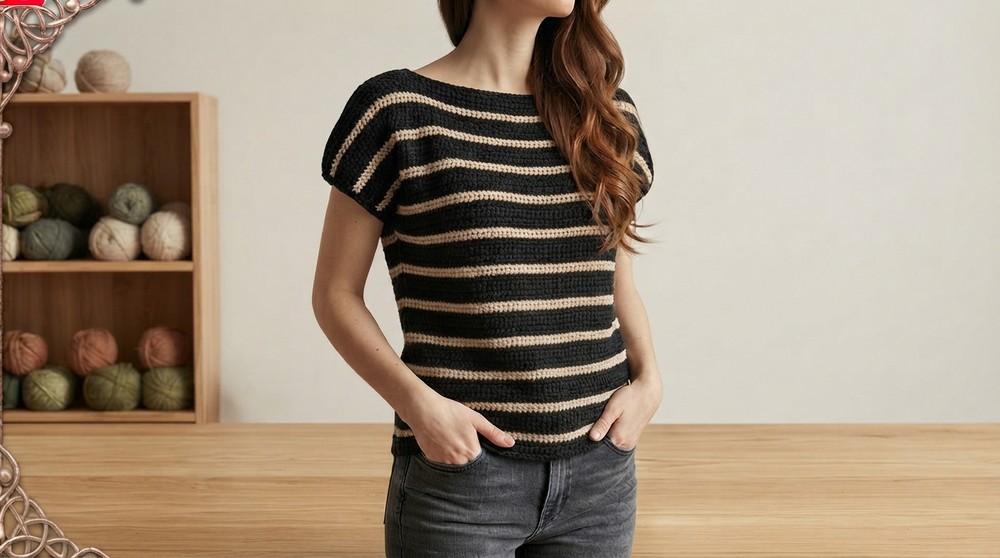
A handmade striped top can also be a thoughtful gift for someone who enjoys crochet fashion. Choose colors based on their style and create something they can enjoy wearing. It can be a lovely choice for birthdays or special occasions. With its soft feel, easy shape, colorful stripes, and casual style, this crochet shirt can become a useful favorite for warm days and a special piece in a handmade wardrobe.
Easy Crochet Blouse with Short Sleeves
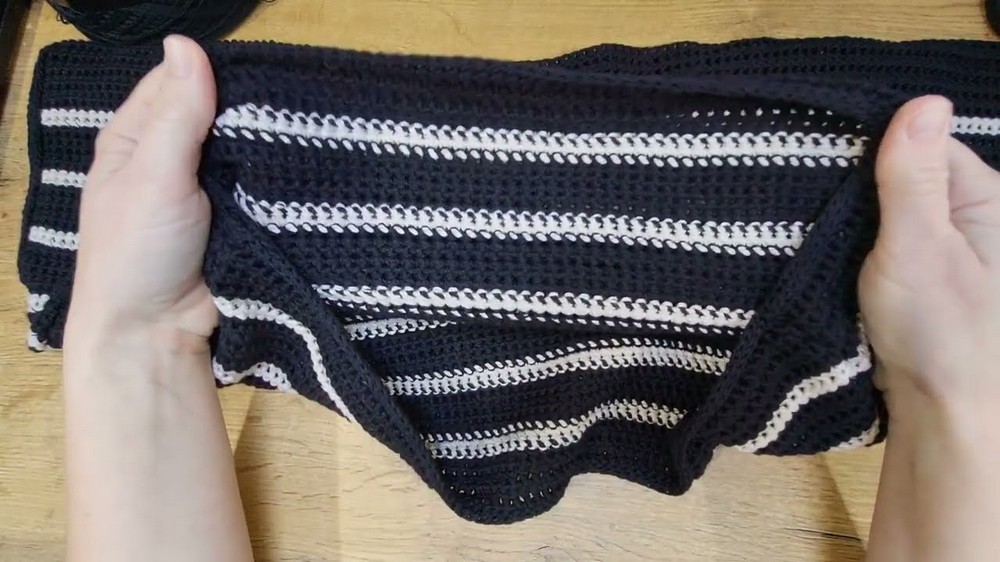
This simple and elegant crochet blouse is perfect for spring and summer. It is made from two identical rectangular panels (front and back) that you sew together. The stitch pattern is reversible and airy, giving a delicate checkered look. The blouse can be customized with stripes, armhole shaping, and neckline width, making it a versatile project for beginners.
Pattern Highlights
- Two identical panels: front and back pieces
- Reversible stitch pattern: looks nice on both sides
- Customizable stripes: you decide number, width, and placement
- Easy armhole shaping: gentle increases for comfortable fit
- Simple boat neckline
- Short sleeves: can be made wide or narrow
- Clean finished edges and seams
Notes
- Make a sample swatch before starting to check tension and size.
- Stitch pattern slightly widens as you work, so consider this when measuring width.
- Always use markers to note first and last stitches for neat edges.
- Use yarn and hook size suited for your comfort and fabric density.
- Keep an even number of rows per stripe color to maintain pattern consistency.
- Document your row count and increases on the first panel for accurate replication on the second.
- You can increase on one or both sides depending on desired sleeve width.
- Choose seaming method you are comfortable with—needle or crochet join.
Skill Level
Suitable for intermediate beginners who understand:
- Chain (ch), half double crochet (hdc)
- Working in rows with turning chains
- Increasing stitches (2 stitches in one stitch)
- Changing colors and sewing seams
Materials
- Cotton yarn (example: Kokonki ReCotton, 4 strands held together for medium thickness)
- Crochet hook size 3 mm (adjust to yarn thickness as needed)
- Stitch markers
- Scissors and tapestry needle for finishing
Measurements / Sizing
- Panel width: approx. 50 cm (at bottom)
- Armhole section: approx. 15 cm height
- Sleeve length: approx. 18 cm
- Stripe widths and lengths customizable
Gauge and Stitch Pattern Overview
- Gauge depends on yarn and hook; measure your own with a sample swatch.
- Stitch pattern combines half double crochets into back loops and whole stitches for a textured, slightly open fabric.
- Pattern widens slightly while working, so add a bit to initial stitch count to compensate.
Stitch Abbreviations
- ch = chain
- hdc = half double crochet (sometimes called half treble crochet)
- sc = single crochet
- sl st = slip stitch
- yo = yarn over
- st = stitch
- inc = increase (2 hdc in one stitch)
Special Stitches and Techniques
- Wound half double crochet: Insert hook into stitch, yarn over, pull loop through multiple loops for textured stitch.
- Working into previous stitch's yarn over loop: For texture, work stitches partly into loops made previously.
- Color change: Attach new yarn in last stitch of previous color by pulling it through loops and crocheting next row with new color.
- Increases: Work two half double crochets in one stitch to widen specific areas (e.g., armholes).
Step-by-Step Crochet Pattern Instructions
1. Make a Sample Swatch and Foundation Chain
- Chain an even number of stitches plus 1 for the edge stitch.
- For sample, chain 20 + 1.
- Turn and prepare to work first row.
2. Row 1: Foundation Row
- Skip 1st chain (edge stitch).
- Work half double crochet (hdc) into the second chain using a wound technique for texture.
- Continue working wound hdc across to end.
- Use stitch markers on first and last stitch.
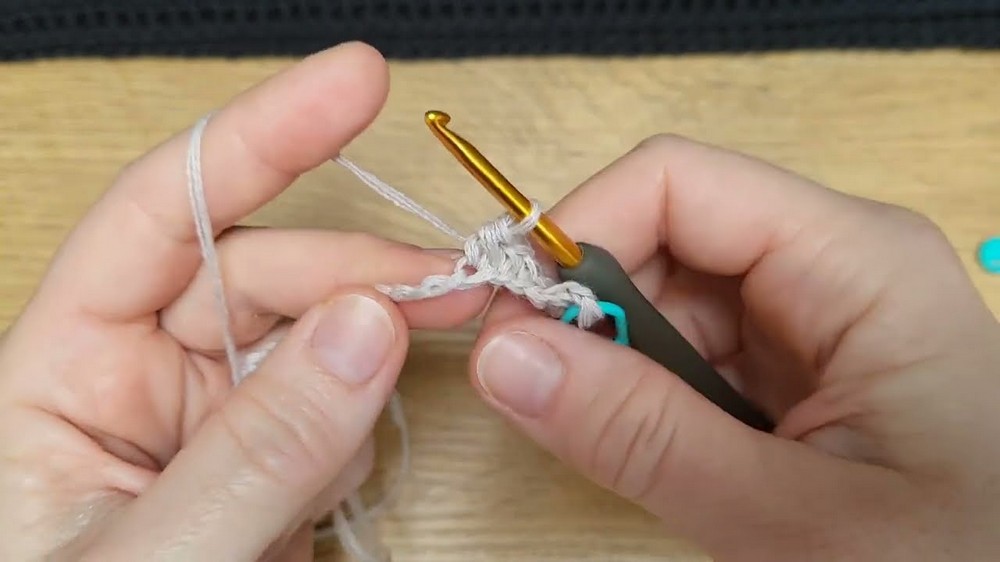
3. Row 2: Returning Row
- Chain 2, turn.
- Work hdc into whole stitch (both loops) across to the end.
- Stabilize edges by working first and last stitches as regular hdc.
4. Row 3 and onward: Alternate Rows
- Alternate between:
- Working into back loops only (wound hdc) on odd rows
- Working into whole stitches on even rows
- Continue marking edges for neatness.
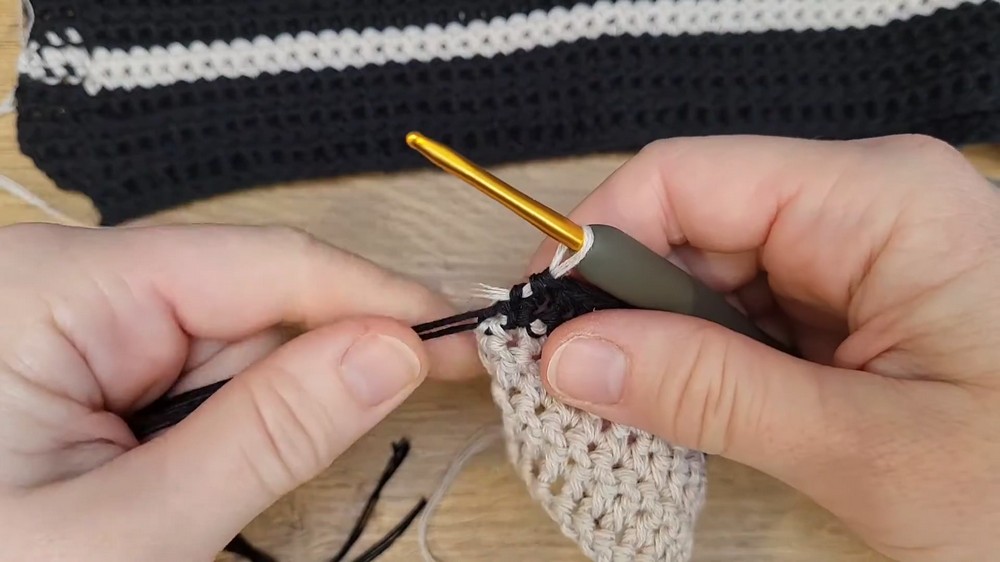
5. Creating Stripes and Color Changes
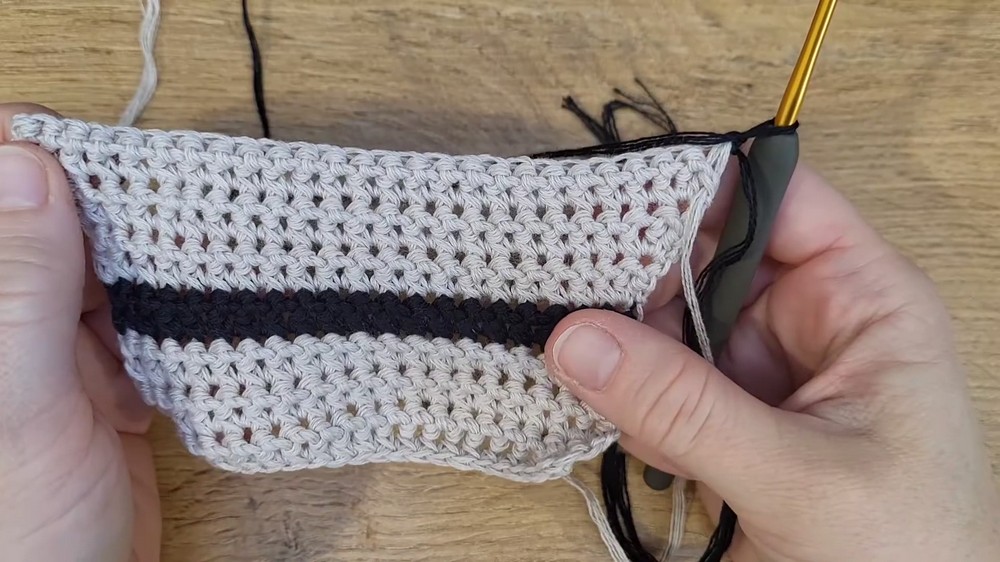
- Plan your stripes with even-numbered rows per color (e.g., 6 rows black + 2 rows white).
- At last stitch of stripe, attach new color:
- Pull new yarn through loops of last stitch.
- Turn work and continue with new color on next row.
- You may carry or cut yarn as preferred—avoid too many loose ends for neat finish.
6. Building the Panel Height
- Work straight for first part (approx. 24 cm).
- Count rows carefully for repeats and stripes.
7. Armhole Shaping through Increases
- Begin increases on one or both sides:
- To increase, work 2 hdc into one stitch at start/end of row.
- Between increases, continue normal pattern stitches.
- Work increases every row or every alternate row.
- If you want wider “bat-wing” sleeves, increase on both sides every row.
- Keep notes of rows and increases for second panel matching.
8. Sleeve Section
- After shaping armholes, continue straight rows for sleeve length (~18 cm).
- Maintain stripe pattern and stitch consistency.
9. Complete Second Panel
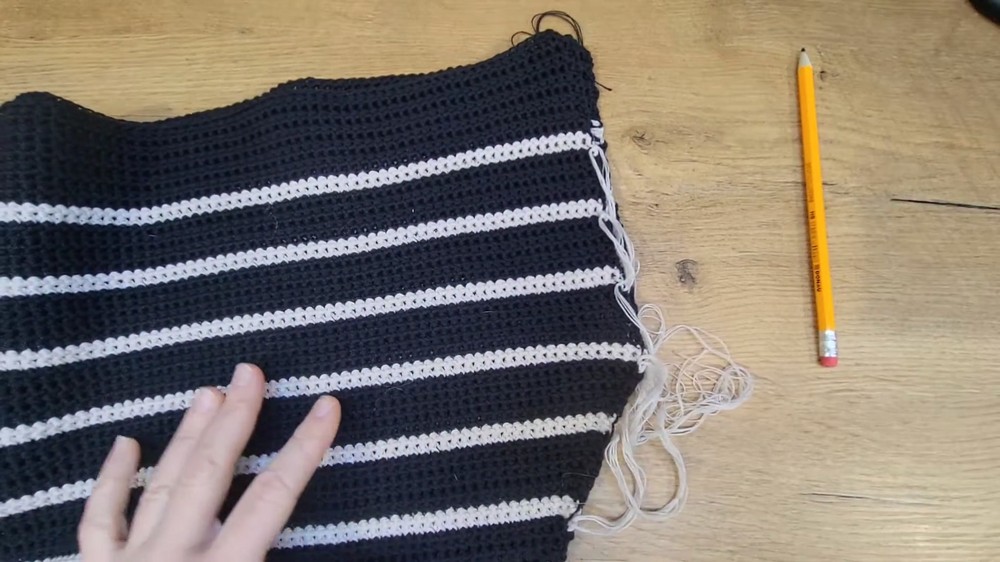
- Follow exact same steps, stitch counts, increases, and color changes as first panel.
10. Assembly and Seaming
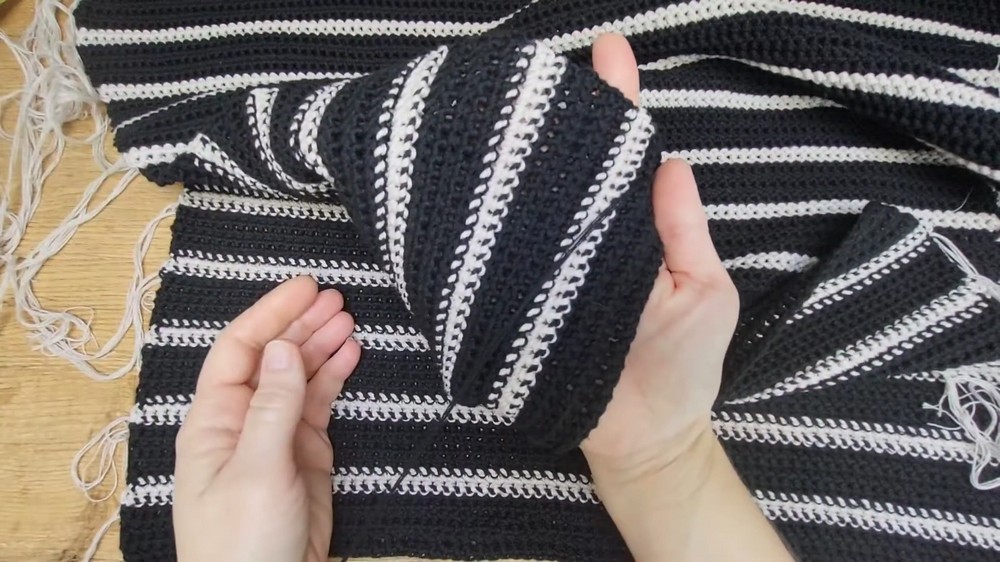
- Place front and back panels wrong sides together.
- Use stitch markers to reserve neckline width (~27-30 cm).
- Sew shoulder seams using either:
- Single crochet seam: Insert hook under stitches on both panels, crochet together, or
- Needle sewing: Use whip stitch or mattress stitch for neat finish.
- Sew side seams and sleeves the same way.
11. Finishing Edges
- Work a neat border around neckline, sleeves, and bottom edge:
- Work rounds of single crochet with yarn over into middle or back loops for smooth edge.
- 2 or 3 rounds recommended.
- Weave in all loose ends carefully.
Assembly & Finished Size
- Finished blouse is loose-fitting and airy with a boat neckline.
- Sleeve width and neckline size customizable using increases and stitch counts.
- Stripe colors and widths can be changed as desired.
- The completed blouse combines simple construction and textured stitches for a professional look.
Conclusion
This crochet blouse with short sleeves is a practical and beautiful project for crocheters of all skill levels, especially beginners looking to make wearable garments. The stitch pattern offers a reversible, elegant texture with easy customization for size and color. Thoughtful construction with two panels and gentle armhole increases ensures comfort and flexibility. Finishing instructions produce clean seams and edges for a polished final product.