
Bring handmade charm to your summer wardrobe using the Free Crochet Beach Shorts Pattern an easy guide for stylish shorts that you'll love to wear.
As summer approaches, I find myself excited to create light and breezy wardrobe pieces that are perfect for beach days and warm evenings. Recently, while browsing crochet projects, I stumbled upon a truly unique design that instantly inspired me, a pair of stylish, airy shorts that are as comfortable as they are charming. This lovely creation comes from the talented lady behind Lady_Anika - Szydełkowe Światło, who generously offers a free crochet Beach Shorts pattern that’s simple to follow and wonderfully versatile.
Trendy Free Crochet Beach Shorts Pattern for Women
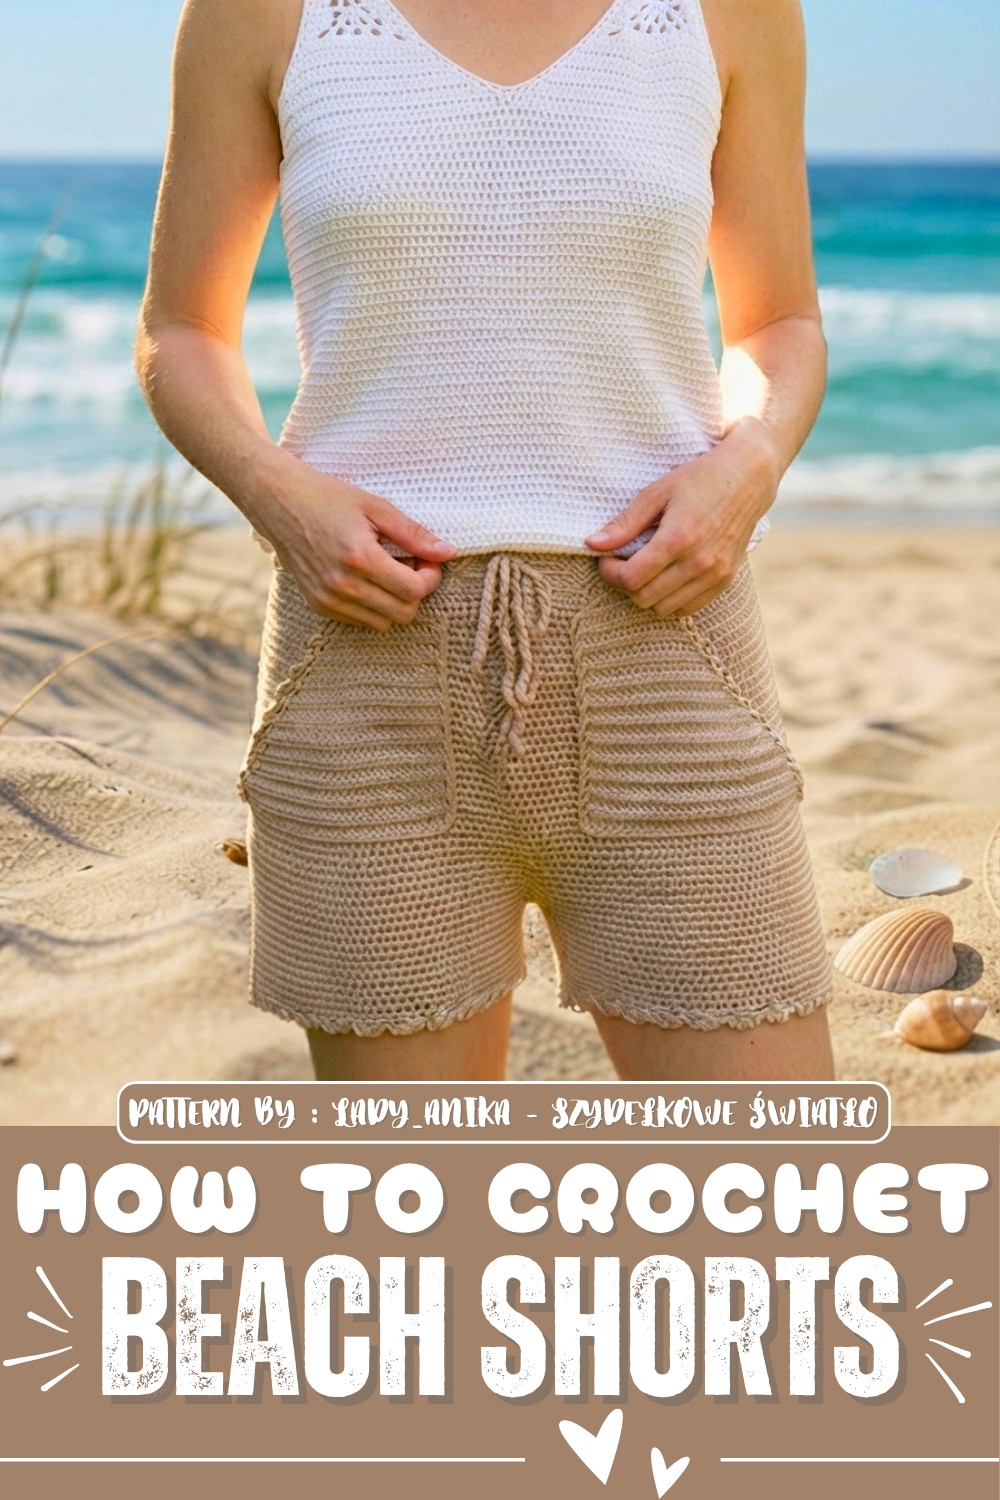
These beach shorts boast a relaxed fit with decorative pockets and softly ruffled edges that add a playful yet elegant touch. Their design is adaptable, allowing you to customize the length from shorter styles to more modest below-the-knee options. The shorts are worked from the top down, giving crocheters the freedom to adjust the size and shape to suit individual preferences, which I found particularly helpful when making sure everything fits just right.
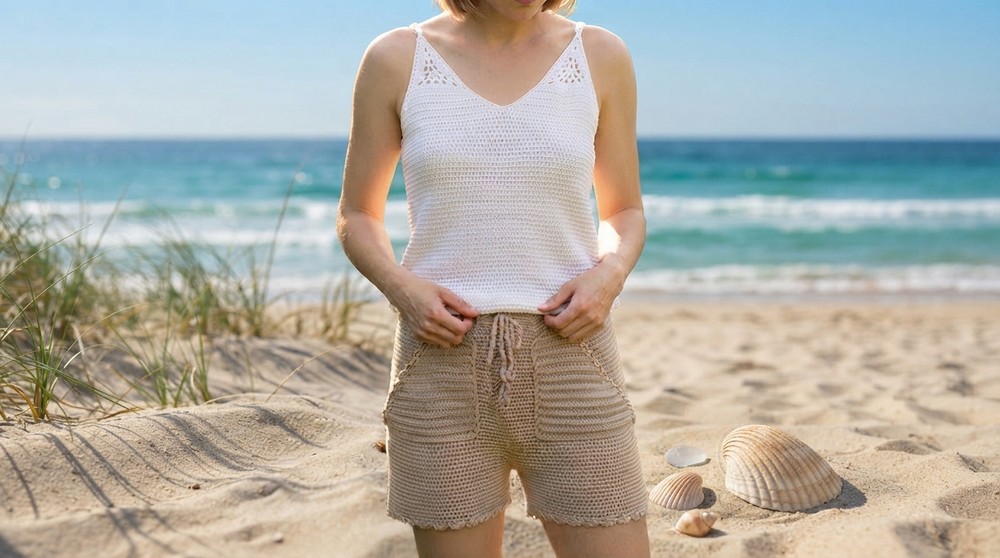
Beyond their delightful look, the shorts are perfect for layering over swimsuits or pairing with a casual top for strolls along the shore. Their lightweight, airy construction makes them ideal for warm weather, offering both breathability and style in one fun package.
These handmade shorts also make a thoughtful and unique gift for friends or family who love summer vibes and handcrafted fashion. Personally, I can’t wait to gift a set featuring these shorts alongside a matching crochet top, creating a cozy yet cool ensemble that’s perfect for sunny days.
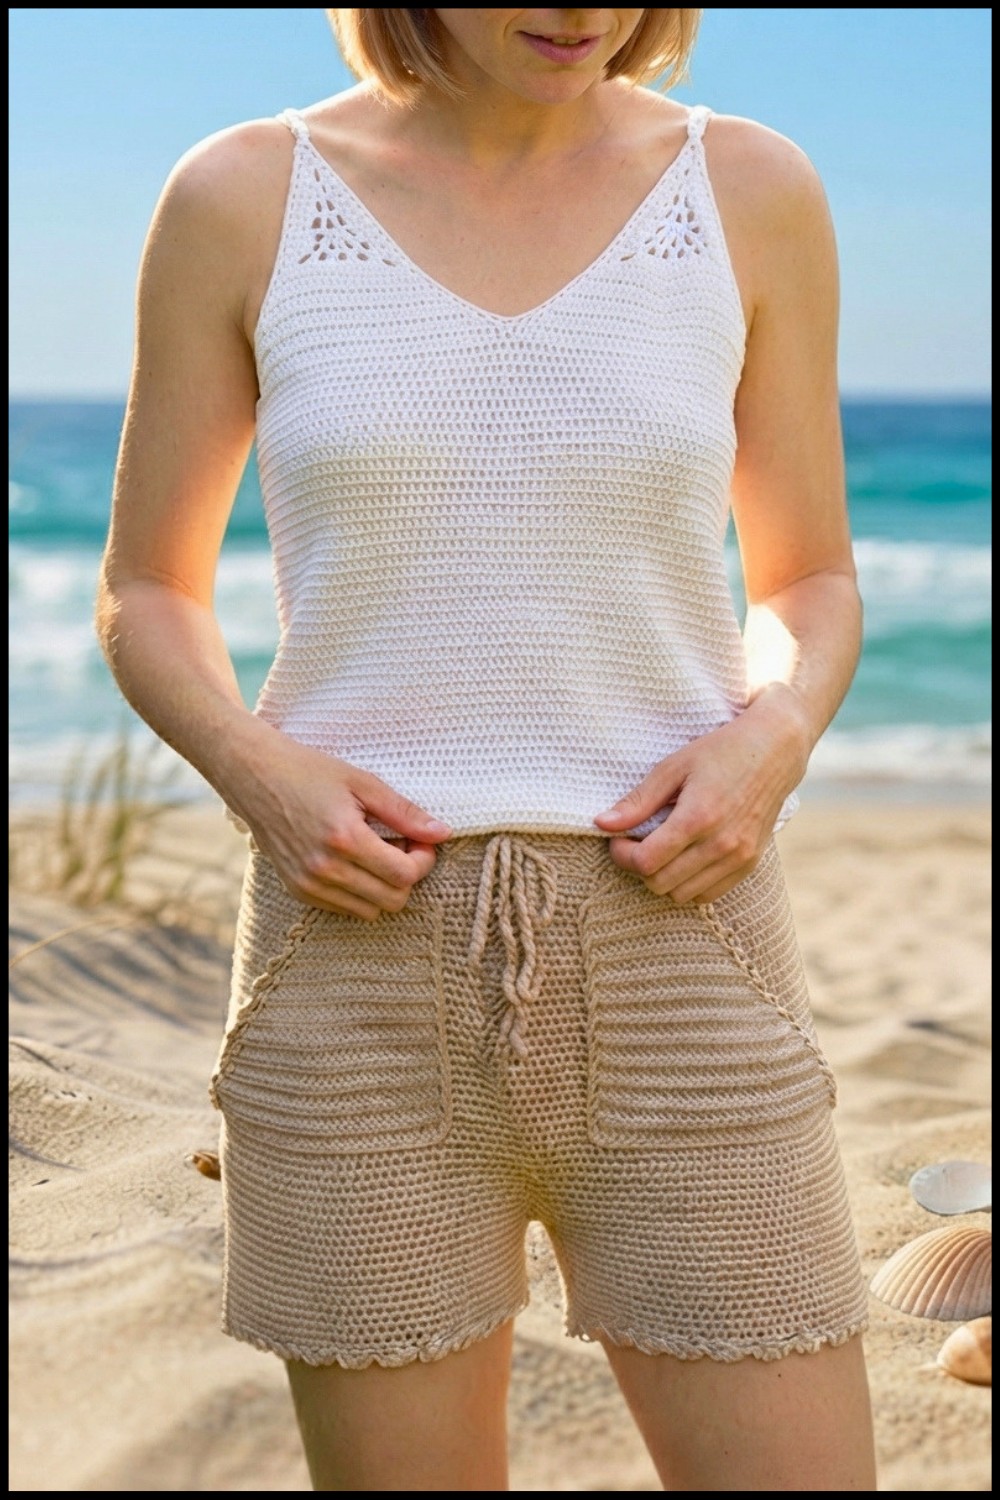
Crocheted Summer Beach Shorts
Create light, airy shorts perfect for summer, featuring a simple design, ruffled leg edges, and decorative front pockets. This pattern is customizable for different lengths and includes suggestions for sizing, assembly, and finishes.
Pattern Overview
Airy, non-see-through shorts worked from the top down in continuous rounds with a simple decorative texture, pockets, and ruffled edging.
Pattern Basic Points
Construction
- Worked top-down, in continuous rounds
- Designed for stretch-free, lightweight summer yarns
- Separated and joined into two legs after main body
- Waist features a tunnel for elastic and optional drawstring
- Simple ruffled hem and decorative pockets
Special Notes
- Adjust stitch count and chain length according to your measurements and fit preference
- Try on shorts as you go to ensure fit and crotch depth
- Pockets and decorative features are optional
Skill Level
Beginner
Materials
- 4-strand cotton yarn or similar (bamboo/viscose also suitable)
- 2.75mm crochet hook
- Waist elastic (width of your choice)
- Yarn needle
- Stitch markers
- Scissors
- Measuring tape
Measurements / Sizing
- Waist circumference (relaxed and stretched): customizable
- Sample laid flat: 48 cm wide
- Leg and crotch height: as preferred
Gauge
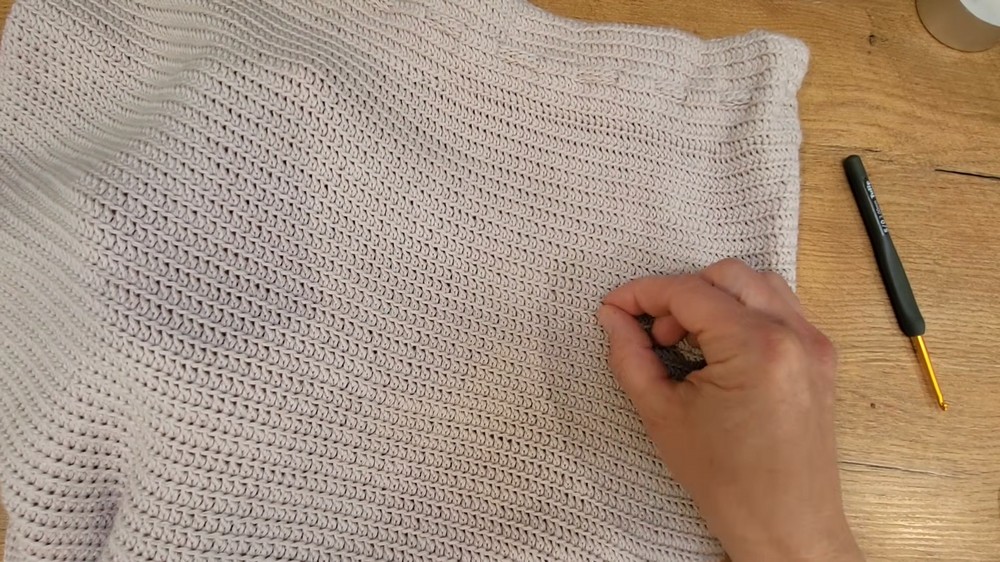
- 10 stitches = 4.5 cm in pattern (hdc in BLO)
- 10 rows = 4.5 cm
- Make a swatch in stitch pattern and measure
Stitch Abbreviations
- ch – chain
- sl st – slip stitch
- hdc – half double crochet
- dc – double crochet
- BLO – back loop only
- sc – single crochet
- st(s) – stitch(es)
- RS/WS – right/wrong side
Special Stitches
- Shell: 5 dc in same space
- Ruffle Base: ch 3, skip 4 sts, sc in next st
Pattern Instructions
Waistband Foundation
Round 1: Foundation Chain
- Make a chain for your waist measurement + ease, ensuring an even number (e.g., ch 240).
- Optionally, ch 1 extra for joining.
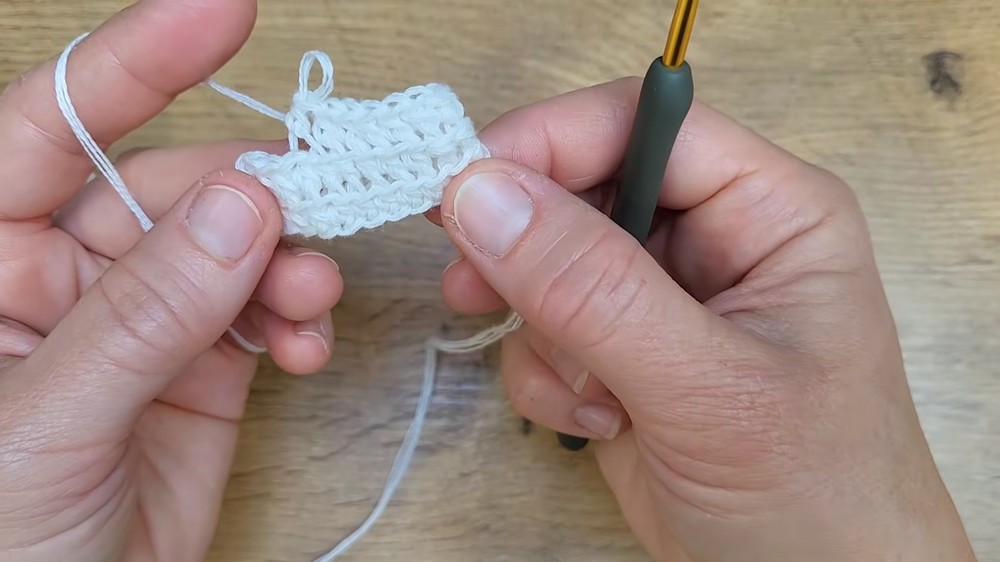
Round 2: First Row
- Working into the back bumps of the chain, hdc across the entire chain.
- Do NOT join yet. Complete the row flat for better joining.
Round 3: Join and Begin Rounds
- Bring ends together and sl st to first hdc to join into round, being careful not to twist.
- Place a stitch marker at the starting point.
Waist Tunnel and Main Body
Rounds 4–X: Waist Tunnel and Body
- In each round:
- hdc BLO in every st around.
- Do not join after each round; continue in a continuous spiral (or join if preferred).
- Work until band is wide enough for your elastic (about 6–10 rounds).
- Continue working hdc BLO rounds downward for the main body until the shorts measure from the waistband to just above your crotch depth.
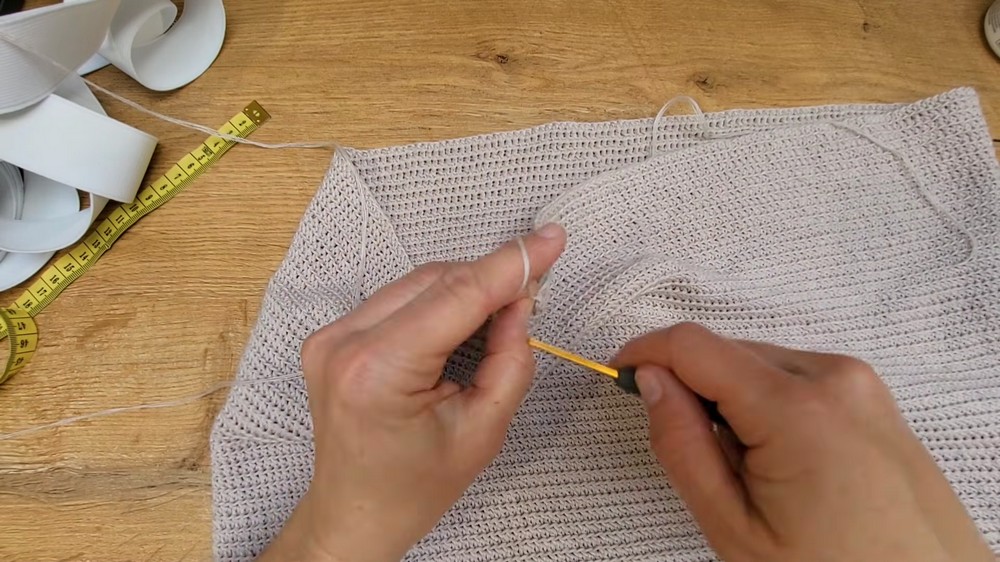
Insert Elastic and Seam Waistband Tunnel
- Fold waistband down to form a tunnel.
- Using sl st or hdc, join current round to foundation round, trapping the elastic inside.
- Check fit and join elastic securely. Weave in ends.
Divide for Legs
Preparation
- With a stitch marker, divide total stitches into halves (front/back).
- Mark leg separation points.
Create Leg Bridge
- At crotch, create an additional width by ch 20 (or your chosen width), then join with sl st to marked points.
- Each leg will now have the original half plus the new chain stitches as its opening.
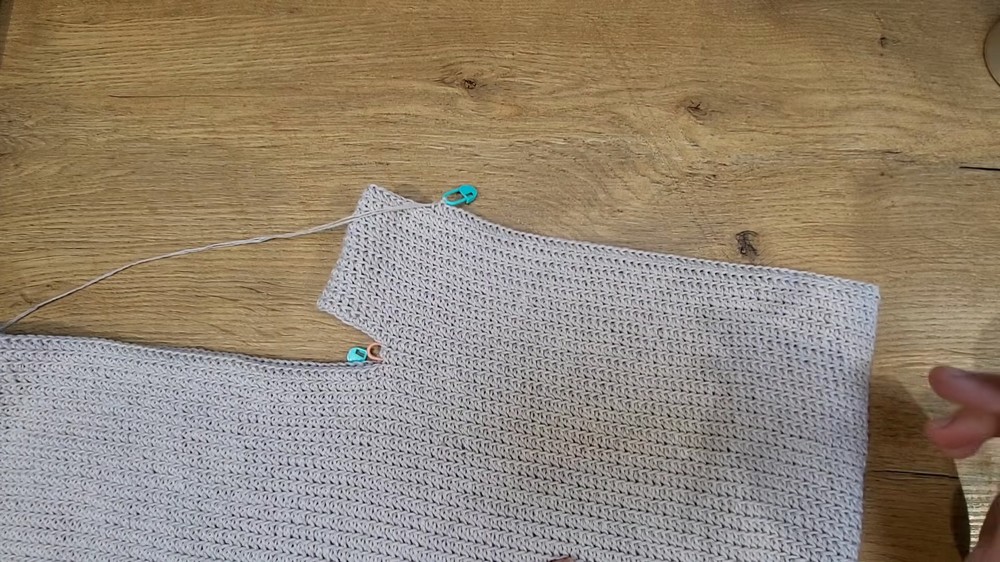
First Leg
- Attach yarn at leg opening.
- Continue as follows for each round:
- Round 1:
- hdc BLO in each st around the leg, including in each chain from leg bridge.
- Subsequent Rounds:
- hdc BLO in every st until desired leg length is reached (shorts, knee, or longer).
- Mark the start of each new round to keep track of row count.
- Fasten off when leg reaches desired length.
- Round 1:
Ruffle Hem
Round 1: Ruffle Base Row
- [ch 3, skip 4 sts, sc in next st] repeat all the way around.
- At the end, adjust the number of skipped stitches to blend seamlessly.
Round 2: Shell Edging
- Into every ch-3 space:
- 5 dc, then sl st into next ch-3 space.
- Repeat around.
- Adjust shells as needed to finish neatly at starting point.
- Fasten off, weave in ends.
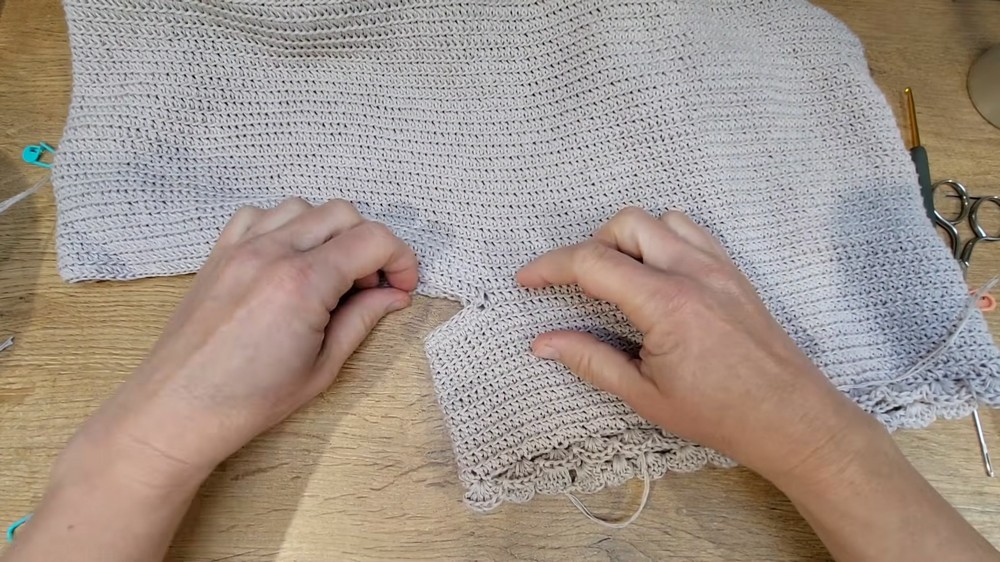
Second Leg
- Repeat all steps of first leg, ensuring the same number of rounds for a symmetrical result.
- If any holes remain at the crotch, sew closed with yarn and tapestry needle.
Front Pockets (Optional)
Set-Up
- Mark 20 sts for your pocket width on front of shorts.
Pocket Rows
- Attach yarn to one end.
- Row 1: hdc BLO across 20 sts.
- Row 2: Turn, 2 hdc in first st (increase), hdc BLO to end.
- Rows 3–X: Repeat Row 2 (increase at start) for angled/expanded shape, or work straight for rectangular pocket, until pocket reaches desired depth.
- Fasten off, leaving a long tail for sewing onto shorts.
Pocket Assembly
- Position pocket as desired.
- Sew pocket onto shorts using sl st or yarn needle and leftover yarn.
(Optional) Pocket Ruffle
- Along outer pocket edge, [5 dc in same st, sl st in next st] for shell/ruffle edge.
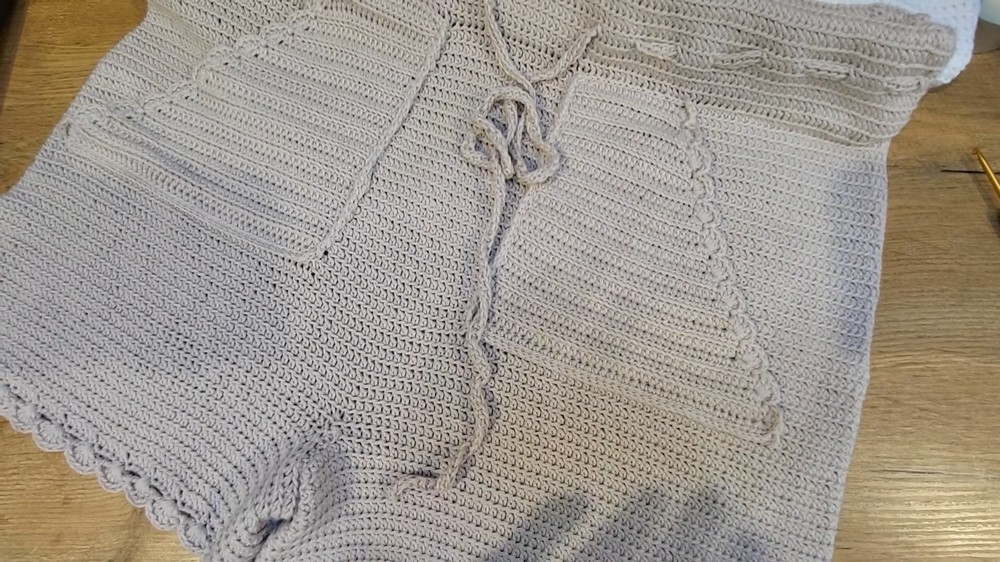
Drawstring (Optional)
- Chain your desired length.
- Return working hdc into each chain for a sturdy string.
- Weave between hdc stitches on waistband as decorative tie.
Assembly Instructions
- Weave in all ends.
- Block shorts lightly for best shaping and drape.
- Sew closed any remaining small holes at crotch.
- Confirm elastic is stable and adjust drawstring, if present.
- Ensure both legs and pockets are even and secured.
About the Pattern
These shorts are a comfortable, versatile summer addition, easily customized for different body types. Their construction avoids gaps for privacy, while pockets and ruffles add decorative detail. Pair with a matching handmade top for the ultimate summer set, and enjoy a project well suited to beginner-level crocheters seeking a practical yet stylish result.



