
Make your wardrobe stand out with this free crochet granny square top pattern, adding vibrant charm and timeless handmade elegance to your everyday looks.
There’s something really special about using granny squares in clothes, and that’s exactly what this project is all about. The Creative Crochet Granny Square Top Free Pattern lets you make a simple and pretty top using the classic granny square design. It’s a fun way to add a bit of handmade charm to your wardrobe while mixing and matching colors the way you like.
Creative Crochet Granny Square Top Free Pattern with Easy Steps
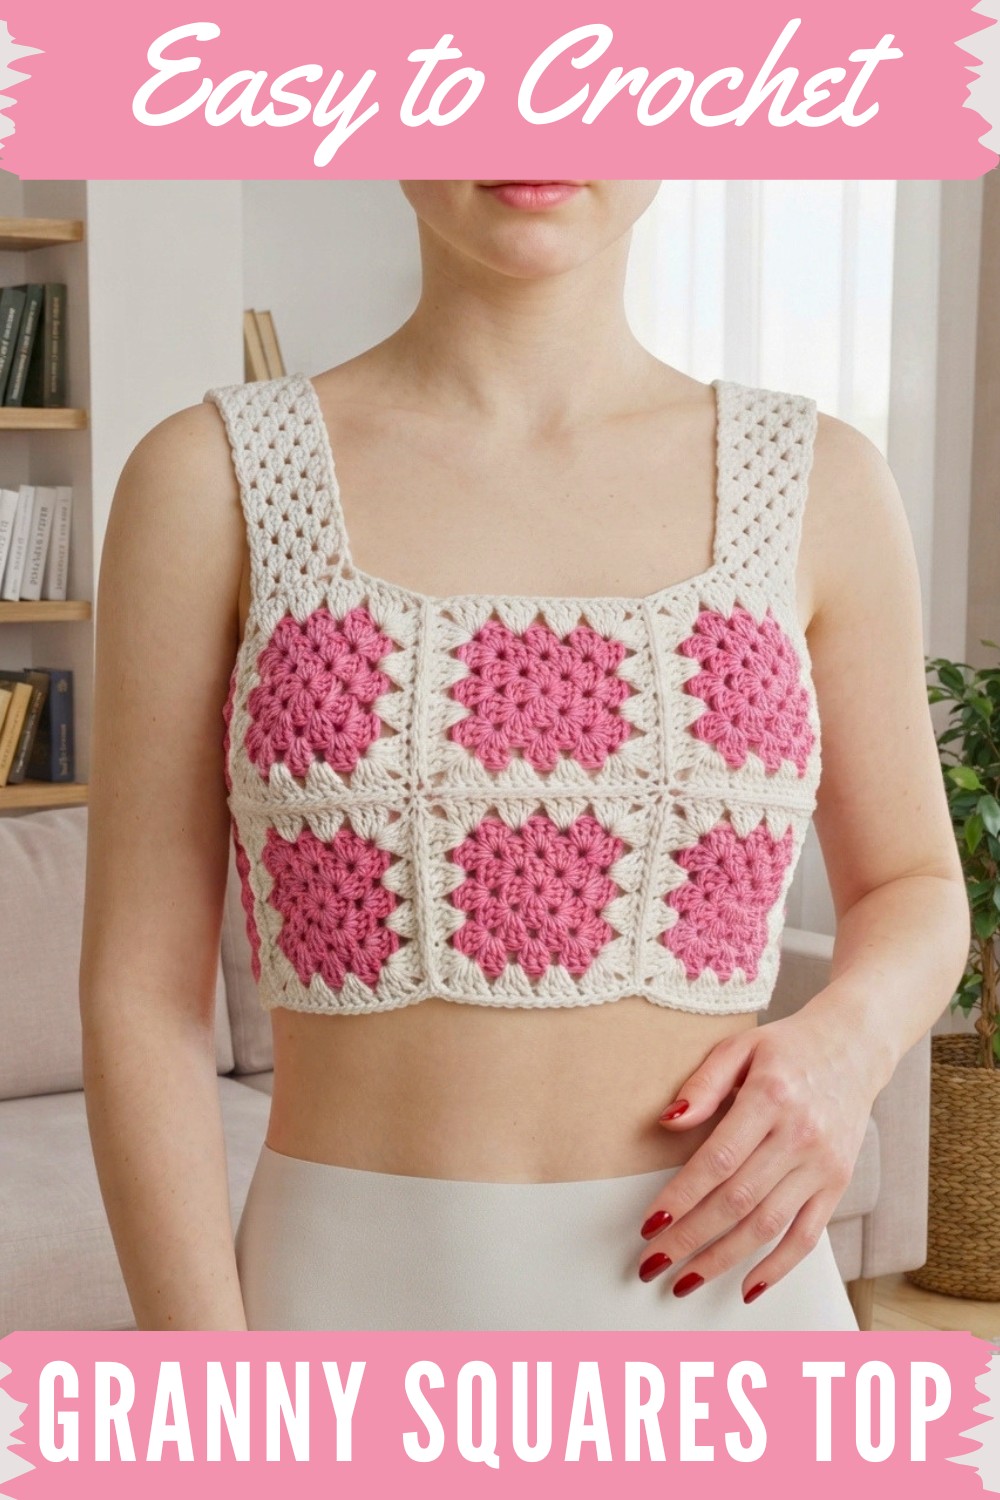
This top is made by joining colorful granny squares to create a loose and comfortable shape. The texture comes from the basic stitches that make each square, giving the top a nice, soft feel. It’s not too thick or heavy, so it’s easy to wear. One great thing about this pattern is that you can wear it all year round. In summer, it’s light and breezy, perfect over a tank top or on its own. When it’s cooler, you can layer it over long sleeves to keep warm and still look stylish.
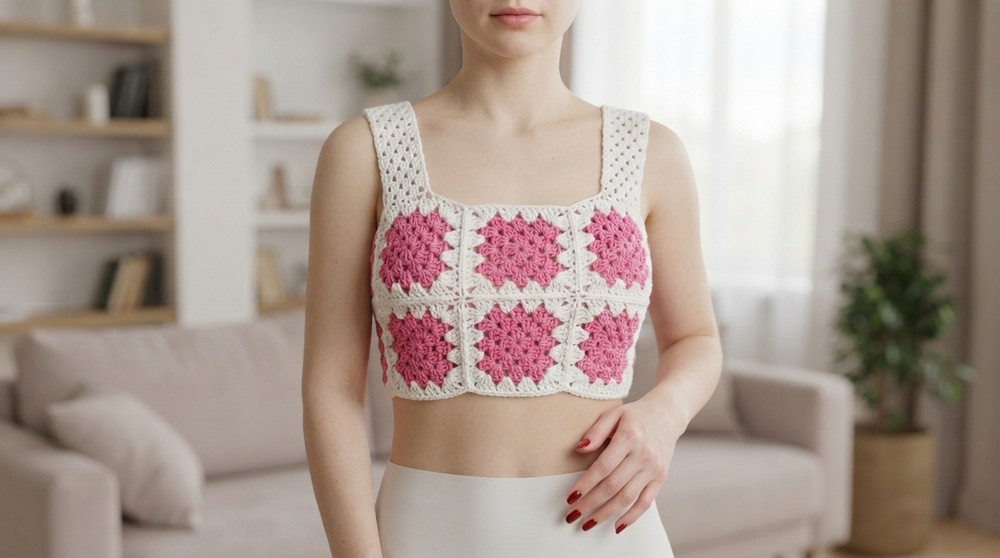
You can change the size and feel by using different types of yarn or changing the number of squares. That way, you can make it just right for you. I made this design because I wanted to give the old favorite granny square a fresh, modern twist that’s easy to crochet and fun to wear.It’s a great project if you’re new to making clothes with crochet, and it also makes a thoughtful gift to someone who loves unique and cozy handmade pieces. This granny square top invites you to use your creativity and enjoy making something beautiful and comfortable.
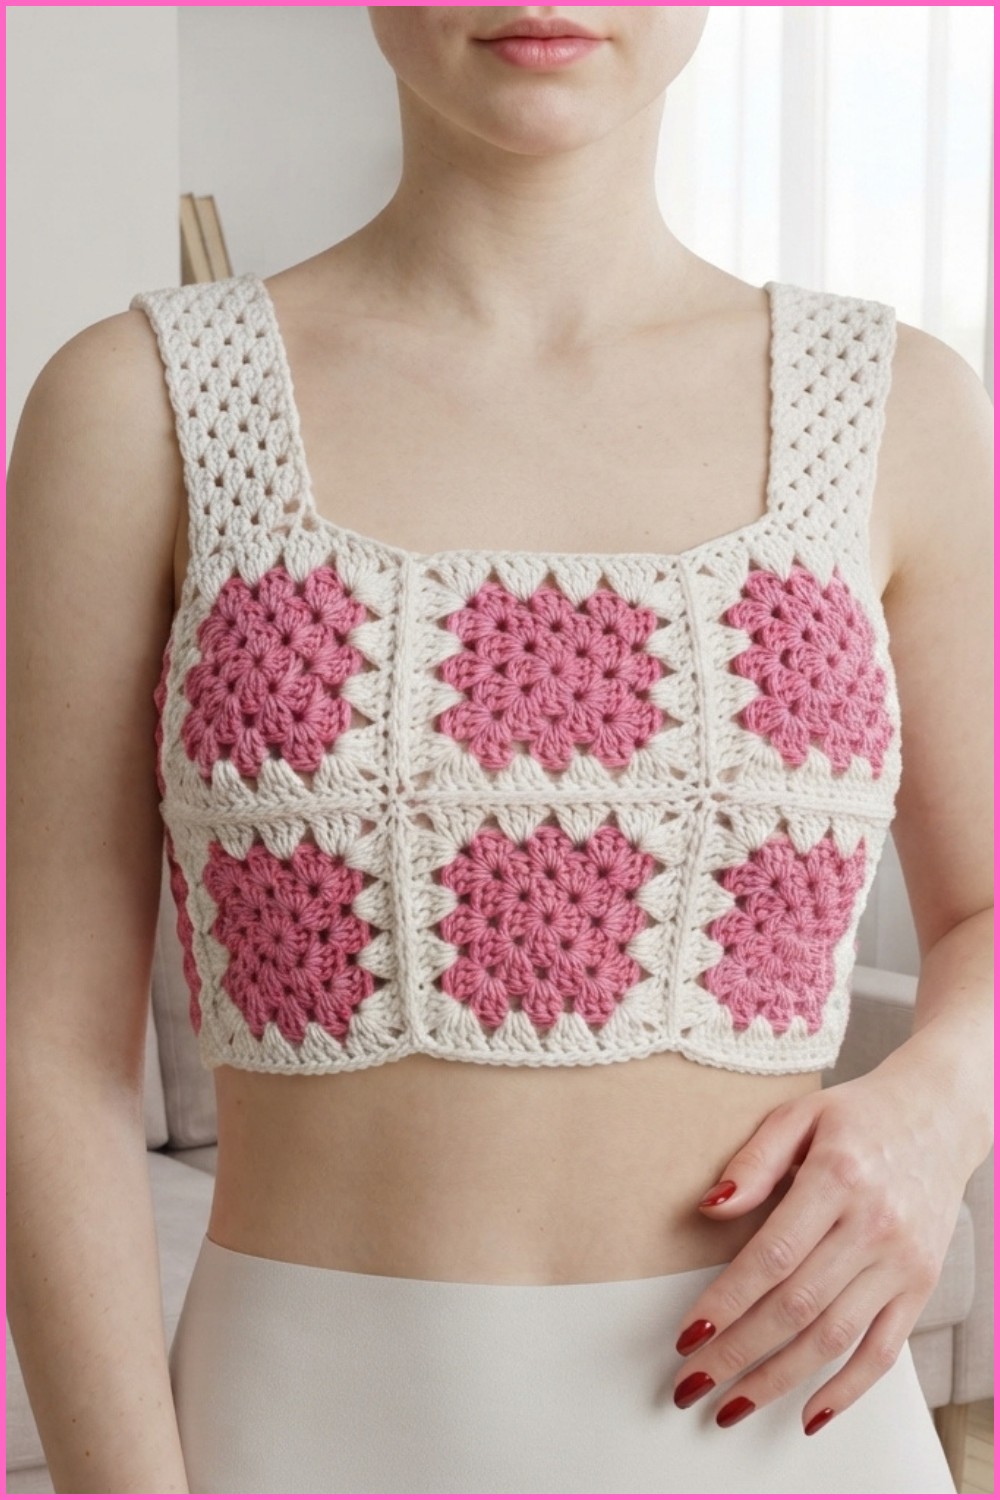
Crochet Patchwork Top – Step-by-Step Pattern
In this tutorial, you’ll find the detailed steps to create the patchwork crochet top just like the one in our video cover. We’ll use leftover Anne yarn (or your favorite colors), a 2.5mm hook, and a set of classic patchwork granny squares, joined, sized, and seamed for a custom, flattering fit. This project is all about color, creativity, and clever assembly. The matching skirt will be featured in a separate lesson.
Pattern Highlights
Patchwork Construction
- Modular: Classic granny squares, worked in rounds.
- Endless Color Options: Use cotton scraps or coordinate colors for a modern or retro feel.
- Seamed & Adjustable: Flexible for all body shapes.
Customizable Size & Fit
- Add or remove squares for perfect coverage.
- Cords and side seam for a snug fit.
- Two wide, comfortable straps, easily positioned.
Polished Edges & Finish
- Gentle finishing borders for the hem and neckline.
- Fine, nearly-invisible side seam by tapestry needle join.
Ideal for Leftovers
- Designed to use up small balls and remnants for a beautiful project.
Notes
- Written using US crochet terms.
- Sample shown with Anne thread, but any similar-weight thread or soft yarn is suitable.
- Top can be made in multiple color combinations—let your stash guide you!
- You can make the project larger or smaller by adjusting the number of squares or rounds.
- Always try on as you go for best fit.
- This project is worked in squares, joined as you go, with a finishing seam and border.
Skill Level
Advanced Beginner to Intermediate
- Skills: magic ring, double crochet (dc), changing colors, seaming with tapestry needle.
- Some experience with join-as-you-go or simple stitching is helpful.
- Pattern assumes you can measure and adjust for fit.
Materials
- Yarn: Anne thread (or any suitable soft cotton); various colors as desired.
- Hook: 2.5mm crochet hook (or 2.0mm for more compact stitches).
- Notions: Tapestry needle for seaming and weaving ends, scissors, measuring tape.
- Optional: Stitch markers for marking joining locations.
Measurements / Sizing
- Motif Size: ~5–6cm per square (after 4–5 rounds, depending on tension/yarn).
- Motif Count: For the sample shown: 14 squares for the body, additional motifs for the shoulder straps (usually ~2 squares wide/each).
- Top Width/Height: Measure across bust/chest and desired coverage, then calculate how many squares you need.
- Strap Length: Custom-fitted during construction.
Gauge
- One finished motif should be ~5–6cm/2–2.5in across.
- Adjust hook or yarn if you need larger (for a looser fit, size up), or more motifs to reach your measurement.
Stitch Abbreviations
| Abbreviation | Meaning |
|---|---|
| MR | Magic Ring |
| ch | Chain |
| sl st | Slip Stitch |
| sc | Single Crochet |
| dc | Double Crochet |
| st(s) | Stitch(es) |
Special Stitches
- Magic Ring: Create a loop, work stitches into loop, pull end closed.
- Fan: [4 dc, ch 2, 4 dc] in same space for corners.
- Join-as-you-go: Connect motifs with slip stitch or single crochet into corresponding motif spaces.
Step-by-Step Pattern
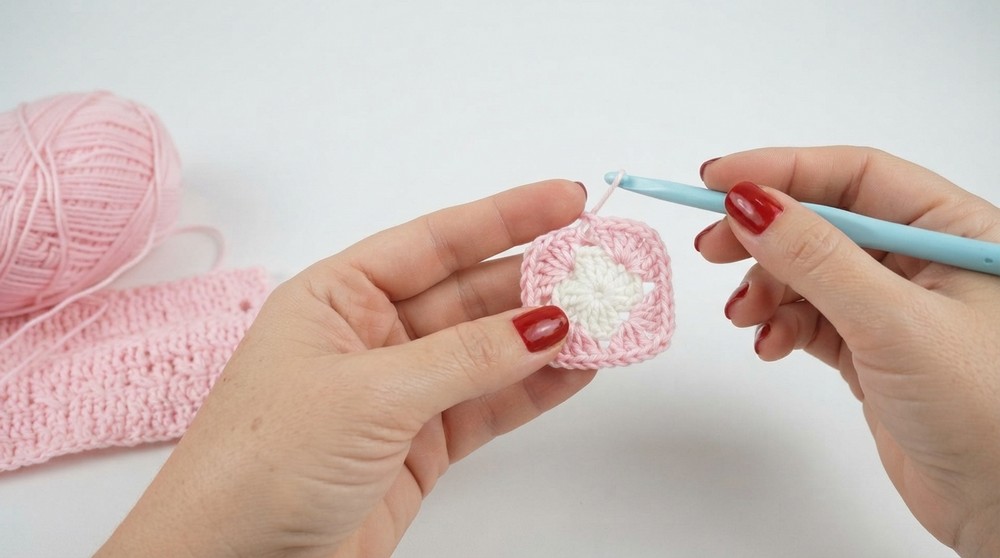
1. Make the Motifs
- Begin with Magic Ring:
- Create a MR. Ch 3 (counts as first dc).
- Work 4 dc into ring, ch 2, repeat [4 dc, ch 2] three more times (total 4 corners).
- Pull ring snug, sl st to top of first ch 3 to close round.
- Cut yarn.
- Change color for 2nd round:
- Join new color with sc or sl st into any ch-2 space.
- Ch 3, work 3 dc, ch 2, 4 dc in same space (first “fan” corner).
- In next ch-2 space: [4 dc, ch 2, 4 dc].
- Repeat for each corner.
- Always separate “fan” corners by ch 2.
- Sl st to join, fasten off.
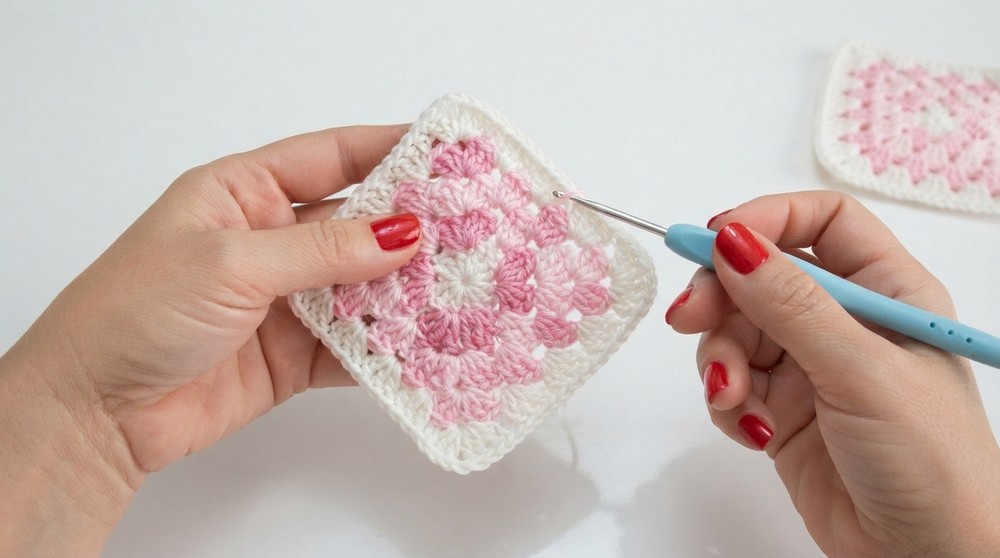
- Continue making rounds (total 4 or 5 as needed):
- Each new round: At each corner, [4 dc, ch 2, 4 dc] in ch-2, NO chains between blocks.
- Sides: If needed, [4 dc] in the space between fans (no ch between fans on the side).
- Cut or continue yarn as desired for color planning.
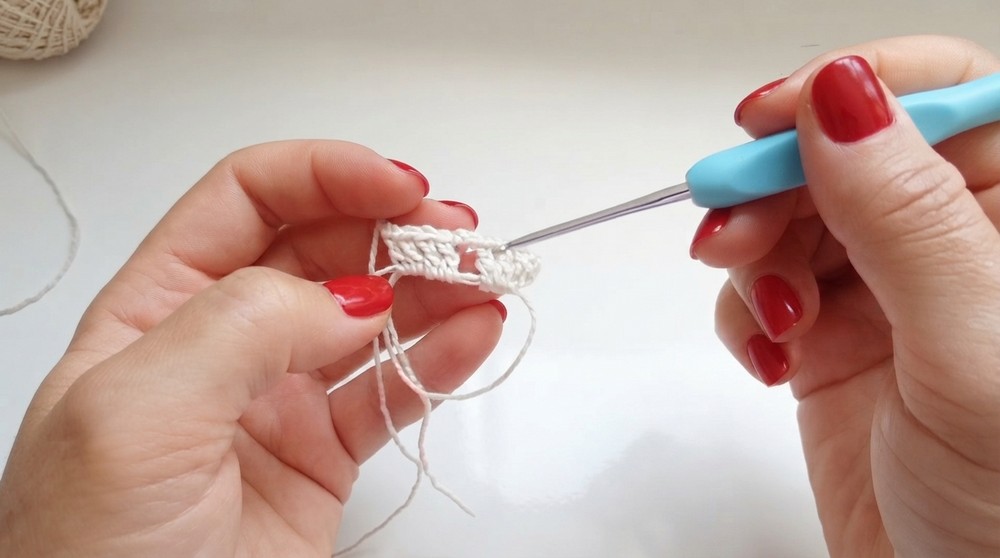
Tip:
If using scrap yarn, mix and match as you go!
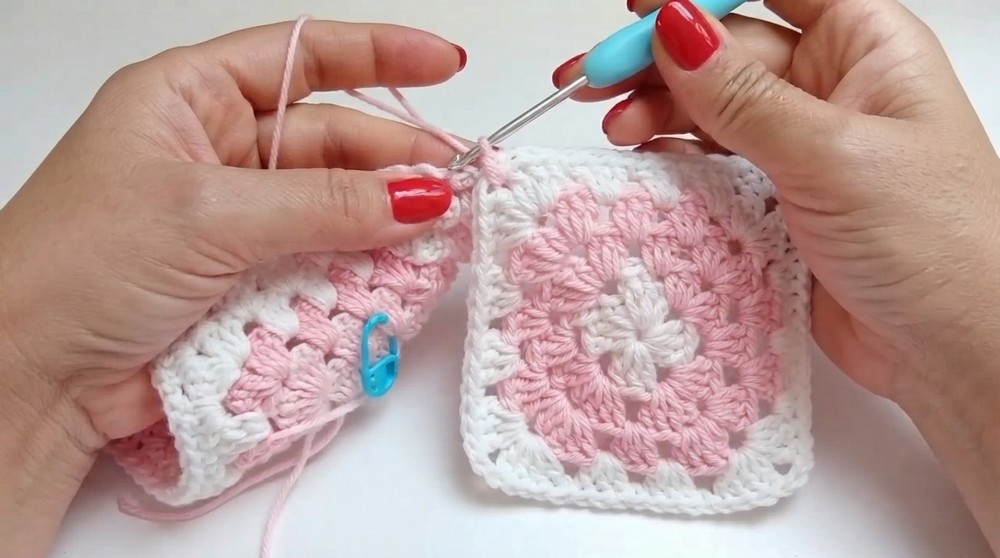
2. Join the Motifs
- On your final (outer) round, leave TWO sides (for body motifs) or ONE side (for top edge motifs) unworked, so you can join to neighboring squares.
- For each join: At the appropriate “fan” (corner), after the first 4 dc, ch 1, insert hook into the ch-2 space of adjacent motif, sl st to join, ch 1, then work 4 dc in same corner to finish fan.
- Join sides: At each side space, after the first 4 dc, sl st into the adjoining motif, then complete your 4 dc cluster.
- Continue joining motifs in rows or columns, as required by your fit plan (e.g. 3 rows of 4-5 squares for medium).
- After body is assembled as a single front and single back, join sides into a tube.
3. Seaming and Side Adjustments
- Lay your joined squares flat.
- Depending on desired fit, you may need to remove or add motifs for a custom fit.
- Place motifs one atop the other and seam up the sides (inside out) using a tapestry needle and matching yarn. Use whip stitch, mattress stitch, or similar for an invisible seam.
- If your top is too loose: Detach one or two motifs from the side, then re-seam for better fit.
- If it's too tight: Add a cord at one side for a laced closure, or insert a panel or extra motif.
4. Borders and Edges
Bottom Edge:
- Attach yarn, work 2 or 4 dc into the end/side of each motif all around.
- Do not add chains between clusters unless a frill or ruffle is desired.
- You can add a round or two to create a soft ruffled finish, or keep it simple and flat.
Top Edge (Neckline):
- Repeat as for hem, working 2 or 4 dc clusters along the upper edge motifs, tightening slightly for a snug fit.
- Check fit against chest/bust and adjust the number of stitches per motif for comfort.
5. Making and Joining Straps
- Decide on width and placement: In sample, straps are made of 3–4 clusters wide, attached to “shoulder” spots (usually above 3 squares in from each side).
- Attach yarn, work 3 or 4 chains and dc, repeat up and down in rows, turning at end (this forms a wide, comfy strap).
- To determine length: Try on and add rows until it comfortably reaches from front to back (over shoulder).
- With tapestry needle, seam securely to back edge at the corresponding position.
- Repeat for the other side.
6. Final Assembly & Finishing Touches
- With piece inside out, sew side seams, leaving armholes as wide as you wish.
- Weave in all yarn ends.
- Try on and block lightly (optional) for best drape and fit.
- If the fit isn’t snug enough under the bust, unravel one motif from the side and rejoin as needed (see video for troubleshooting!).
Conclusion
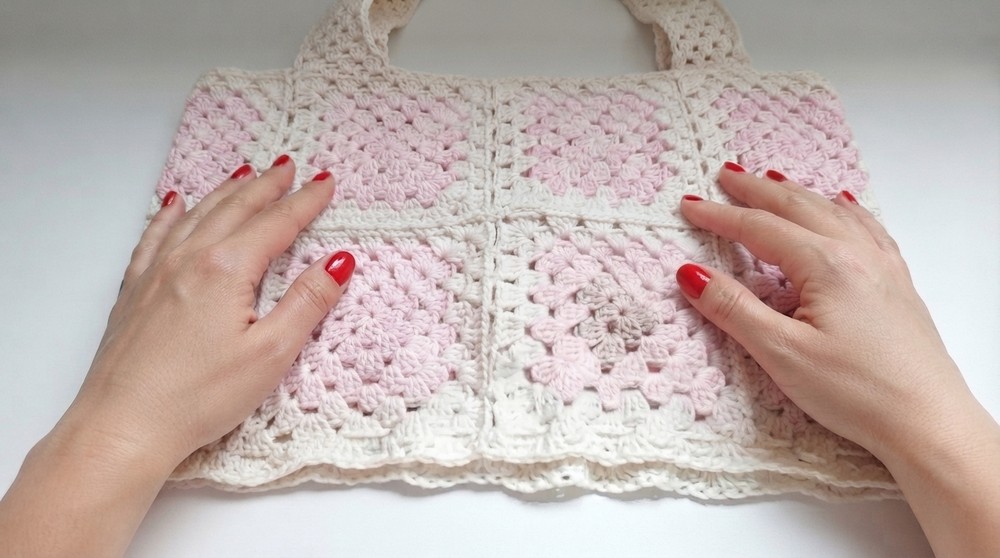
Your patchwork crochet top is ready to wear! This project celebrates both resourcefulness and fashion, making the most of leftover yarn and your favorite colors. Each motif is an opportunity for creativity, and the easy join-as-you-go construction ensures a seamless look. Adjust fits by adding or removing motifs, carefully placing the straps, and using tried-and-true seaming techniques for a polished, handmade finish.



