Turn festive ideas into reality with a DIY Polymer Clay Christmas Tree Cupcake that looks professional and adds charm to your holiday decorations.
Sometimes, the simplest materials can transform into something truly special with just a little creativity and effort. That’s the essence of solving the problem of plain, ordinary items by turning them into unique, handmade treasures. Projects like crafting a DIY Polymer Clay Christmas Tree Cupcake are perfect examples of this idea, where simple polymer clay is shaped into a festive, decorative piece that brightens up the holiday season.
DIY Polymer Clay Christmas Tree Cupcake for Holiday Decorations
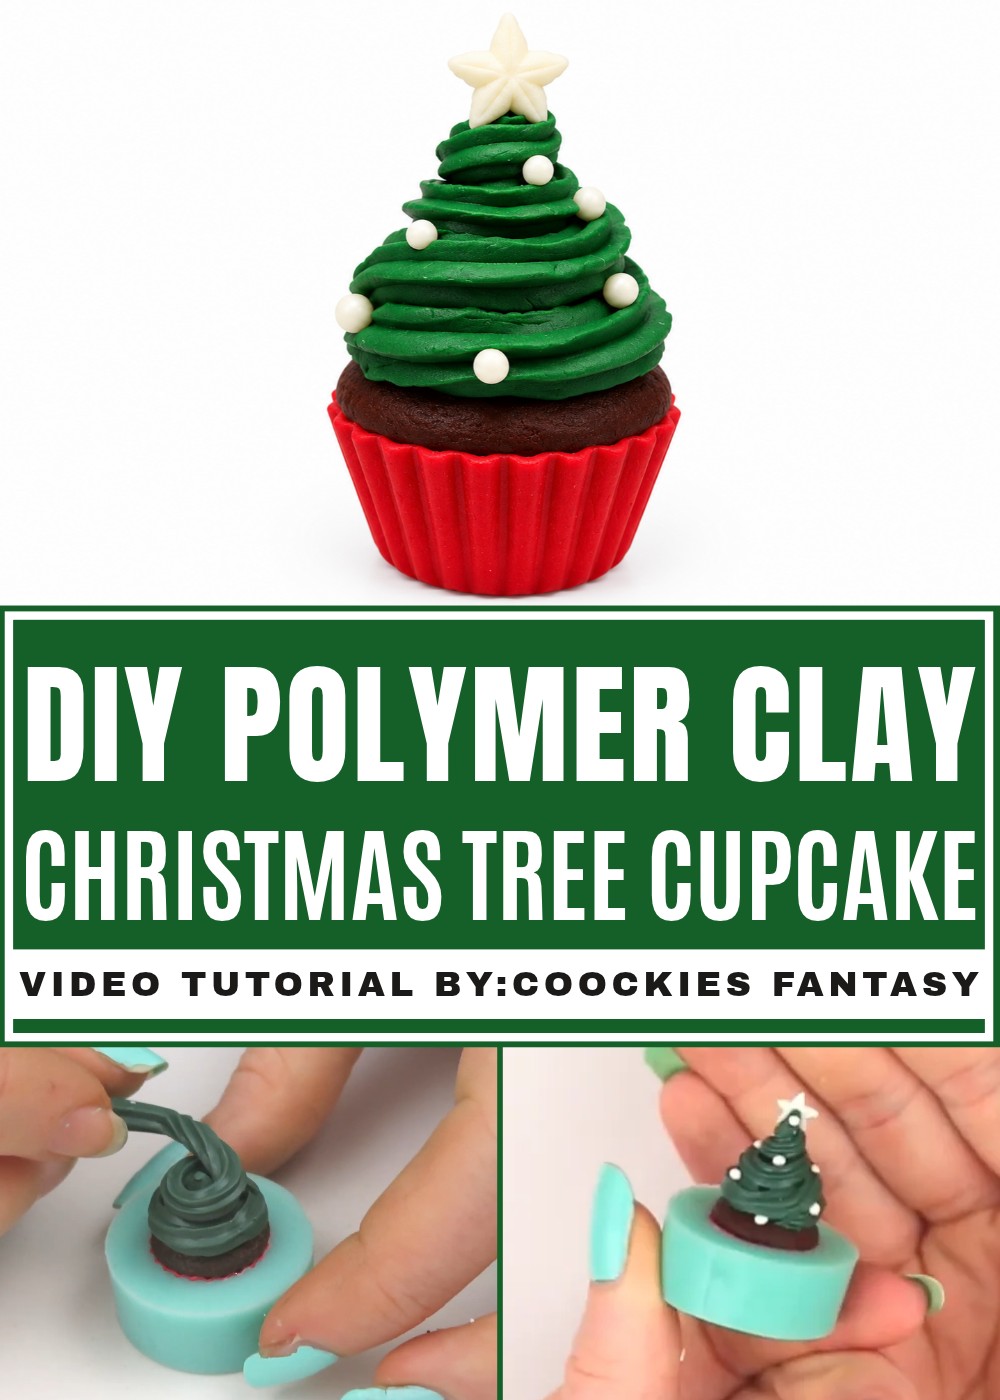
With this project, you take the challenge of a blank crafting material and turn it into a joyful work of art by combining imaginative holiday themes. The idea of blending a Christmas tree with the charm of a cupcake may seem unconventional, but that's what makes it fun and exciting. From carefully shaping the clay into designs like swirled tree shapes to adding delicate ornaments and festive details, you elevate basic supplies into something magical and meaningful.
What’s even better is the versatility of the final result. Whether used as a festive decoration, a personalized gift, or a creative holiday keepsake, this project shows how solving a creative problem can lead to a delightful result. It’s a reminder that even the simplest materials have the potential to spark joy when guided by artistic imagination and holiday cheer.
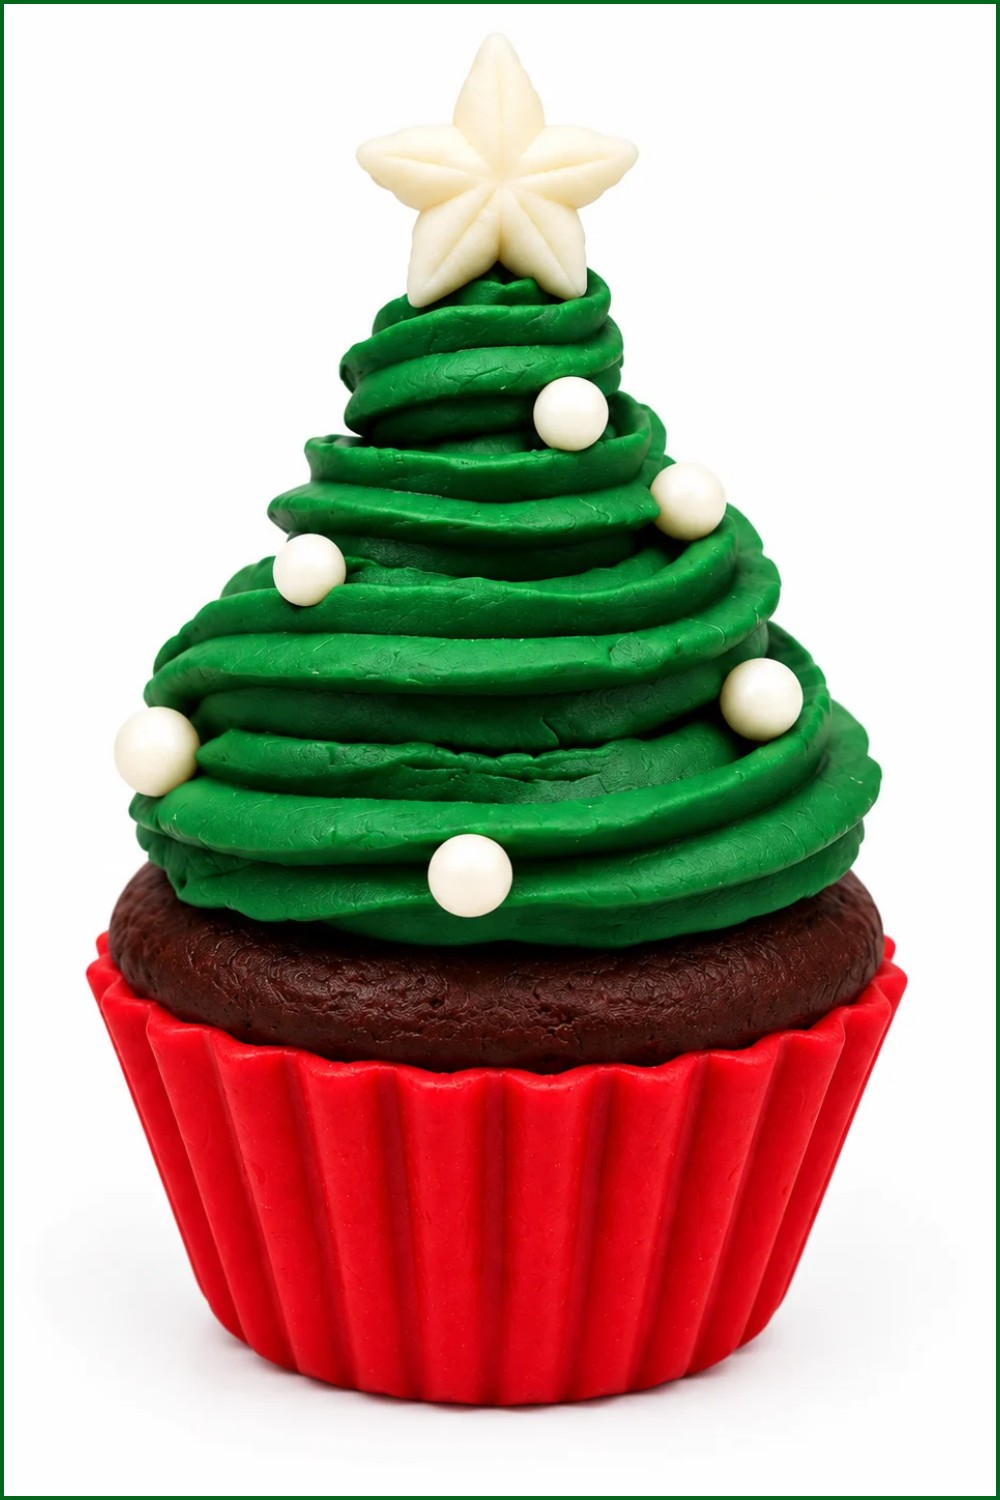
Mini Christmas Tree Cupcakes (Polymer Clay)
This project reproduces the full transcript steps to make festive mini “Christmas tree” cupcakes from polymer clay. You’ll form a textured biscuit base, a textured chocolate layer, pipe a faux-icing tree, add a tiny cone core, decorate with baubles and a star, insert a hanging eye, and finish either unmolded or baked in the mold. Follow each step carefully — most texture is built with toothbrushes, foil and silicone tools.
Quick Overview
- Create a cupcake base in red or chosen color.
- Make a textured chocolate biscuit layer and adhere it to the base.
- Soften dark green clay with liquid clay and pipe faux-icing to create a tree shape.
- Add a small internal cone and twist the icing around it to form the tree.
- Add decorations (fluorescent baubles, star), insert a hanging eye, bake or unmold.
Supplies
- Polymer clay: red (cupcake base), chocolate brown, dark green (or fluorescent for baubles), white if needed, fluorescent clay for extras.
- Small amounts of black or very dark brown for biscuit shading.
- Liquid clay (a small amount to soften and to act as adhesive).
- Dry pastels for coloring/aging (optional).
- Small eye pin or hanging eye (optional if you want to hang the ornament).
Tools
- Cupcake base mold (silicone) — transcript used a specific mold link.
- Toothbrush (for texture), scalpel or craft blade, needle tool, dotting tools.
- Silicone smoothing tools or similar.
- Aluminum foil, crumpled into a small ball (for random texture).
- Roller, piping bag or piping-like tool; back of a brush to push clay out; pliers for eye pin.
- Small brushes for pastel or paint blending.
Measurements
- Scale to the cupcake mold size you have — pieces are sized to fit the mold.
- Amounts: a ball of red for base, a small dome of chocolate brown for biscuit, a generous ball of green for the piped tree (better to have extra).
Preparation
- Condition all clay colors until soft and even.
- Make a small ball of crumpled foil for biscuit texturing.
- Set out mold and tools so you can work quickly when piping.
- If using fluorescent clay, prepare in low light moments to check glow placement.
Making Process
Step 1: Form the Cupcake Base
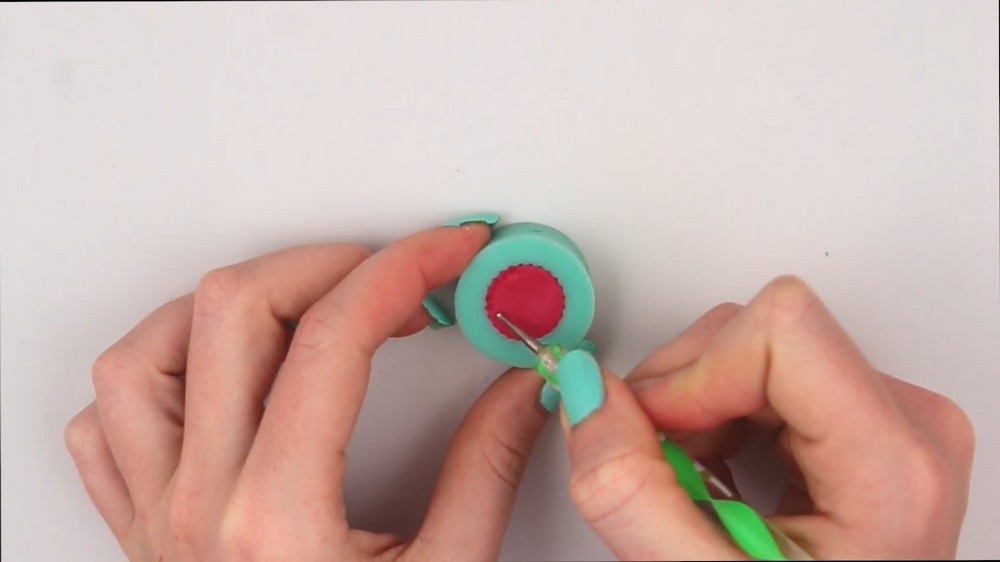
- Press a ball of red clay into the cupcake silicone mold cavity to form the base.
- Remove excess clay by dragging a blade or finger over the mold rim.
- Use the mold’s “teeth” texture to press and define the outer biscuit edge.
- Go over the texture twice in opposite directions for a defined, even pattern.
- Keep the base in the mold while you build subsequent layers to avoid deformation.
Step 2: Make the Chocolate Biscuit
- Roll a ball of chocolate brown clay and shape it into a low dome to sit on top of the red base.
- Flatten edges slightly with your finger so it sits flush on the base.
- Texture the dome with a toothbrush by patting all over to create porous cake texture.
- Enhance randomness by pressing the crumpled aluminum foil ball into the surface lightly.
- Shade the biscuit by mixing or applying very dark brown/black sparingly (or blend pastels) for a baked look.
- Place the textured biscuit onto the red base while held in the mold and smooth its lower edge with a toothbrush so it adheres cleanly.
Step 3: Prepare the Green “Icing” Clay
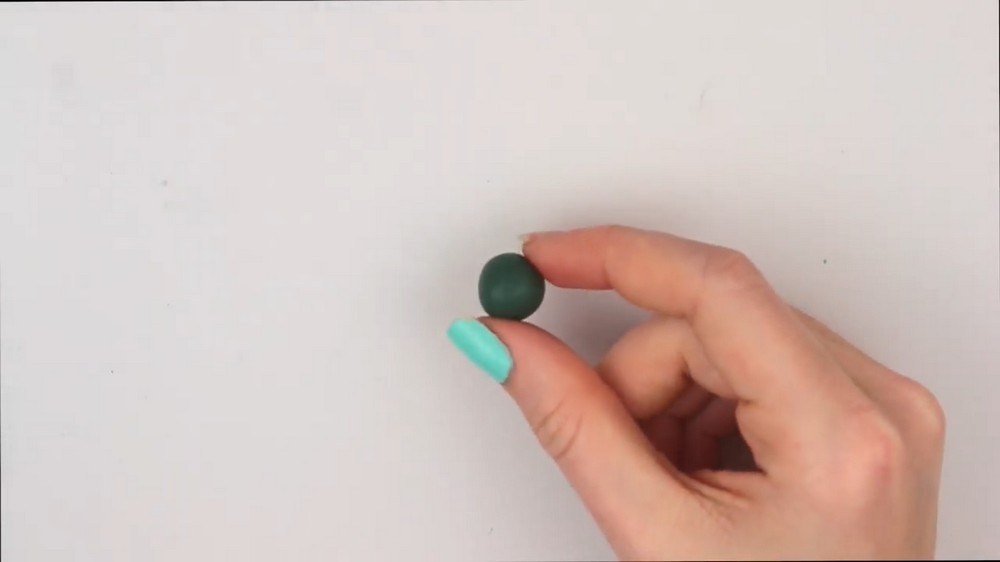
- Take dark green clay and soften it by kneading in a few drops of liquid clay (the transcript called it “liquid lime”).
- Knead just enough to make it slightly elastic but not sticky — this helps piping consistency.
- Load the softened green clay into a piping bag or a small plastic cone/pastry-type tool suitable for clay.
Step 4: Create the Inner Cone Core
- Roll a small cone from leftover green clay; this will be the internal core that gives the iced tree structure.
- Place the cone centered on top of the chocolate biscuit to build the icing around it.
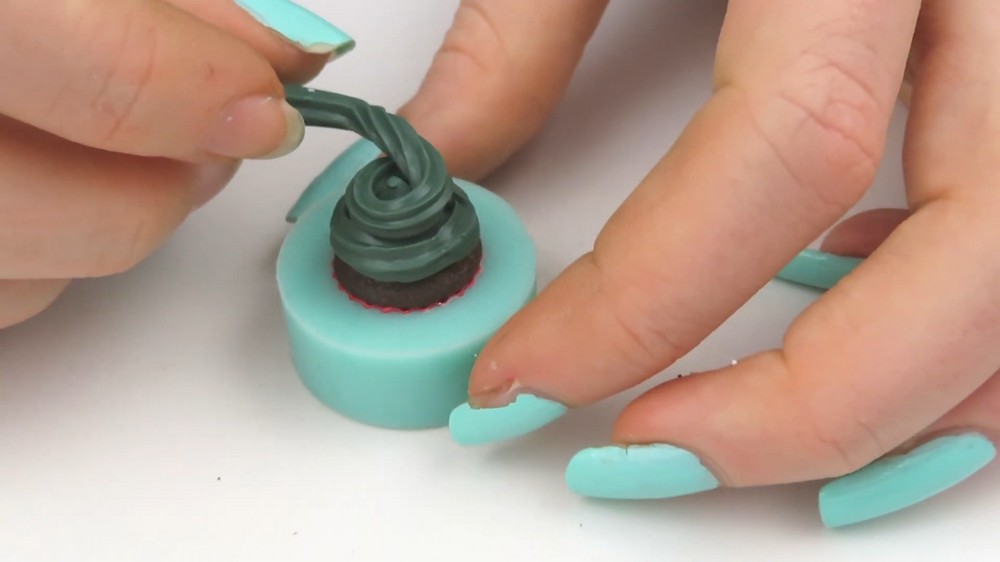
Step 5: Pipe the Faux-Whipped “Tree”
- Use the piping bag and push clay out with the back of a brush or similar tool to force the clay through the nozzle and create a faux-whipped-cream look.
- Pipe around the cone in layers, working from the bottom up and slightly twisting the clay as you go to form a tapered tree shape.
- Avoid pressing too hard — maintain the loft and twisting texture rather than flattening it.
- For the top, gently pull and shape a small peak for a realistic icing tip.
Step 6: Add Decorations
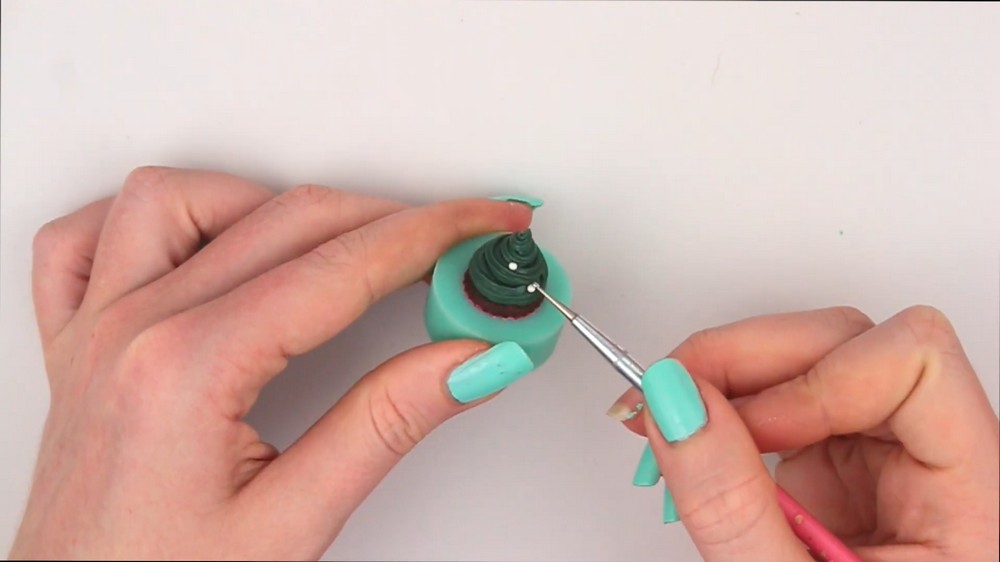
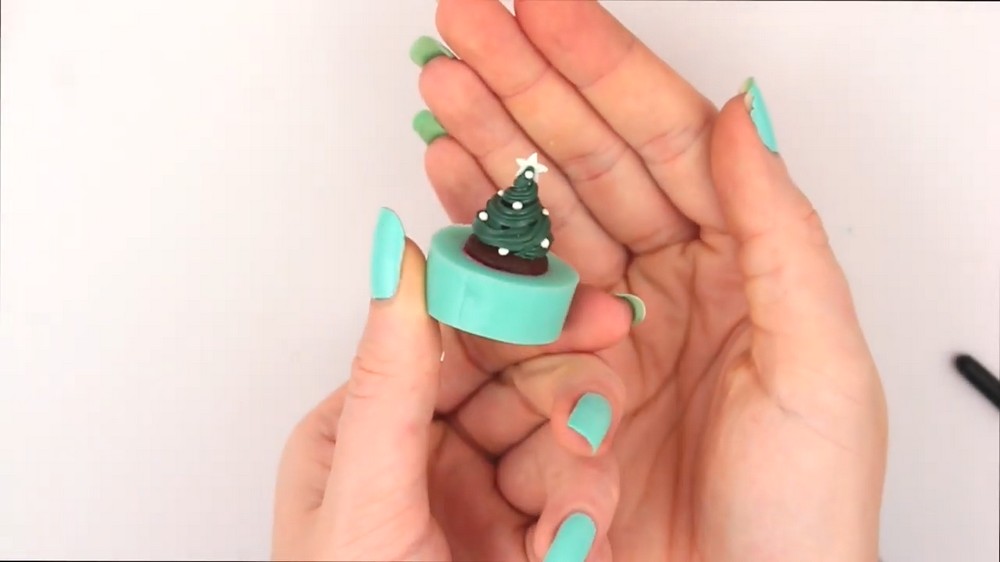
- Roll tiny balls or thin strands from fluorescent or colored clay to act as baubles or fairy lights; press them into the piped icing at spaced intervals.
- For the star, roll fluorescent clay thin, flatten, and draw a star outline with a needle.
- Use a scalpel for precise cutting, refine shape with a silicone tool, and trim edges for symmetry.
- Optionally flatten a star base so one side is flat to sit against the tree top; attach with slight pressure and liquid clay if needed.
Step 7: Insert Hanging Eye (Optional)
- If making an ornament, gently press an eye pin through the star or into the top icing, then bend or cut leaving a loop.
- Use pliers to avoid crushing the clay or deforming the star.
- Ensure the pin is secured and not too tight — leave enough clay around the pin base to hold after baking.
Finishing
- Carefully unmold the cupcake if you plan to bake outside the mold; handle by the base to avoid deforming the piped tree.
- If concerned about deformation, you may bake in the mold following your clay manufacturer’s temperature and time, ensuring mold material is oven-safe.
- After baking and cooling, add dry pastel shading or acrylic highlights for extra depth; seal with varnish if desired.
Tips
- Have extra green clay ready — it’s easier to trim excess than to add more mid-pipe.
- Work gently when piping to keep the raised texture.
- Use toothbrush + foil ball combo for realistic cake texture.
- If the star is delicate, reinforce its base with a tiny dot of liquid clay where it meets the tree.
Variations
- Make snowy trees by mixing tiny white details on tips.
- Create peppermint or candy themes using striped colors for icing.
- Scale up to larger molds for centerpiece cupcakes.
Final Result
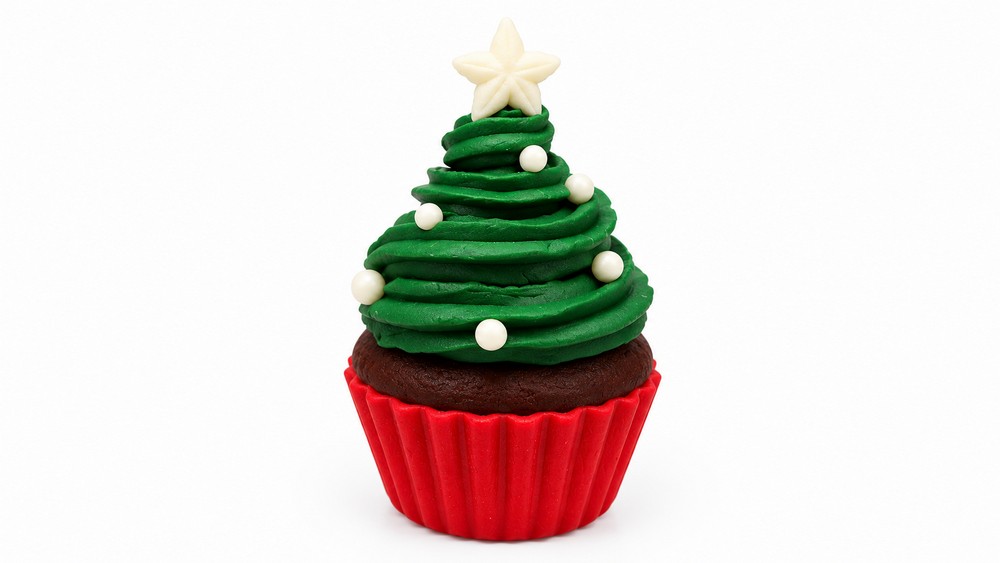
You’ll end with a textured miniature cupcake topped by a piped tree, decorated with tiny baubles and a star — either a hanging ornament or a display piece. The combination of mold-imprinted edges, toothbrush/foil biscuit texture, piped twisted icing, and a shaped star yields a convincing miniature dessert that reads as a festive Christmas tree cupcake.