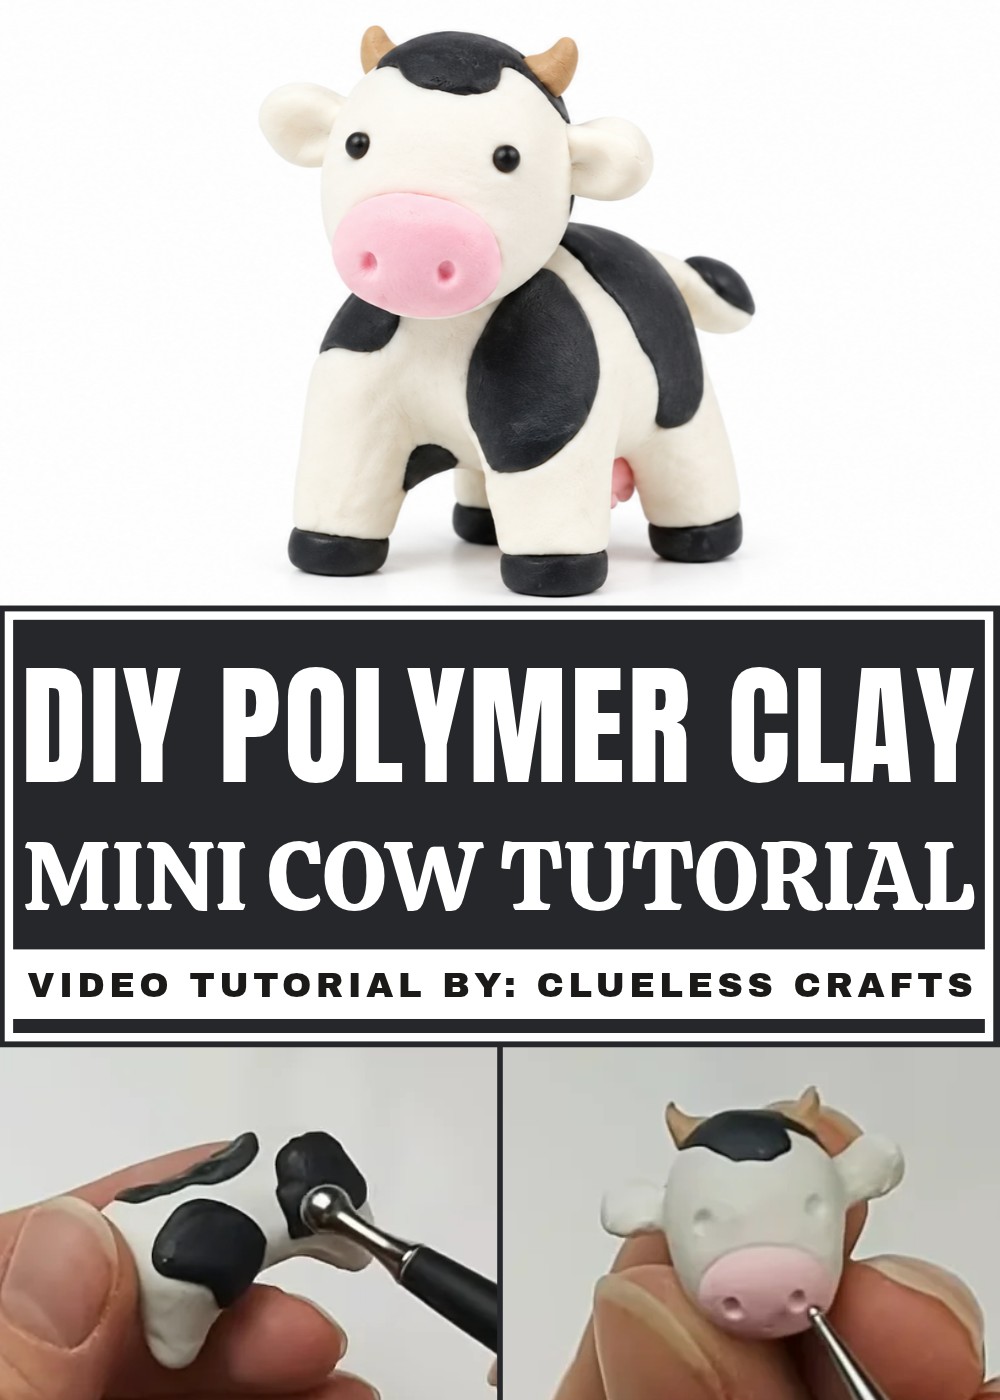
Create your own adorable DIY Polymer Clay Mini Cow with this fun and simple idea, perfect for adding a cute handmade touch to your collection.
Tiny animal figurines are always an adorable addition to any room, and crafting a mini cow is no exception! This fun, creative project allows you to design your very own cow with all its cute features, like little ears, a cheerful face, and those iconic black-and-white spots. Whether you’re creating it for yourself or as a gift, a miniature cow can easily bring joy and charm to your day.
Easy DIY Polymer Clay Mini Cow Project for Beginners
A miniature cow is not only delightful to look at, but it’s also a fun way to express your creativity. You can play around with color combinations, such as classic black-and-white, brown-and-white, or even add colorful designs if you’re feeling extra imaginative. With its tiny size, the design possibilities are endless, and it’s a project that offers a lot of personal touch. It’s simple yet playful, and it’s easy to make it match your personality or give it a unique character.
Making a mini cow is more than just creating a small figure, it’s about crafting something that feels cheerful and full of life. You can use it to decorate your desk, gift it to an animal-loving friend, or even start a collection of other tiny farm animals to keep it company. A handmade mini cow reminds us of the simple joys found in artistic projects and makes a great conversation starter in any space.
DIY Polymer Clay Mini Cow
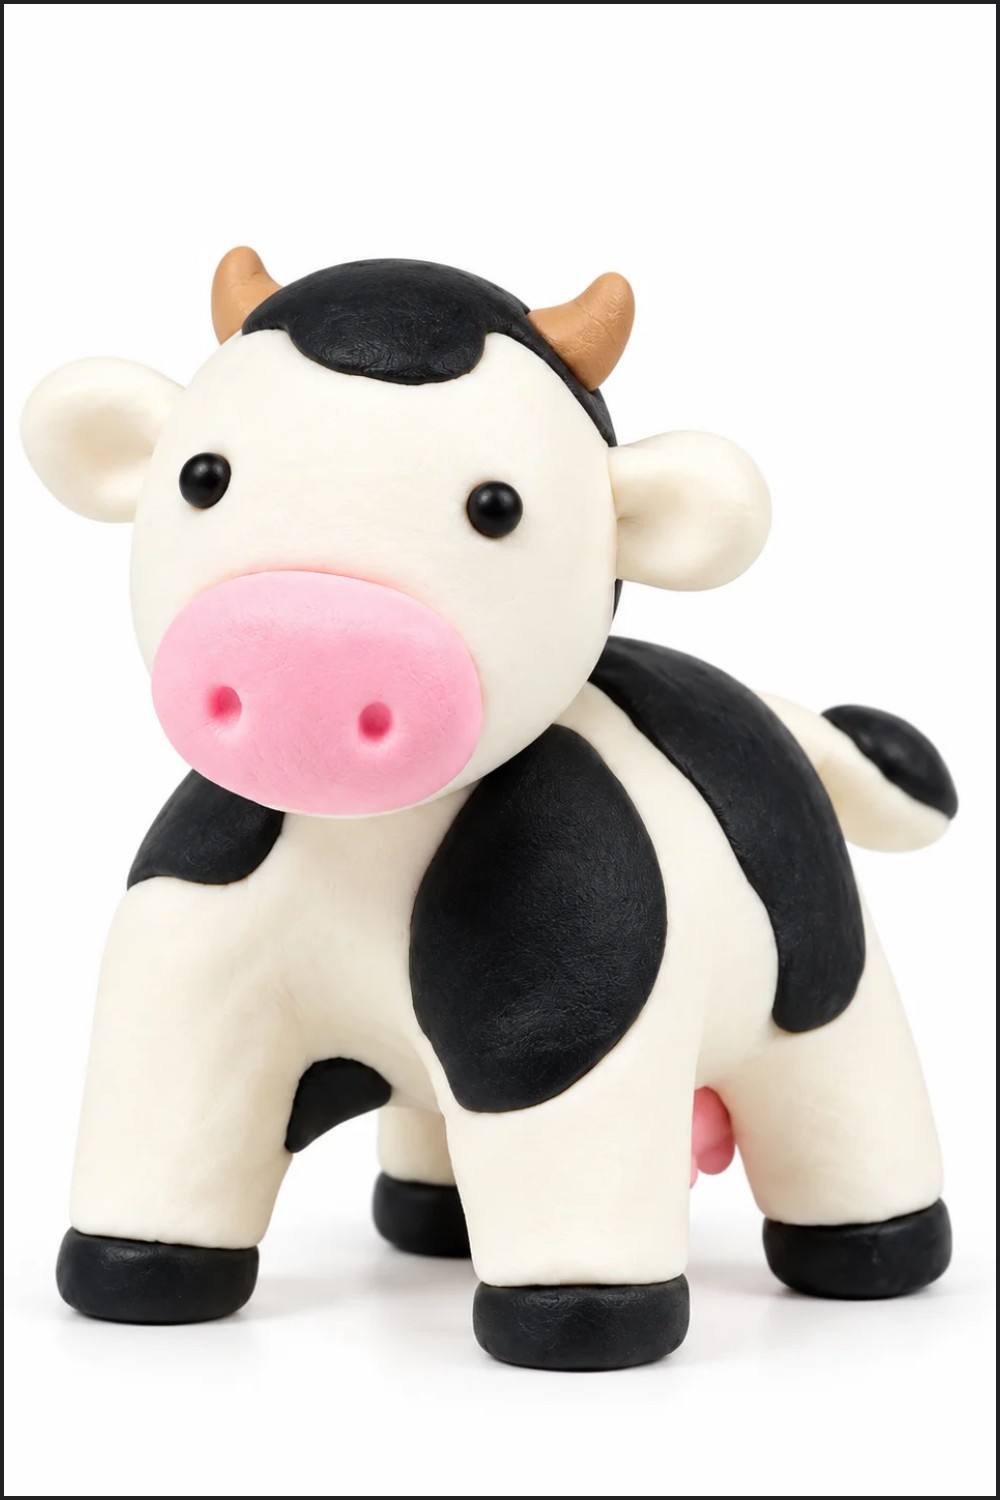
Make a cute mini clay cow using simple shapes and small details. This project focuses on forming a flattened oval body with defined legs, adding spots, a detailed head with ears and horns, hooves, a tail, and optional udder detail. The finished figure is small, display-ready, and suitable for beginners.
Materials & Supplies
- Polymer clay: white (main), black (spots & hooves), pink (nose), brown (horns)
- Work surface (clean mat or paper)
- Optional: varnish or sealer for finished piece
Tools & Equipment
- Sculpting tools: handle (or pencil) to make indents, ball‑point tool for smoothing
- Sculpey/craft knife for cutting and refining shapes
- Roller or fingers for conditioning clay
- Oven (for baking polymer clay per manufacturer instructions)
Project Details
- Skill level: Beginner — simple forms and basic tool work
- Time: 30–60 minutes (plus baking/cooling)
- Size: miniature — scale controlled by how big you roll your base pieces
Preparation
- Condition all clay colors by kneading until pliable.
- Pre‑measure small amounts of each color so you can assemble quickly.
- Keep tools and a clean surface ready; work with small, manageable pieces.
Step-by-Step Detailed
Form the Body
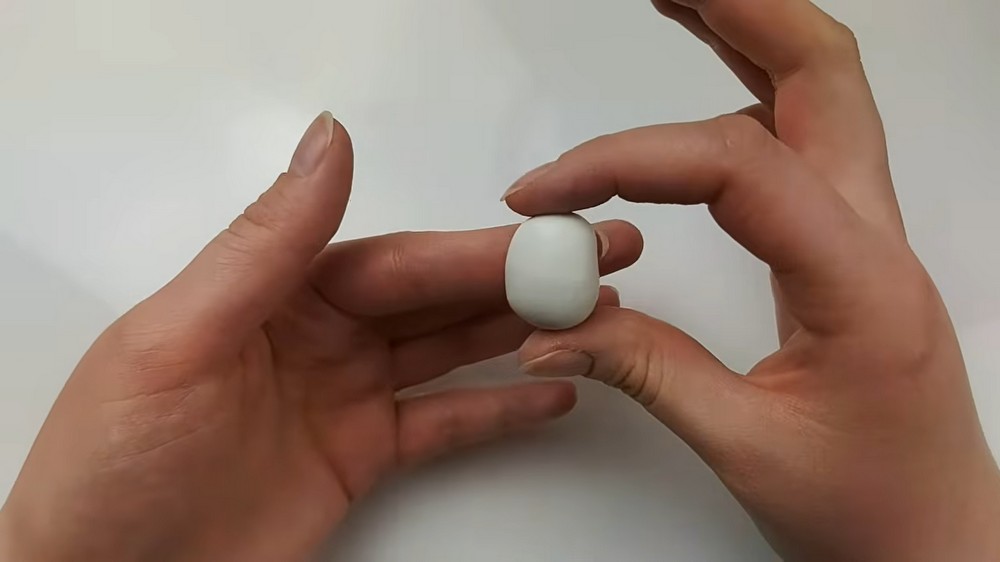
- Roll a white ball and shape it into a flat oval between your hands.
- Use the handle of a sculpting tool (or a pencil/finger) to press an indent across the clay to mark separation between front and back legs.
- Rotate and press again to define individual legs; pinch into leg shapes as you go.
- Use a ball‑point tool to smooth the fronts and backs, creating a rounded arch between legs.
- Check silhouette from all sides and refine until the body looks balanced.
Add Spots
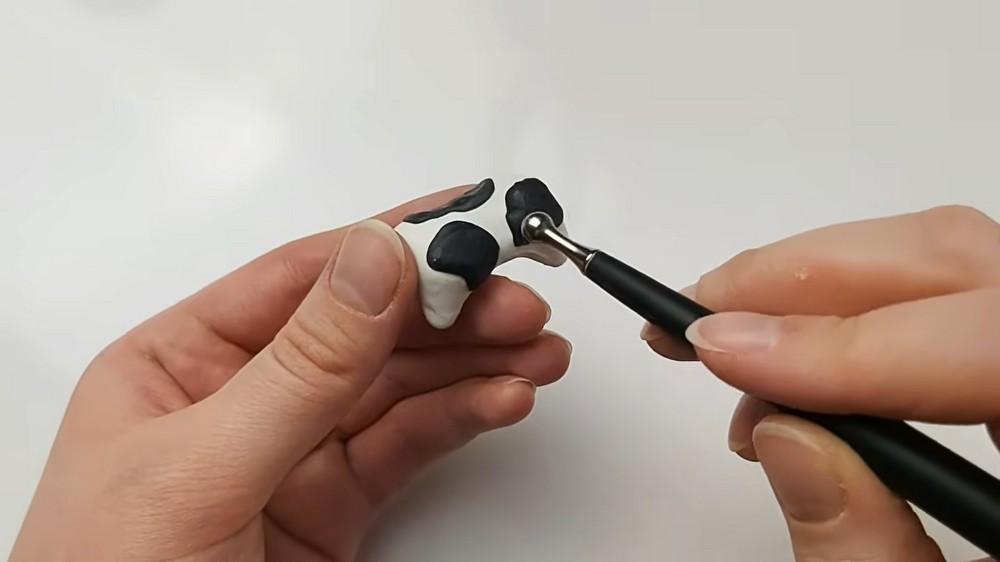
- Decide spot placement and roll tiny black patches. Placement is key — spread them across body and head for a classic look.
- Blend spot edges into the white clay using a ball‑point tool or your fingertip so they look painted-on rather than sitting on top.
Optional: Udders
- If desired, add udder detail beneath the body using small flattened pink/white shapes. This is optional — skip for a simpler look.
Make the Tail
- Roll a small white ball for the tail base.
- Pinch or attach a smaller black ball as the tail tip (contrast tip).
- Shorten or shape the tail to the appropriate length and blend the base into the rear of the body so it looks natural.
Create Hooves
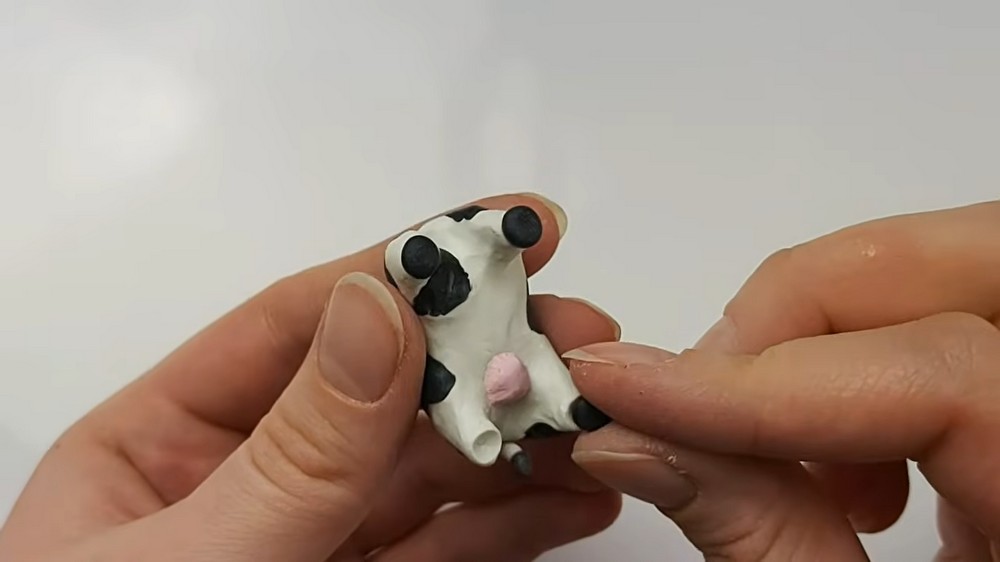
- At the bottom of each leg, make a shallow flat indent where a hoof will sit.
- Press a small black ball into each indent and flatten it against the work surface to form a hoof.
- Add a notch at the front of each hoof with your knife or tool to simulate the cloven hoof look.
- Check all four legs for evenness so the figure can sit or stand properly.
Make the Head
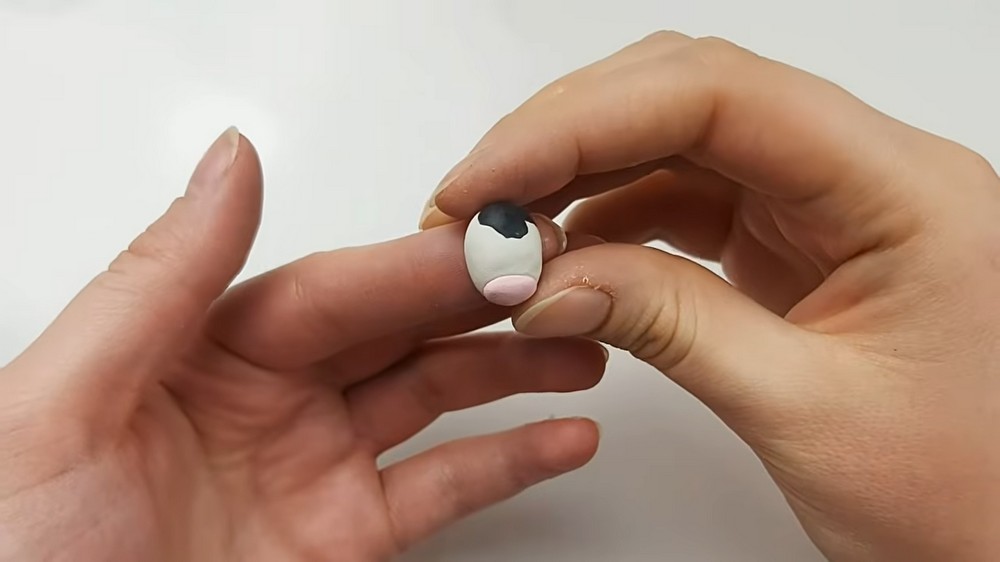
- Pinch a small white ball into a slight teardrop shape (narrow end = chin/muzzle).
- Add spots to the head as desired (one spot is fine for a cute, simple look).
- For the nose/muzzle, press a small flat pink ball onto the lower half and smooth it until fully blended.
Ears and Horns
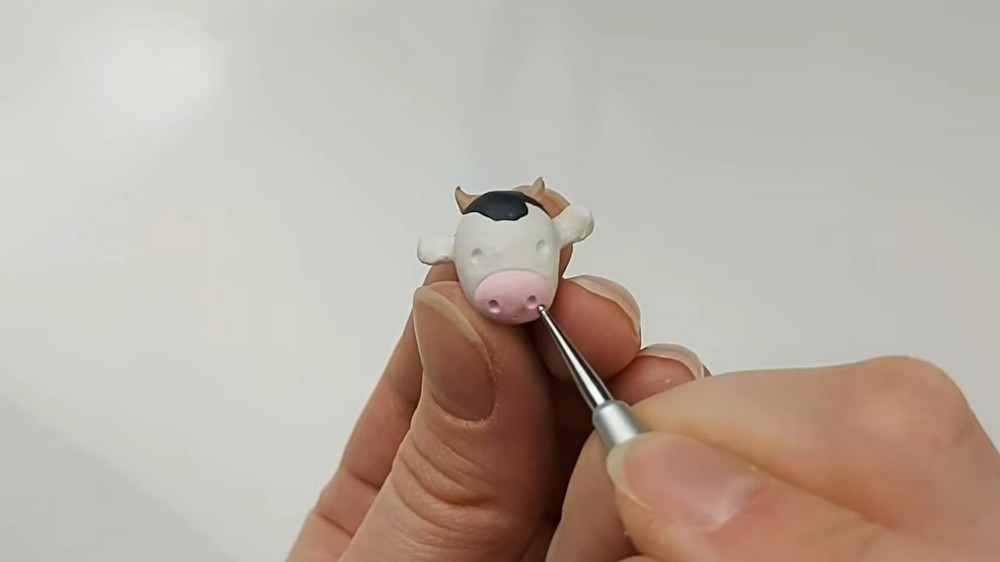
- Roll flattened pieces of white clay into teardrop ears; pinch the tips and attach each side of the head. Blend seams with a tiny ball‑point tool.
- For horns, roll tiny brown balls into pinched cone shapes and place them above the ears at the top of the head; blend them in securely.
Face Details
- Press two small eye indents and two larger nostril indents into the face.
- Fill eye indents with tiny black clay dots for pupils. Optionally fill nostrils with a subtle dark pinch.
- Add small texture dots or light lines if you want a clearer muzzle.
Attach Head to Body
- Mark the desired placement on the top of the body for the head.
- Press the head into place and gently secure by blending the neck seam.
- If legs squish during attachment, reshape and re‑define leg forms before baking.
Final Pre‑Bake Check
- Smooth any remaining seams and check all attachments are secure.
- Make sure the cow will sit or balance as intended; make small adjustments while clay is still soft.
Finishing Instructions
- Bake the completed cow according to your polymer clay manufacturer's temperature and time (no specific temp given in the source; follow packaging).
- Allow the piece to cool completely before handling.
- Optionally sand rough spots lightly and apply a suitable sealer/varnish (matte or satin recommended for a more natural look).
Tips & Techniques
- Use the sculpting tool handle, pencil, or fingertip for consistent indents between legs.
- Blend spots and small details using a ball‑point tool to avoid fingerprints.
- Work in small stages—attach head after body is formed to maintain leg shapes.
- If details are accidentally squashed, you can re‑sculpt while clay is raw; after baking, fixes require glue.
Common Problems & Solutions
- Legs squish when attaching head:
- Solution: hold legs steady with one hand while pressing head, then re‑define leg shapes before baking.
- Small pieces fall off during baking:
- Solution: ensure good blending and slight overlap where parts meet; consider a thin dab of liquid clay for extra adhesion (follow baking manufacturer guidelines).
- Visible seams after baking:
- Solution: sand gently with fine grit and re‑smooth with a small amount of varnish if needed.
Creative Ideas & Variations
- Make a rainbow cow by using multicolored spots.
- Create a herd: vary size for baby and adult cows.
- Turn the cow into a magnet by embedding a small magnet into the belly before baking (test magnet heat resistance).
- Paint tiny details (eyelashes, rosy cheeks) after baking for more character.
Final Result
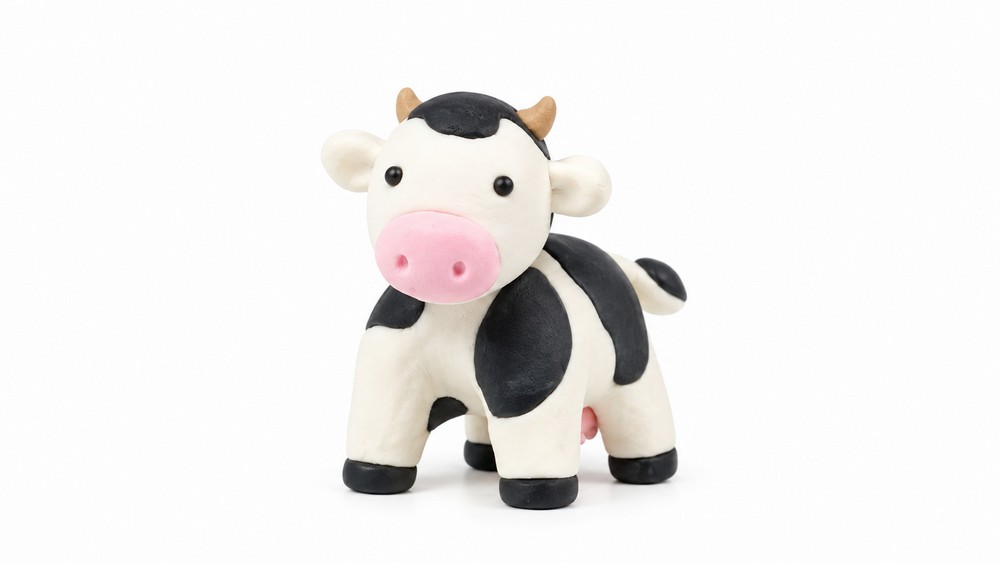
You’ll have an adorable mini clay cow with defined legs, spotted pattern, detailed hooves, a cute muzzle, tiny ears and horns, and a tapered tail. This compact sculpture is perfect for shelf displays, dioramas, or as a handmade gift — and is easily customized for different looks and personalities.