Create a DIY Polymer Clay Mini Rainbow that is bright and playful perfect for adding a pop of color to your decor keychains or handmade gift collection
Bright, cheerful, and full of color, creating a tiny rainbow out of polymer clay is a wonderful way to add a little joy to your day. This project is fun, easy, and perfect for beginners or experienced crafters alike. Mini rainbows can bring a playful touch to your space, whether used as decorations, fridge magnets, keychains, or even thoughtful handmade gifts.
Make a DIY Polymer Clay Mini Rainbow Ornament in Minutes
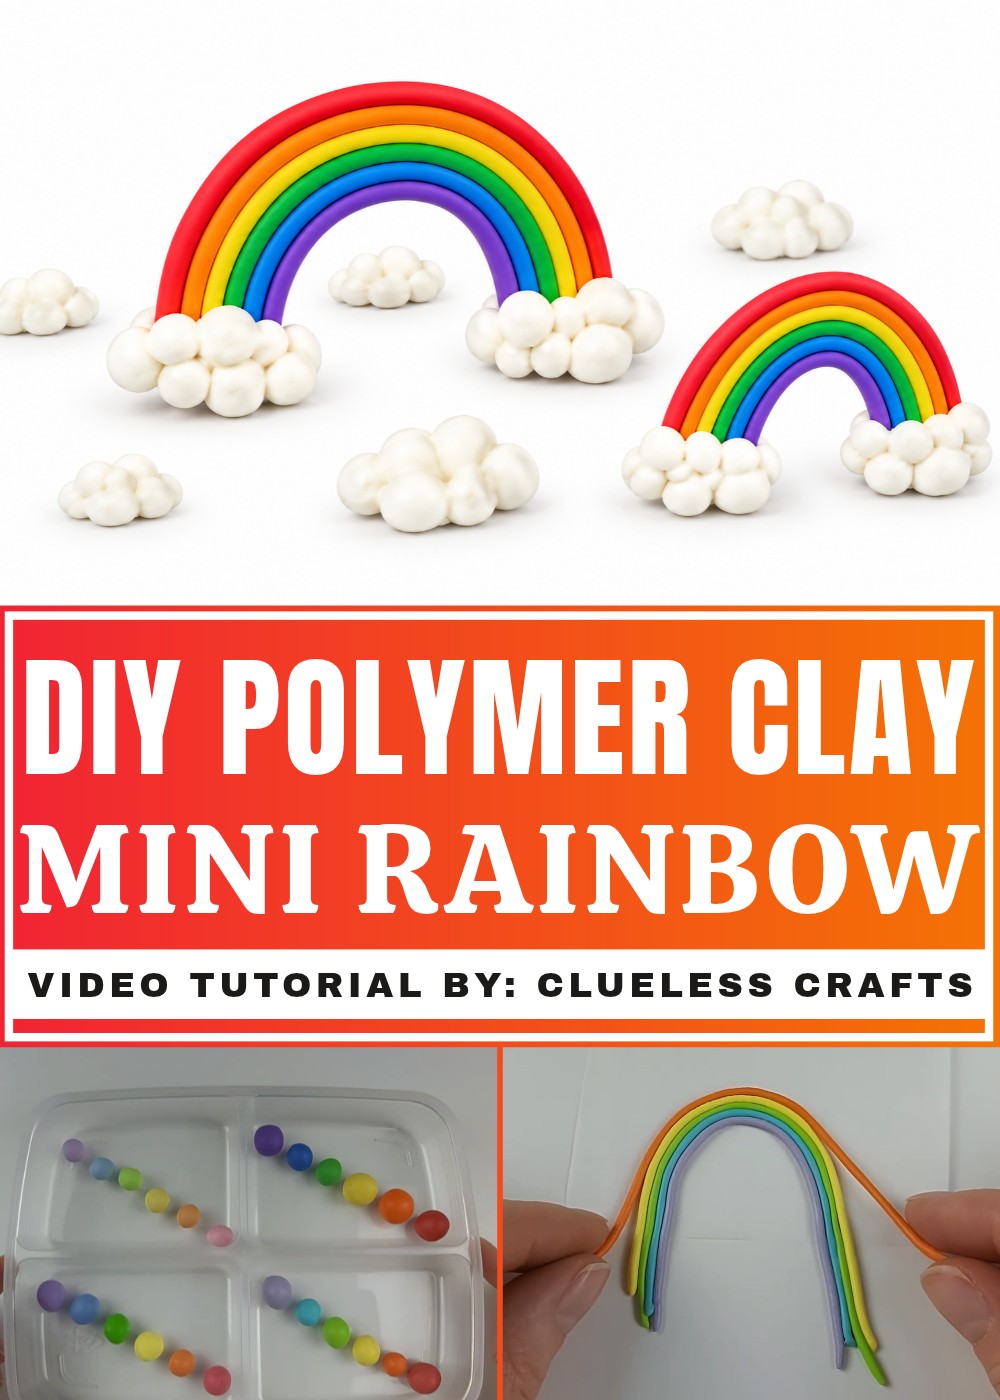
Polymer clay is the ideal material for crafting a small, vibrant rainbow. It’s soft and easy to work with, allowing you to roll and shape the colorful strips that form the arch. You can stick with the classic bright rainbow colors or experiment with softer pastels for a dreamy look. Once you’ve arranged your rainbow, just bake it, and the clay hardens into a sturdy, eye-catching piece that lasts for years. Adding little details, like tiny clouds or a touch of glitter, can make your creation even more special.
This DIY project is all about creativity and easy crafting fun. Making something as simple yet beautiful as a mini rainbow can brighten your day and bring a smile to anyone who sees it. With endless possibilities for color and style, it’s a small but meaningful way to spread a little happiness and let your creativity shine.
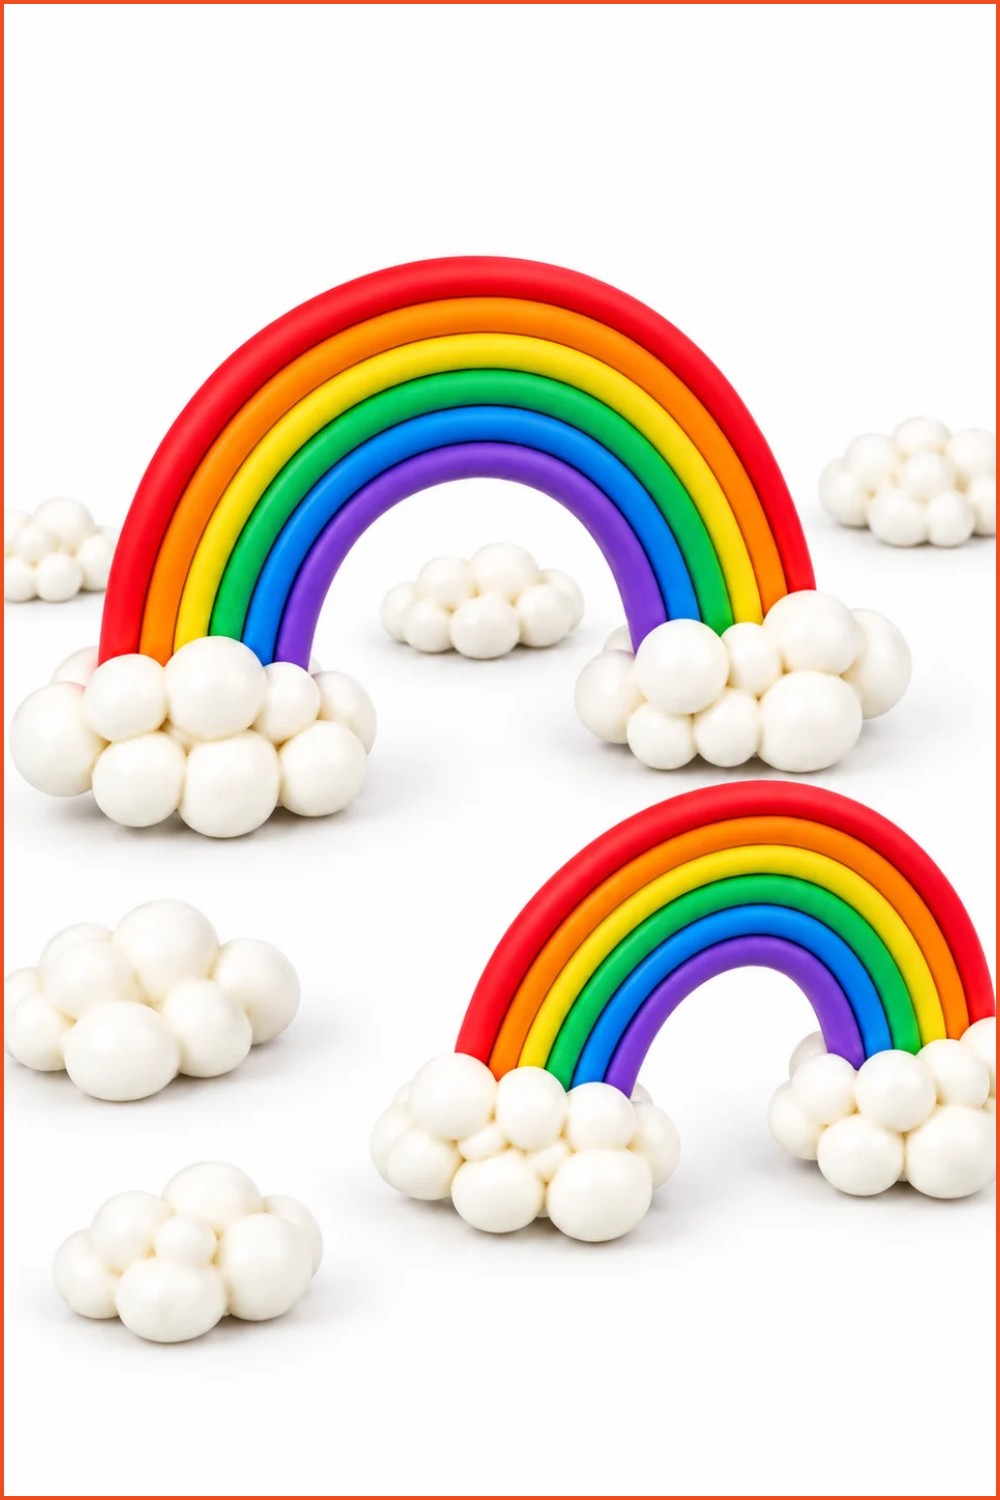
DIY Polymer Clay Mini Rainbow
Make a variety of simple clay rainbows and matching clouds — from normalized sized arches to tiny earrings — using rolled “logs” of colored clay. This guide follows Clara’s workflow: roll even ropes, assemble on parchment, decide whether to blend or keep clean edges, create clouds (including detachable cloud-on-stick versions), bake in place, and finish as charms or freestanding décor.
Materials & Supplies
- Multiple colors of polymer or air-dry clay (rainbow hues)
- White or glitter white clay for clouds (choose subtle or packed glitter)
- Parchment paper (for shaping and baking)
- Small jump rings and earring hooks (for jewelry)
- Tin foil (for cloud forms)
- Optional: liquid clay (for polymer joins)
Tools & Equipment
- Work surface and hands for rolling
- Small cutters or circle cutter
- Sculpting tool (for smoothing seams)
- Toothpick or small blade (for trimming)
- Oven (if using polymer clay) and baking tray
- Jewelry pliers (for earrings)
Project Details
- Difficulty: Beginner skilled at fine rolling; tiny rainbows require steady hands.
- Time: Varies by quantity and size; several hours if making many rainbows and clouds.
- Outcome: Freestanding rainbows, cloud-anchored rainbows, and wearable rainbow earrings.
Preparation
- Select color palette and condition clay until pliable.
- Lay out parchment sheets sized to accommodate each rainbow to avoid sticking and unwanted shine.
- If making tiny pieces, plan to roll thinner logs and work with consistent pressure.
Step-by-Step Detailed
Rolling & Sizing Rainbow Logs
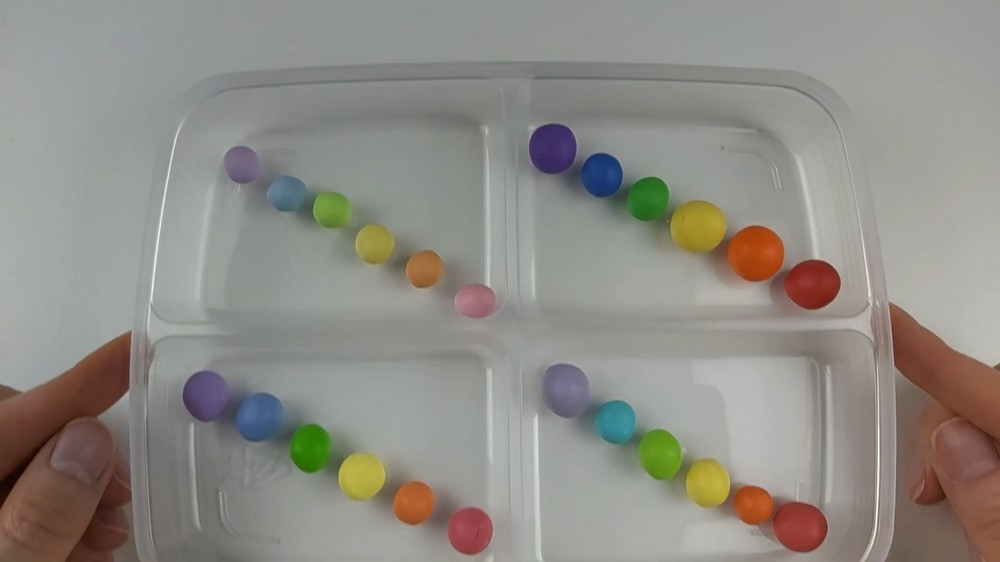
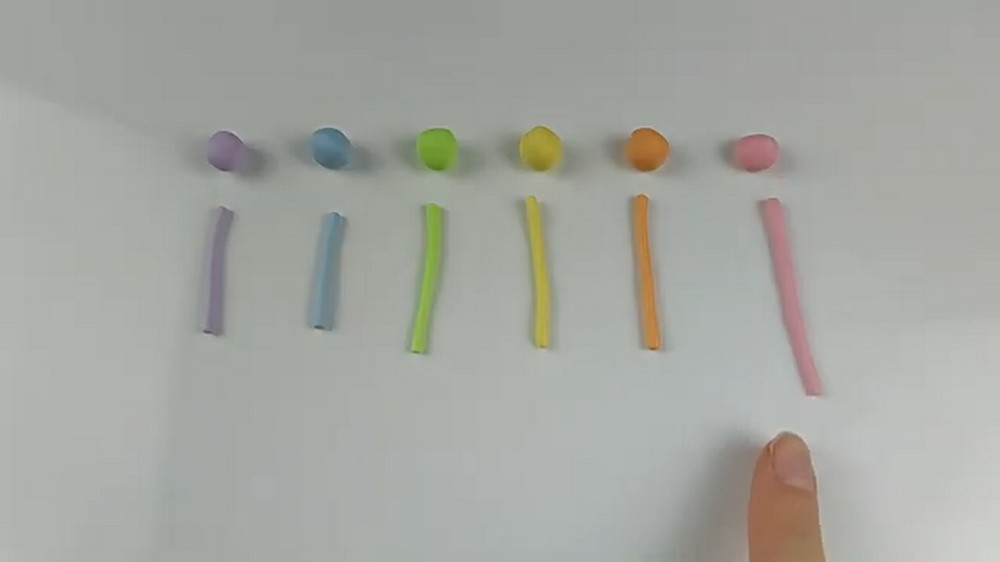
- Roll uniform logs for each color:
- Roll slightly longer than needed for each arch to allow trimming.
- Remember: each upper arc layer must be a bit longer than the one beneath.
- For very small rainbows, apply even lighter pressure to keep logs consistent.
Assembling the Rainbow
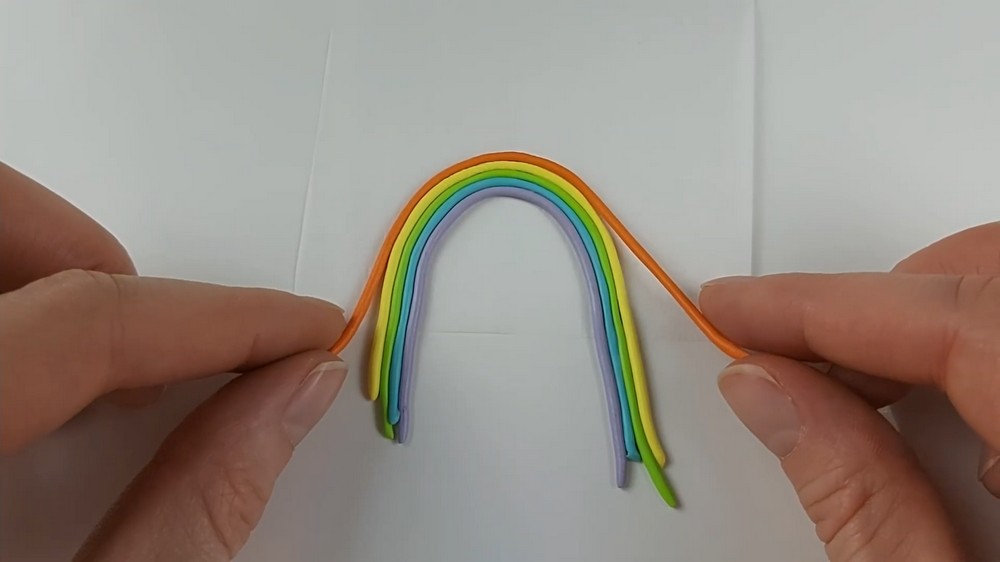
- Arrange logs on parchment into nested arches:
- Lay logs directly on parchment to shape in place and prevent surface shine.
- Use parchment over top and lightly run your finger to join pieces — minimal pressure prevents unwanted blending.
- Trim excess at each end with a blade after stacking.
Handling Scraps & Small Variations
- Keep rainbow scraps for experiments or small accents:
- Collect strips for coins, charms, or background pieces.
- If a strip is long enough, cut circles for earring tops or dangling discs.
Making Tiny Rainbows & Earrings
- Make mini logs for earrings:
- Tiny rainbows require careful, even rolling — challenging but doable.
- To make matching pairs, replicate sizes and shape multiple logs; expect variation and make extras.
- Assemble earring findings:
- After baking, attach jump rings and hooks; for dangling designs, keep them single-tier if two-tier looks don’t translate well.
Cloud Options — Simple Flat Clouds
- Roll small balls of white or glitter clay:
- Flatten pairs of balls on parchment and press together to make a 2D cloud.
- Smooth seams with a sculpting tool, then top with another parchment piece and press gently for a matte, even finish.
- Use a circle cutter or blade to trim a matching cloud footprint so the cloud aligns to the rainbow arch neatly.
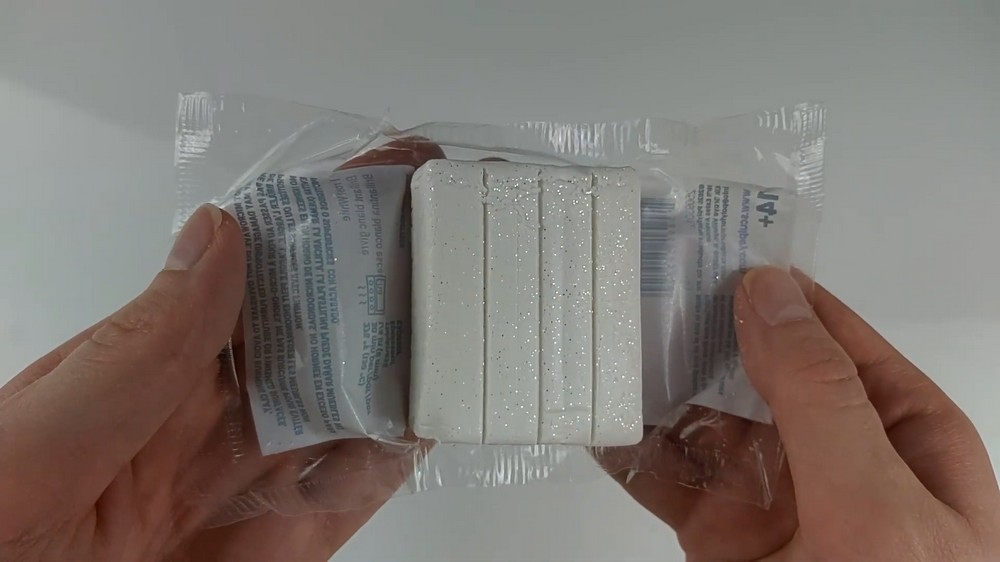
Cloud Options — Detachable Clouds (Cloud-on-Stick)
- Create a tin-foil form:
- Fold foil into a strip matching rainbow width; fold to thickness greater than the rainbow so the arch fits comfortably.
- Wrap clay balls around the foil to form the cloud shell; press into shape and smooth seams.
- These can be baked with foil inside (remove foil after baking) to make clouds that slide onto rainbows or sit as detachable supports.
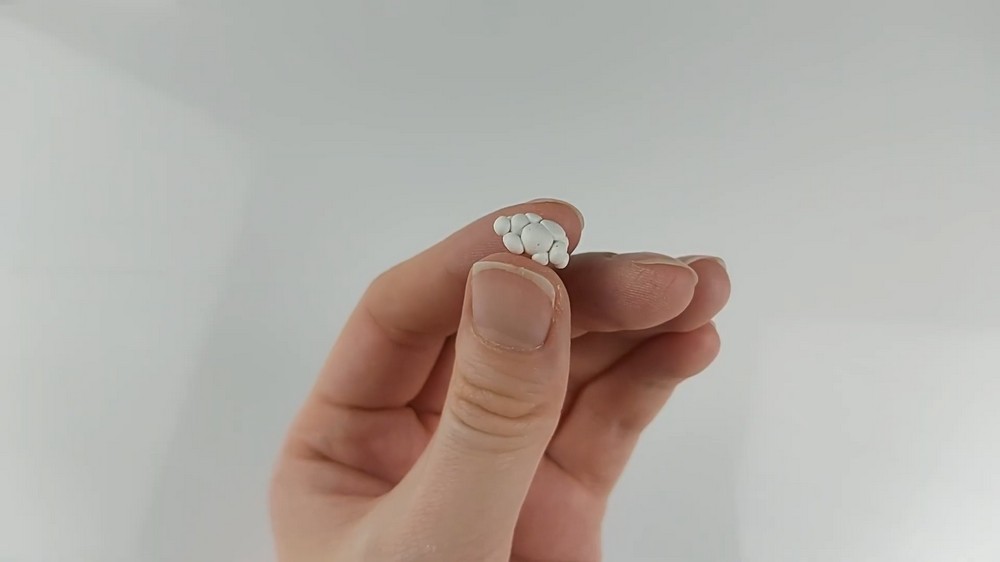
Blending vs. Clean Look
- Decide your finish:
- No blending yields crisp color separation and a clean modern look.
- Minimal smoothing with parchment over top can join edges without color mixing.
- If you prefer soft cloud seams or textured transitions, blend more aggressively.
Baking
- Bake rainbows and clouds in place on parchment per clay manufacturer instructions.
- Ensure clouds intended to be detachable (with foil forms) are baked with foil cores so they fit snugly later.
Finishing Instructions
- After cooling, remove tin-foil supports (wiggle and pull gently).
- Trim any rough edges with a blade, and attach jewelry hardware for earrings using pliers.
- If desired, add varnish or protective coating suitable to your clay and finish.
Tips & Techniques
- Use parchment to prevent shiny contact spots and to make handling easier.
- Roll logs slightly longer than needed for trimming and precise layering.
- For consistent pairs, make multiples at once rather than trying to perfectly replicate one-by-one.
- When making glitter clouds, test glitter intensity first — choose a subtle glitter or packed glitter depending on desired sparkle.
Common Problems & Solutions
- Uneven logs for matching pairs:
- Solution: roll several at once and select closest-matching pairs; trim ends for equal length.
- Tiny rainbows too fragile:
- Solution: make slightly thicker logs or avoid over-thinning; larger sizes are easier and sturdier.
- Clouds not fitting rainbow:
- Solution: use a properly sized foil form and test fit before baking; make templates for repeatability.
- Shiny baked surfaces where clay touched tile:
- Solution: always bake on parchment to keep finishes consistent.
Creative Ideas & Variations
- Make sets: freestanding rainbows with matching detachable cloud pairs to swap across sizes.
- Create a rainbow coin charm set from your scrap strips for minimalist jewelry.
- Combine subtle glitter clouds with matte rainbows for contrast.
- Make tiny rainbow scenes: add miniature raindrops, stars, or resin bases for pendants.
Final Result
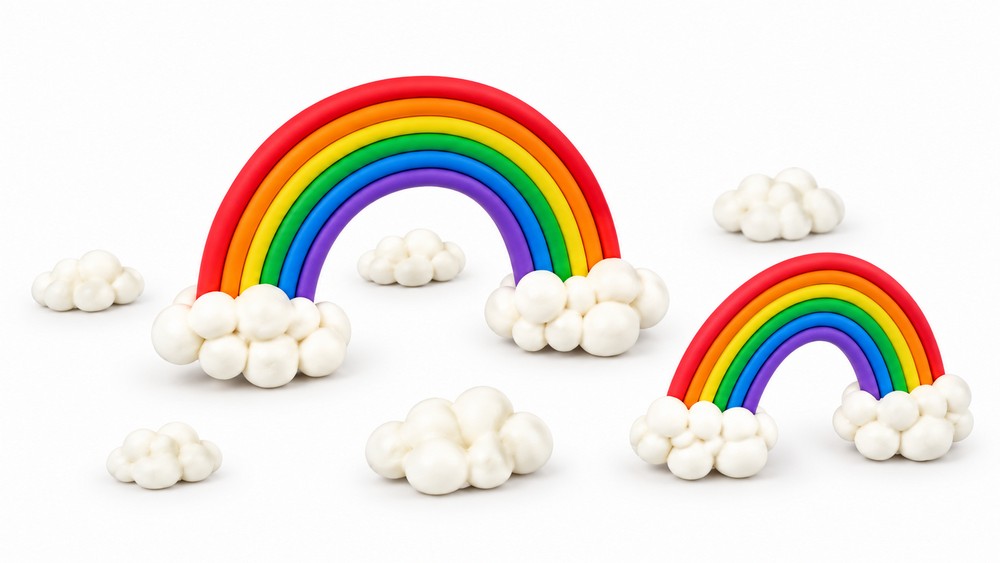
You’ll produce a colorful collection of rainbows — from chunky, easy-to-make arches to delicate earrings — paired with simple or detachable glitter clouds. The method prioritizes efficient repetition, parchment-based shaping for consistent texture, and flexibility between crisp, unblended looks and softly finished pieces depending on your aesthetic.