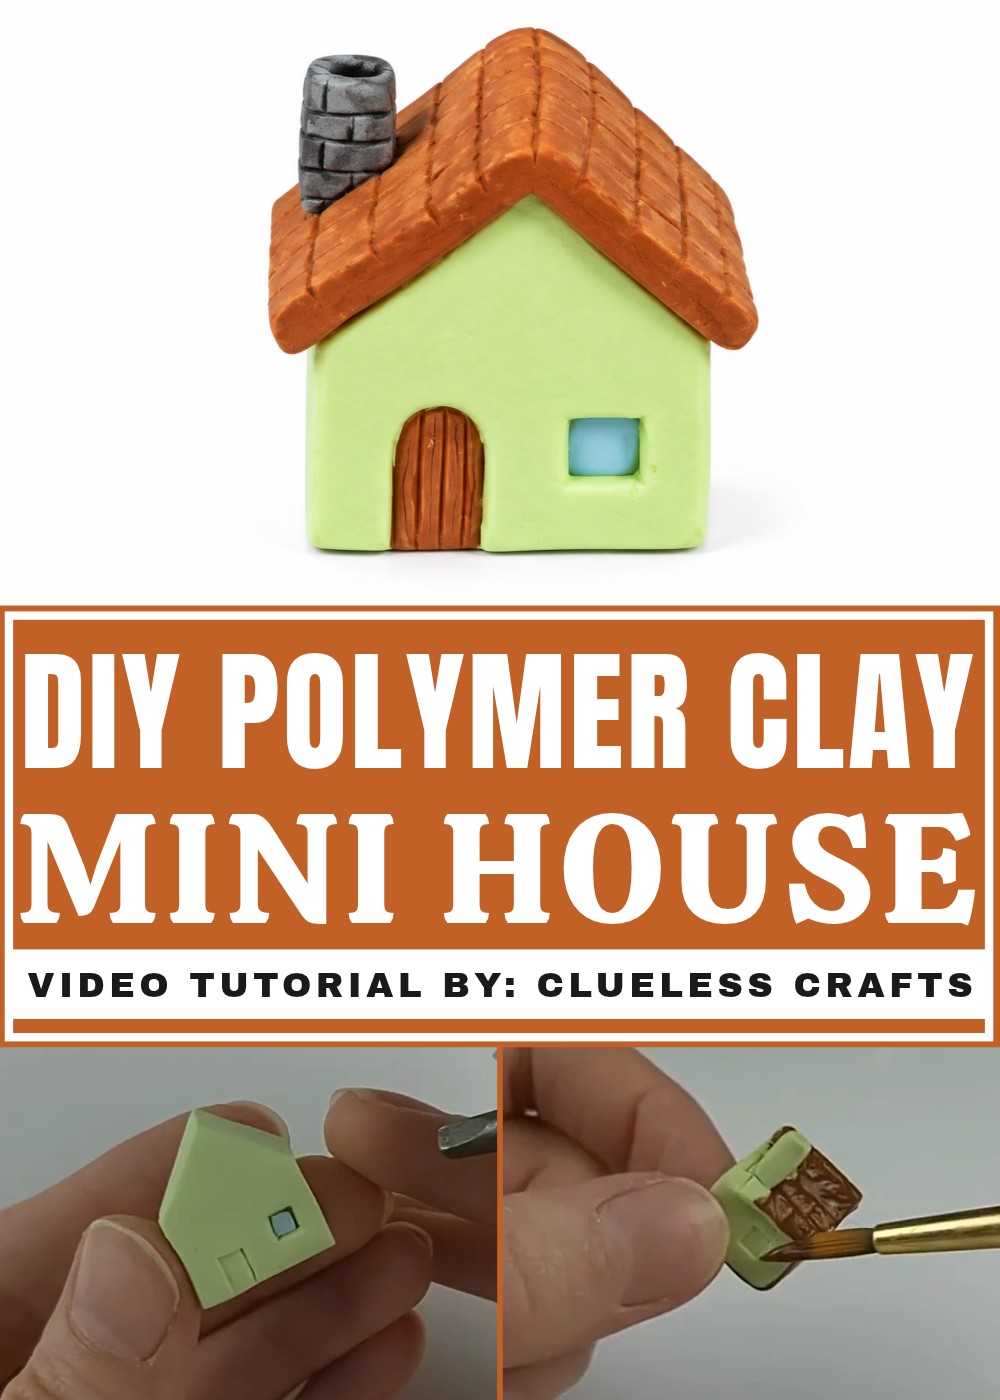
Shape a DIY Polymer Clay Mini House that is simple and fun perfect for personalized decor thoughtful gifts or a charming addition to any collection
Building a tiny house with your own hands can be such a relaxing and enjoyable experience, especially when you use polymer clay. This creative project allows you to design and craft a miniature house that’s full of charming details. Whether you imagine a cozy cottage, a whimsical treehouse, or even a tiny fairytale cabin, this is a chance to turn your imagination into a one-of-a-kind creation.
Design Your Own DIY Polymer Clay Mini House from Scratch
With polymer clay, the process becomes fun and easy. The clay is soft and lightweight, making it perfect for shaping little doors, windows, rooftops, and even miniature gardens. You can add textures like bricks, wood patterns, or shingles to make your mini house feel lifelike. Once baked, the clay hardens into a strong, lasting piece you can use as decoration, a keychain, a gift, or even as part of a larger display. The best part is that every detail is entirely up to you, so no two houses ever have to look the same.
This DIY project is a wonderful mix of creativity and relaxation. From designing the shape of your tiny house to carefully adding all the finishing touches, every step feels satisfying. It’s a perfect way to create something special that reflects your unique style. Plus, having a little handmade house of your own brings a charming touch to any space.
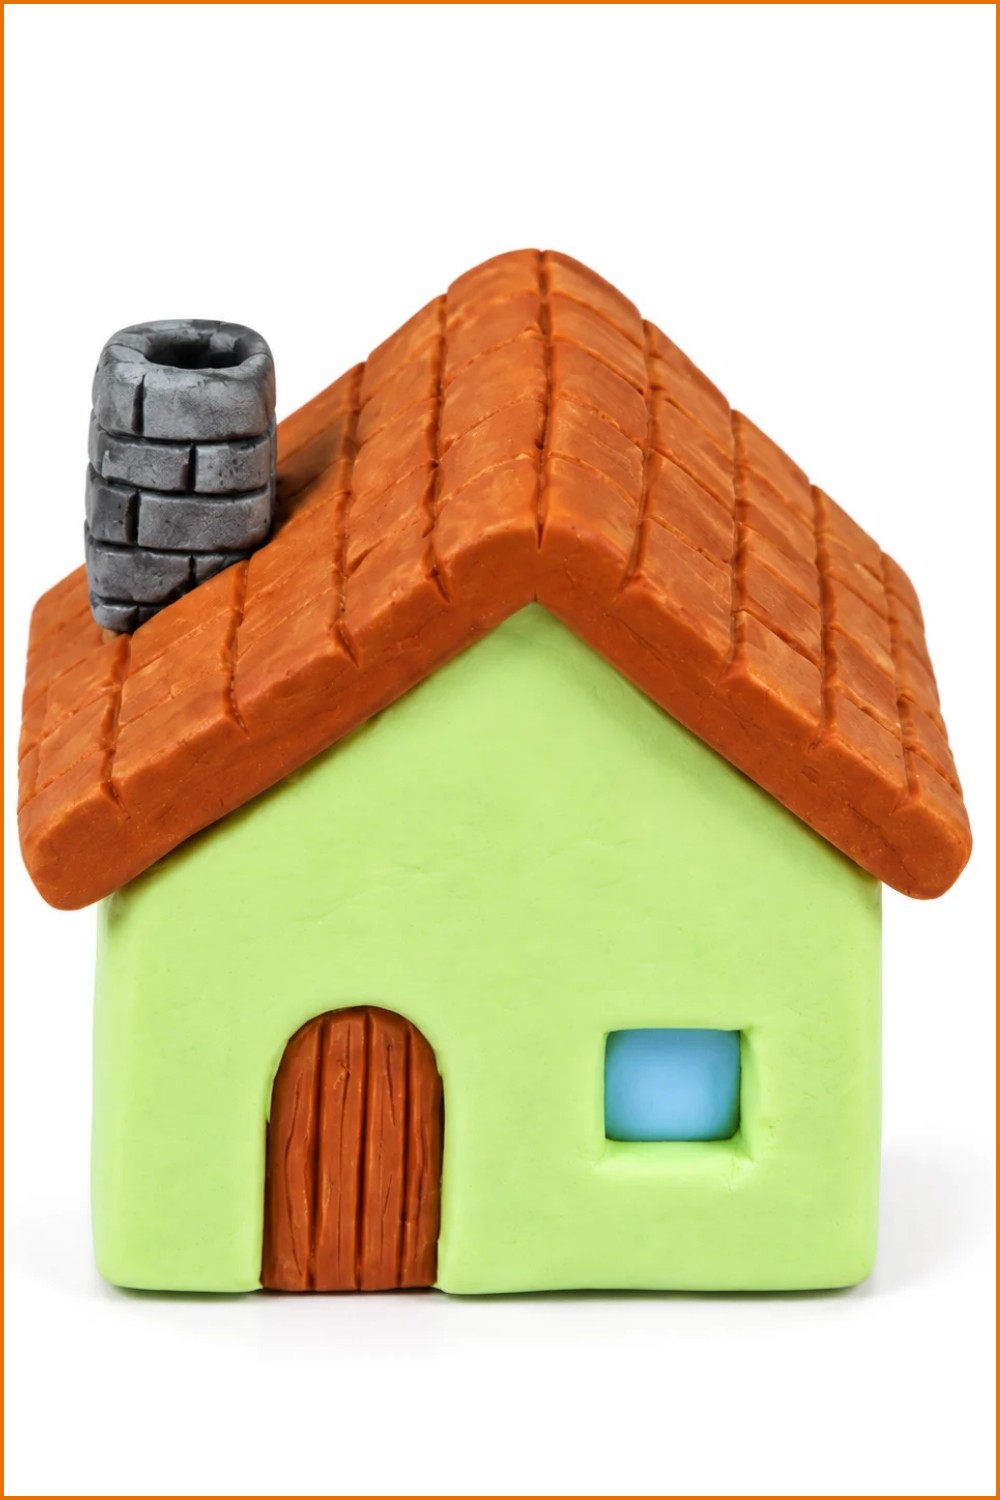
DIY Polymer Clay Mini House
Create tiny clay houses using a quick-freeze cutting method for sharp edges, plus a streamlined no-freeze alternative. Make doors, windows with “glass” inserts, shingled roofs, chimneys, and paint finishes. The tutorial covers Clara’s full workflow, including mistakes, painting tips, and two approaches so you can choose between crisp geometry or a faster, softer look.
Materials & Supplies
- Clay in house, roof, door, and window colors (polymer or air-dry)
- Liquid clay (optional, for polymer joins)
- Basic craft paints (several colors) and thin watery formulas or better-quality paints if available
- Small paintbrushes or toothpicks for fine work
Tools & Equipment
- Sharp blade or craft knife
- Flat silicone tool (for smoothing and indents)
- Square screw bit or similarly sized tool for window indents
- Freezer (for the chilled-cut method)
- Work surface, oven (if using polymer clay), palette or mixing dish for paints
Project Details
- Two main methods: Freeze-then-cut for sharp corners, or direct cutting for a faster but squishier result.
- Piece scale: tiny miniature houses; suitable for display, dioramas, or ornament groups.
- Skill: Beginner–intermediate. Painting small details benefits from patience and a steady hand.
Preparation
- Condition clay by kneading to workable consistency; for sharp cuts, form rough cube shapes and place in freezer for 15 minutes.
- Pre-select bits/tools for windows and doors; keep paints and brushes ready for later.
- Plan color palette and whether you’ll paint heavily (many thin layers) or use stronger paints.
Step-by-Step Detailed
Forming the Basic House
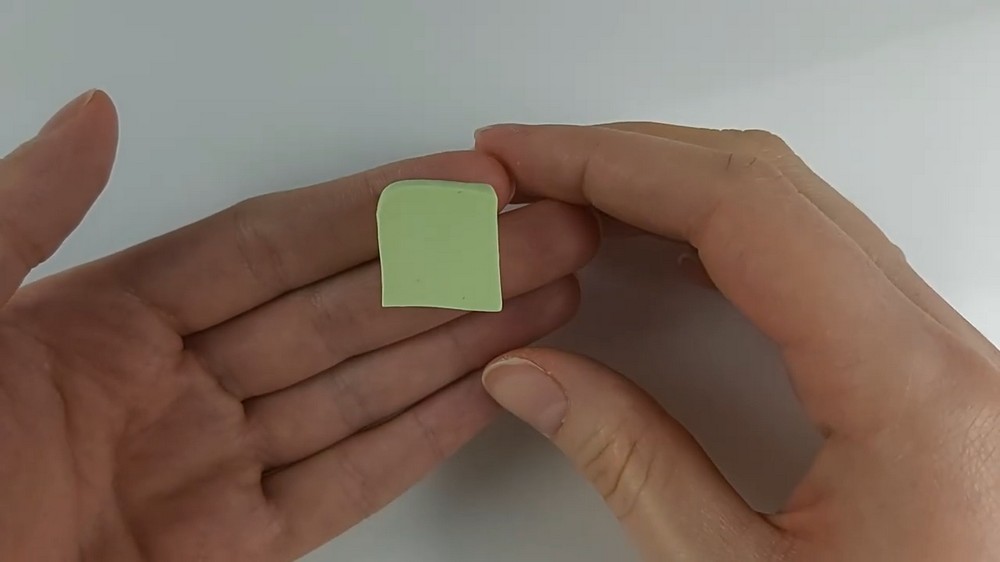
- Make a rough cube and chill:
- Roll/shape a rough cube and place in the freezer for ~15 minutes to firm up.
- Removing chilled clay lets the blade cut through rather than squish it — this yields sharp corners.
- Cut roof angles:
- After chilling, cut two angled slices on opposite top edges to form a pitched roof.
- Use a flat silicone tool to check and refine angles.
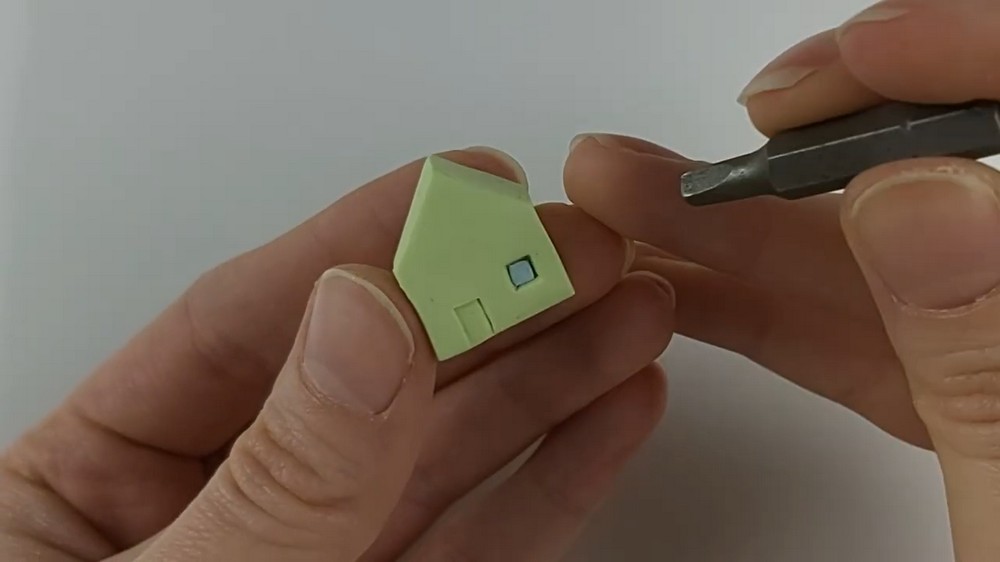
Creating Door & Window Indents
- Mark the door:
- Use the flat silicone tool to indent a door shape; for variety, use square or arched forms.
- Create window recesses:
- Use a square screw bit (or similar) to press consistent, small square indents for windows.
- Ensure the indents are deep enough to accept inset “glass.”
Filling with Glass & Door Materials
- Fill windows:
- Place small squares of blue clay into each window indent.
- Use the bit to press them down, then smooth edges with the flat silicone tool for a neat glass look.
- Make an arched door:
- If preferring an arch, press a small rounded tool (trunk-drawer piece) to shape an arch.
- Fill the doorway with brown clay, then trim excess for clean edges.
- Add texture to door:
- Use a blade or toothpick to add vertical grain or simple wood lines on the door.
Roof Construction & Attachment
- Roll roof piece:
- Flatten a ball of brown clay to create a roof slab.
- Place the house roof-first on the slab to mark overhang and cut accordingly.
- Attach roof:
- Apply a thin layer of liquid clay for polymer joins (optional), press roof in place, then pinch the peak into a neat ridge.
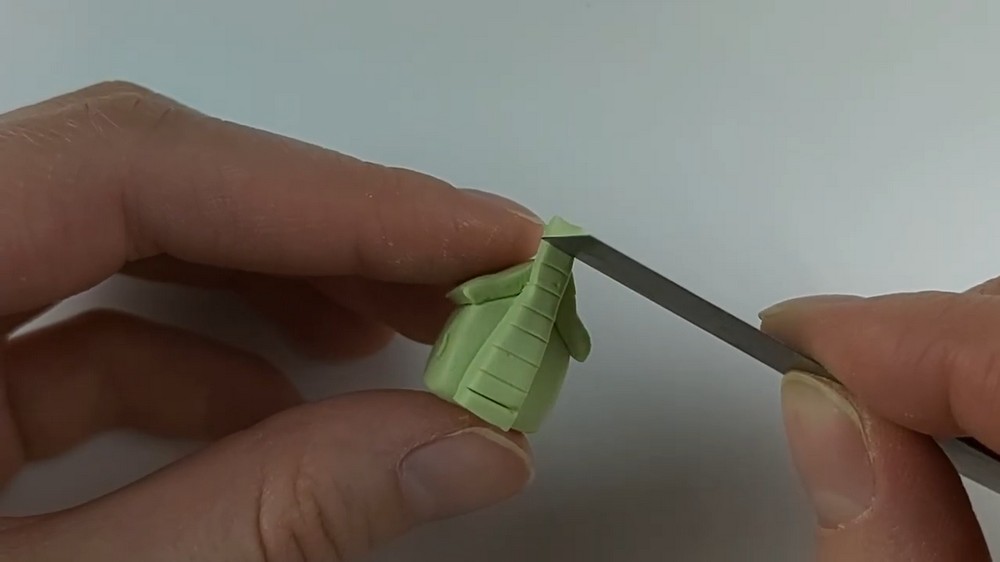
- Add shingles:
- Use a blade to incise small overlapping lines for shingle texture if desired.
Chimney Making
- Form chimney:
- Roll gray clay into a rectangle, add brick texture using a blade.
- Trim the base at an angle to fit neatly on the sloped roof.
- Attach and detail:
- Press chimney onto roof, add a small top indent, and texture/paint later.
Alternative (No-Freezer) Method
- Direct cutting:
- Shape cubes and cut without chilling for speed; expect slightly squished corners.
- This method reduces steps and is fine for a softer aesthetic or air-dry clay.
Painting & Finishing
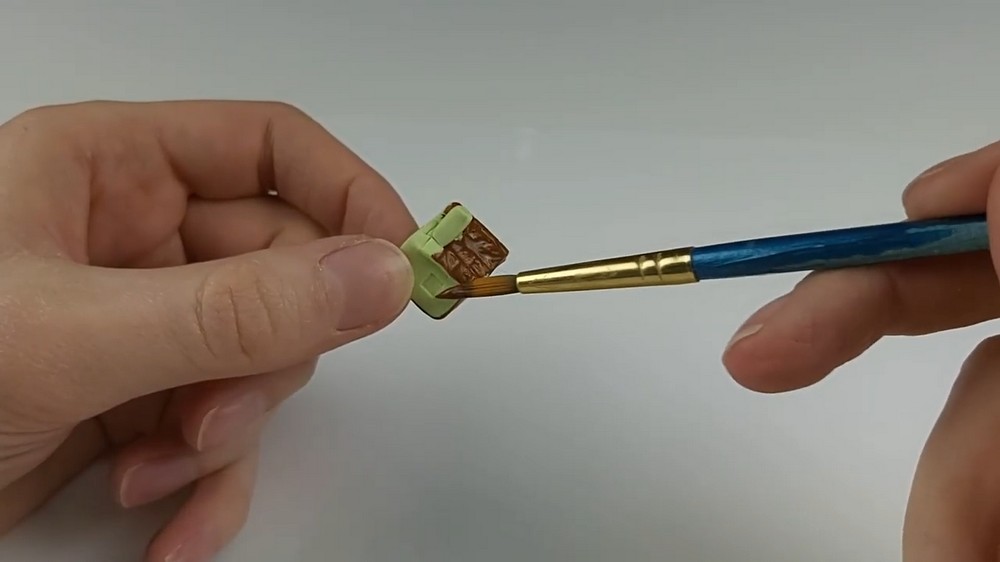
- Base coats:
- Apply a brown base coat overall if you want a unified neutral background for additional layers.
- Use many thin coats with watery craft paint if that’s what you have; thicker paint saves layers but needs better application skill.
- Color details:
- Paint roofs, doors, and windows. For windows, you can blob in color then clean lines using the base color.
- Add washes (diluted darker paint) on roofs and chimneys to create depth.
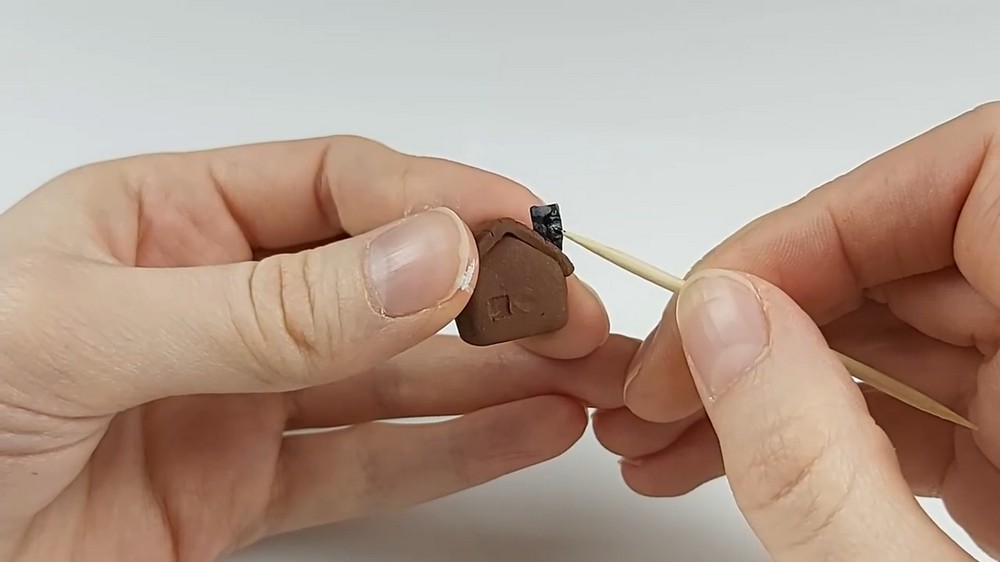
- Small details:
- Use a toothpick to draw brickwork, window panes, and handle dots. Fine lines may take time — expect 15–20 minutes for tiny panes.
Finishing Instructions
- After painting, let pieces dry thoroughly between coats.
- Add final dry-brush highlights for texture and light on edges.
- Seal with a clear varnish if desired (test first for compatibility with your paint and clay).
Tips & Techniques
- Freeze cubes for cleaner cuts; be consistent with the 15-minute chill time.
- Use a screw bit or similar for uniformly sized window indents.
- When painting with watery craft paints, plan for multiple thin layers rather than heavy first coats.
- Clean up painting mistakes by repainting base color over edges and re-layering detail.
Common Problems & Solutions
- Corners squish when cutting:
- Solution: place block in freezer for 15 minutes before cutting; use a sharp blade.
- Windows or doors painted messily:
- Solution: paint base color over errors, then reapply detail with a toothpick or fine brush.
- Roof or chimney won’t adhere securely:
- Solution: use liquid clay for polymer pieces or press/score and use a small amount of craft adhesive for air-dry.
Creative Ideas & Variations
- Make coordinated sets: match roofs and doors for a village display.
- Try single-color minimalist houses (no paint) for a modern look.
- Add tiny elements: window boxes, flags, signs, or shell accents for coastal themes.
- Create multi-level houses by stacking small cuboid shapes and adding stair details.
Final Result
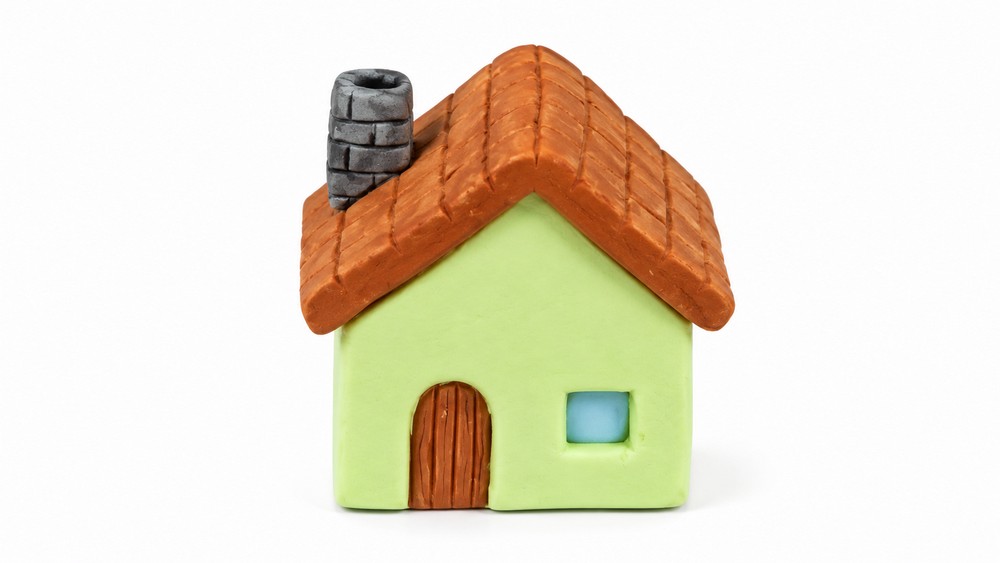
You’ll have one or more tiny houses with either crisp, architectural edges (freeze-cut method) or softer, quicker builds (no-freeze). Painted versions gain depth from washes, dry-brushing, and careful tiny-paint details. Choose the method that fits your time and aesthetic: chilled precision or fast-and-fun minis.