Create a charming DIY Polymer Clay Pumpkin Trinket Box with this step-by-step guide and design a professional-looking piece perfect for fall decor.
There’s something magical about turning an idea into a handmade creation, and making a pumpkin-shaped trinket box out of polymer clay is the perfect way to unleash your creativity. This project gives you the chance to sculpt a unique piece that’s both decorative and practical. Whether you’re drawn to its playful shape or the idea of designing something special, this little box can become a beautiful fusion of art and function.
DIY Polymer Clay Pumpkin Trinket Box for Fall Décor
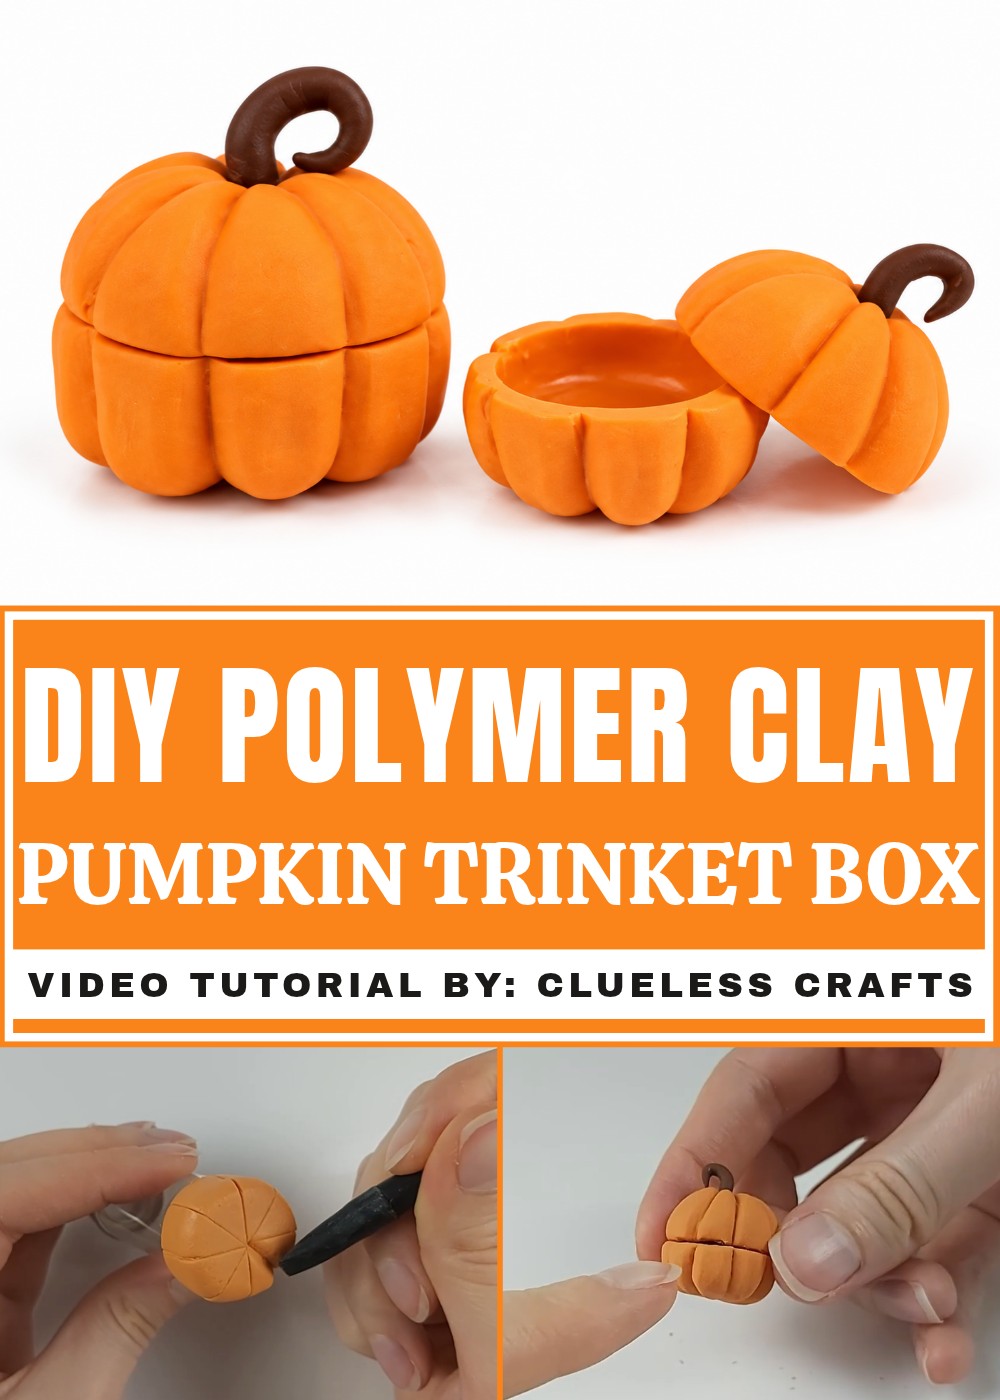
Using polymer clay, you’ll shape the pumpkin’s base, sculpt the ridges, and craft a lid that fits snugly on top. By hollowing out the inside, you create a functional space for small keepsakes like jewelry or keys. Adding personal touches like a twisted vine handle or a textured surface makes your creation stand out. After baking the clay, the trinket box becomes sturdy, and you can even paint it or give it a glossy finish to enhance its charm.
The finished pumpkin box is more than just storage—it’s a reflection of your imagination. Place it on your desk, shelf, or bedside table to hold tiny treasures, or gift it to someone as a heartfelt handmade present. With endless possibilities for colors and details, this project is a fun and rewarding way to stretch your creative muscles while crafting something entirely your own.
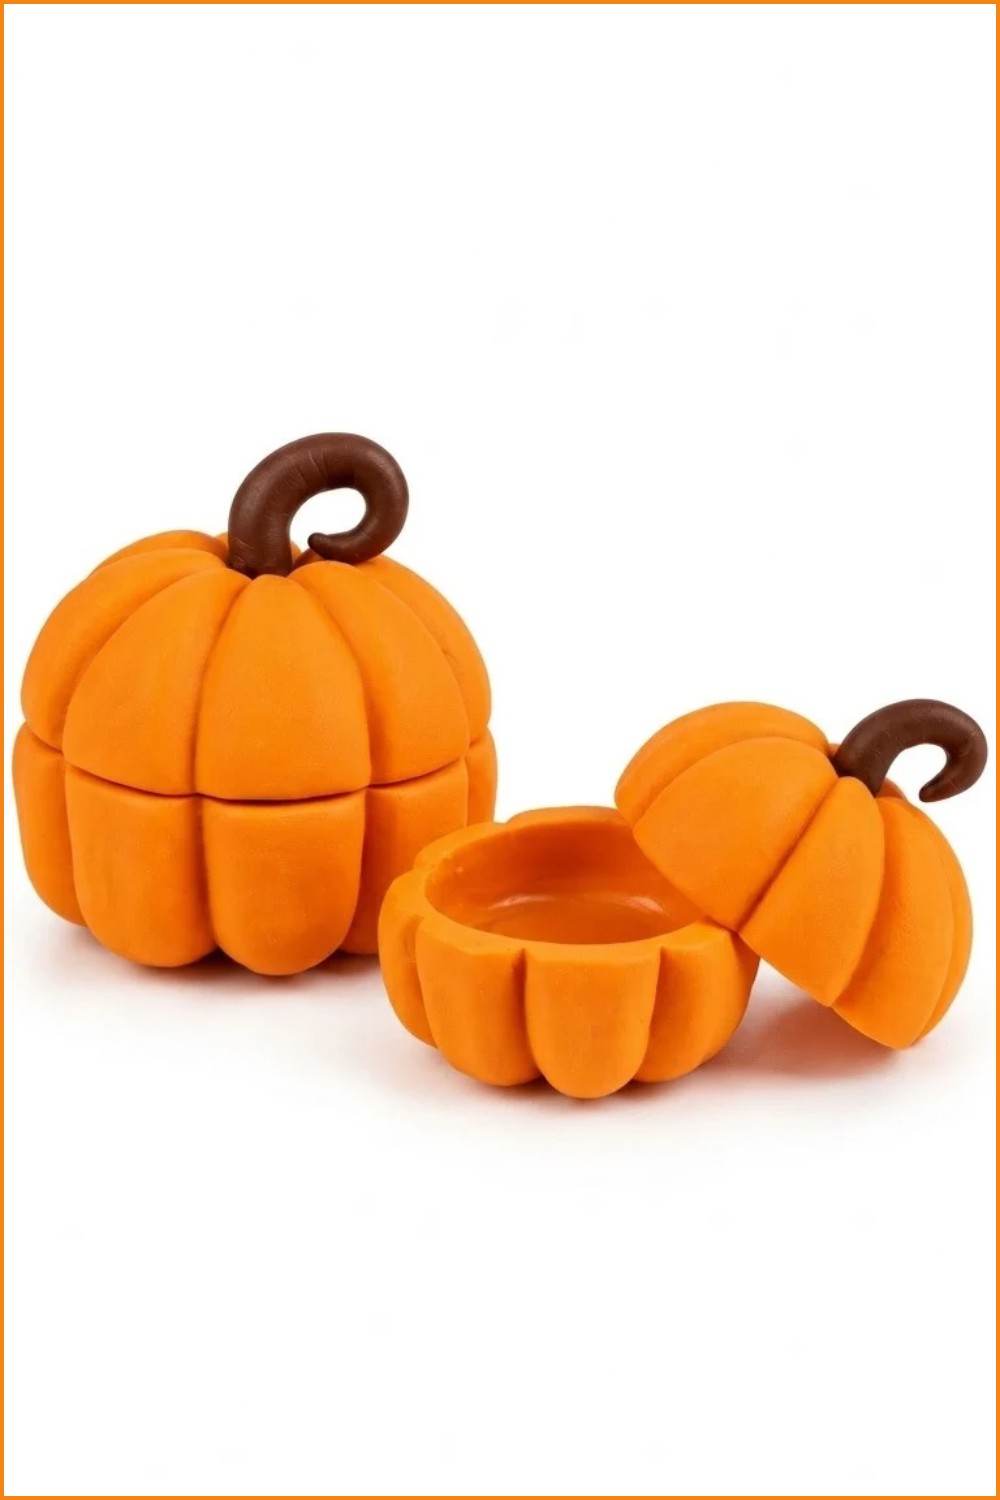
DIY Secret Pumpkin Jars
This tutorial shows how to create hollow secret pumpkins by sculpting polymer clay over identical glass jars to form removable pumpkin halves. The method emphasizes careful shaping, dividing the pumpkin into equal sections, creating defined ridges, and safely baking clay-on-glass so the finished halves can be separated after cooling. Follow each step and the baking sequence to avoid cracks and to achieve a smooth inner surface.
Materials
- Two identical glass jars (for top and bottom forms)
- Orange polymer clay (enough to cover jars)
- Liquid clay for adhesion (optional)
- Sculpting tools: flathead angled tool, blade, smoothing tools
- Small tinier jar or mini pumpkin reference (optional)
- Q-tips and acetone for cleanup
- Sandpaper and respiratory mask for sanding
- Liquid Sculpey or clay sealer and small foil balls
Tools
- Oven and baking tray
- Thin flexible blade or craft knife for removal
- Workmat and clean surface
Measurements
- Jar diameter and height to determine clay amount
- Divide pumpkin into eight segments for even ridges
Preparation
- Clean and dry the glass jars, and precondition your clay until pliable.
- Set up tools, make a few small foil balls, and preheat the oven only after placing the clay-covered jars inside (cold start technique).
Making Process
Stage 1: Form Bottom Half on Jar
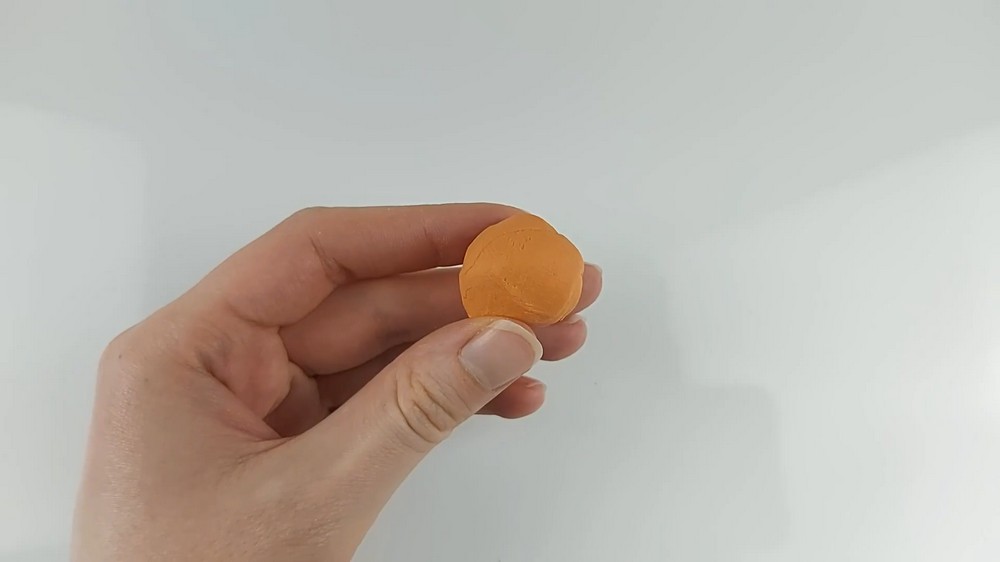
- Roll orange clay into a ball and split equally between jars.
- Press ball onto the jar base and drag excess clay up the sides to cover end.
- Use jar only as a form; avoid over-thinning edges that will affect removal.
- Smooth the surface and prepare to mark sections.
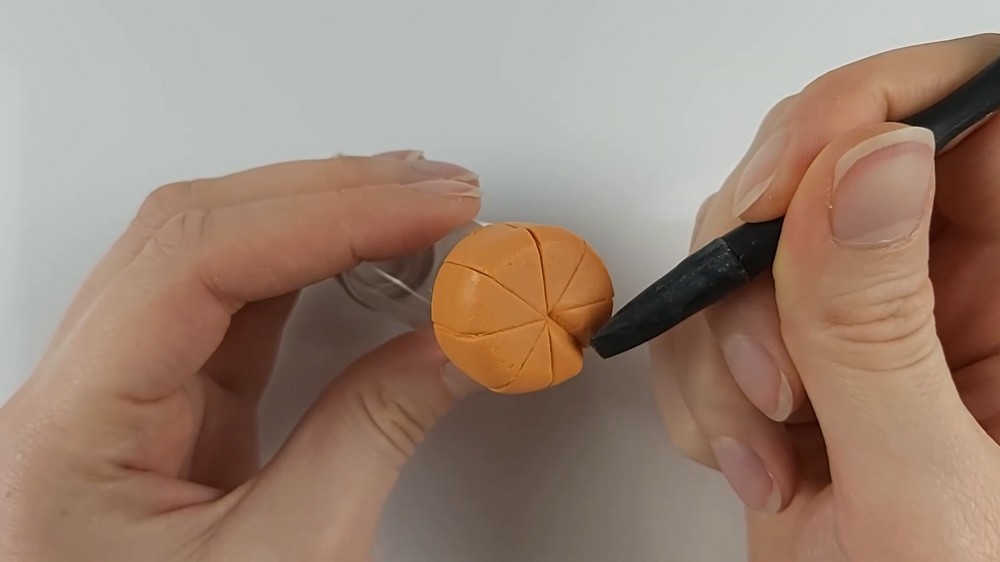
Stage 2: Divide and Mark Sections
- Divide the pumpkin outline into eight equal sections using a sculpting tool.
- Mark lines lightly; perfection not required but aim for consistency.
Stage 3: Create V Indents and Ridges
- On each marked line, create a V-shaped indent by angling the tool down on both sides.
- Work down one side of the jar then flip and repeat to keep ridges even.
Stage 4: Trim Rim of Bottom Half
- Cut all the way around to define the rim or edge where halves will meet.
- Ensure the cut follows the jar side to allow matching with the top half.
Stage 5: Sculpt Mini Pumpkin (optional)
- Repeat smaller scale steps for mini version, mindful of proportional distortion.
- Keep good side facing out if halves are imperfect.
Stage 6: Top Half Formation and Center Notch
- Attach clay to the base of the second jar, leaving more clay on top for rounding.
- Divide into eight sections and create a small central notch at the top.
- Use angled flathead tool for ridges, but avoid over-pressing to maintain roundness.
- Trim excess clay ensuring the cut is at the jar side, not on the rounded base.
Stage 7: Stem Attachment
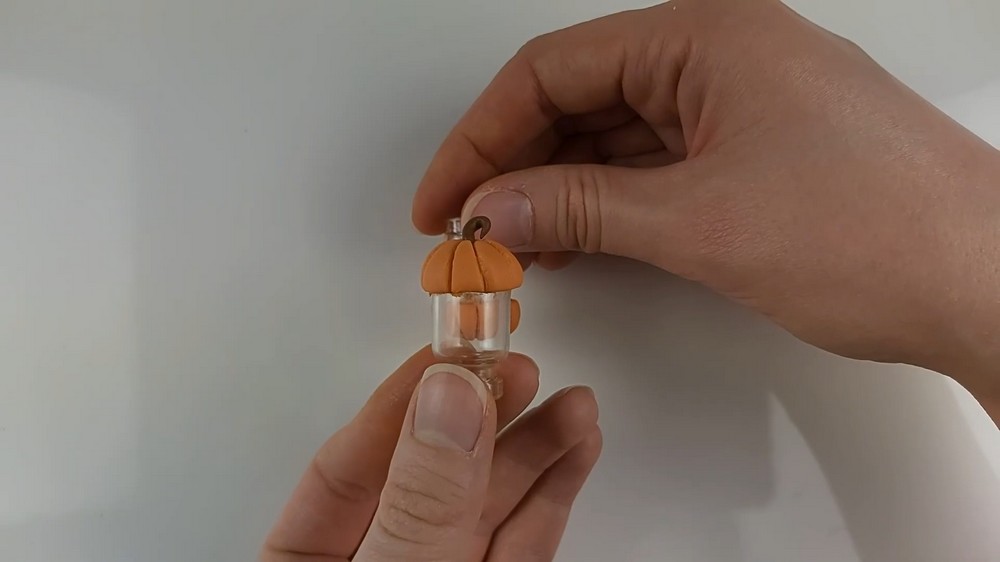
- Sculpt a stem (twisted or straight) and add liquid clay into the top indent before attaching.
- Press gently and smooth transition area so the stem reads as part of the pumpkin.
Stage 8: Mini Pumpkin Repeat
- Repeat top and bottom steps for mini pumpkin; scale down all features.
Stage 9: Baking on Glass – Cold Start Method
- Place clay-covered jars in a cold oven and then preheat to the clay manufacturer’s recommended temperature.
- After baking, turn the oven off and leave the door closed until the oven is completely cool to prevent thermal shock.
Stage 10: Removal from Jar
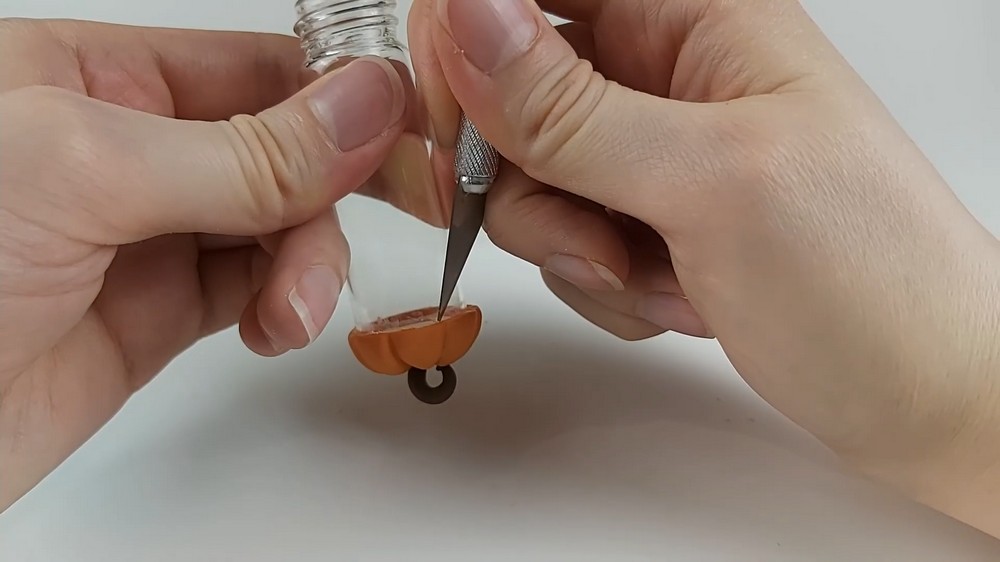
- Once cooled, try to gently pry the pumpkin from the jar; baked clay does not stick to glass but suction may hold it.
- Use a thin blade to cut along the rim to break the seal if necessary, working slowly to avoid chipping glass or tearing clay.
- Expect easier removal for smaller pumpkins; larger forms may show stress lines or fractures due to thinner clay.
Stage 11: Cleanup and Repair
- Sand edges gently to remove imperfections; wear a mask to avoid inhaling dust.
- Use acetone on a Q-tip to smooth and clean the finish, especially around seams.
- Fill any stress fractures with fresh clay or liquid Sculpey and rebake locally if needed.
Assembly Process
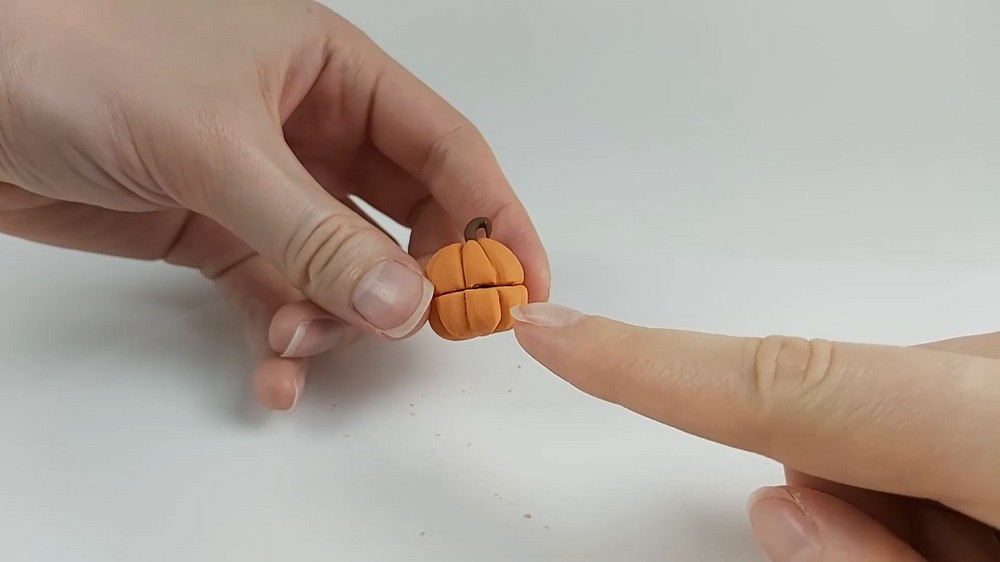
- Match top and bottom rims and test fit; sand or trim edges for close alignment.
- If using as storage, ensure interior is clean and sealed; consider adding felt pads to the base.
Decorative Details
- Paint or varnish stems for added realism; add tiny carvings or painted faces if desired.
- Use mica powders or drybrushing to highlight ridges.
Final Finishing
- Seal with a non-yellowing matte varnish to protect surfaces.
- Store halves loosely to avoid creating new suction.
Tips for Success
- Film or photograph your work at stages to spot asymmetry early.
- Apply even pressure when marking and creating ridges for balanced results.
- Test removal on a scrap clay sample on glass to practice the cold-start method.
Customization Options
- Make decorative lids by adding carved faces, windows or miniature handles.
- Create seasonal variations with different clays, paints or embedded trinkets.
Care and Maintenance
- Clean with a soft cloth; avoid harsh chemicals.
- Repair chips with small amounts of fresh clay or glue.
Project Summary
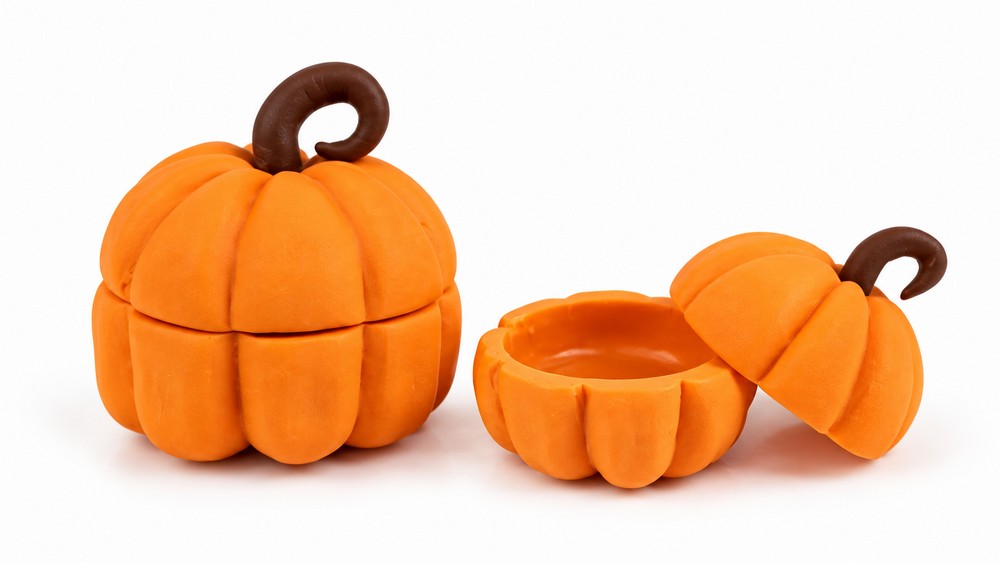
This process produces charming secret pumpkins suitable for miniature storage or decoration. Using jars as forms allows for hollow interiors and a smooth finish when removed correctly. Expect some trial and error; sanding and acetone cleanup polish the results. With careful baking, gentle removal, and final sealing, you will have durable seasonal decorations that double as tiny secret containers.
Final Notes
These pumpkins are ideal for hiding small trinkets such as rings, notes, miniature candies, or tiny keepsakes. Consider lining the interior rim with a thin strip of felt glue to prevent scratching glass or to dampen suction. If a firm seal is desired, add a small plastic gasket glued into one half, but be aware it may affect the authenticity of the reveal. For gifting, nest a tiny scroll or a pressed flower inside. Practice on a single test jar to refine your trimming technique before committing to a display set. Enjoy crafting and experiment with sizes and textures for a varied collection. Happy Halloween crafting and store safely.