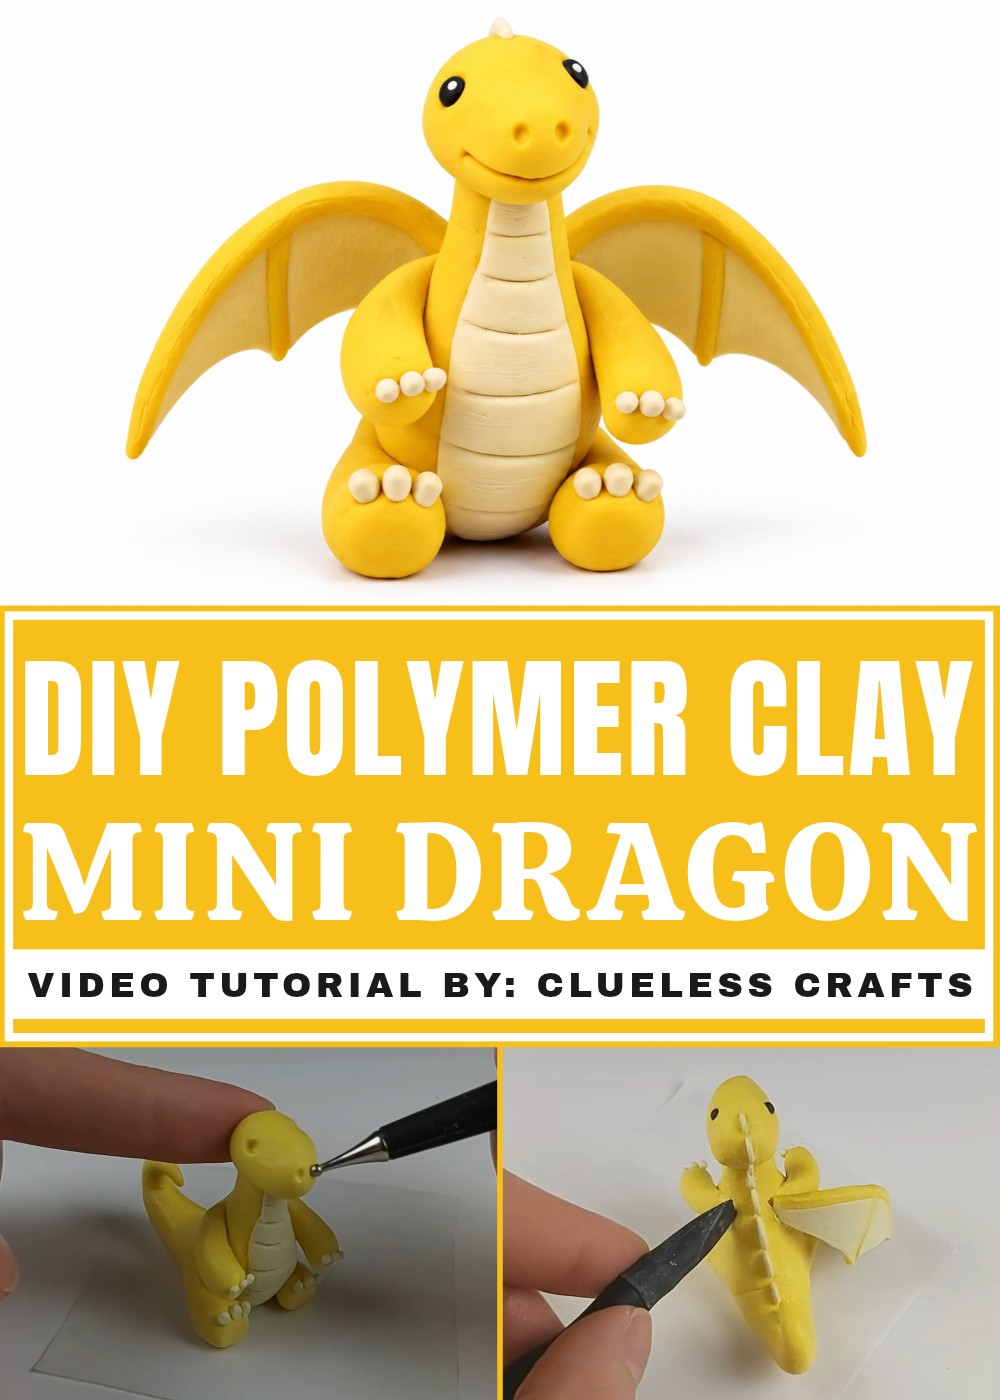
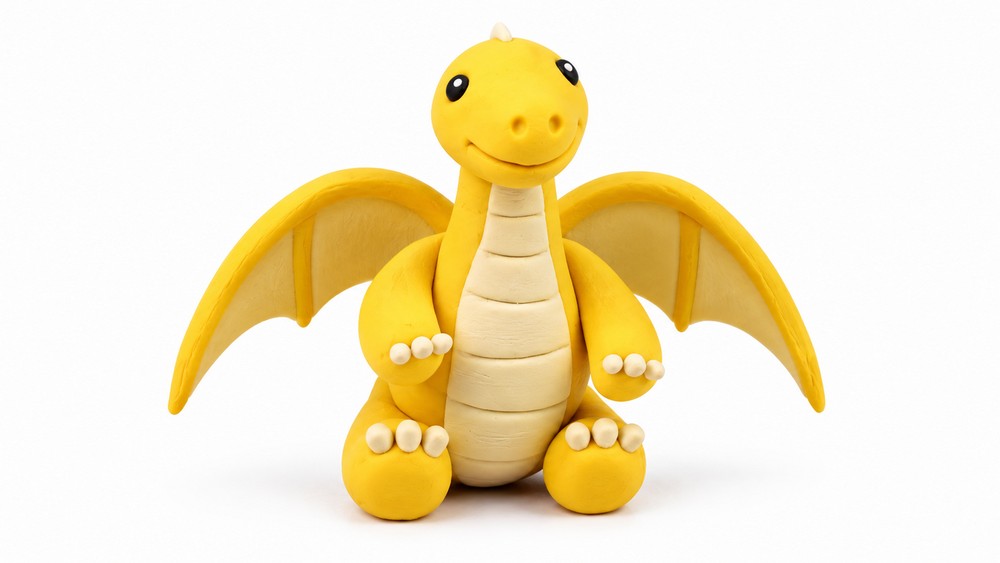
Bring your creativity to life with this DIY Polymer Clay Mini Dragon project and craft a stunning, professional-looking miniature dragon with ease.
Creating something with your own hands can be incredibly rewarding, and a DIY Polymer Clay Mini Dragon project is a great way to turn your imagination into a playful little masterpiece. These tiny dragons are made from polymer clay, a material that’s easy to shape and customize, making it perfect for beginners and seasoned crafters alike. With its whimsical charm, this project allows you to design a unique creature that’s both fun to make and delightful to keep or gift.
How to DIY Polymer Clay Mini Dragon
Polymer clay is easy to work with, allowing you to add tiny details like textured scales or expressive eyes. Mix and match colors to make your dragon vivid and enchanting, then shape its pose to give it character. Once you’re happy with the design, the clay can be baked to set its form, and a glossy finish can be applied to make it shine beautifully. The result is a sturdy, vibrant little dragon ready to brighten up any space.
These mini dragons can be used as charming decorations, adding a touch of magic to a desk or shelf. They also make heartfelt gifts, showing the time and care you put into creating something special. Whether you keep your dragon or share it with a loved one, this project is a fun and imaginative way to express your creativity.
Decorative Details
- After cooling, add gloss varnish to eyes for shine if you used clay eyes or beads.
- Paint or add mica powders to highlight scales or wing ribs for extra visual interest.
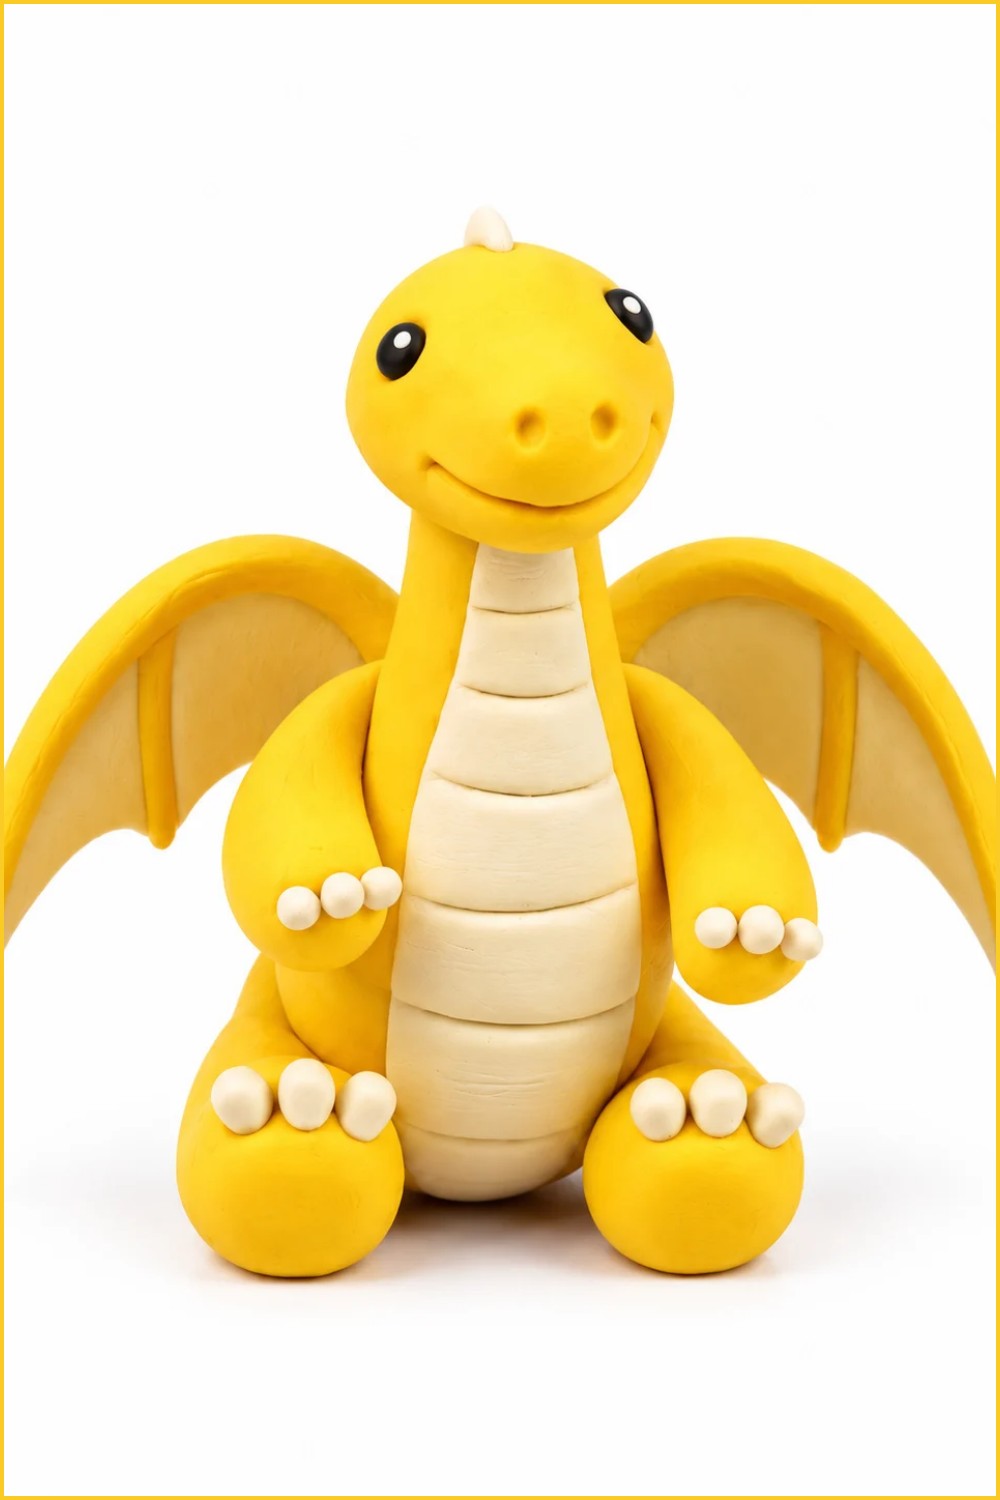
Easy Mini Clay Dragons (Full-Transcription Steps)
This guide follows the full sequence shown in the transcript to make small polymer clay dragons. It covers every action from forming the body and tail, through head, belly and scale detailing, limb and claw shaping, two wing-building approaches, propping wings for bake shape, assembly with liquid clay, and baking/finishing notes. Use Sculpey, Fimo, or similar brands and follow their baking recommendations; the transcript example used 275°F as a standard.
Project Requirements
Materials
- Polymer clay in chosen colors (e.g., yellow, purple, orange)
- Contrasting lighter clay for bellies and wing membranes
- Liquid Sculpey or compatible liquid clay for attachments
- Aluminum foil to make small foil balls (wing props)
Tools
- Roller or smooth rod for flattening sheets
- Sculpting tools (flathead sculpting tool recommended)
- Cutting blade or craft knife
- Small baking tray, parchment paper or ceramic tile
- Q-tips and acetone (for removing fingerprints)
- Oven thermometer (optional) to check oven accuracy
Measurements
- Aim for a miniature scale: body roughly 1–2 inches tall (adjust proportionally)
- Wingspan ~ body length for cute minis; extend for more dramatic poses
Preparation
- Condition clay by kneading until soft and uniform.
- Clear workspace and pre-make small foil balls to prop wings.
- Preheat oven according to the clay manufacturer; the transcript used 275°F.
- Keep Q-tips and acetone nearby for surface cleanup.
Making Process
Stage 1: Body and Tail Formation
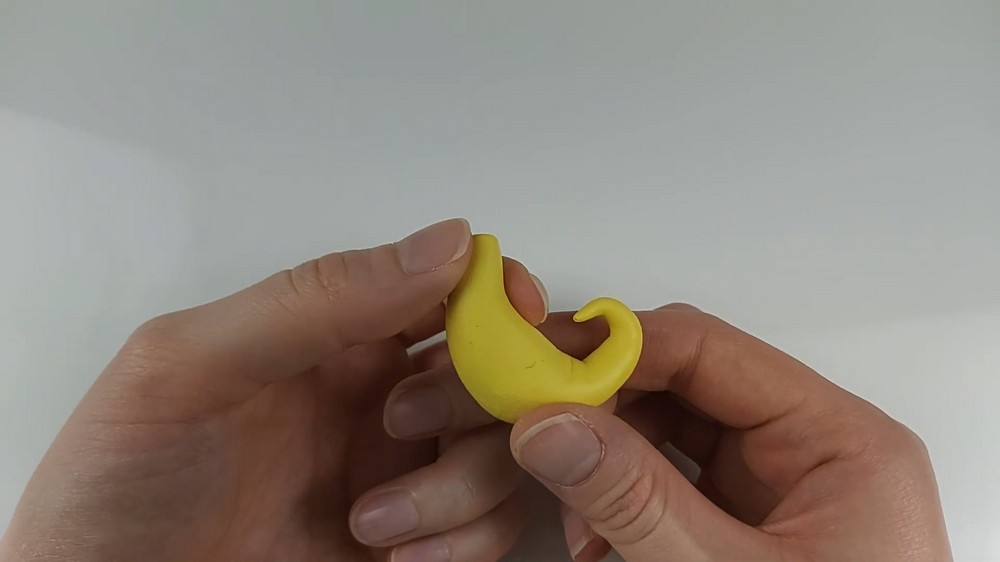
- Roll the biggest piece of clay into a ball and shape it into a cone.
- Pinch the cone’s base to create a rough diamond silhouette.
- Press the shorter end of the diamond into the table to create a flat area for head attachment.
- Curve the tail upward toward the back to create a lively posture and balance.
Stage 2: Head Attachment
- Roll a small ball of clay into an oval for the head.
- Blend the head into the body, smoothing the seam so it’s secure and naturally connected.
- Adjust head tilt to give character (tilted up for alert, forward for playful).
Stage 3: Belly Panel and Smoothing
- Roll a log of lighter-colored clay and flatten it into a long oval for the belly.
- Trim sides to fit the body proportionally and press it down the front toward the tail.
- Smooth the belly edges with a finger or sculpting tool for a seamless join.
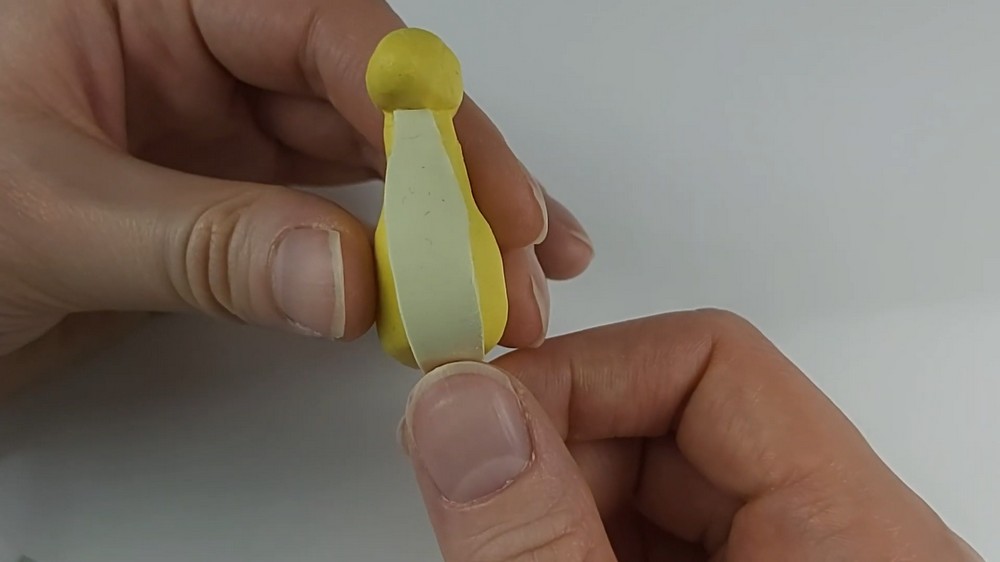
Stage 4: Scale Texture
- Use a flathead sculpting tool to press line indents along the belly and down the back to simulate scales.
- Optionally add small separate flattened teardrop scale pieces and attach them with liquid clay for raised texture.
- Plan scale variations (three variations were mentioned in the transcript) to diversify your dragon army.
Stage 5: Arms and Legs
- Roll clay into rough teardrop shapes for limbs.
- Attach the narrower end to the body and flatten the foot area to form a base.
- Make the front limbs slightly smaller than back limbs for proper proportions.
- Press pairs of limbs into place at once where possible for symmetrical attachment.
Stage 6: Claws and Facial Details
- Form tiny claw cones and attach them to the flattened foot areas.
- Indent two spots for nostrils and two deeper indents for eyes.
- Make a shallow smile line with a point tool and place small black clay balls into the eye indents to create eyes.
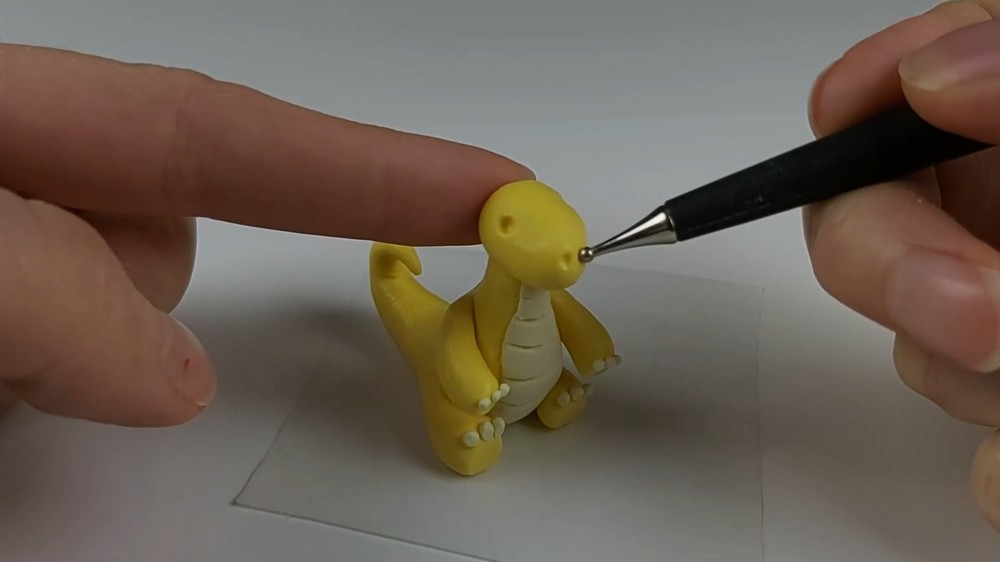
Stage 7: Wing Design — Two Approaches
- Design A (Layered Structure):
- Roll a thin sheet for the wing membrane.
- Cut separate spine and rib pieces and place them on top of the membrane to form a raised structure.
- Attach the ribs and spine before adding the full wing membrane so the structure reads as layered.
- Design B (Built-In Structure):
- Cut the membrane and carve in the spine and ribs directly into the same sheet so the structural grooves are integrated rather than layered.
- In both designs, shape wings to be symmetrical as much as possible; minor adjustments are normal.
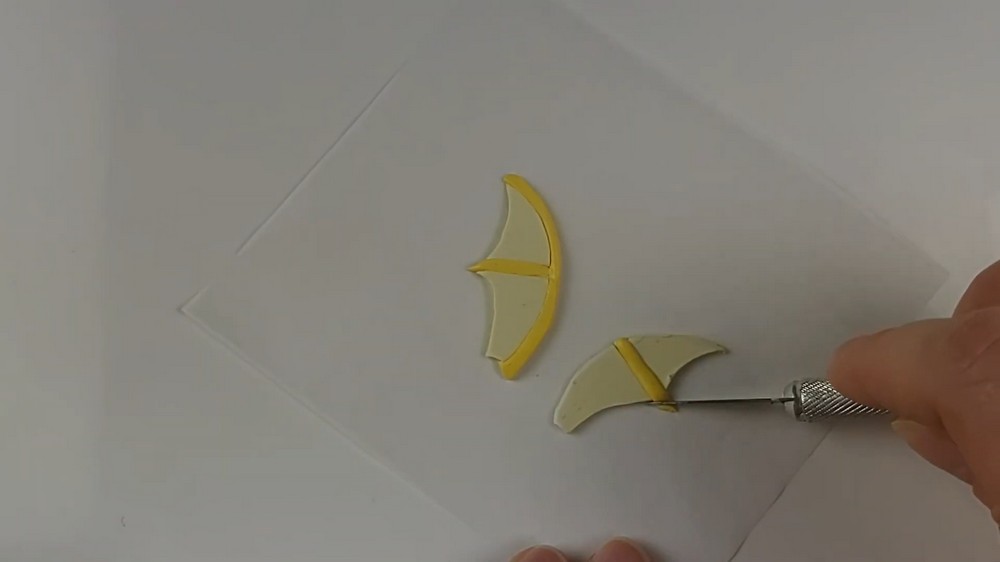
Stage 8: Propping Wings for Shape
- Create small balls of aluminum foil and use them to prop the wings into an upward, dynamic curve.
- Make shallow indents on the dragon’s back where the wings will sit.
- Use liquid Sculpey sparingly at the wing bases for adhesion and press wings into the indents.
Assembly Process
- Attach additional scale pieces down the back with liquid Sculpey where desired.
- If pre-baking wings separately, bake according to the wing schedule, then attach and finish with a final bake.
- Ensure wings are propped and positioned as intended before baking so the baked shape is preserved.
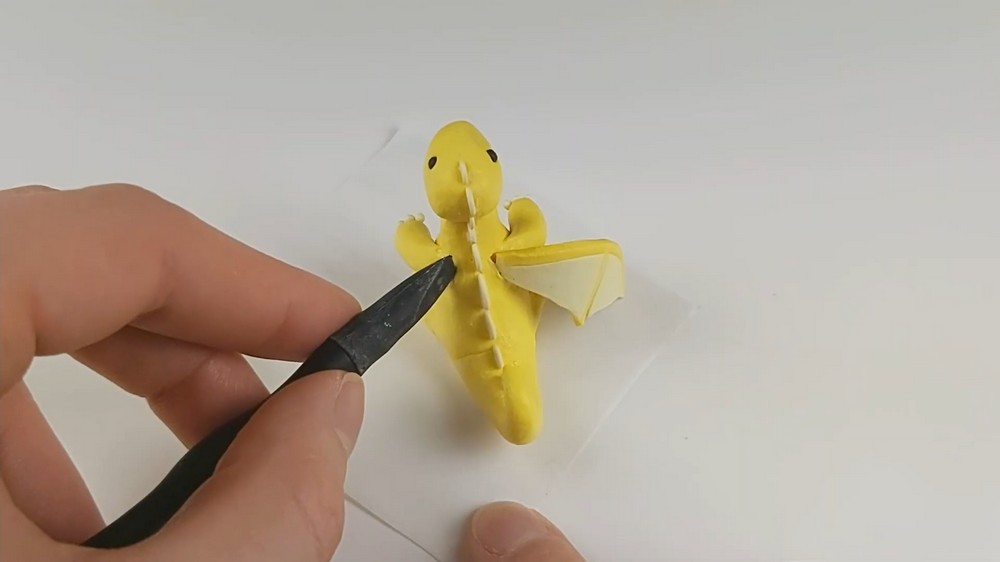
Final Baking and Cooling
- Transcript baking notes used: pre-bake wings and detail pieces at 275°F for 30 minutes.
- Attach pre-baked wings to the dragon using liquid clay, then final bake the entire assembled dragon at 275°F for 1 hour.
- Allow fully baked pieces to cool completely before handling; warm clay dents easily.
Tips for Success
- If you notice lint picking up from clay, work on a clean mat and keep lint rollers or clean hands; the transcript mentioned lint issues with the clay.
- For heavy fingerprinting, use a Q‑tip with acetone to wipe the clay surface before baking (test on scraps first).
- Bake slightly longer than manufacturer minimums if unsure; underbaked clay is brittle.
Customization Options
- Vary scale shapes, wing sizes, or tail curls across different color dragons to form a diverse mini army.
- Marble clay colors for special skins or add metallic powders for shimmering scales.
Care and Maintenance
- Store minis in a padded container to prevent snapping of thin wings.
- Clean gently with a soft brush or damp cloth; avoid soaking.
- Keep a small repair kit with liquid clay for reattaching broken parts.
Project Summary
Following the transcript step-by-step yields charming mini dragons: start with a conical body and uplifted tail, add a smooth blended head, apply a belly panel and scale marks, form limbs and claws, choose a wing construction method, prop wings with foil for baking shape, assemble with liquid Sculpey, and bake following the staged schedule. Small finishing touches—cleaning fingerprints, adding scale variations, and varnishing eyes—complete the process and produce durable, collectible minis.