Make a charming miniature wedding cake that captures elegance and warmth perfect for adding a special touch to your celebrations or decor.
Special thanks to Tagadanail Fimo & Miniatures for kindly giving me permission to use her video.
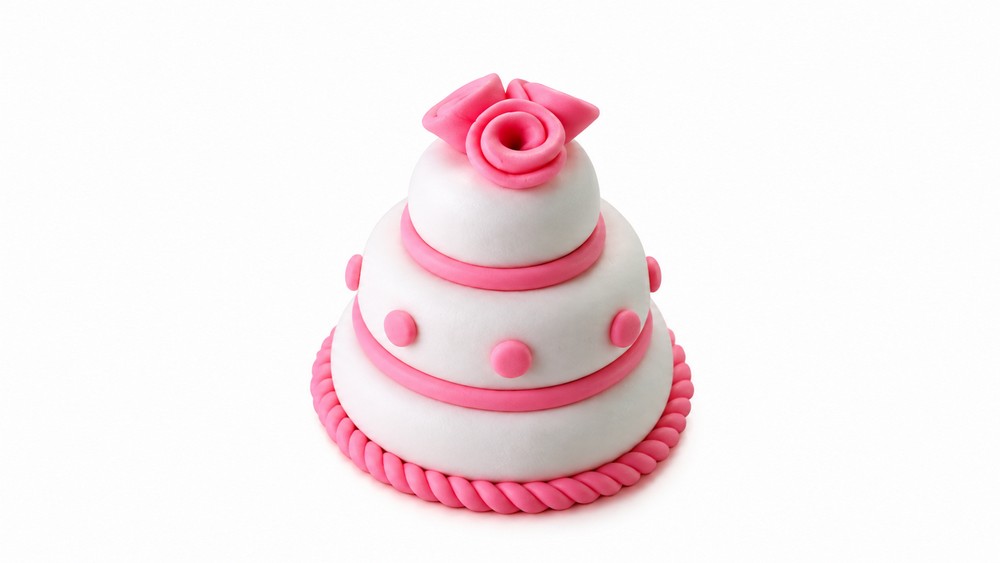
Elegance shines through this miniature wedding cake boasting delicate details that instantly draw attention. The DIY Polymer Clay Wedding Cake features three perfectly stacked tiers accented with subtle rolled edges and tiny bead-like decorations that add texture without overpowering its simple beauty. Soft pink roses gently crown the top, infusing the piece with a romantic and handcrafted charm that captivates the eye. Ideal as a decorative keepsake or a special gift, this petite cake balances sweetness and sophistication flawlessly.
DIY Polymer Clay Wedding Cake Centerpieces Step By Step
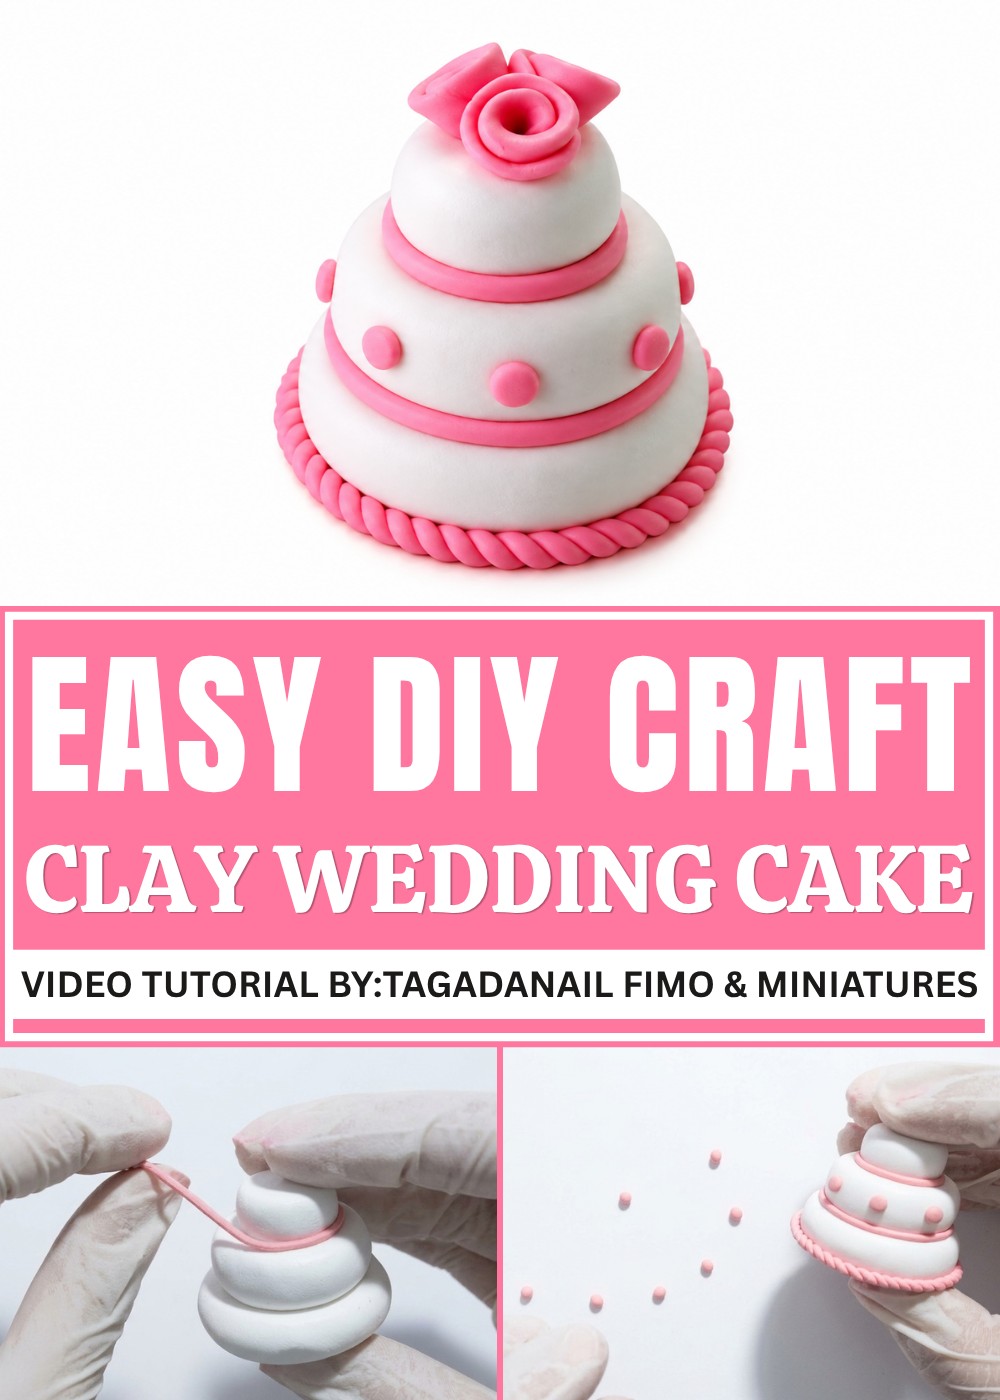
This creation embodies the spirit of celebration in a refined yet approachable style. Its timeless design suits various themes, from weddings and anniversaries to dollhouse displays, making it remarkably versatile. The careful proportion and smooth curves give the cake a polished but warm character that feels both classic and personal.
Lightweight but sturdy, the finished design makes for a memorable decoration that enhances any setting with handcrafted elegance. The gentle color scheme and thoughtful details come together to offer a piece that’s both striking and heartfelt. For anyone seeking a unique way to honor love or craft a charming ornamental item, the DIY Polymer Clay Wedding Cake is a beautiful blend of artistry and sentiment.
How to Create a Small Wedding Cake Out of Polymer Clay
Making miniature sculptures with polymer clay is a popular and rewarding craft, ideal for creating personalized decorations or gifts. This tutorial demonstrates how to sculpt a detailed small wedding cake featuring multiple tiers, decorative ribbons, and delicate roses. The step-by-step instructions help beginners learn essential shaping, assembling, and decorating techniques using simple materials and sculpting methods.
Features of the Miniature Wedding Cake
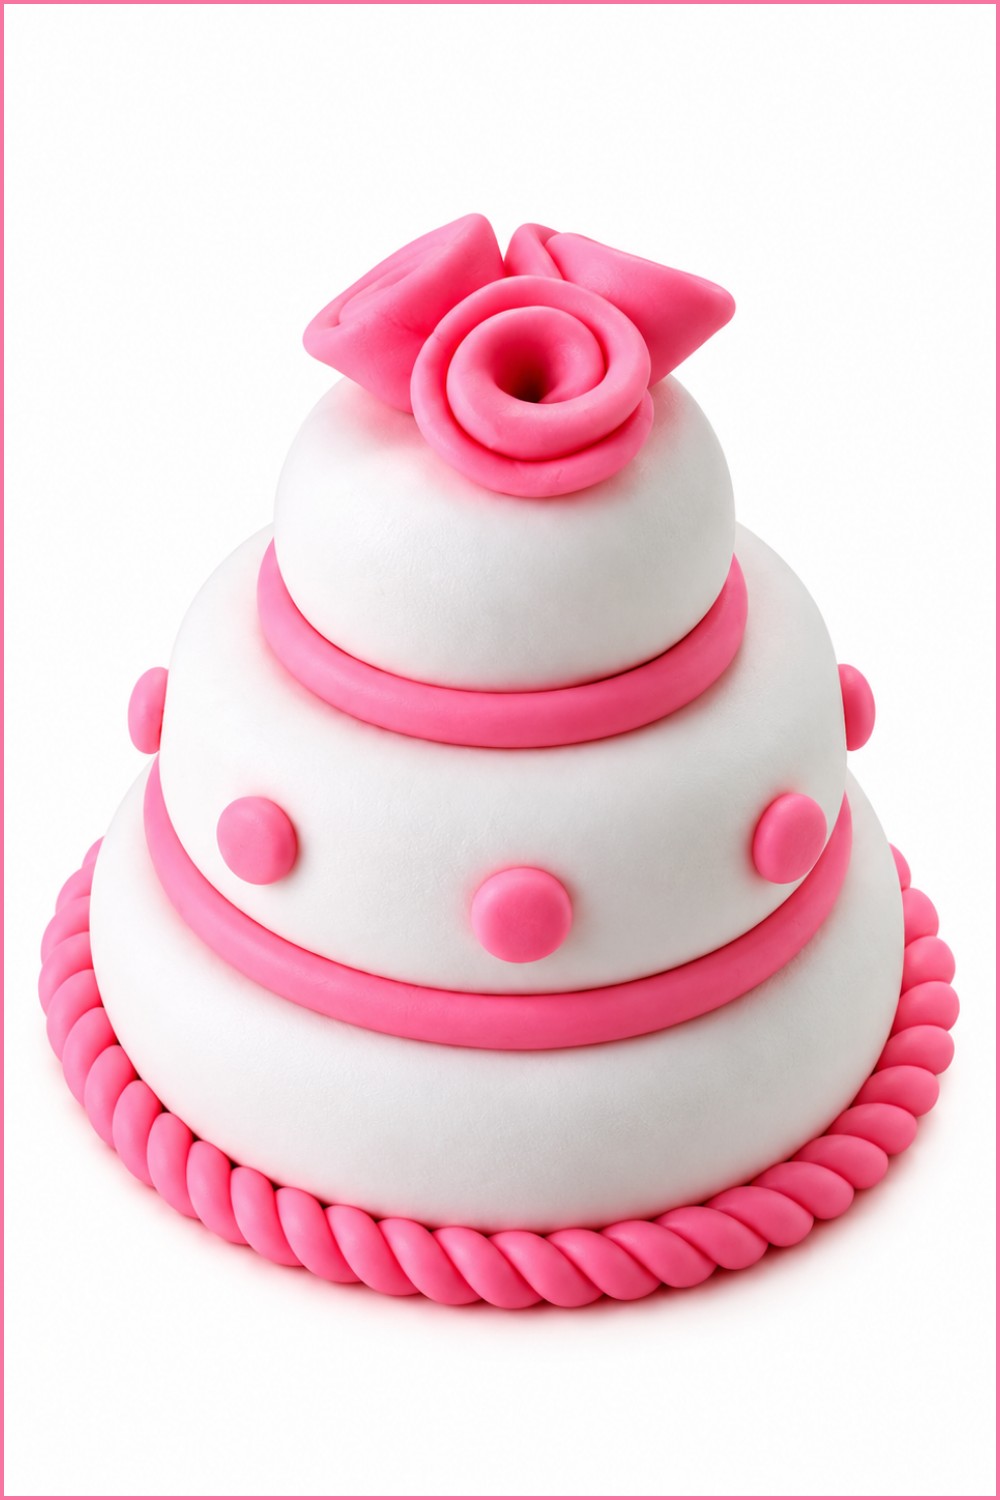
- Three-tiered cake structure: Small, stacked discs increase in size to mimic a classic wedding cake.
- Delicate pink ribbons: Thin strips of pink clay wrapped around each tier add elegance.
- Decorative twisted trim: A detailed twisted rope accent decorates the base of the bottom tier.
- Handmade tiny roses: Three small roses placed on top add a romantic touch.
- Smooth textured finish: Each part is shaped and smoothed for neatness and visual appeal.
Why Using Quality Materials and Tools Matters
Polymer clay’s versatility enables beginners to mold fine details while sturdy enough to bake into permanent forms. Choosing good quality clay ensures colors blend well and pieces adhere securely. Tools like scalpels allow precise cuts, while fingers and work surfaces help shape and smooth the clay effectively. Having patience during each step and preparing materials carefully enhances control over texture and form. Additionally, finishing tools like gloss or varnish can be used later to highlight details and protect your piece.
Materials and Tools Needed
- White polymer clay (for cake layers)
- Red and white polymer clay (mixed to create pink clay for ribbons and roses)
- Small scalpel or craft knife (for cutting and trimming)
- Clean workspace or non-stick surface (for rolling and shaping clay)
- Optional: Gloss finish for added shine after baking
- Oven for baking polymer clay according to instructions
Important Tips Before Starting Your Project
- Condition your clay well by kneading it until soft and smooth to improve workability.
- Roll balls and sausages evenly to ensure balanced layers.
- Use gentle pressure when flattening discs and wrapping ribbons to avoid distortion.
- Frequently smooth edges and seams with fingers or tools to get a neat finish.
- Sharp blades create cleaner cuts; replace or sharpen regularly.
- Keep your workspace clean to prevent unwanted debris embedding in the clay.
- Allow baked pieces to cool fully before handling or decorating further.
- Use minimal force when shaping delicate parts like roses and ribbons to preserve their form.
Step-by-Step Pattern Instructions
Forming the Cake Tiers
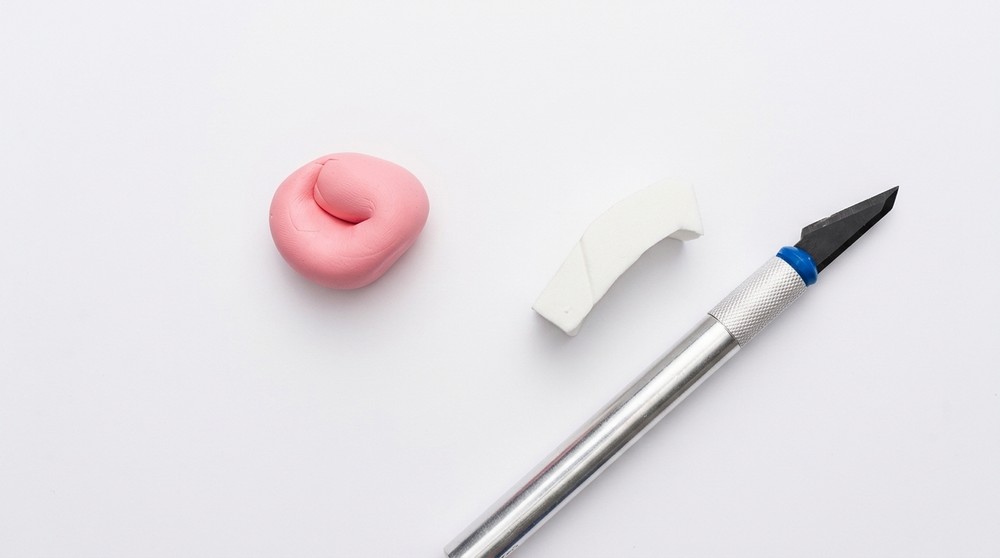
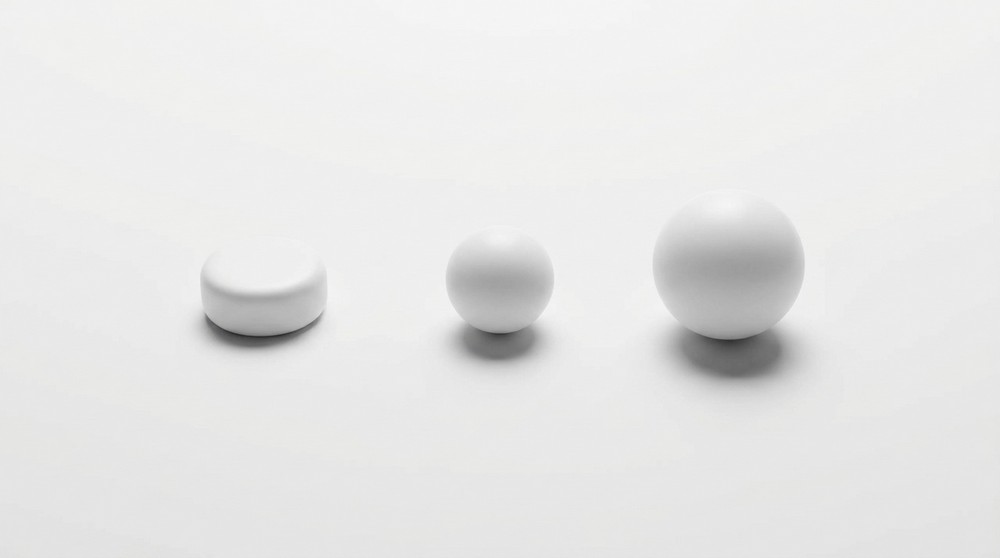
- Make three balls of white polymer clay: one small, one medium, and one large.
- Roll each ball between your fingers into elongated egg-like shapes.
- Lightly flatten each shaped ball on two opposite sides to form small discs, the bases of your tiers.
- Stack the discs by placing smaller discs on top of the larger discs, beginning with the biggest disc at the bottom, to create a three-tier cake shape.
Adding Pink Clay Ribbons
- Mix red and white clay to make a pink color.
- Roll a small piece of pink clay between your fingers to form a very thin, long sausage.
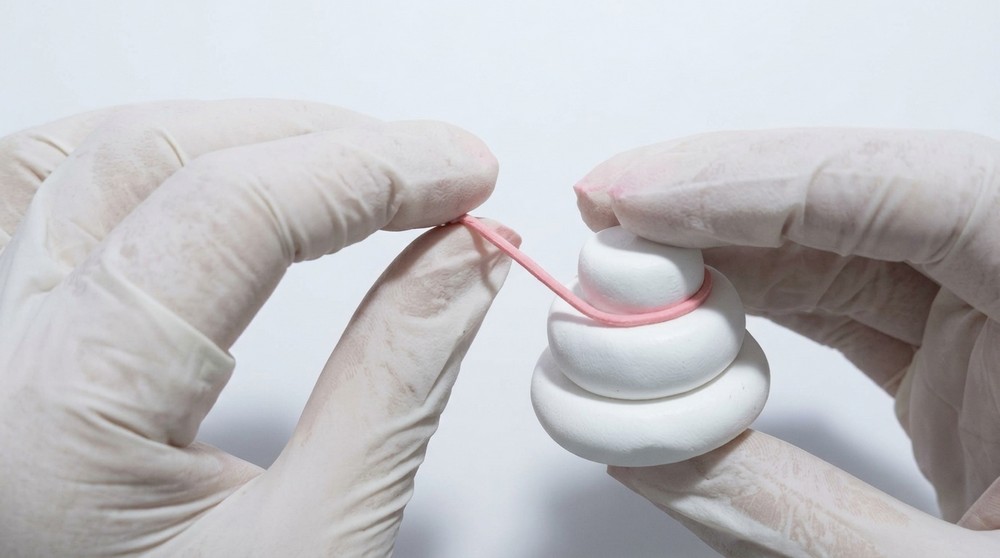
- Wrap this thin clay "sausage" around the base circumference of the middle cake tier.
- Use a scalpel to trim and neaten the ends where they join, then press lightly to secure.
- Make another very thin, equal-sized pink sausage and place this ribbon higher on the middle tier.
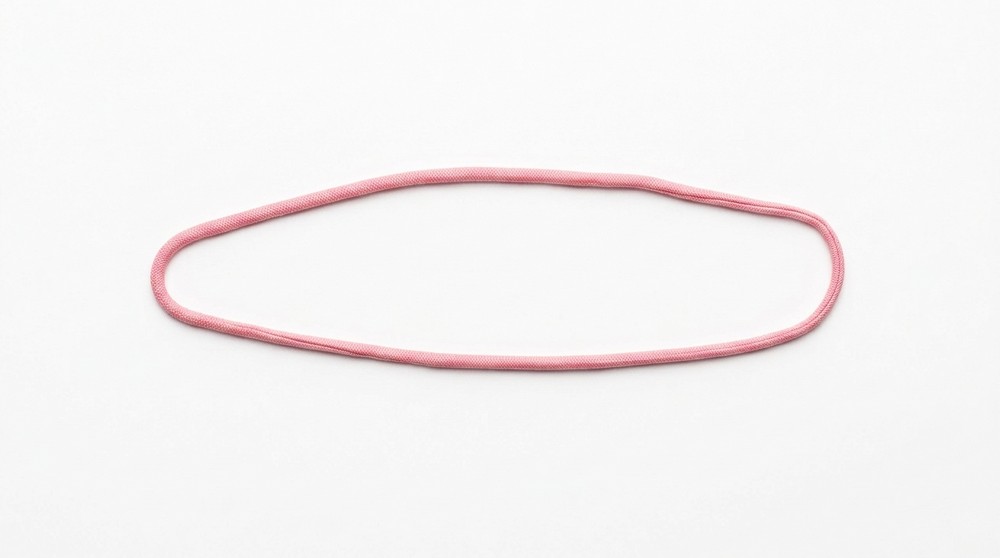
- For the bottom tier, roll a longer piece of pink clay sausage.
- Fold this piece in half gently, then roll between your fingers to form a twisted rope effect.
- Trim the ends neatly with a scalpel.
- Attach the twisted rope carefully around the base of the bottom tier, trimming excess clay, and smoothing the join for a clean look.
Crafting Tiny Pink Roses
- Roll a small piece of pink clay into a ball.
- Flatten the ball lightly with your fingers into an irregular, roughly circular shape resembling a petal.
- Roll the petal into a tight spiral to create a small rose bud.
- Pinch and smooth the base of the rose between your fingers to thin and refine the underside.
- Trim the base cleanly with your scalpel, leaving only the rose top.
- Repeat these steps twice more to make a total of three roses.
Decorating the Cake with Roses
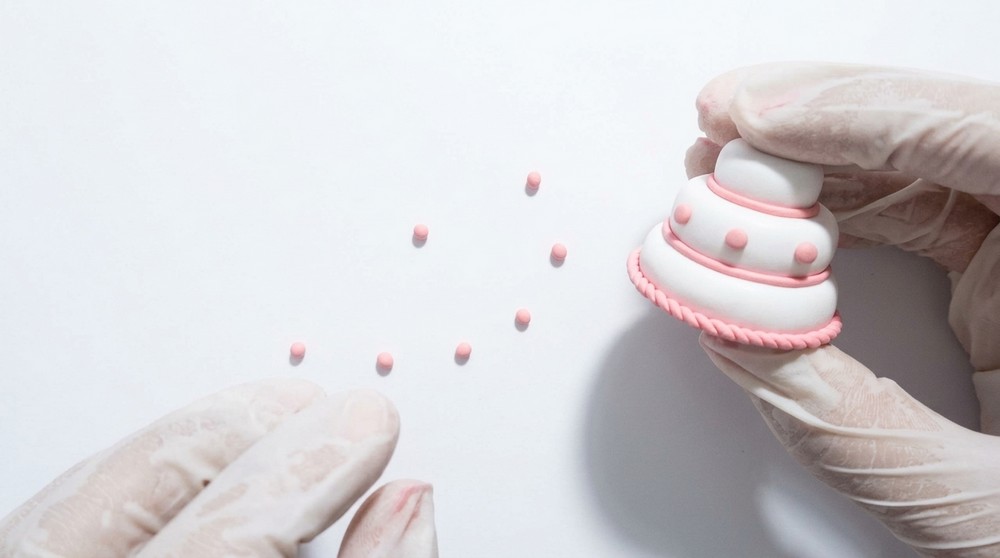
- Attach the three roses closely together on top of the smallest tier (top of the cake).
- Press gently to affix without distorting their shape.
Final Smoothing and Texture Check
- Review the cake overall, smoothing any rough edges, visible seams, or fingerprints.
- Refine ribbons and twisted trims as needed for neatness and symmetry.
Baking and Finishing
- Bake your polymer clay cake according to the manufacturer’s instructions (usually around 110°C/230°F for 30 minutes).
- Allow the piece to cool completely to avoid cracks or fingerprints.
- Optionally apply a gloss varnish or finish to add shine and protect your miniature cake.
Final Reflections
This miniature wedding cake project guides beginners through fundamental polymer clay techniques such as shaping spheres, flattening discs, cutting neatly, twisting textures, and sculpting flowers. The layers, ribbons, and roses bring dimension and elegance to the piece while fostering skills in detail work and gentle handling. Following these steps helps build confidence to explore more intricate polymer clay designs in the future. This charming project is not only decorative but also an engaging hands-on crafting experience suitable for many occasions.