Create your own adorable Sailor Moon inspired kitty charm with this easy pattern perfect for fans and craft lovers looking for a fun project.
A small kitty with big, shiny wings looks like it belongs in a magical story. This kitty has soft pastel colors and a gentle blush on its cheeks that makes it look happy and friendly. With sparkling wings and sitting on a star, it has a tiny moon on its forehead just like characters from Sailor Moon.
Craft Adorable Kitty Sailor Moon Charm with This Pattern
Important Words For Channel!
For a burst of cuteness and creativity, check out Flying Mio’s amazing designs! Visit her YouTube channel here: Flying Mio for more fun and charming crafts.
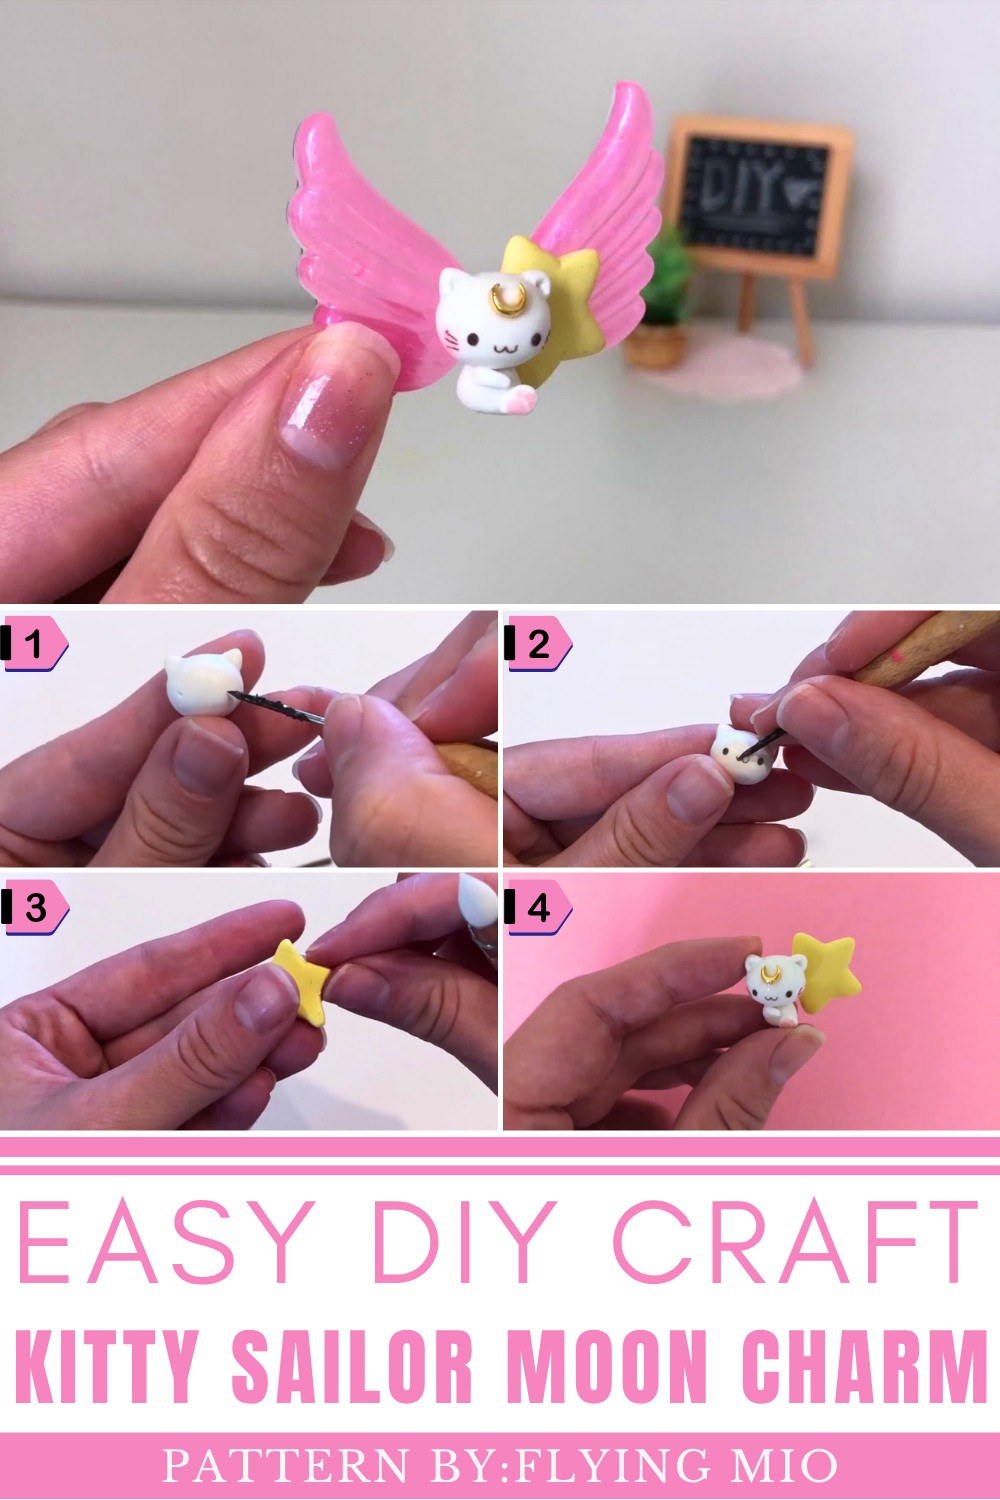
This makes the DIY Kitty Sailor Moon Charm Pattern]special. It mixes a cute kitty with magical details inspired by popular cartoons. It works well as a little toy, a decoration, or something to hang on a backpack or keychain. The soft colors make it eye-catching and fun.
Fans of cartoons or cute animals will enjoy having this charm because it feels like a tiny magical friend. It’s more than just a small figure—it shows love for magical stories and pretty shapes. This kitty charm is a lovely and simple piece full of charm and imagination that everyone can enjoy.
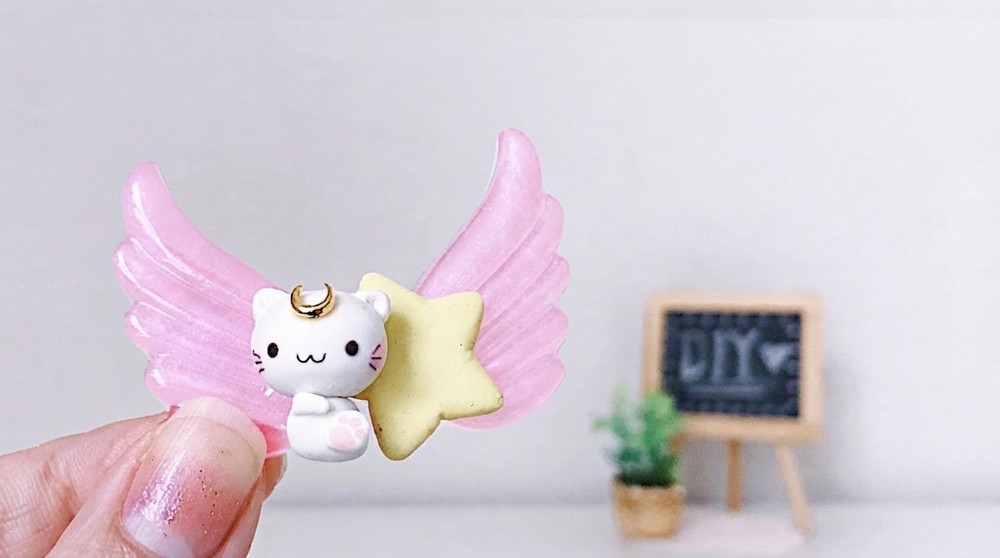
DIY Kitty Macaron Clay Charm Tutorial: Create a Whimsical Sailor Moon Inspired Kitty with Wings
This adorable kitty charm features delicate wings and a celestial star, blending the sweetness of macarons with a magical theme reminiscent of Sailor Moon. Crafted from polymer clay and enhanced with resin wings, this miniature creation makes a charming gift or collectible figurine perfect for crafters of all levels.
Design Overview
- Kitty Features: Oval-shaped head with expressive eyes, tiny whiskers, and 3D ears for added dimension
- Body Elements: Triangular-shaped body with a single paw featuring detailed pads
- Accessories: A yellow star base and a small moon charm on the kitty’s forehead
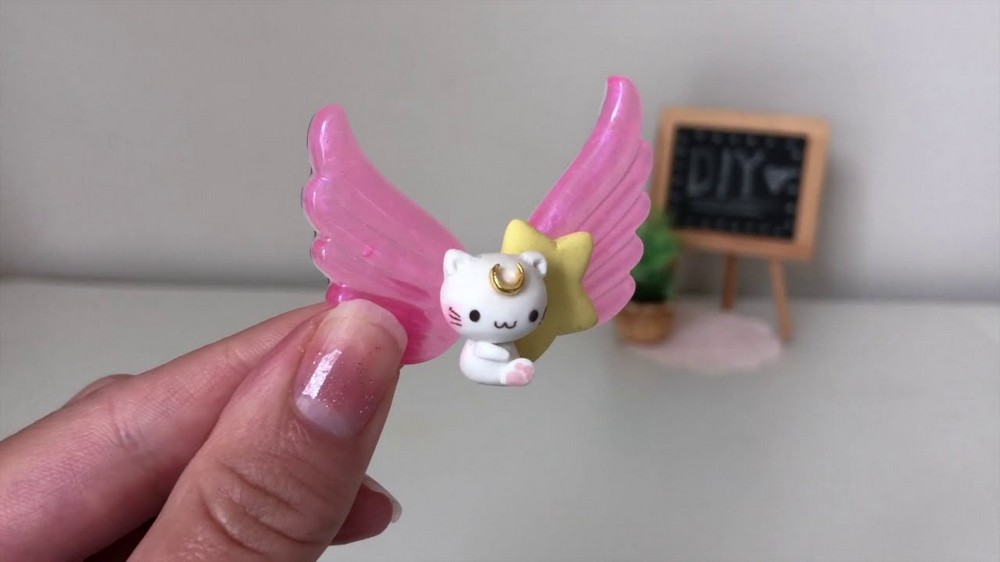
- Wings: Oversized glittery pink wings created using UV resin in a silicone mold, providing an iridescent finish
Importance of Gathering Quality Materials
Before you begin, having the right materials and tools is crucial. Quality polymer clay ensures smooth sculpting and a clean finish. UV resin and coloring agents allow for vibrant, durable wings that add life to your charm. Proper tools help detail small features accurately, saving time and improving results. Preparing your workspace and materials beforehand will make the crafting experience enjoyable and efficient.
Materials & Tools Required
- Polymer clay (white, black, pink, light yellow, pastel colors)
- Blush or pastel powder for gentle color accents
- Small piece of metal or sculpting tool for joining parts
- Exacto knife or precision blade
- Silicone mold for wings
- Clear UV resin and resin dye (hot pink or preferred color)
- UV light source for curing resin
- Small round tools or needles for shaping eyes and whiskers
- Sandpaper or file for smoothing edges
- Soft brush for dusting blush or pastel powder
Important Tips Before Starting
- Work in a clean area free of dust to avoid imperfections in the clay and resin.
- Keep your hands clean and dry while handling clay to prevent unwanted texture.
- Condition polymer clay by kneading to soften it, which eases blending and shaping.
- Use fine tools carefully for detailed lines like whiskers and lips to maintain sharpness.
- When working with UV resin, avoid skin contact and use gloves if needed.
- Cure resin in a well-ventilated area following manufacturer instructions for safety.
Pattern & Step-By-Step Instructions to Make Your Kitty Macaron Clay Charm
1. Sculpting the Kitty’s Head
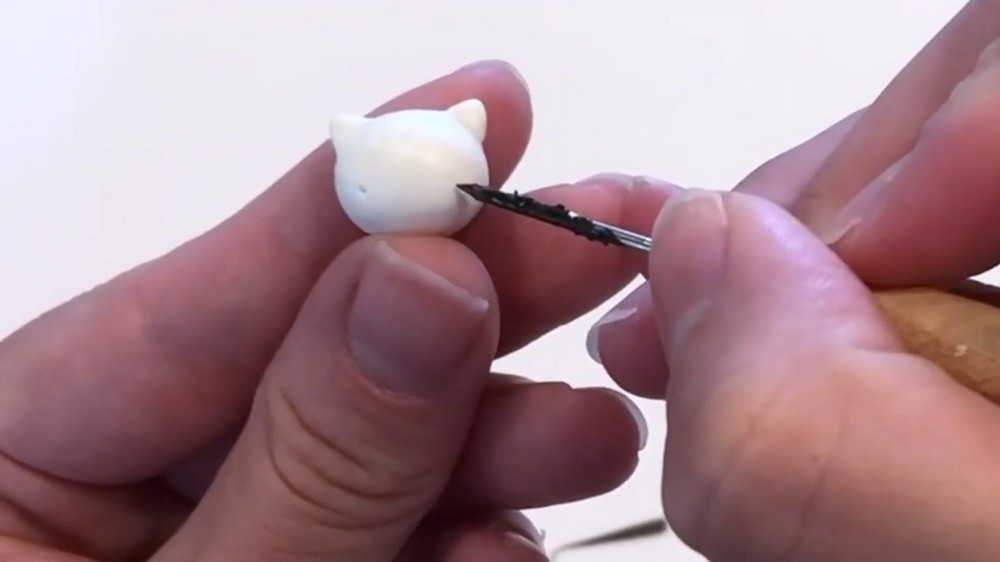
- Form an Oval Base: Take a small piece of white polymer clay and shape it into an oval, smoothing edges for a soft silhouette.
- Attach Ears: Create two small triangular pieces and attach them to the top of the head. Blend their bases seamlessly into the head for natural integration.
- Create Eye Indents: Gently press two small dents where you want the eyes to be.
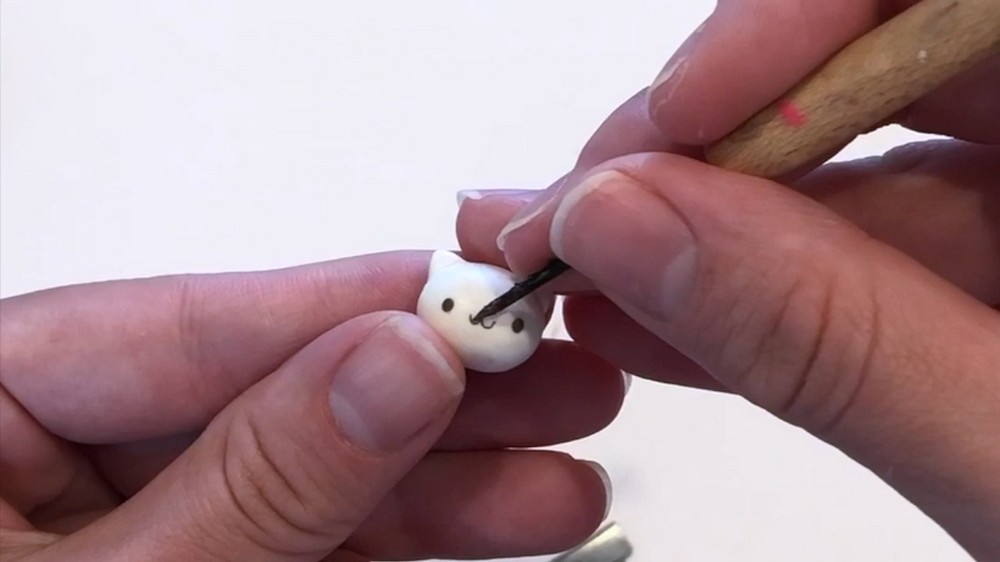
- Make Tiny Black Eyes: Roll two tiny black clay spheres and flatten them slightly to form the eyes. Place them inside the eye dents.
- Shape Whiskers and Lips:
- Roll thin black clay snakes for maximum detail.
- Form two small loops that connect to shape the lip.
- Add three thin lines on each cheek as whiskers.
- Add 3D Ear Detail: Press tiny triangle indents inside the ears to enhance the three-dimensional look.
- Add Pink Blush: Lightly dab pink blush or pastel powder over the cheeks near the whiskers to add softness and depth.
2. Crafting the Body
- Create the Body Shape: Roll another small clay piece into a triangle shape; smooth out edges.
- Attach Head to Body: Use a small piece of metal or sculpting tool to push the head and body gently together, securing the bond.
- Make One Paw:
- Flatten a small circle of white clay to form the paw pad.
- Add a large pink circle on the bottom and three to four smaller pink circles on top for toe pads.
- Attach this paw on the front side of the body only, leaving the back free for wings.
- Add a Tiny Snake for Arm: Roll a thin white clay snake and place it just below the head on the front side as the kitty’s arm.
3. Creating the Star Base
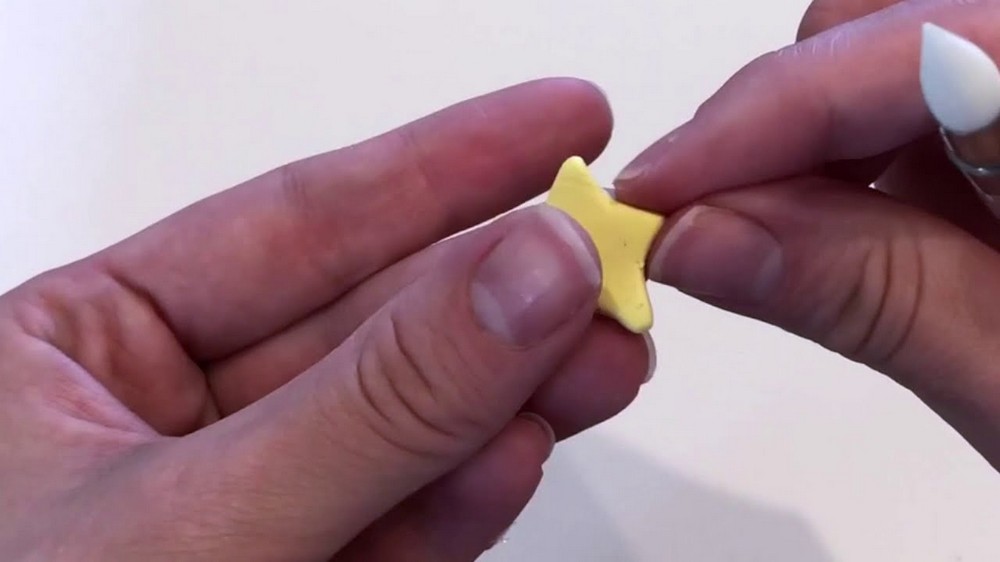
- Prepare Yellow Clay: Use light yellow pastel clay and flatten it into a pancake shape.
- Cut Star Shape: Sketch a star outline using a blade, then carefully cut it out with an Exacto knife.
- Refine the Star: Smooth out and reshape edges until you achieve the desired star shape. The final look may differ greatly from the initial cut, so spend time refining.
4. Baking the Clay Pieces
- Bake Temperature and Time: Bake all clay pieces at 250°F (120°C) for 20 minutes.
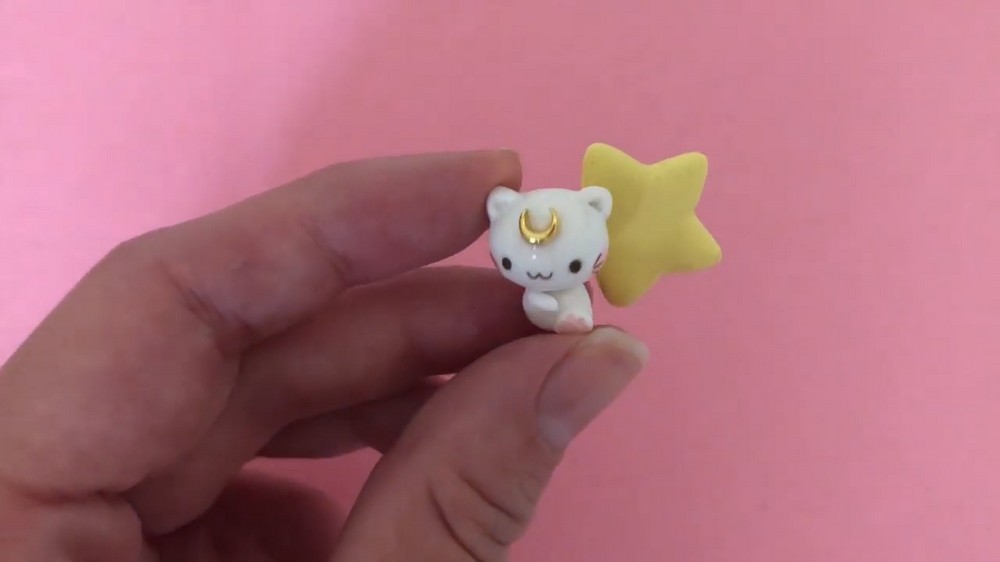
- Post-Baking Assembly: After baking, attach the kitty securely to the star base.
- Add Forehead Charm: Place a tiny moon-shaped charm on the kitty’s forehead to enhance the magical theme.
5. Making Resin Wings
- Prepare Resin Color: Mix clear UV resin with hot pink dye until a vibrant color is reached. Other colors or glitters may be added based on preference.
- Pour Resin into Mold: Fill the silicone wing mold with the colored resin.
- UV Curing: Place the mold under a UV light source for about one minute or until the resin is fully cured.
- Demold and Inspect: Gently remove the hardened wings from the mold, checking for smoothness.
- Attach Wings to Kitty: Use a small amount of resin or strong adhesive to glue the wings to the back of the kitty securely.
Conclusion
This DIY kitty macaron charm combines soft clay sculpting with colorful resin wings to create a magical accessory that reflects creativity and patience. Each step, from shaping the tiny features to curing resin wings, requires attention but offers rewarding results. This charm can be displayed as a figurine or customized into jewelry, making it a versatile and delightful craft project to enjoy.