Build a detailed miniature home with clear, professional instructions that make your DIY mini house project both manageable and impressive.
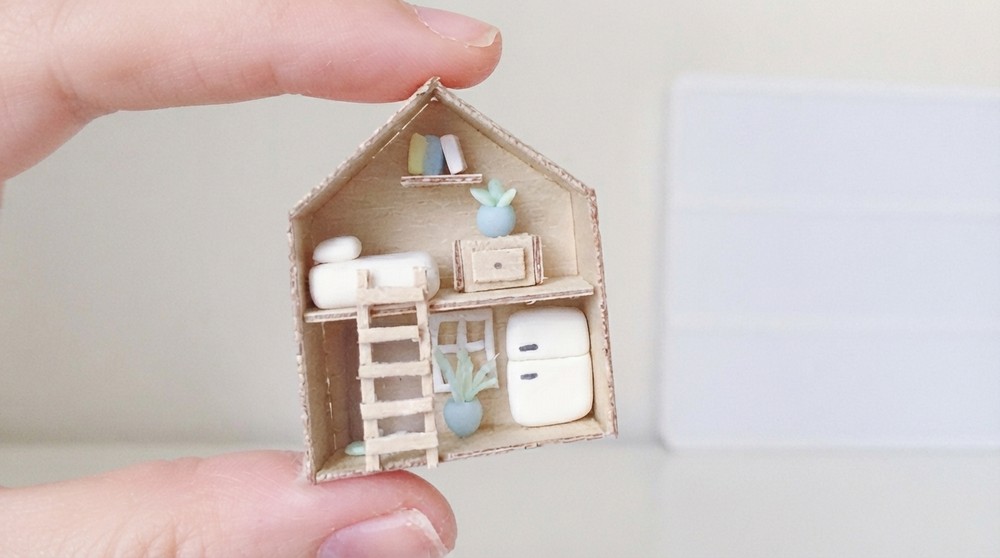
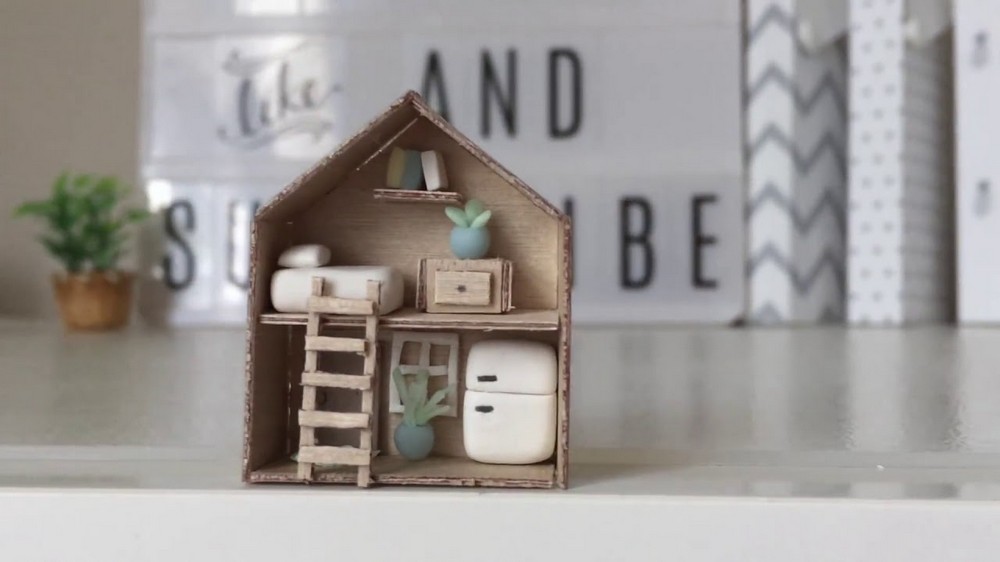
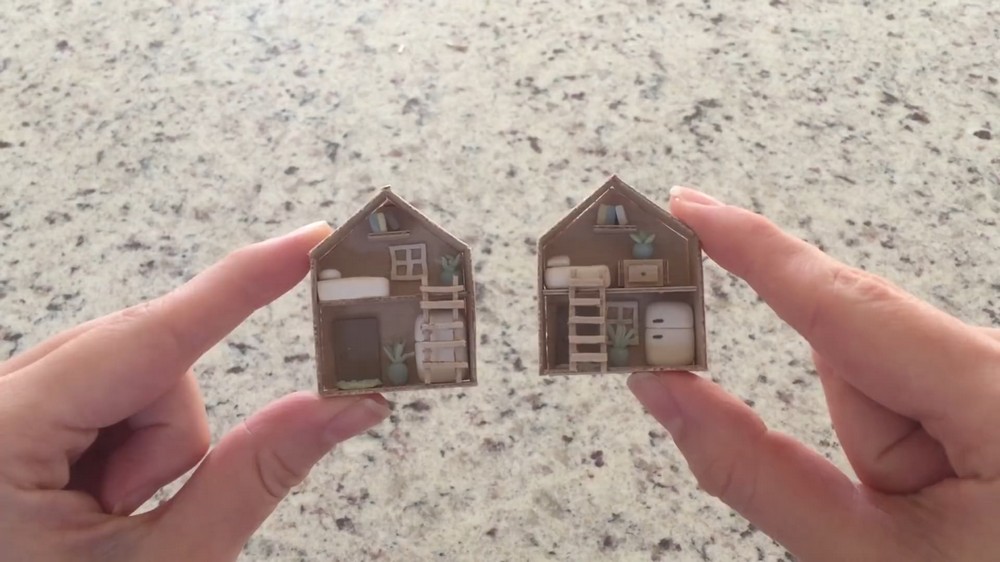
This tiny miniature home captures a nostalgic charm reminiscent of beloved childhood toys, featuring delicate details like miniature stairs, furniture, and even plants. Its compact size and neutral tones give it a cozy, timeless appeal, making it perfect for display or as a unique wearable accessory. The design invites personalization, with flexible interior arrangements that add a playful yet elegant character. Lightweight and intricately styled, this piece offers both aesthetic delight and a touch of whimsy, embodying a handcrafted feel that makes it truly special.
Simple DIY Mini House Pattern - Tutorial with Materials List Included
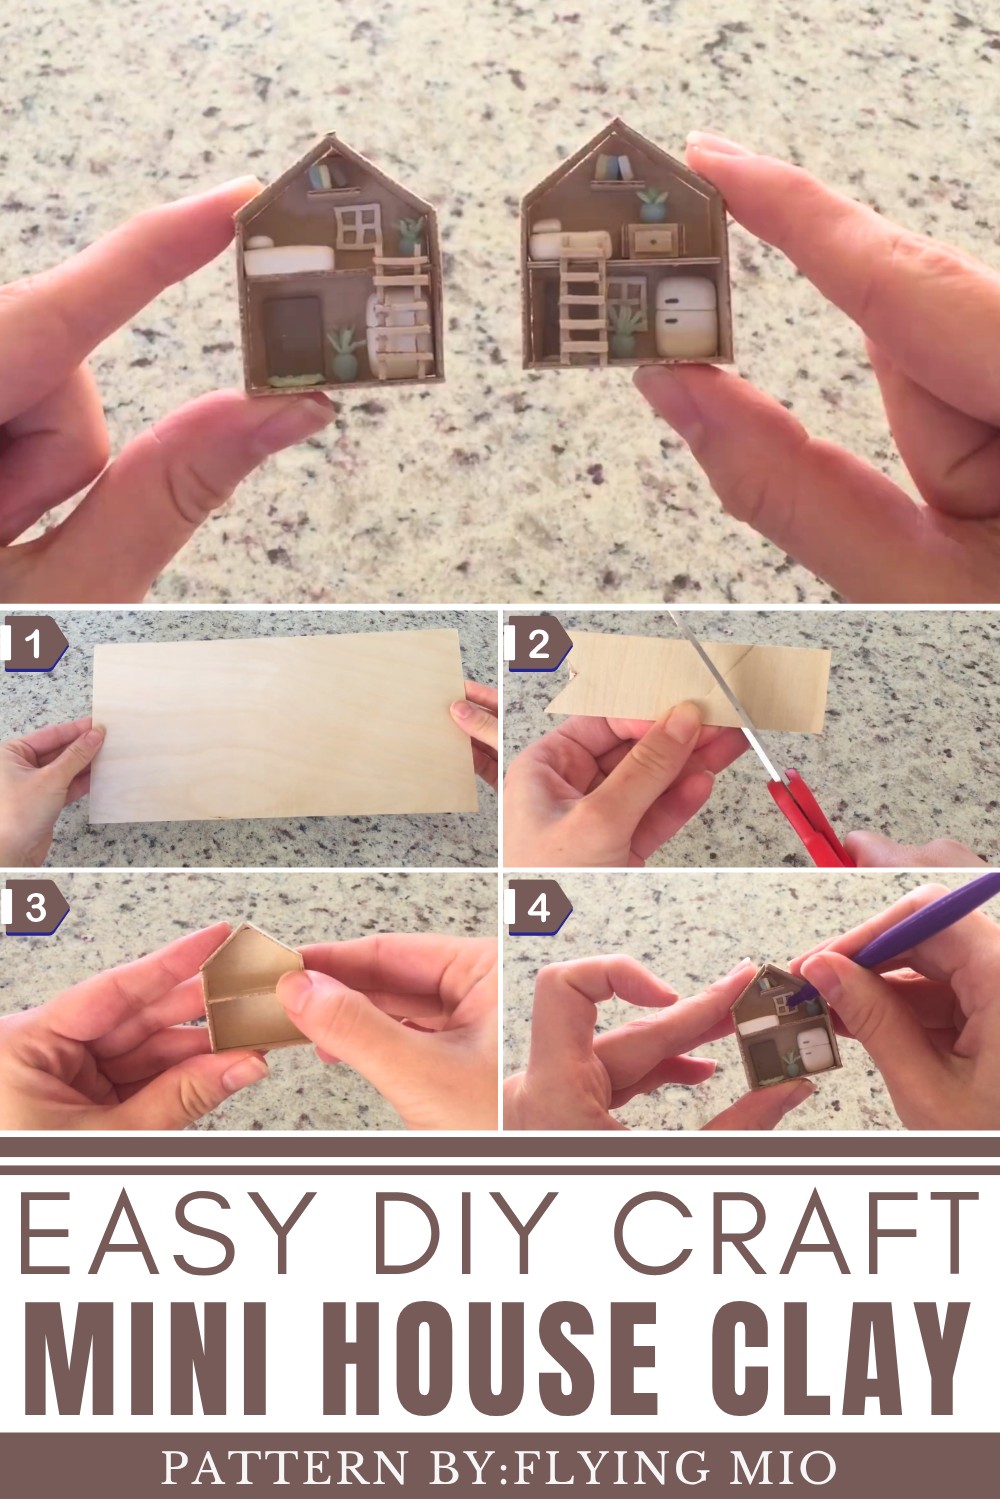
Incorporating the DIY Mini House Pattern elevates the project, allowing crafters to reproduce a finely balanced blend of simplicity and detail. What makes this design particularly interesting is its versatility, whether as a collectible miniature or a piece of charming decor, it seamlessly fits various purposes while sparking creative expression.
Flying Mio, the creator of this delightful concept, brings a genuine passion for miniature crafting inspired by nostalgic toys from the 90s.
Her YouTube channel features thoughtfully crafted projects that fuse creativity with storytelling.
Find more unique and fun DIY crafts on Flying Mio’s channel.
Features of the DIY Mini House Pattern
- Intricate Detailing: Includes miniature stairs, furniture, and even tiny plants, giving the house a lifelike and charming appearance.
- Compact and Versatile Size: Small enough to be used as a decorative piece or a wearable accessory, fitting well into various settings or collections.
- Neutral and Timeless Style: Soft, neutral tones and simple design elements create a cozy and elegant aesthetic.
- Customizable Interior: Flexible arrangement options allow for personalization, adding a playful and unique touch to each finished piece.
- Lightweight and Portable: Easy to carry or display without heaviness, enhancing its practical appeal.
- Handcrafted Appeal: Exudes a delicate, handcrafted quality that makes it stand out as both a creative project and a decorative art piece.
How to Make a Miniature Tiny Home Inspired by Poly Pocket
This tutorial will guide you through creating a charming and miniature tiny home using polymer clay and craft wood. Inspired by the nostalgic Poly Pocket homes from the 90s, this project brings back childhood memories while letting you customize a tiny, lightweight house that can also be worn as a pendant. The process has been broken down into simple steps so beginners can easily follow and create their own miniature world.
Design Concept and Highlights
- Compact and Portable: The miniature home stands around 1.5 inches tall, making it easy to carry or wear.
- Multi-layered Structure: Features an upstairs layer to add dimension and visual interest.
- Customizable Interiors: Includes tiny furniture and decorations crafted from polymer clay that can be arranged to your liking.
- Variety of Colors: Choose from neutral tones for elegance or vibrant hues for a playful look.
Gathering Materials and Their Importance
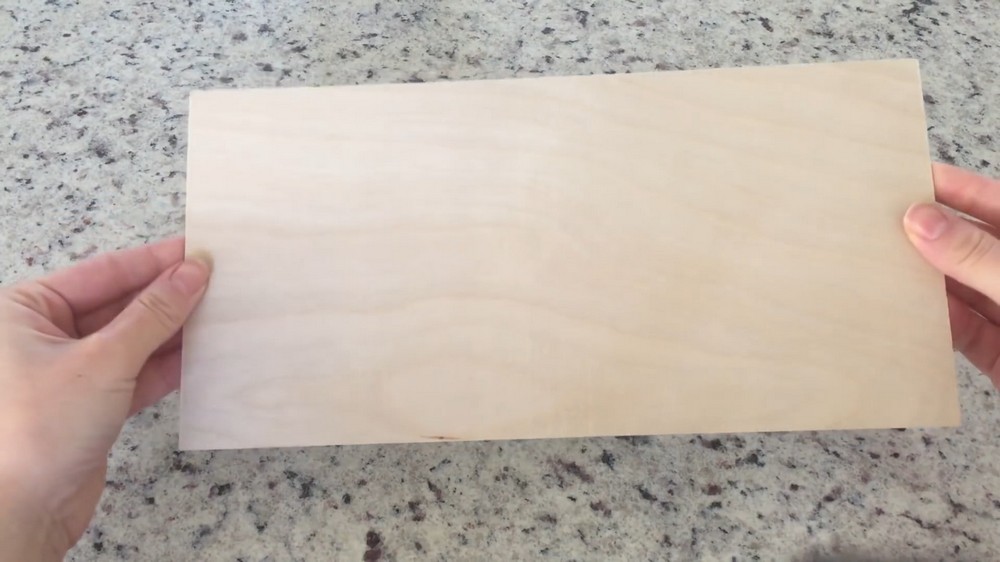
Choosing the right materials is essential for this project. Thin craft wood provides a lightweight yet sturdy structure that is easy to cut and assemble. Polymer clay allows you to make detailed miniature furniture and decorative items that fit perfectly inside your tiny home. Having precise tools like an X-Acto knife and a ruler ensures clean cuts and accurate dimensions, making assembly seamless and enjoyable.
Materials & Tools Needed
- Thin craft wood sheets (about 1 mm thick or less)
- Gridded paper and ruler for precise drawing
- Pencil or pen for sketching
- X-Acto knife or sharp scissors for cutting wood
- Super glue or hot glue gun for assembly
- Polymer clay in various colors for furniture and decor
- Oven for baking the polymer clay pieces
- Extra small wooden scraps for optional details like shelves or ladders
Important Tips Before You Begin
- Select thin wood for easier cutting and to keep the home lightweight.
- Use gridded paper to make sure all your lines are straight and measurements precise.
- Take your time to ensure all edges are clean and sharp for a neat fit.
- Always test fit polymer clay pieces inside the wooden structure before baking.
- Handle the finished miniature gently, as it is delicate and lightweight.
Pattern and Step-by-Step Instructions
Step 1: Design Your Miniature Home
- Draw the shape of the tiny home on gridded paper including the back, sides, roof, and bottom pieces.
- Aim for approximately 1.5 inches in height, but adjust size according to your preference.
- Maintain straight lines for ease of cutting and assembly.
Step 2: Cut Out the Wood Pieces
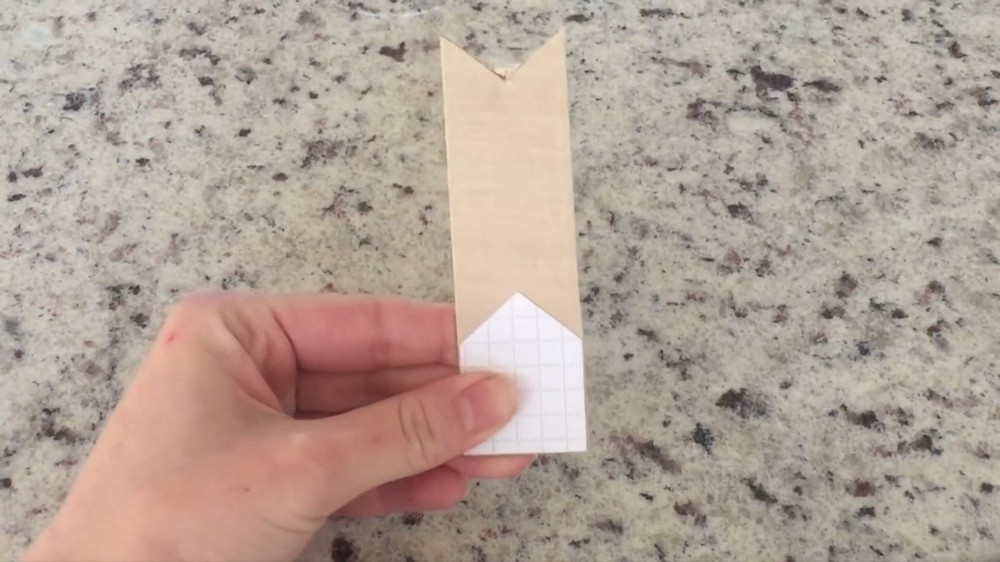
- Trace your paper patterns carefully onto thin craft wood sheets.
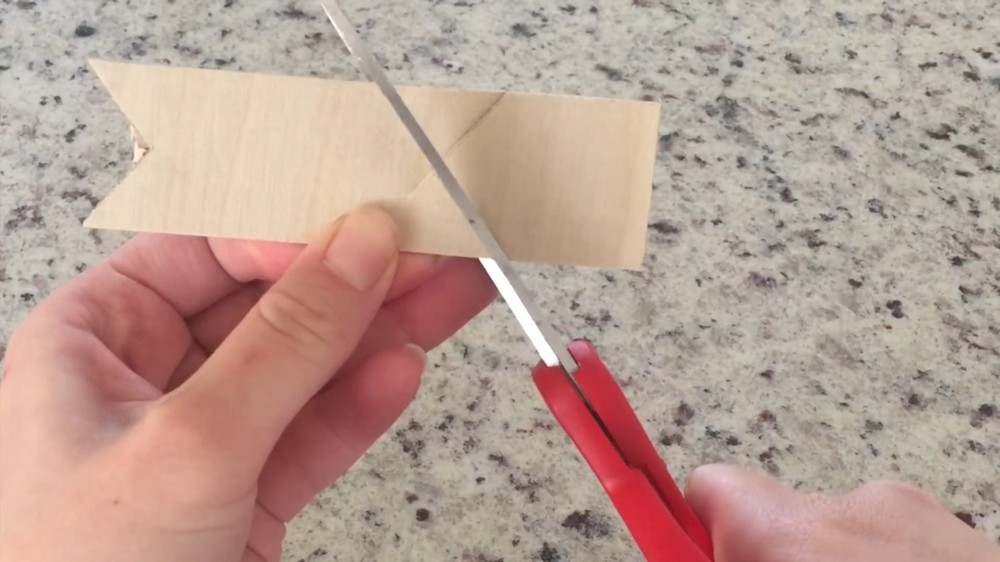
- Use an X-Acto knife for thin wood or scissors if slightly thicker, ensuring clean and straight cuts.
- Smooth sharp edges to ensure the pieces will fit perfectly when glued.
Step 3: Assemble the House Structure
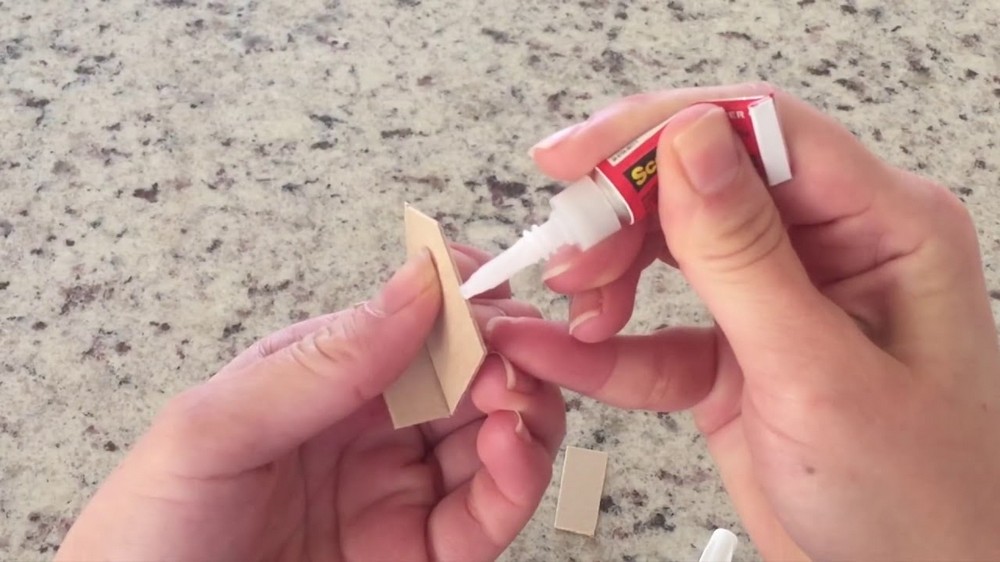
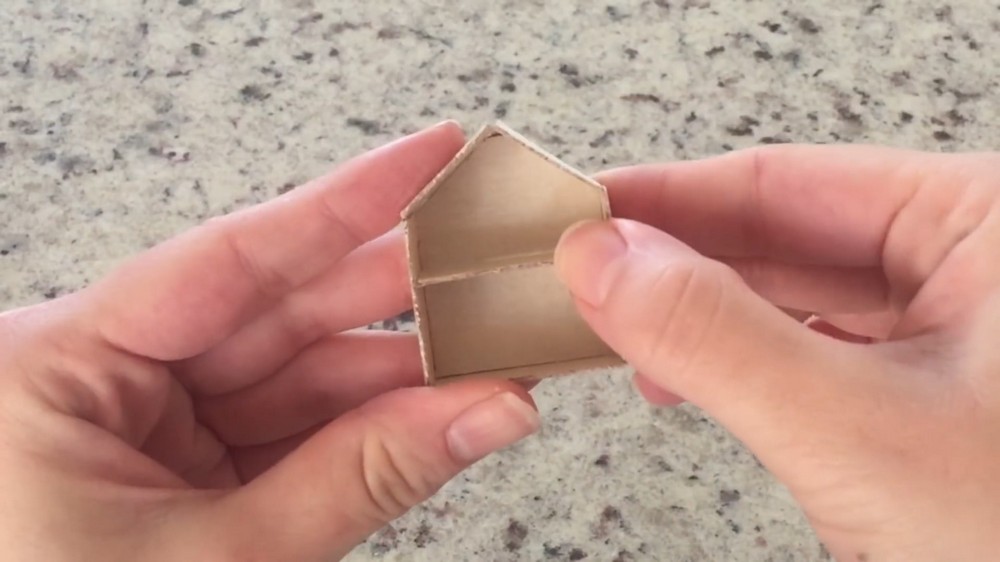
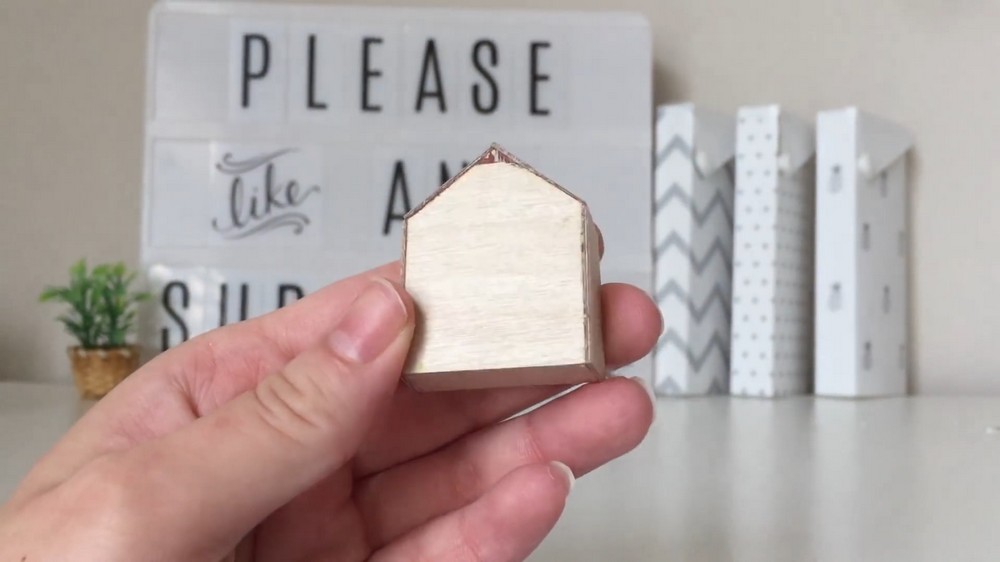
- Glue the back, sides, bottom, and roof pieces together using super glue or hot glue.
- Hold pieces firmly until the glue sets to form a stable frame.
- Cut and glue a thinner wood piece inside to create a second floor for added dimension.
Step 4: Add Optional Wooden Features
- Create small additional items like a bookshelf or ladder by cutting extra small wood pieces.
- Glue these inside for more detailed interior features.
- These details are optional but enhance the overall look.
Step 5: Shape Polymer Clay Furniture and Decorations
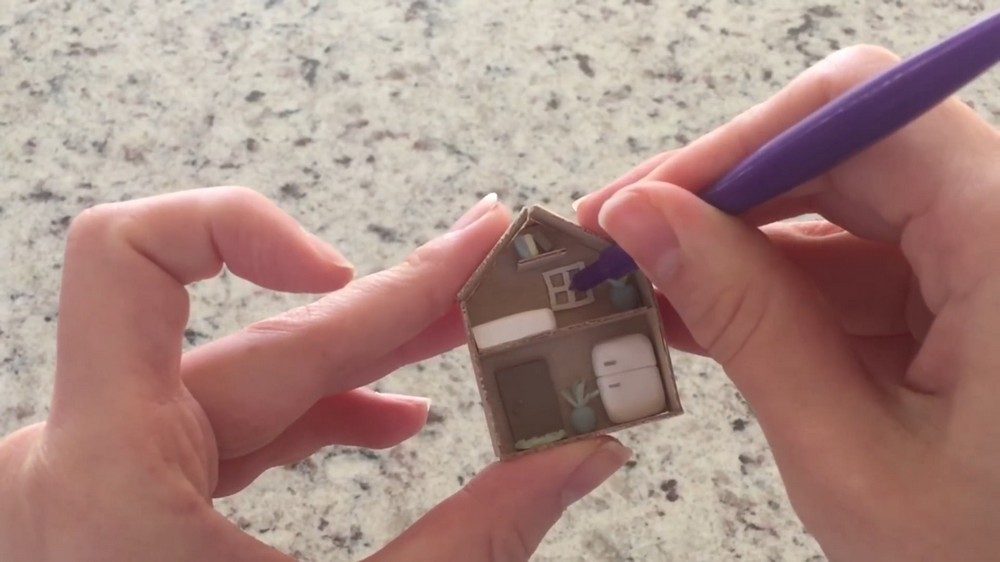
- Mold small furniture such as a refrigerator, plants, rugs, and books using polymer clay.
- Choose your preferred colors from neutral to bright vibrant to match your aesthetic.
- Arrange clay pieces inside the wooden home to ensure proper fit before baking.
Step 6: Bake Polymer Clay Pieces
- Preheat your oven to 250°F (120°C).
- Bake the clay creations for about 20 minutes.
- Allow items to cool thoroughly before handling to retain shape and avoid damage.
Step 7: Final Assembly and Decoration
- Place and glue your baked polymer clay pieces inside the wooden home.
- Rearrange furniture if desired to create your preferred interior layout.
Summary
The completed miniature tiny home is a delicate, personalized work of art that captures the charm and nostalgia of classic Poly Pocket toys. The lightweight design makes it easy to display or even wear as a unique necklace charm. Attending carefully to each step and detail ensures a beautiful and cherished miniature home that reflects your creativity.