Charming and full of personality this DIY Polymer Clay Turtle is a delightful miniature creation that brings handcrafted joy to any shelf or display.
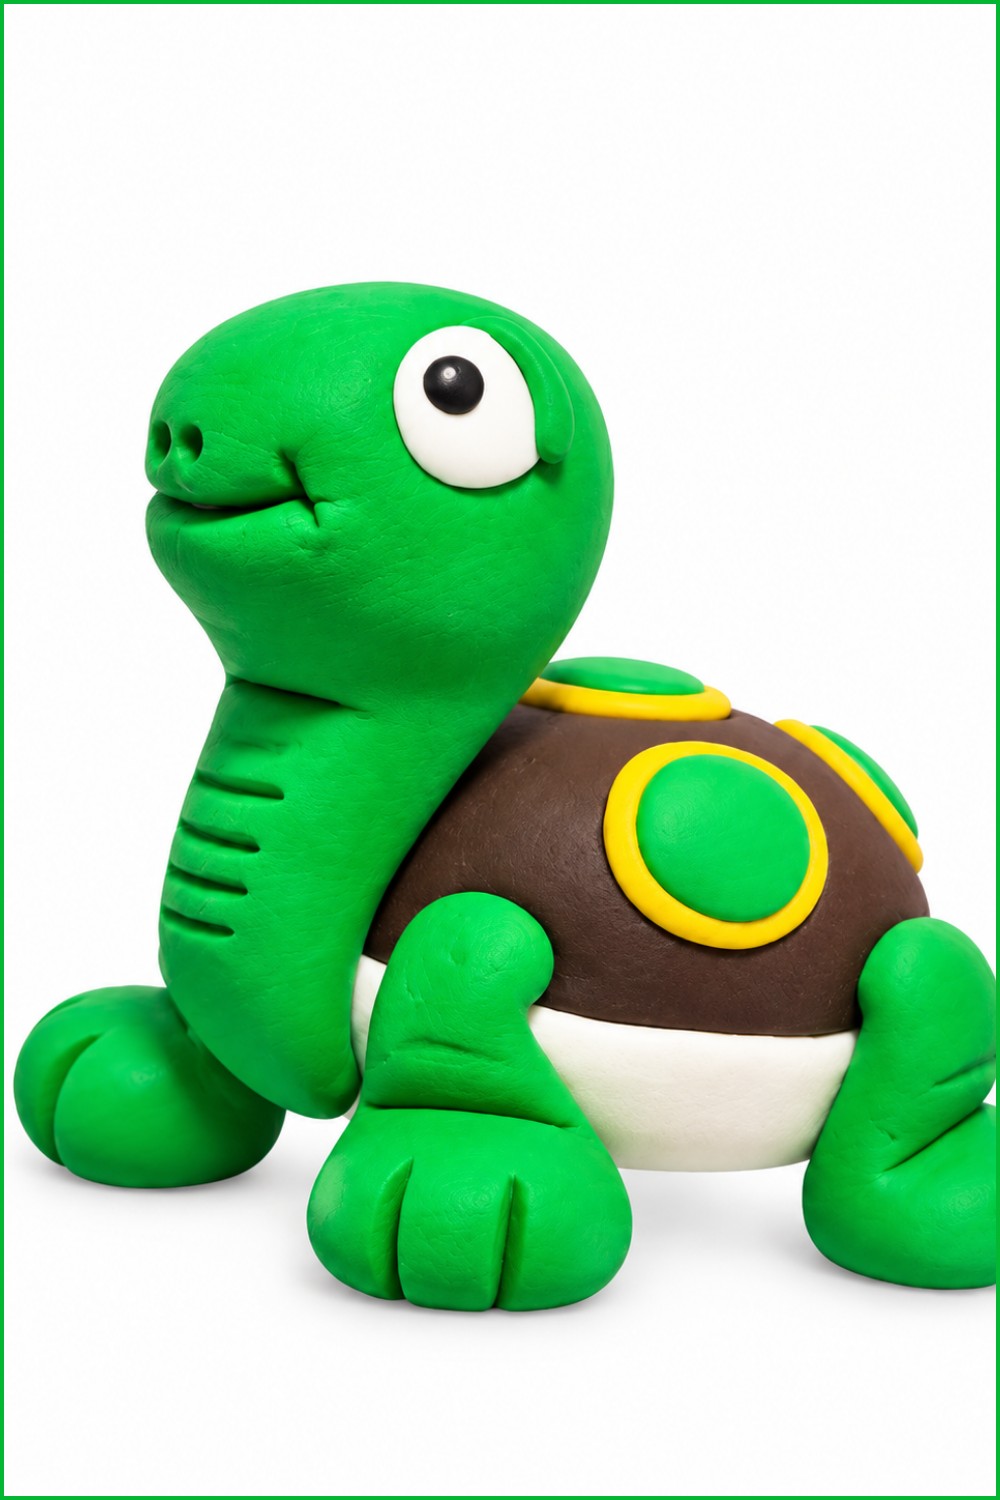
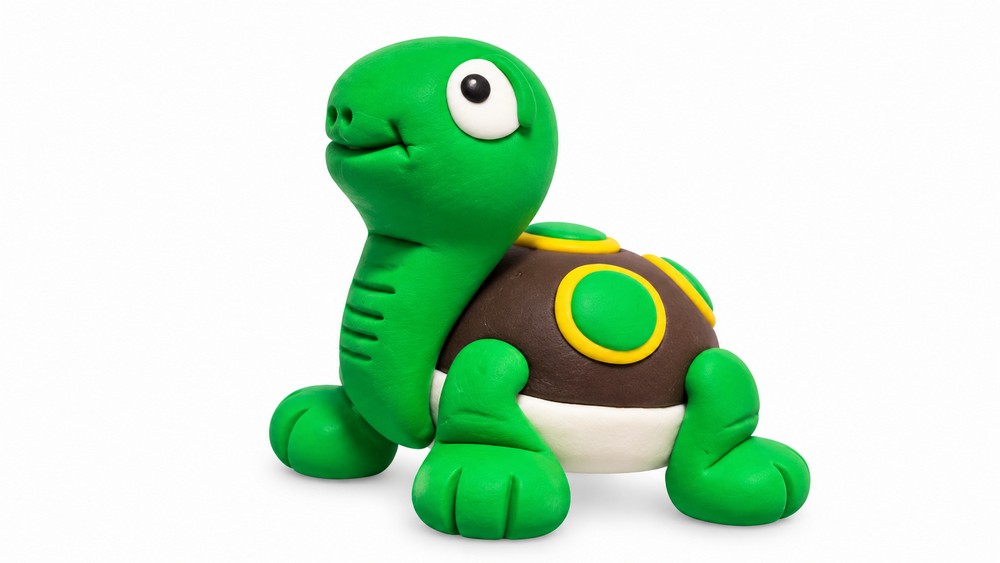
Few miniature figurines carry as much personality as this little green turtle with its colorful patterned shell and expressive smiling face. This DIY Polymer Clay Turtle stands out for its charming finished look featuring a beautifully textured dome shell decorated with cheerful yellow and green circular spots arranged in a neat pattern across the top. Its four stubby legs are shaped with subtle detail including small toe marks that give the figure a lifelike yet whimsical character.
Adorable DIY Polymer Clay Turtle That Looks Cute To Be Real
This delightful figurine is the idea of Tagadanail Fimo & Miniatures, a creative channel dedicated to miniature polymer clay art with a warm and approachable teaching style.
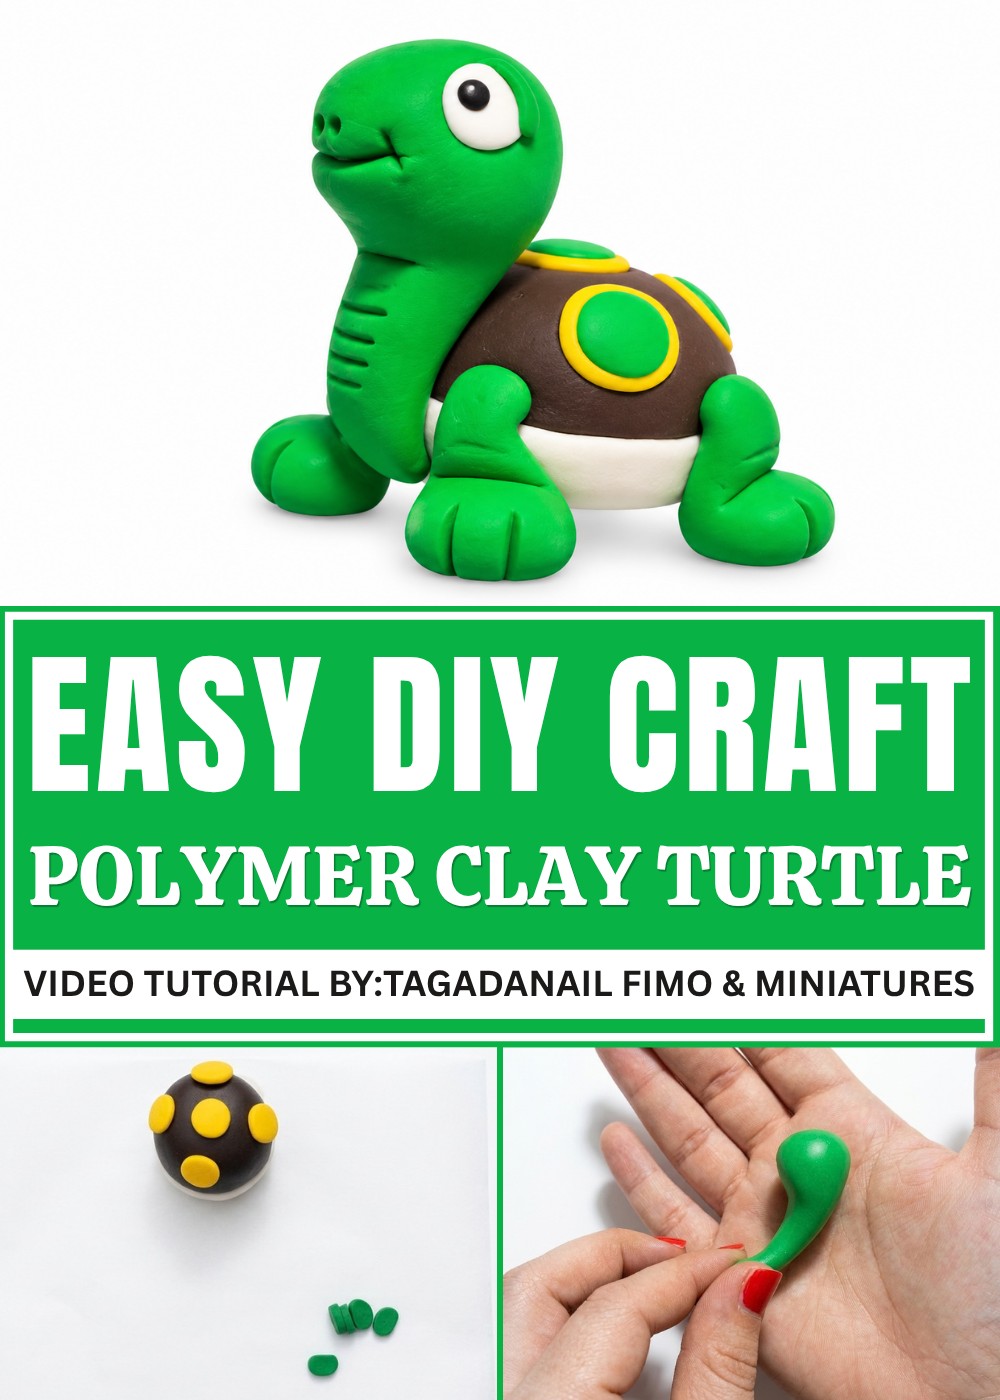
The head is carefully proportioned with round white eyes accented by smaller green lids and tiny black pupils that bring the face to life instantly. A gentle carved smile paired with two small nostril dots above it gives this little turtle an irresistibly friendly and warm expression. The short green tail at the back adds a finishing touch that completes the overall round and compact silhouette.
What makes this piece genuinely appealing is how the combination of earthy brown tones on the body and the vibrant green and yellow shell details creates a balanced and visually satisfying color palette. It sits beautifully as a decorative piece on any shelf or desk and would also make a thoughtful handmade gift for nature lovers or clay art enthusiasts.
How to Make a Polymer Clay Turtle Figure
Turtles have always been one of those creatures that feel naturally charming and full of personality, and recreating one in polymer clay is a deeply satisfying experience. This project guides you through building a detailed little turtle figure complete with a beautifully patterned shell in yellow and green, four shaped legs, a carefully sculpted head with expressive eyes, a tiny tail, and even a sweet little smile. Every part of this turtle is built up step by step in a way that is completely manageable even if you are brand new to working with polymer clay. The shell detailing technique used here is particularly fun because it involves layering different colored clay dots and pressing them together to create a natural mosaic pattern. Get your clay colors ready and let us build this little turtle together.
What You Will Need
Materials List
- Brown polymer clay (for the turtle shell base and body)
- White polymer clay (for the belly disc and eyes)
- Yellow polymer clay (for the shell pattern dots)
- Green polymer clay (for the shell pattern dots, legs, head, and tail)
- Black polymer clay (for the eye pupils)
- A clay blade (for cutting clay pieces)
- A dotting tool or pointed sculpting tool (for adding texture, markings, and facial details)
- An oven (for baking)
- Parchment paper (for lining your baking tray)
Step by Step Instructions
Step 1 - Preparing the Shell Base
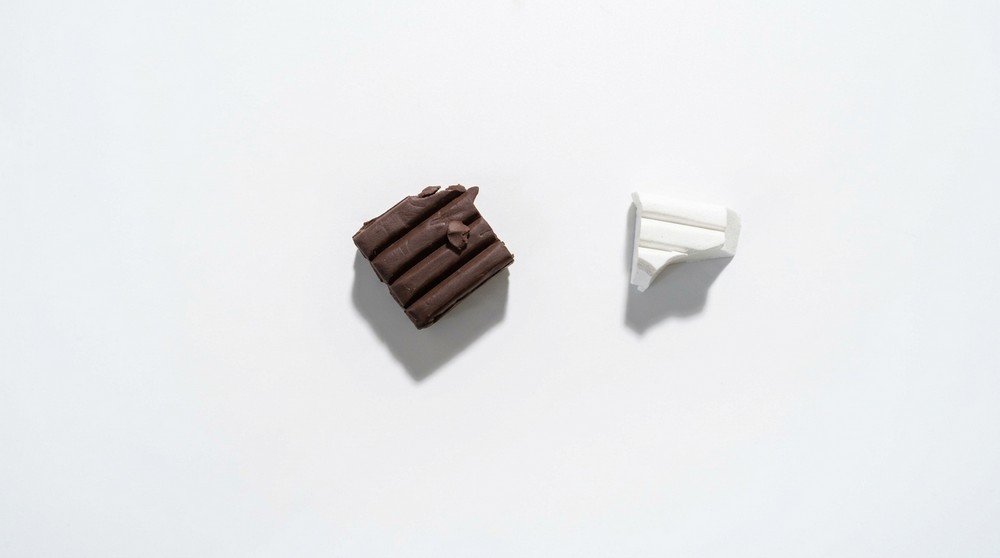
- Take a piece of brown polymer clay and roll it into a smooth ball
- Take a piece of white polymer clay and roll it into a slightly smaller ball than the brown one
- Take your white ball and press it between your fingers to flatten it into a small flat disc shape
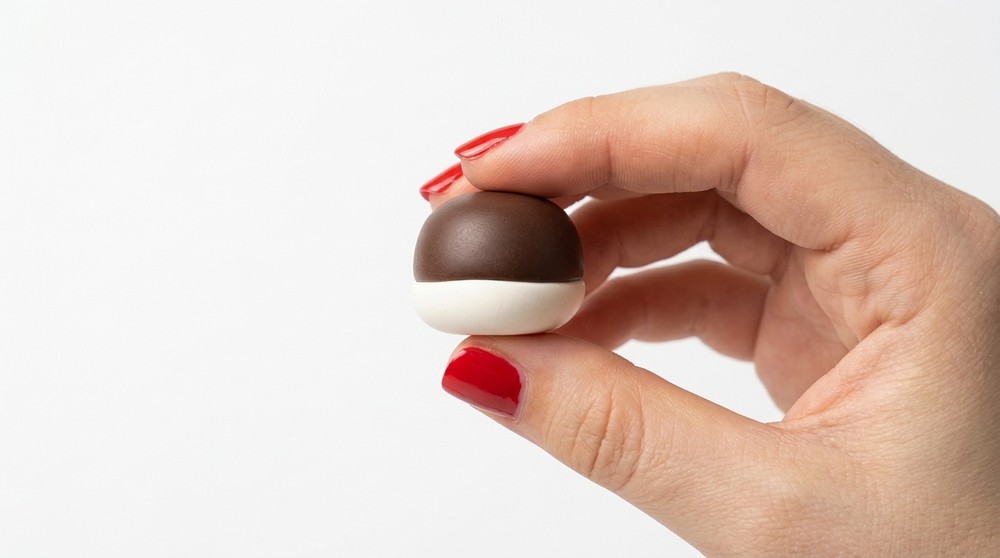
- Place your brown ball on top of the white disc
- Gently press the two pieces together and then lightly roll them between your palms
- This rolling motion will bond the two pieces together so that the white disc becomes the flat belly and the brown ball sits on top as the shell
- Work the shape until the two pieces feel securely joined and the overall form looks like a rounded dome sitting on a flat base
Step 2 - Adding Yellow Shell Pattern Dots
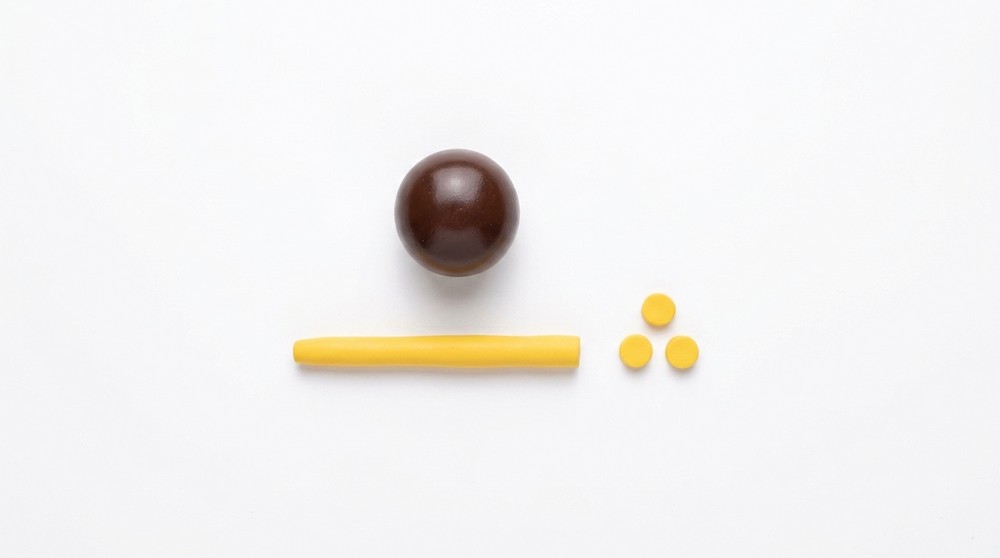
- Take a piece of yellow polymer clay and roll it into a sausage shape
- Using your blade, cut five small slices of identical size from this sausage
- Roll each of these five slices into small smooth balls
- Flatten each ball gently between your fingers to create five small flat discs
- Place these five yellow discs evenly across the brown shell surface spacing them out in a pattern
- Press them gently but firmly onto the shell so they stick in place
Step 3 - Adding Green Shell Pattern Dots
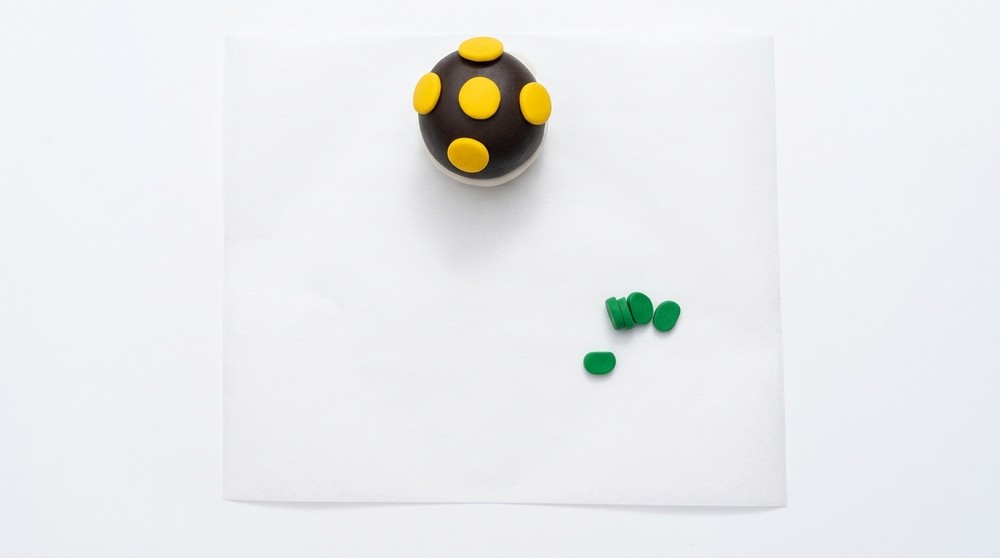
- Take a piece of green polymer clay and roll it into another sausage shape
- Cut five more small identical slices from this sausage
- Roll these into five small balls and flatten each one between your fingers just like you did with the yellow ones
- Place these green discs on top of or alongside the yellow discs on the shell
- Arrange them so that the yellow and green dots alternate or complement each other across the shell surface
Step 4 - Adding Smaller Green Accent Dots
- Roll several very small balls of green clay
- Place these tiny green balls in the spaces between your existing yellow and green discs on the shell
- These smaller dots fill in the gaps and give the shell a more detailed and textured pattern
Step 5 - Pressing the Pattern Into the Shell
- Now that all your yellow and green dots are positioned on the shell, it is time to press them all in firmly
- Using your fingers, press down on each dot working across the entire shell surface
- The goal is to incorporate all the colored dots into the brown base clay so they become part of the shell rather than just sitting on top
- Press firmly but carefully so that you do not distort the overall dome shape of the shell
- Keep working until all the dots are fully embedded and flush with the shell surface
Step 6 - Shaping the Shell Sides
- Once all the pattern dots are pressed in and the shell looks unified, take the whole piece and gently flatten the sides slightly
- You want two opposite sides to be a little flatter than the other two sides
- This gives the shell a more realistic oval shape rather than a perfect circle when viewed from above
- Work slowly and adjust with your fingers until the shape looks natural and balanced
Step 7 - Making the Four Legs
- Take a piece of green polymer clay and roll it into a sausage
- Cut four identical pieces from this sausage
- Roll each piece into a small ball and then begin to shape each one into a leg form
- To shape each leg, press one end slightly flat to create a wider foot area
- Then tilt the tip of the foot slightly in the opposite direction from the upper leg to create a natural looking bent foot shape
- The leg should have a slight curve or angle to it so it looks like a real turtle limb rather than a straight stick
- Repeat this shaping process for all four legs
- Attach two legs at the front and two legs at the back of the turtle shell, pressing each one firmly so it is securely joined
- Rework and adjust all four legs so they look similar in shape and are evenly positioned
Step 8 - Adding Leg Texture Markings
- Take your dotting tool or pointed sculpting tool
- On each leg, press two small marks at the foot end and one mark at the bent fold area
- These small indents represent the toes and the joint crease on each leg
- Repeat this on all four legs so they all have matching texture details
Step 9 - Shaping the Head
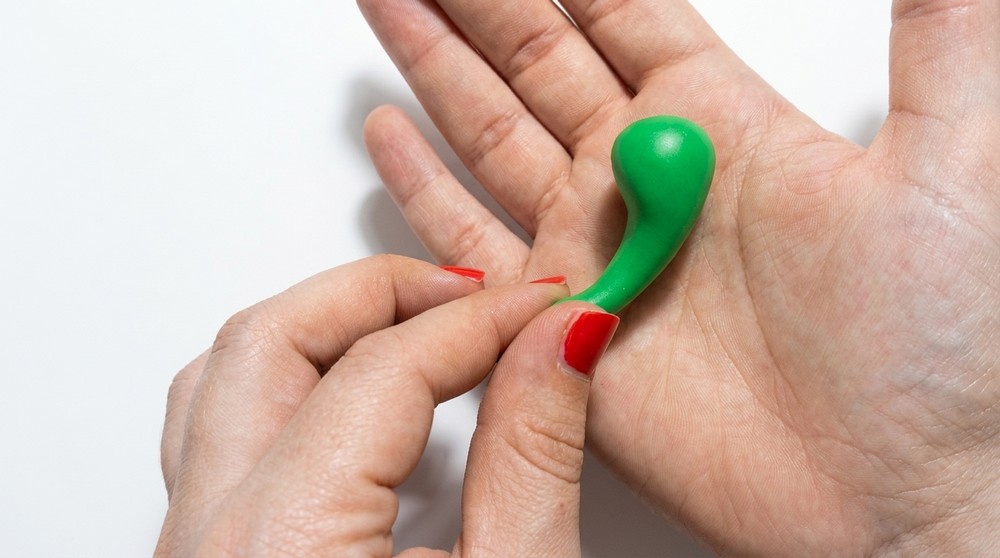
- Take a ball of green polymer clay
- Instead of rolling it into a perfect ball, press on one side only while rotating it in your palm
- This one sided pressing will begin to elongate and flatten one side of the ball giving it an oval head shape
- Keep working the clay in your palm until you achieve a shape that has one rounder back end and one slightly flatter front end
- This will become the head of your turtle
- If there is any excess clay making the shape look uneven, trim it off with your blade
- Refine the head shape until it looks clean and proportional
Step 10 - Attaching the Head
- Position the head at the front of the turtle between the two front legs
- Press it firmly into the body so it sits securely
- Blend the base of the neck into the body using your fingers or sculpting tool
- Gently stretch and work the front of the head so the neck area flows naturally into the shell
Step 11 - Adding Neck Texture
- Take your dotting tool or sculpting tool
- Press small fold marks or crease lines along the neck area just behind the head
- These little folds give the neck a realistic wrinkled texture that makes the turtle look more lifelike
Step 12 - Creating the Eye Sockets
- Using two fingers placed on either side of the head, gently press inward on both sides simultaneously
- This creates two shallow hollows on each side of the head where the eyes will sit
- The hollows should be even in depth and position on both sides
Step 13 - Adding the White Eye Base
- Roll two small balls of white polymer clay
- Flatten each one between your fingers into small flat discs
- Press one white disc into each eye hollow on either side of the head
- Make sure they sit flush and flat inside the hollows
Step 14 - Adding the Green Eyelid Details
- Take a small roll of green clay and cut two identical tiny pieces
- Shape each piece into a small oval or tic tac shape
- Place one of these small green pieces across the top of each white eye disc
- These represent the upper eyelids of your turtle and give the eyes a more expressive and detailed look
Step 15 - Adding the Eye Pupils
- Roll two very tiny balls of black polymer clay
- Press one black ball onto the center of each white eye disc inside the green eyelid
- These black dots become the pupils of the eyes
- Press them gently so they are flat and secure against the white surface
Step 16 - Making and Attaching the Tail
- Take a small piece of green polymer clay
- Shape it into a small cone by rolling and tapering one end to a point
- Press the wider flat end of the cone onto the back of the turtle at the center between the two back legs
- This small cone becomes the little tail of your turtle
- Blend the base of the tail slightly into the body so it looks naturally attached
Step 17 - Adding the Facial Expression
- Take your dotting tool or pointed sculpting tool
- On the front of the turtle's face, use the tool to draw a curved smile line
- Above the smile, press two small dots to represent the nostrils
- Then go back and refine the smile line adjusting the curve until the expression looks sweet and friendly
Baking Your Turtle
Step 18 - Preparing for the Oven
- Carefully place your finished turtle figure onto a parchment lined baking tray
- Check that all parts including the legs, head, tail, and eye details are firmly in place
- Make sure the turtle is sitting stably and will not tip over during baking
Step 19 - Baking
- Place the tray in your oven and bake at 110 degrees Celsius for 30 minutes
- Once baking is complete, leave the turtle inside the oven for a few minutes to begin cooling gradually
- Remove from the oven and allow it to cool completely before handling
Helpful Tips for Beginners
- Take your time pressing the shell pattern in Step 5 because this is the most detail oriented part of the project and rushing it can cause the dots to blur together and lose their definition
- Keep all four legs as similar as possible in size and shape before attaching them because mismatched legs are one of the most common beginner mistakes and they are hard to fix once attached
- The head shaping step takes patience so do not worry if it does not look right immediately, just keep gently pressing and adjusting until the shape feels right
- Blend all joins thoroughly wherever two pieces of clay meet because smooth blended connections are what make a clay figure look professionally made
- Check the smile placement carefully before pressing it in permanently because once the dotting tool makes a deep mark in baked or firm clay it is difficult to undo
Clay turtles carry a quiet kind of charm that is hard to explain until you hold one you made yourself in your hands. This little figure with its patterned shell and gentle smile is a reminder that some of the most rewarding things you can create start with nothing more than a small piece of colored clay and the decision to simply begin.