Make adorable kitty macaron clay charms with a detailed pattern perfect for adding charm and personality to your holiday decorations or accessories.
I say thanks with full credit to Flying Mio for the wonderful tutorial. Check out more creative projects on her YouTube channel: https://www.youtube.com/@FlyingMio.
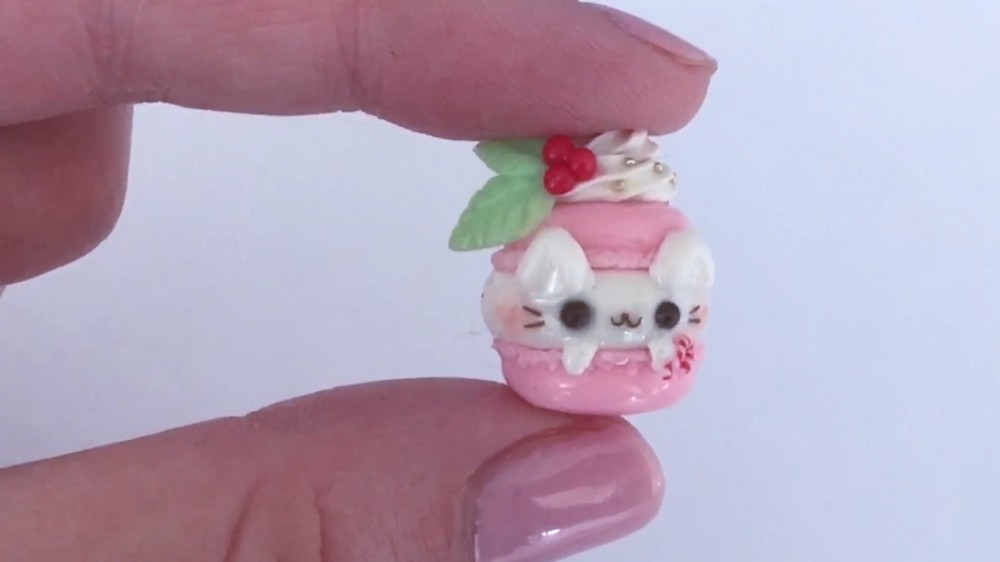
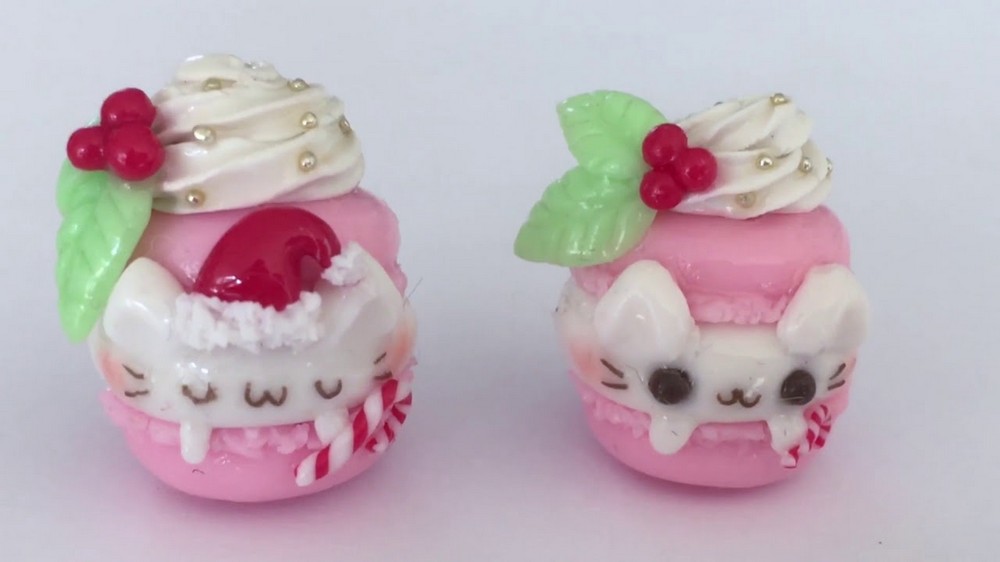
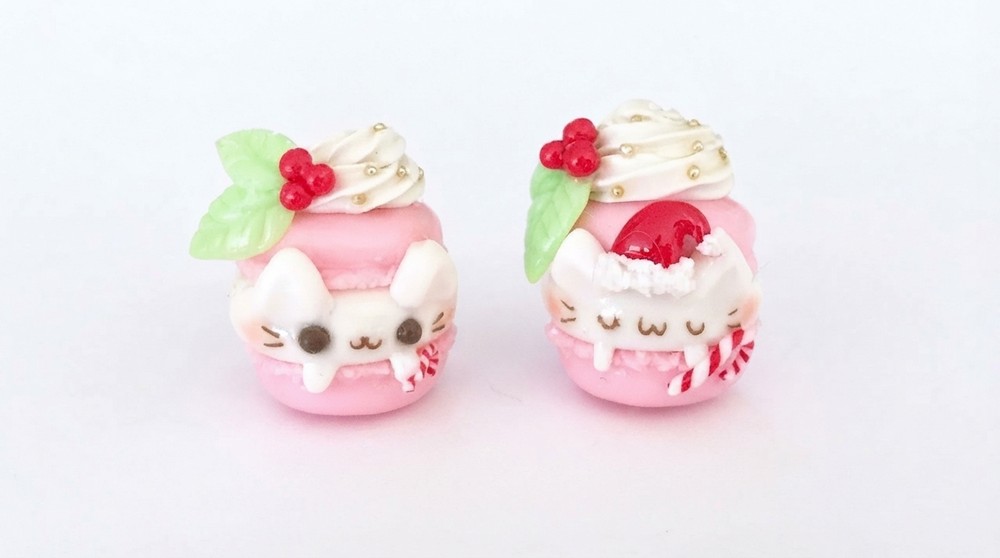
A tiny, charming kitty nestled between delicate pastel macaron shells instantly captures attention with its sweet and whimsical presence. This delightful figure brings a blend of playful cuteness and holiday spirit, featuring soft blush on its cheeks and festive accents like miniature holly leaves and a candy cane. Perfectly proportioned with gentle expressions, one awake and one peacefully sleeping, this adorable charm evokes warmth and joy.
Easy DIY Kitty Macaron Clay Charm Pattern for Fun Polymer Clay Projects
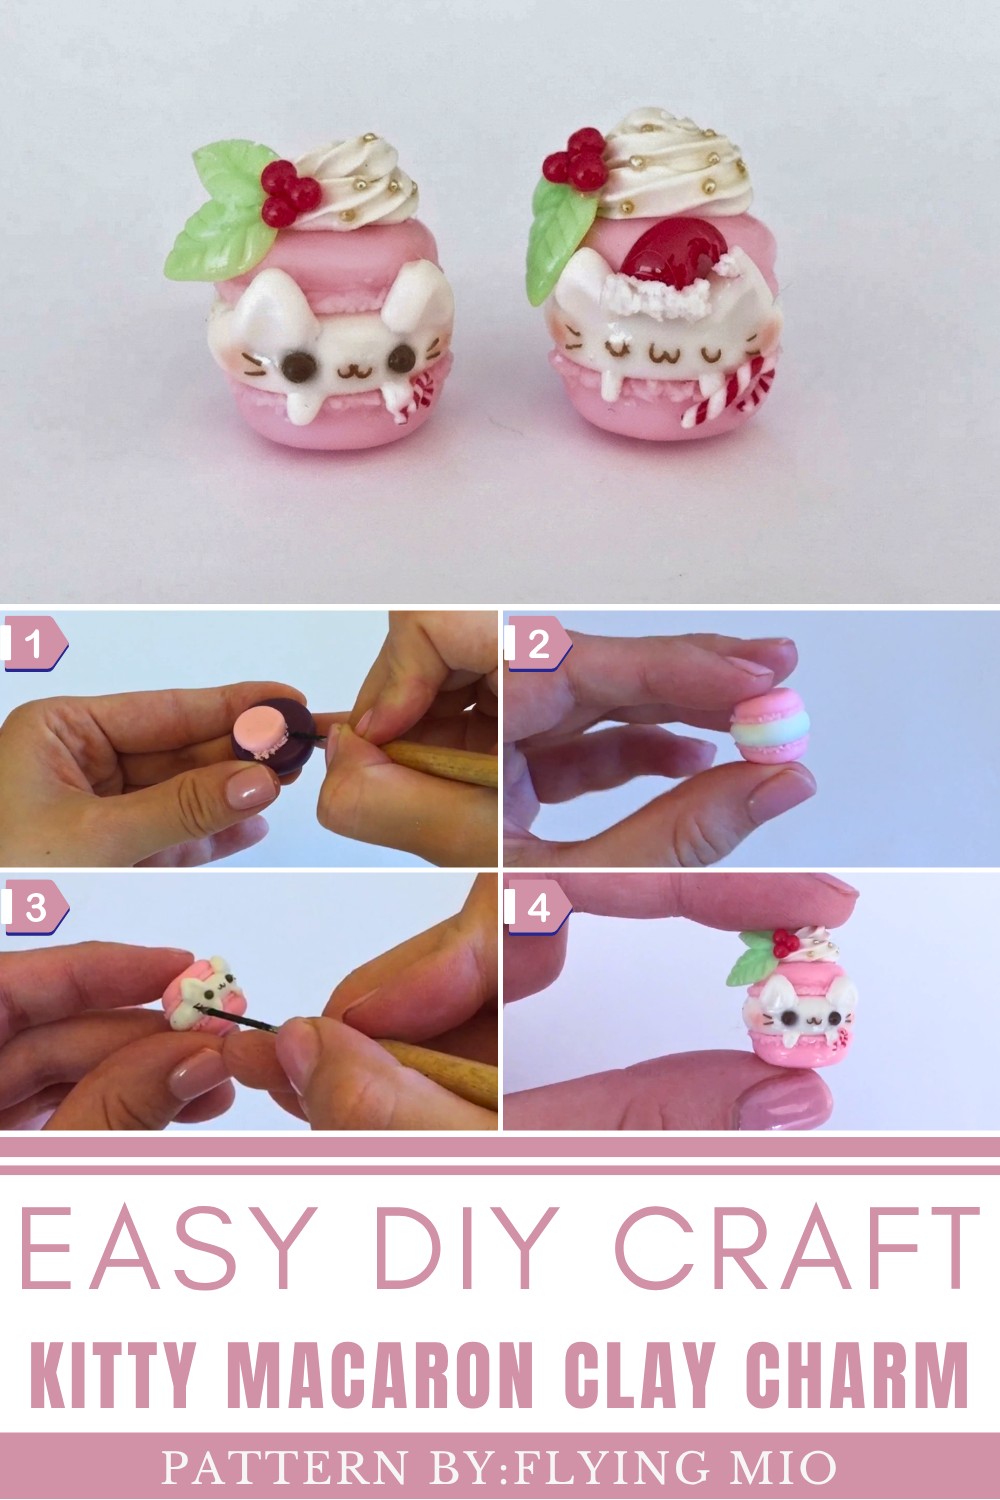
Defined by its smooth curves and subtle details, the design offers a handcrafted feel that fits effortlessly as a festive ornament or a unique accessory. Its gentle color palette, combined with a glossy finish, enhances the inviting, almost edible quality of the macaron while highlighting the kitty’s endearing features. Ideal for collectors and craft lovers alike, this creation appeals to anyone looking to add a touch of personality and charm to their holiday decorations or everyday style.
The DIY Kitty Macaron Clay Charm Pattern stands out for its balance of simplicity and delightful detail, making it both an approachable project and a standout piece. Its small size and cheerful character invite endless personalization, ensuring every charm feels special. Whether displayed on a tiny tree or worn as a cute pendant, this pattern transforms a sweet concept into a memorable keepsake.
How to Make Cute Kitty Macaroon Charms
This detailed guide will teach you how to create adorable kitty macaroon charms using polymer clay and glaze. These sweet holiday-themed charms combine the look of classic macarons with charming cat features, perfect for festive decorations or gifts. The techniques covered here focus on shaping, detailing, baking, and finishing your clay pieces for a polished look.
Design Features
- Whimsical Concept: Combines soft macaroon shapes with cute kitty elements for a playful charm.
- Holiday Feel: Decorative additions like mistletoe, candy canes, and Santa hats bring seasonal cheer.
- Compact Size: Small enough to serve as keychains, ornaments, or handbag accessories.
Why Materials Matter
Choosing quality clay and glaze is essential to achieve realistic textures and a smooth finish. Polymer clay allows detailed shaping and holds its form well after baking. Glazes like UV resin or nail polish provide a glossy, protective surface to enhance colors and add shine. Tools such as fine clay sculpting instruments help craft delicate features effectively.
Materials & Tools
- Pink, white, green, red, black polymer clay
- Clay sculpting tools (needle tool, blade, paintbrush)
- UV resin or regular glaze (such as nail polish)
- Chalk pastels for blush accents
- Oven for baking polymer clay
- Cake decorating tip for whipped cream texture
- UV curing lamp (if using UV resin)
- Scissors and blade for shaping details
Tips for Best Results
- Condition your polymer clay by kneading until soft and pliable before shaping.
- Work on a clean surface and keep tools handy for detail work.
- Bake the clay at 250°F (120°C) for the recommended time to avoid over or under baking.
- If you want to make charms, insert an eyelet before baking for easy attachment.
- Use chalk pastels sparingly to create subtle blush and shading effects.
- Cure UV resin fully under a lamp or apply multiple thin layers for durability.
- Be careful when using blades and sharp tools to avoid injury.
Pattern Instructions
Step 1: Make Macaroon Shells
- Roll pink clay into thin, even snakes.
- Cut the snakes into equal-sized pieces and roll each piece into a ball.
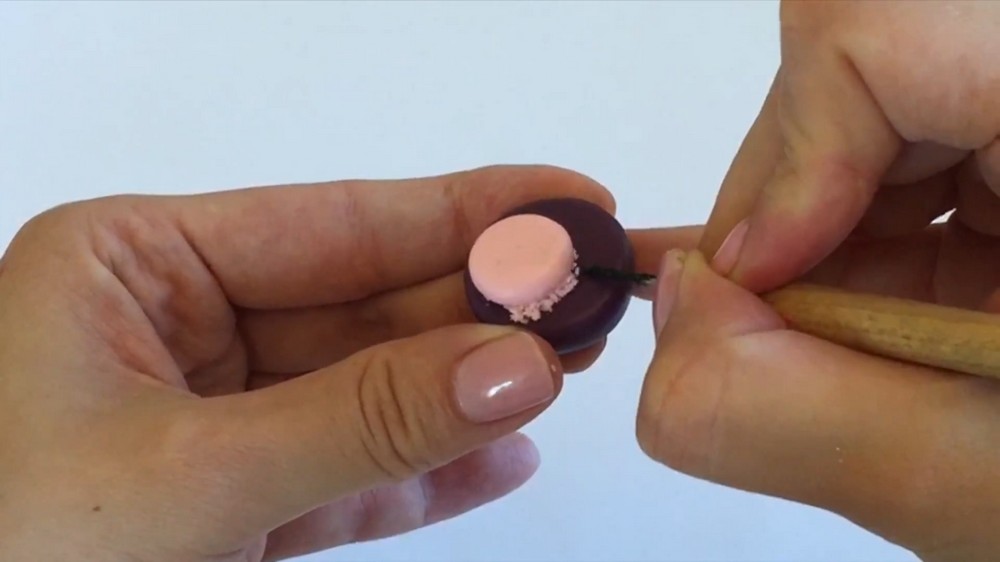
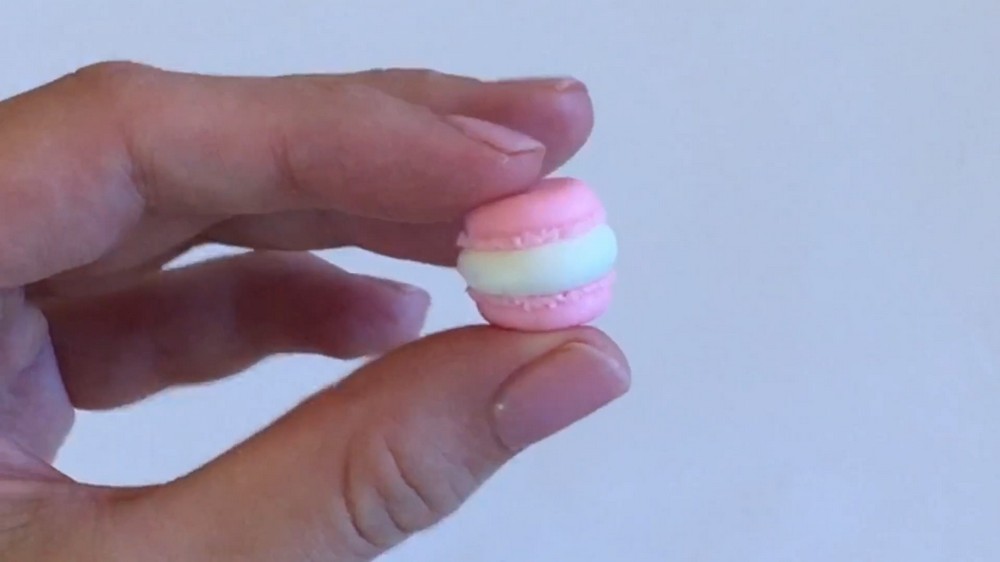
- Flatten each ball into a small, round pancake shape to form macaroon shells.
- Use a clay tool to add texture by scraping the bottom edges lightly, creating a realistic macaroon ridge.
- Adjust size if needed by making larger circles and reshaping until you get the desired macaroon size.
Step 2: Pre-Bake Shells
- Place macaroon shells on a baking tray lined with parchment paper.
- Bake at 250°F (120°C) for around 5 minutes to firm up the shells slightly.
- Allow shells to cool briefly before continuing.
Step 3: Form Kitty Body
- Shape a small oval of white clay to serve as the kitty’s body.
- Position the white oval between two macaroon shells, gently pressing them together to hold the shape.
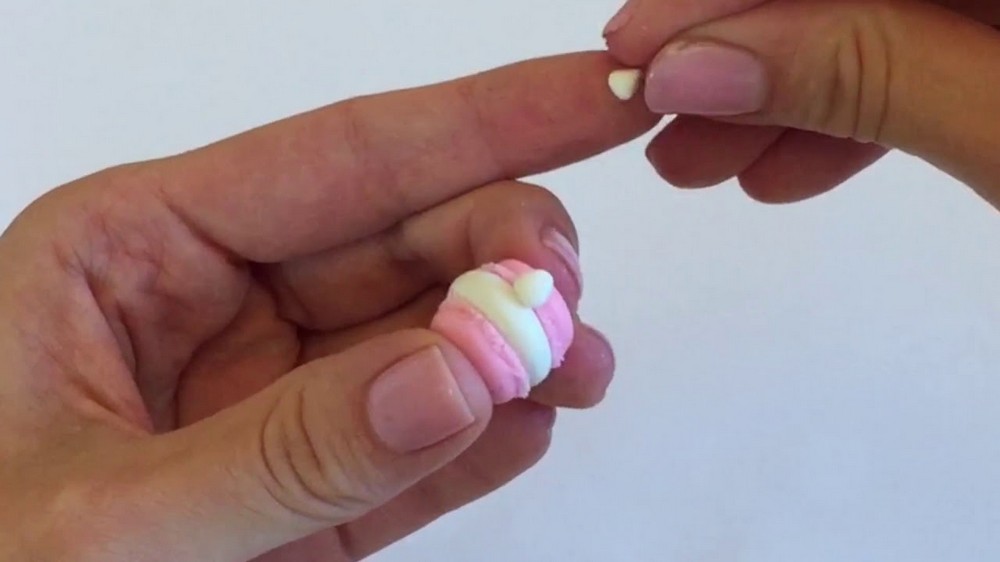
- Roll tiny white triangles and place on top to form kitty ears.
- Use the back of a paintbrush to make small dents in the ears, adding dimension.
- Add small white feet peeking out at the bottom edge of the macaroon shell for an adorable detail.
Step 4: Add Facial Features
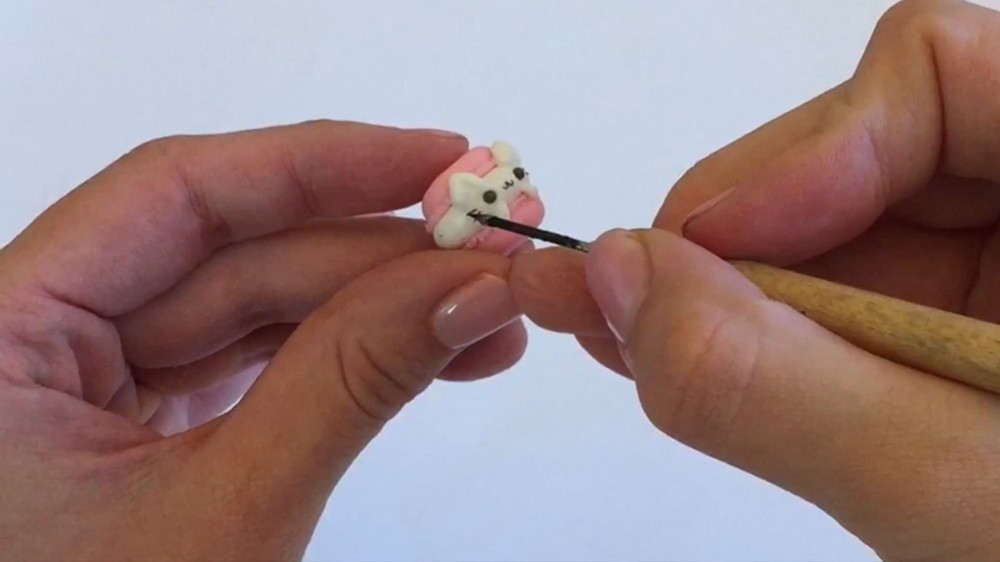
- Use a clay tool to mark spots for the eyes by making two small indentations.
- Attach tiny black pieces of clay over the eye indentations to form eyes.
- Form a small, simple mouth with black clay placed centrally below the eyes.
- Craft thin black whiskers and place them carefully on each side of the mouth.
Step 5: Create Whipped Cream Top
- Fill a cake decorating tip with white clay.
- Use the back of a paintbrush to push clay through the tip, forming textured strands resembling whipped cream.
- Collect the extruded clay when it reaches about 1-2 inches in length.
- Twist and curl the clay to form a swirl of whipped cream.
- Attach the whipped cream swirl on top of the kitty macaroon carefully.
Step 6: Add Holiday Decorations
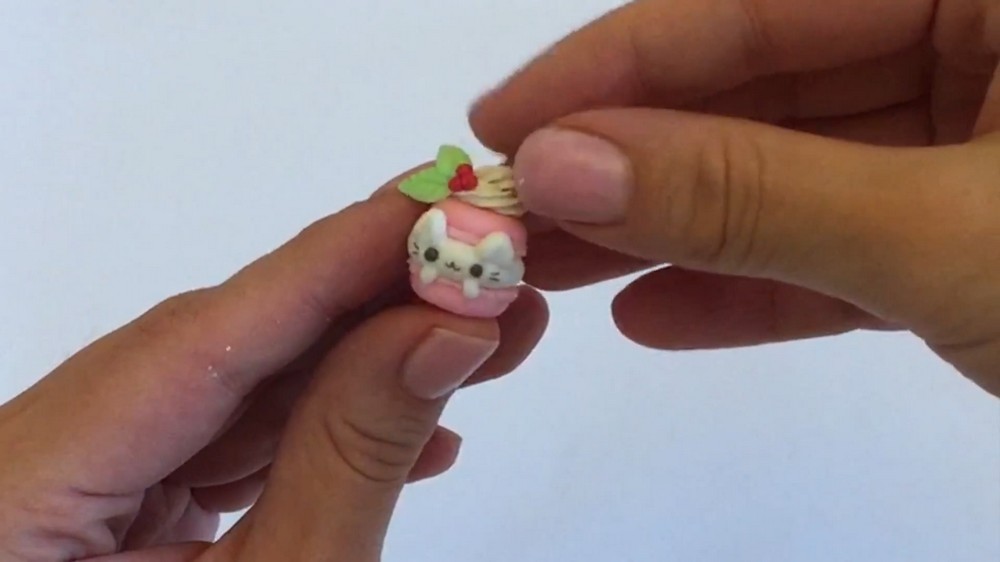
- Shape green clay into two small leaves.
- Use a blade to etch a central vein and tiny edge marks to make them look realistic.
- Roll tiny red clay balls to create three berries and gently press them together.
- Position the mistletoe cluster near the whipped cream on the macaroon.
- Optionally, craft other festive items like Santa hats or candy canes and attach them to your charm.
Step 7: Add Blush and Final Bake
- Apply a small amount of pink chalk pastel lightly on the kitty’s cheeks for a blush effect.
- Bake the complete charm at 250°F (120°C) for about 20 minutes to cure the clay.
Step 8: Apply Gloss Finish
- Use UV resin or clear nail polish to coat the charm for a glossy, protective finish.
- Cure UV resin under a UV lamp for 30-60 seconds or allow nail polish to dry completely.
Step 9: Attach Eyelet (If Making a Charm)
- Before baking, insert an eyelet into the clay to allow the charm to be attached to chains or keyrings.
- Ensure the eyelet is secured firmly within the clay to withstand use.
Final Notes
This kitty macaroon charm project blends simple polymer clay shaping with fine details and finishing techniques to create adorable holiday-themed accessories. The process introduces skills in texturing, layering, and decorating for realistic results. Finished charms make delightful gifts or personal keepsakes that capture festive cheer with a cute twist.