Bring heartwarming charm to your projects with a sweet princess pattern that features delicate details and a polished, professional finish.
The adorable and creative design featured is credited to Flying Mio, a talented creator known for sharing charming and joyful craft tutorials. Discover more of her delightful projects by visiting her YouTube channel at https://www.youtube.com/@FlyingMio.
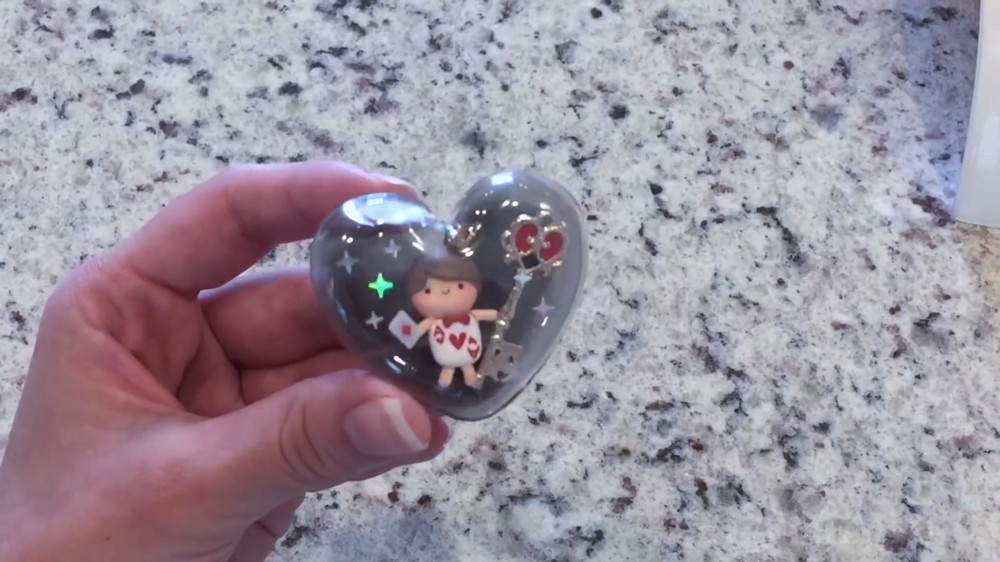
A charming figure captured in a delicate heart-shaped frame, this petite princess radiates whimsy and warmth. The DIY Princess Of Hearts Pattern brings to life a sweet character with a softly blushing face, playful brown hair styled with gentle texture, and a tiny crown that crowns her regal yet approachable look. Her oversized head and stubby limbs create a delightful contrast that adds to her endearing charm, making her feel both magical and inviting.
Unique and Creative DIY Princess Of Heart Pattern Tutorials to Try
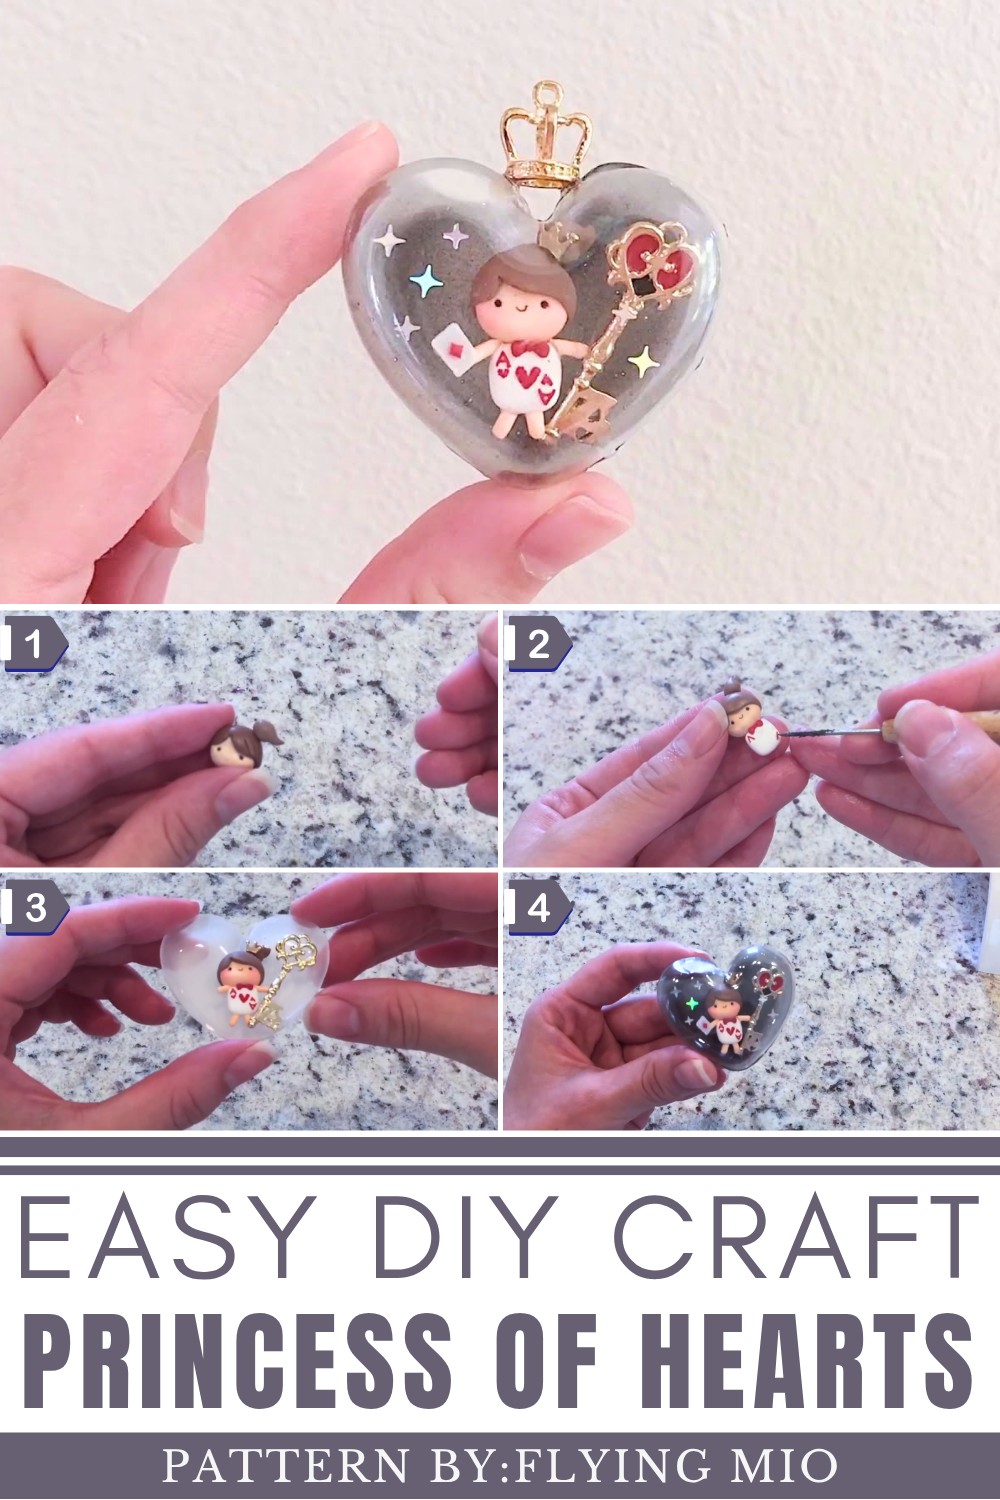
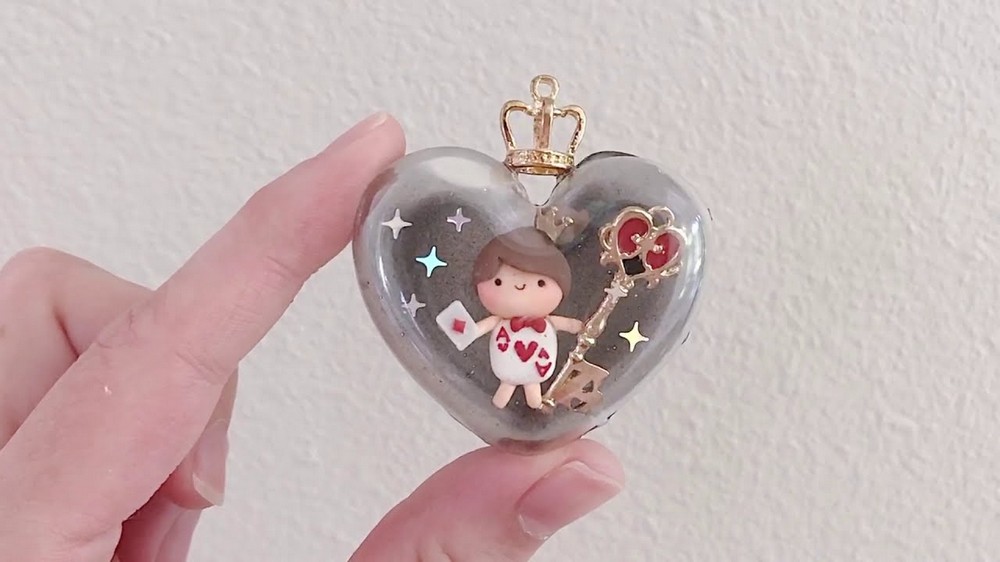
Encased within a glossy resin heart, this design doubles as a beautiful trinket perfect for display or gifting to someone special. The subtle use of color and the miniature bow detail lend a sense of innocence and grace, reflecting the character’s heartful personality. What makes this pattern particularly interesting is its unique blend of playful proportions and classic princess motifs, all wrapped up in a polished, three-dimensional form.
Whether added to a collection or used as a keepsake, the DIY Princess Of Hearts Pattern stands out through its balance of sweet simplicity and thoughtful detail. It’s a lovely piece that captures the imagination, ideal for those who appreciate crafting adorable, meaningful charms with a touch of storybook magic.
DIY Princess of Hearts Charm Tutorial: A Sweet Polymer Clay and UV Resin Creation
This charming Princess of Hearts trinket combines delicate polymer clay sculpting with the translucent shine of UV resin. Featuring a cute princess figure encased in a heart-shaped resin pendant, this project captures a whimsical fairytale vibe. The charm is ideal as a gift, collectible, or decorative accessory, showcasing detailed clay work and resin casting skills.
Design Overview
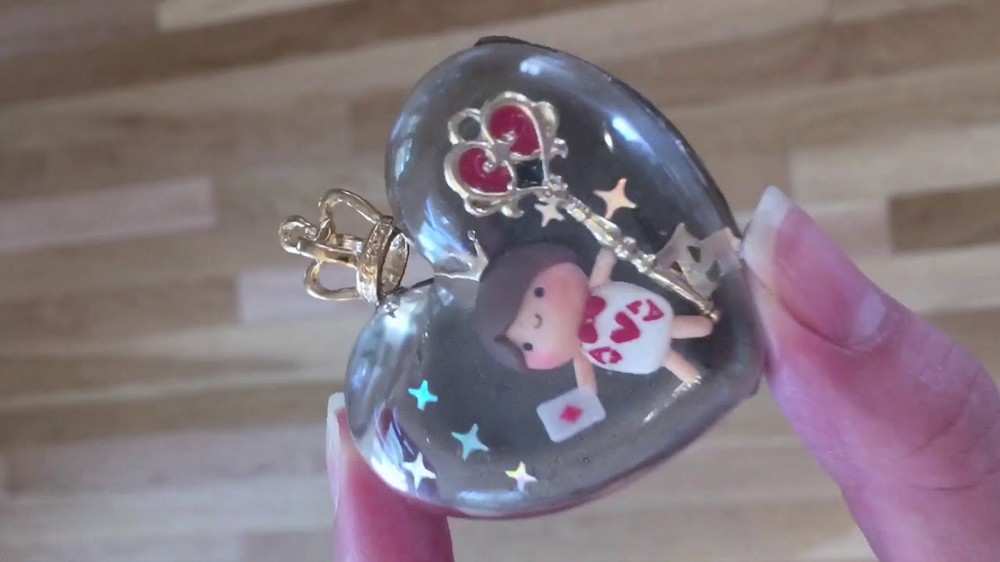
- Princess Figure: Soft flesh-toned round head with textured brown hair, blushing cheeks, tiny eyes, and a sweet smile
- Body: Stylized as a deck of cards with stubby arms and legs and accented with a petite bowtie
- Resin Heart: Transparent or white-tinted 3D heart-shaped pendant made from UV resin that houses the princess figure
- Embellishments: Extras such as a crown, staff, and charms add personality and detail within the resin casing
Importance of Gathering Quality Materials
Having the correct quality materials and tools is essential for achieving professional-looking results. Polymer clay allows for smooth shaping and holds intricate details well, while UV resin creates a strong, glossy finish that protects and elevates the piece. Using proper tools helps produce precise shapes and clean edges, which are crucial in small-scale crafting. Being prepared with all necessary supplies enhances workflow and reduces the risk of errors.
Materials & Tools Needed
- Polymer clay in flesh tone, brown, white, black, pink blush powder or makeup
- UV resin and appropriate resin dyes (such as white or black)
- Heart-shaped silicone mold for resin casting
- Precision blades or Exacto knife for cutting and shaping clay
- Small rolling tools for conditioning and flattening clay pieces
- Makeup brush for applying blush
- UV light source for curing resin
- Toothpicks or thin sculpting tools for fine details
Important Tips Before You Start
- Always work on a clean, flat surface to avoid dust and debris embedding into your clay or resin.
- Condition clay by kneading until it is soft and pliable to ease sculpting and blending.
- Be patient when shaping small components; use fine tools to add realistic textures like hair dents and facial features.
- When working with resin, wear gloves and follow safety instructions carefully to avoid skin irritation.
- Cure resin under UV light in short intervals, ensuring no uncured spots remain.
- Allow each component to cool or set fully before assembling to avoid distortion or fingerprints.
Pattern & Step-by-Step Detailed Instructions
1. Sculpting the Princess Head and Hair
a. Form the Head
- Roll a flesh-colored polymer clay ball into a smooth circle.
- Flatten slightly to form a rounded head shape that’s not too flat, maintaining softness.
b. Create Hair Bangs
- Take a piece of brown clay and flatten it into a thin pancake approximately 1 millimeter thick.
- Cut one edge into a triangular shape to mimic hair bangs.
- Position the bangs to cover only the top one-third of the head.
- Wrap the bangs gently around the top portion of the head.
- Use a blade to trim any excess edges for a clean finish.
- Smooth the edges down so it looks like one continuous piece.
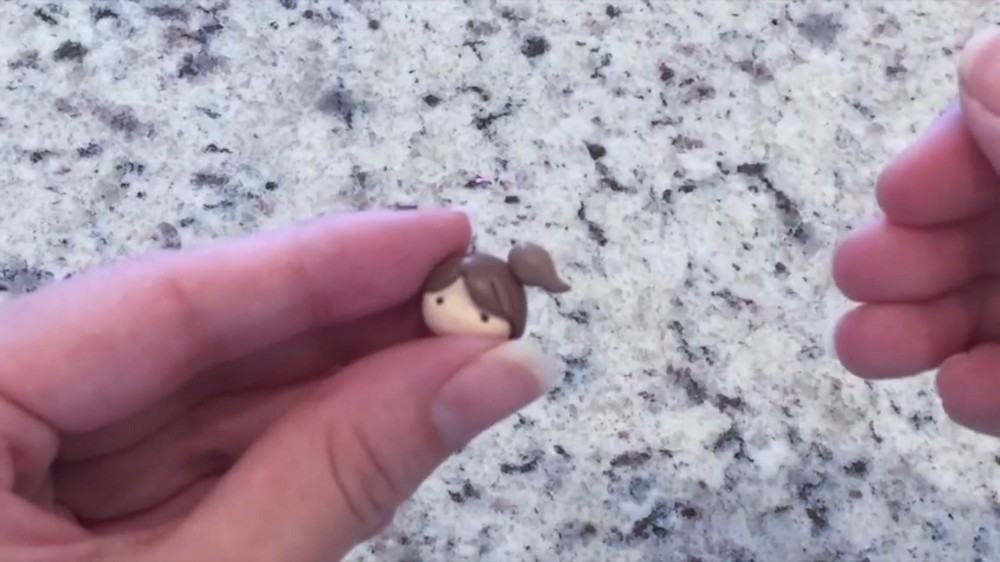
c. Add Hair Texture
- Use a small sculpting or needle tool to make gentle dents or lines in the clay bangs for a realistic textured look.
d. Add Facial Features
- Place two tiny black clay dots for eyes, positioning them neatly on the face.
- Roll a thin black clay snake and shape it into a small smile.
- Attach the smile carefully at the center below the eyes.
e. Make the Ponytail
- Roll a teardrop shape from brown clay.
- Bend the narrower tip out slightly to mimic a natural ponytail curve.
- Affix the ponytail to the top back corner of the head.
2. Crafting the Princess Body
a. Shape the Body Base
- Flatten a white piece of clay into a rectangular shape.
- Trim off a large portion, as the head is designed to be relatively large compared to the body.
- This rectangle forms a stylized card-like torso representing the deck of cards.
b. Attach Head to Body
- Firmly press the head onto the top center of the rectangular body.
c. Create Arms and Legs
- Roll small white clay tubes for stubby arms and legs.
- Attach them symmetrically on either side of the body.
d. Make the Bow
- Form tiny clay pieces into eye shapes.
- Arrange to resemble a bowtie placed just beneath the hairline where the head meets the body.
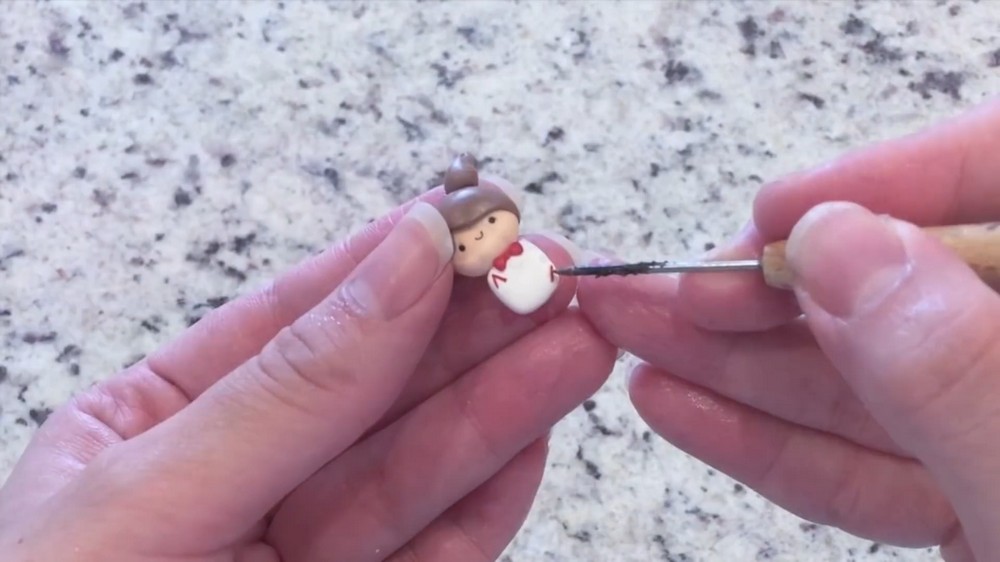
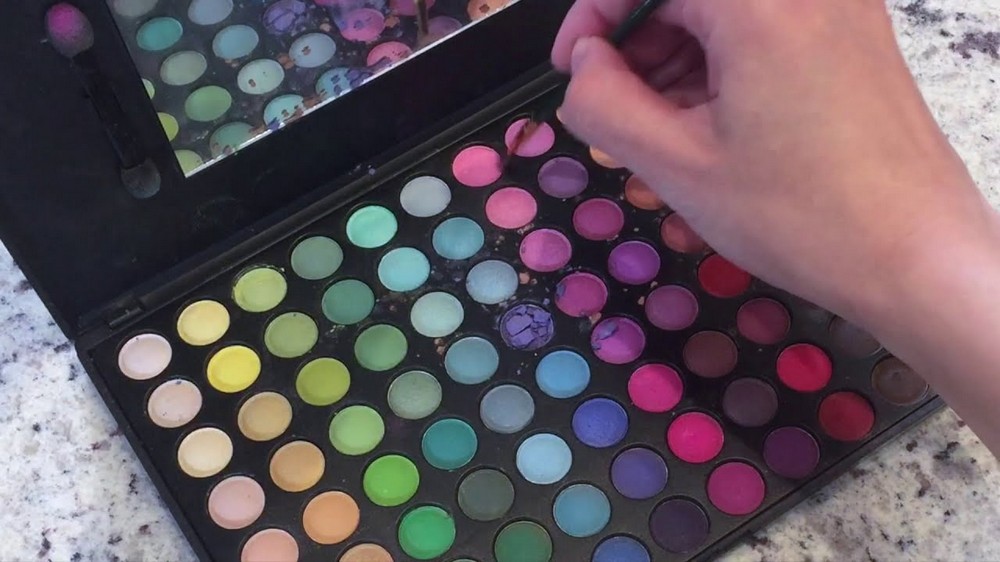
e. Add Blush for Cheeks
- Using a soft brush, gently apply pink blush onto the cheeks to give the princess a subtle, natural blush effect.
3. Creating the UV Resin Heart Pendant
a. Prepare Resin and Mold
- Select a clean heart-shaped silicone mold.
- Mix clear UV resin with color dye as desired (examples include white or black).
- Pour resin into the mold, ensuring the entire heart shape is evenly filled.
- Spread resin to cover all mold areas, avoiding air bubbles.
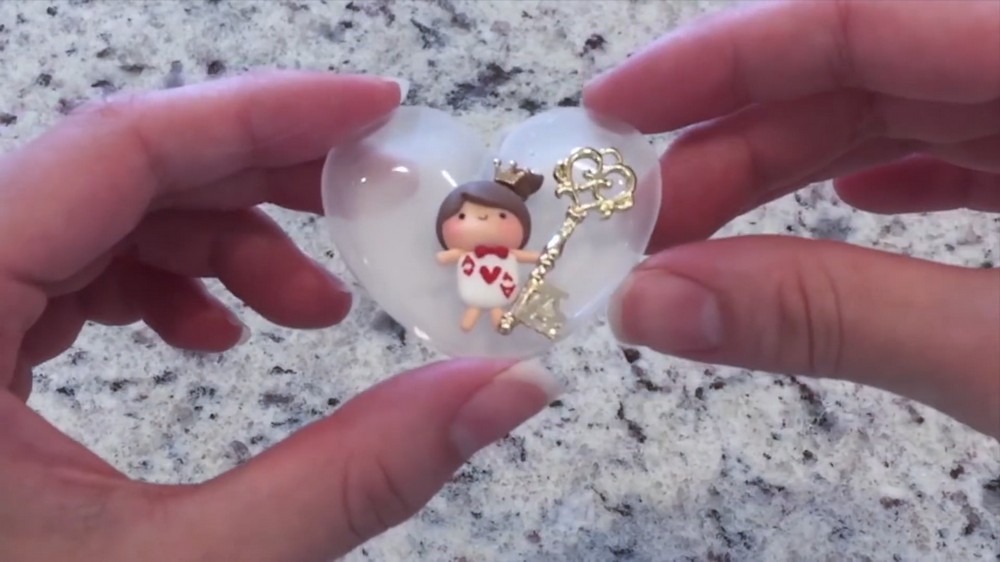
b. Cure Resin
- Place the filled mold under UV light for about 30 seconds or per resin instructions until cured and slightly firm to touch.
- For dimension, pour two layers: one white and one clear resin. Allow each to cure before layering.
4. Embedding and Assembling the Charm
a. Insert Princess into Resin
- Carefully place the clay princess figure inside one resin heart half.
- If desired, add tiny embellishment charms like crowns or staffs around the figure.
b. Seal the Pendant
- Apply a thin layer of UV resin along the edges of the resin halves.
- Combine the two resin heart pieces, pressing gently to secure.
- Cure the joined piece under UV light to bind the resin halves permanently.
c. Add Finishing Touches
- Use extra resin to fix the princess in place inside the resin, preventing movement.
- Optionally decorate the exterior with tiny clay crowns or painted details.
Conclusion
Creating this Princess of Hearts charm offers an engaging blend of sculpting small polymer clay details and mastering resin casting to produce a sparkling decorative piece. The project challenges fine motor skills and patience but produces a delicate and enchanting charm, perfect for jewelry makers and collectors alike. With practice, the design can be customized and embellished for unique artistic expression.